Yes, you can absolutely grow karela (bitter melon) in a pot, and it produces surprisingly well when you get a few basics right. Alugbati in pots is a great option if you want fresh, tender leaves without needing a garden bed how to grow alugbati in pots. You need a large enough container (at least 12 inches deep), a well-draining soil mix, a simple trellis for the vines to climb, and consistent watering.
How to Grow Karela in Pot: Step by Step Guide

Marcus Whitley
21 May 2026
To grow manathakkali keerai in pots successfully, use a roomy container, well-draining potting mix, and keep the soil evenly moist while it establishes. Get those four things in place and karela will reward you with fruits in about 60 to 75 days from sowing. Here is exactly how to do it, step by step. If you want more options beyond karela, follow this guide on how to grow vegetables in pots in hindi for similar pot and care basics.
To get the same kind of success with herbs, learn how to grow dhaniya in pots and keep it thriving on a balcony or patio. For rajnigandha, the same idea applies in container gardening, but you will need a different approach to pot size, soil, and planting timing how to grow rajnigandha in pots.
Best pot size and type for karela
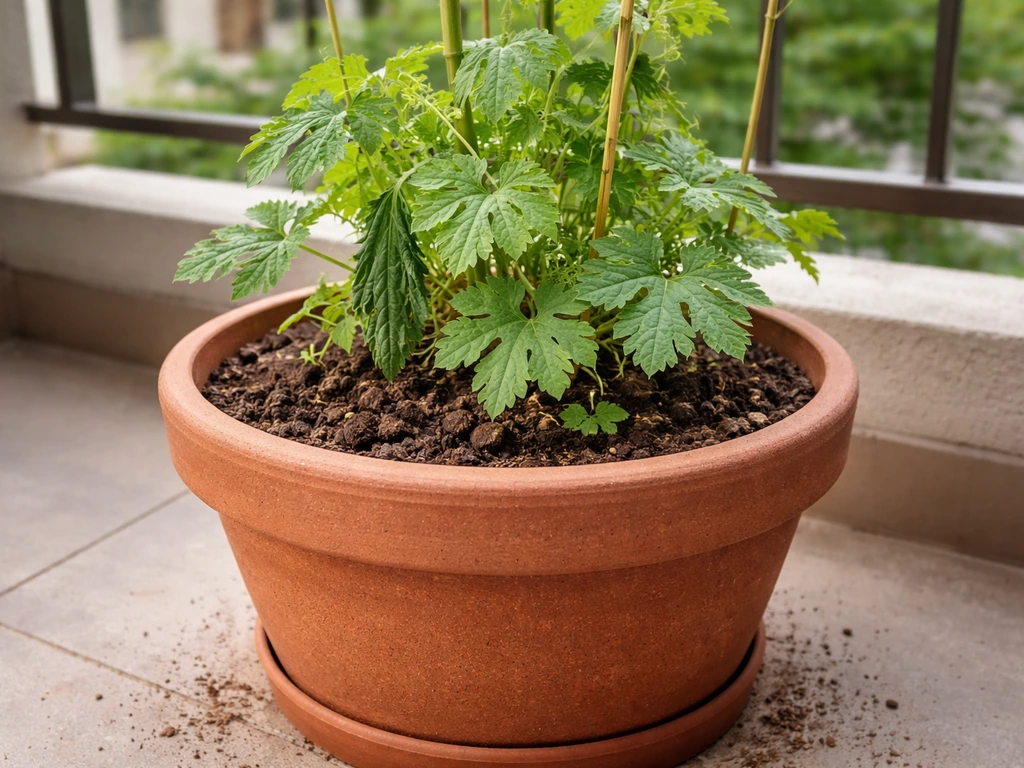
Karela is a vigorous, climbing vine with a surprisingly deep and wide root system. In a pot that is too small, the roots get cramped, the plant stresses out, and you end up with fewer fruits and more problems. The minimum pot size I recommend is 12 inches deep and 12 inches wide, but honestly, bigger is better. A 15 to 18 inch pot or a 15 to 20 litre container gives the roots enough room to spread and holds more moisture between waterings, which matters a lot on hot days.
For material, terracotta pots look lovely but dry out fast, which means more frequent watering in summer. Plastic or fabric grow bags are more forgiving and lighter to move around, which is handy on a balcony or rooftop. Fabric grow bags in particular allow excellent drainage and air pruning of roots, which keeps the root zone healthy. Whatever you choose, make absolutely sure the pot has drainage holes at the bottom. Sitting in waterlogged soil is one of the fastest ways to kill a karela plant. If you are growing more than one plant, keep each one in its own large pot rather than crowding two into one container.
Soil mix and fertilizer plan for container karela
Regular garden soil packed into a pot is a recipe for poor drainage and struggling plants. For container karela, you want a mix that is light, airy, and drains well but still holds enough moisture to keep roots happy. A good starting mix is two parts good-quality potting mix, one part compost (well-rotted cow dung or kitchen compost works great), and one part coarse sand or perlite. This combination gives you drainage, nutrients, and enough water retention for the vine to thrive.
For fertilizing, karela is a heavy feeder once it starts flowering and fruiting. Keep it simple with this three-phase plan: at planting, mix in a good handful of compost or slow-release organic fertilizer into the soil. Once the plant has established itself and starts putting out runners (around three to four weeks in), switch to a balanced liquid fertilizer like a 10-10-10 mix or a diluted seaweed fertilizer every ten days. When you start seeing flowers, shift to a fertilizer that is slightly higher in potassium and phosphorus, like a tomato or fruit fertilizer, to support fruiting. Go easy on nitrogen after flowering starts or you will get a lush, leafy plant with very little fruit.
Sowing seeds vs transplanting, and how to space them
Karela does best when sown directly into its final pot rather than transplanted, because like most cucurbits (the cucumber and gourd family), it dislikes having its roots disturbed. Bhindi in pots does best when the seeds are sown directly into the final container so the roots are not disturbed grow bhindi in pots. That said, starting seeds in small biodegradable pots or coco peat plugs and transplanting the whole plug works fine too if you want to get a head start indoors before the weather warms up.
Getting germination right
Karela seeds have a hard seed coat that can slow germination. The best trick is to soak the seeds in plain water at room temperature for 24 hours before sowing. In a SCIRP study on Momordica charantia, seeds were soaked in tap water for 24 hours and also hot-water soaked at 80°C or 100°C for 24 hours to affect germination speed and period [soak the seeds in plain water at room temperature for 24 hours](https://www. scirp.
org/journal/paperinformation? paperid=106915). Research on Momordica charantia shows that seed soaking (hydro-priming) speeds up germination significantly compared to dry sowing. After soaking, you will often see the seeds starting to crack open slightly, which is a great sign.
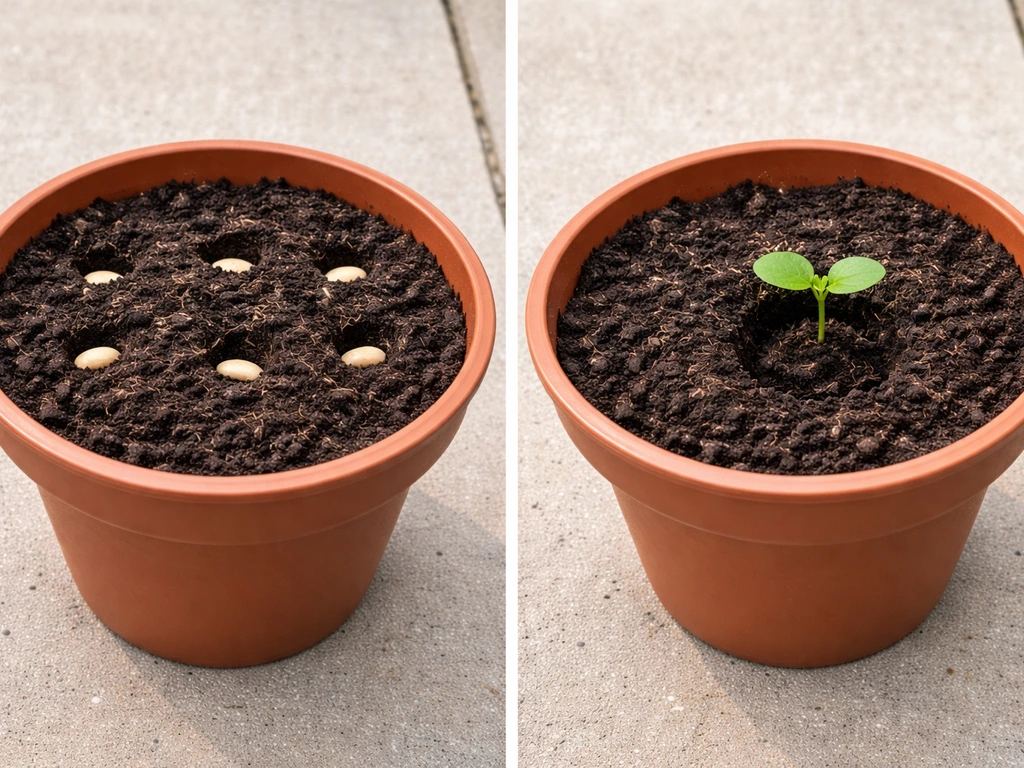
Sow each seed about half an inch to one inch deep, pointed end down. At an ideal soil temperature of 25 to 28°C, germination typically happens within 7 to 10 days. If your weather is cooler, put the pot in a warm, sunny spot or use a heat mat to speed things up.
Spacing in pots
In a 12 to 15 inch pot, grow one plant per container. Karela vines get long and vigorous, and cramming two plants together leads to competition for nutrients, poor airflow, and increased disease. If you also want the same results, you can follow these pot-friendly steps to learn how to grow kaddu in pots. If you have a large planter box that is 24 inches or longer, you can space two plants about 18 inches apart. Sow two seeds per spot and thin to the stronger seedling once they have sprouted and grown their first true leaves.
Sunlight, trellis setup, and watering
Sunlight needs
Karela loves full sun. It needs at least six hours of direct sunlight daily, and eight to ten hours is even better. If you are growing on a balcony or terrace, place the pot in the sunniest spot available. A south or west-facing spot usually works best in the northern hemisphere. Poor sunlight equals slow growth, poor flowering, and low fruit set, so do not compromise on this one.
Setting up a trellis
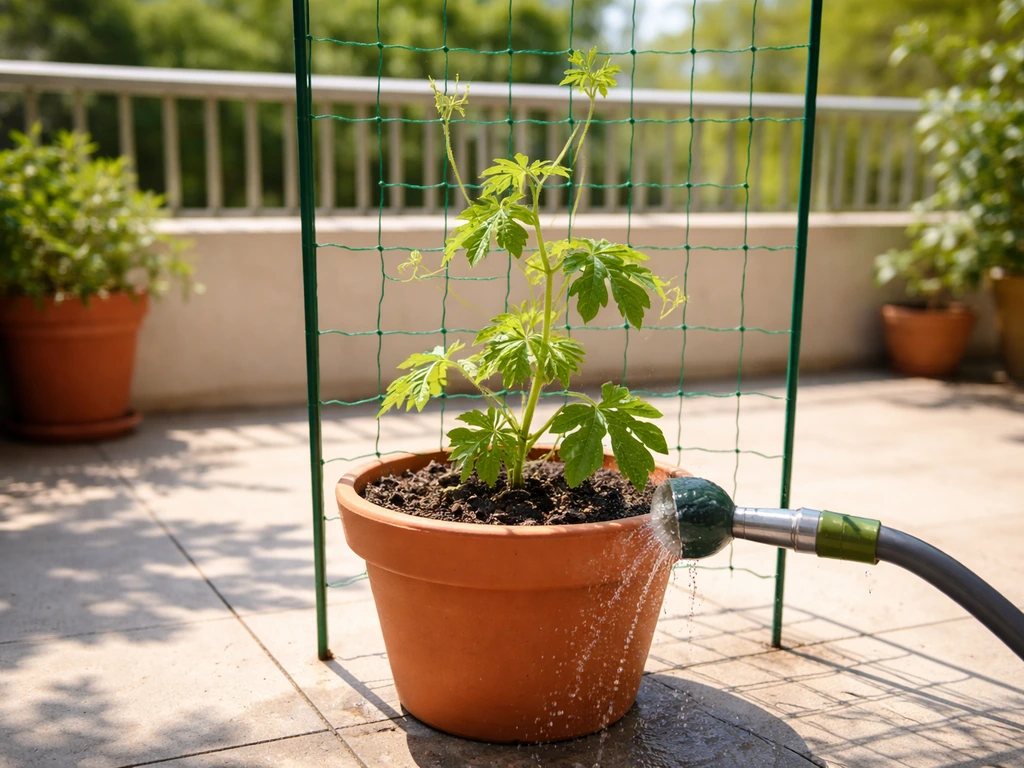
A trellis is not optional for pot-grown karela. The vine will grow two to three meters long (sometimes more) and needs something to climb or it becomes a tangled mess on the floor, which invites pests and disease. Extension recommendations from Tennessee State University confirm that [bitter melon benefits from trellising](https://www. tnstate.
edu/extension/documents/Bitter%20melon%20fact%20sheet. pdf), both for ease of management and better harvesting. For a container setup, push two or three bamboo canes into the pot and tie them together at the top to form a teepee, or attach a wire mesh panel or a simple rope net to a wall or railing behind the pot. As the vine grows, guide the main stem up the trellis and loosely tie it with soft garden twine every six inches or so.
Training and pruning
Once the main vine reaches about 12 inches tall, pinch off the growing tip to encourage it to branch out. More branches mean more lateral shoots, and karela fruits mostly on lateral (side) shoots rather than the main stem. As the plant grows, remove any lateral shoots that are growing downward or inward toward the pot, keeping the plant open and airy. If the vine gets unruly and overly dense, thin out some of the older non-fruiting branches to improve airflow.
Watering schedule
Pots dry out much faster than garden beds, especially in hot weather. Water your karela deeply every one to two days in summer, checking the top inch of soil first. If it feels dry, water thoroughly until it drains from the bottom. In cooler or cloudy weather, you can stretch this to every two to three days. Never let the soil dry out completely once the plant is flowering or fruiting, as water stress at that stage causes fruit drop and bitter, misshapen karela. Mulching the top of the pot with straw or dried leaves helps retain moisture and keeps the roots cooler on scorching days.
Pest and disease prevention, plus quick fixes
Container-grown karela is generally less prone to soil-borne diseases than in-ground plants, but it still faces a few common threats. Getting ahead of them is much easier than dealing with a full-blown infestation.
| Problem | Signs to look for | What to do |
|---|---|---|
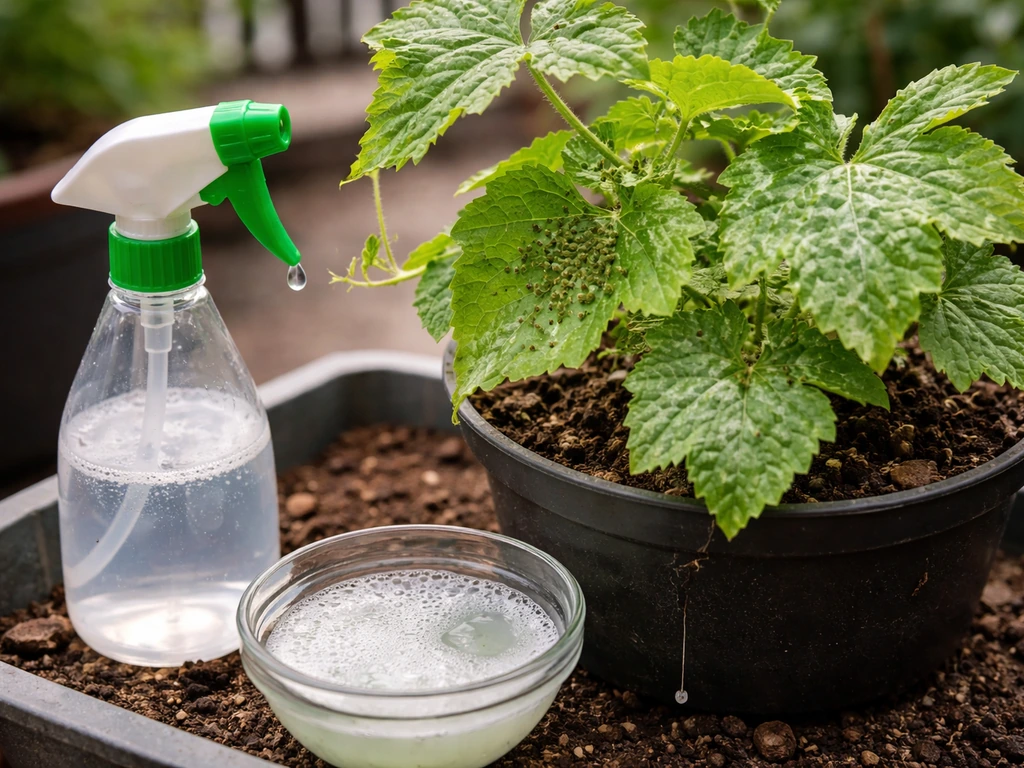
| Aphids | Clusters of tiny green or black insects on new growth and undersides of leaves | Spray with a strong jet of water to dislodge them. Follow up with a diluted neem oil spray (5 ml neem oil + a few drops of dish soap in 1 litre water) every 5 days. |
| Whiteflies | Tiny white insects that fly up when you touch the plant; sticky residue on leaves | Yellow sticky traps near the pot. Neem oil spray as above. |
| Fruit fly | Maggots inside developing fruits; fruits rotting prematurely | Wrap developing fruits in paper bags or muslin cloth. Remove and destroy affected fruits immediately. |
| Powdery mildew | White powdery coating on leaf surfaces, usually in humid conditions | Improve airflow by pruning dense growth. Spray with diluted baking soda solution (1 tsp per litre of water) or neem oil. |
| Root rot | Yellowing leaves, wilting despite moist soil, foul smell from soil | Ensure pot has drainage holes. Reduce watering. Repot into fresh mix if severe. |
| Vine borer | Sudden wilting of entire vine; small entry holes in stem | Cut open the stem near the entry hole, remove the larvae, and treat the wound with diluted neem oil. |
One important tip: karela flowers are pollinated by insects, and the male flower opens for only one day before falling off. This is completely normal, so do not panic when you see flowers dropping without producing fruit early on. The female flowers (which have a tiny fruit at their base) come a bit later. If you are growing in a spot with low bee activity, like a high-rise balcony, you can hand-pollinate by using a small paintbrush or cotton swab to transfer pollen from a male flower to the centre of a female flower. It takes about thirty seconds and can make a real difference to your fruit set.
When and how to harvest to keep it producing
Karela grown in a pot typically starts flowering around 45 to 60 days after sowing. The first fruits are usually ready to pick about 60 to 75 days from sowing, depending on variety and conditions. For palak in particular, choose a container that lets the roots spread, keep the soil consistently moist, and harvest the leaves regularly so it keeps producing how to grow palak in pots.
Harvest the fruits when they are firm, green, and have reached their full size for the variety but before they start turning yellow or orange. Once karela turns yellow, it has over-ripened, becomes less bitter (some people like this, but it signals the plant is putting energy into seeds rather than more fruits), and signals the plant to slow production.
The golden rule for keeping your plant productive is to harvest frequently. Pick fruits every two to three days once they start coming in. Leaving ripe or over-ripe fruits on the vine signals the plant that its job is done, and production drops sharply. Use a sharp knife or scissors to cut the fruit off the vine rather than pulling, to avoid damaging the stem. After each picking session, check the whole plant for any hidden fruits that may have been missed.
To extend the productive season, keep fertilizing every ten days with a potassium-rich fertilizer, keep the trellis tidy, and continue pruning out old or non-fruiting stems to encourage new lateral growth. A well-managed container karela can produce fruits continuously for two to three months. If you notice production slowing as the season winds down, you can try trimming the plant back by about one-third to rejuvenate it and encourage a fresh flush of new growth and flowers.
A few extra tips to set yourself up for success
- Sow seeds at the right time. Karela is a warm-season crop and germinates best when temperatures are consistently above 25°C. In most parts of India and Southeast Asia, this means sowing between February and June. In temperate climates, wait until after the last frost.
- If you are also growing other cucurbit vegetables like kaddu or bhindi in pots on the same balcony, keep them somewhat apart as they can share some pests.
- Label your pots with the sowing date so you can track when to expect flowers and fruits. It sounds simple, but it takes the guesswork out of knowing whether your plant is on schedule.
- Do not skip the compost. In a container, nutrients deplete faster than in the ground, and regular organic matter keeps the soil alive and productive.
- Be patient with early flower drop. It is one of the most common reasons beginners think they have failed, when actually the plant is just warming up.
FAQ
When should I start sowing karela in my pot if I live in a cooler climate?
Yes. Karela is a vine that needs heat to grow well, so aim to start when days are consistently warm (roughly 20°C+). If your balcony is cool, keep the pot in the sunniest warm spot and consider a warm microclimate like placing it near a wall that gets afternoon sun, or using a simple row cover on chilly nights.
What should I do about watering karela in pot during rainy or very humid weather?
If you are growing in a pot or grow bag, you still need good drainage, but you should also protect the roots from sitting in cold, wet conditions. On rainy or very humid days, check the soil before watering, and empty any saucer under the pot after watering so the root zone is not re-wetted overnight.
Can I start karela indoors and transplant it into the final pot?
Yes, and it can help. If you want to start earlier, sow in a biodegradable plug or small starter container, then transplant the entire plug with minimal disturbance. Avoid bare-root transplanting, because karela is prone to stress when roots are disturbed, which can delay flowering.
How do I know when to water karela in a pot, especially once it starts fruiting?
Use the finger test and also watch the vine. At flowering and fruiting, let the top inch dry slightly, then water deeply, because complete dry-down often causes fruit drop and bitter, misshapen fruits. In very hot weather, that may mean watering daily even if the calendar says otherwise.
What fertilizer adjustment should I make if my karela vine is growing slowly or looks pale?
For most balcony setups, a mild stress can be okay, but consistent deficiency causes problems like slow vine growth and poor flowering. The easiest approach is to follow the article’s schedule, and if you see pale leaves, switch to a balanced liquid feed for two cycles before moving back to the slightly higher potassium or phosphorus stage.
How do I hand-pollinate karela correctly if there are few bees on my balcony?
Hand-pollination is helpful, but do it at the right time. Since male flowers are short-lived, pollinate early in the day when flowers are open and active, and repeat on multiple female flowers rather than only once. If you miss a day, don’t expect the first flowers to hold.
What are the signs that I am overwatering or under-draining my potted karela?
Avoid overwatering, because container karela can develop root stress. If you notice wilting with wet soil, reduce watering frequency and ensure the pot has drainage holes, then move the pot to brighter sun for faster drying. Also check whether the soil mix has enough perlite or coarse material for airflow.
How can I train karela on a trellis so it stays manageable in a small balcony?
Yes. Aim for a trellis that can support 2 to 3 meter vines and keep fruits off the ground. If you use a teepee, tie the main stem to the top and guide laterals so they spread around the trellis rather than hanging inward, which improves airflow and reduces mildew risk.
When and how much should I prune or pinch karela in a pot to maximize fruiting?
Do it when the first true vine growth is established and the plant is about 12 inches tall, then continue light pruning. Do not cut too much late in the season, because karela fruits on lateral shoots, and excessive removal can reduce the number of fruiting branches.
My karela has many flowers but few fruits, what could be causing it?
In most cases, flower drop early is normal because male blooms are short-lived. If you see lots of male flowers but almost no female flowers for a long time, it usually points to low light, stress from inconsistent watering, or too much nitrogen. Reduce nitrogen-heavy feeding, increase sun exposure, and keep watering steady.