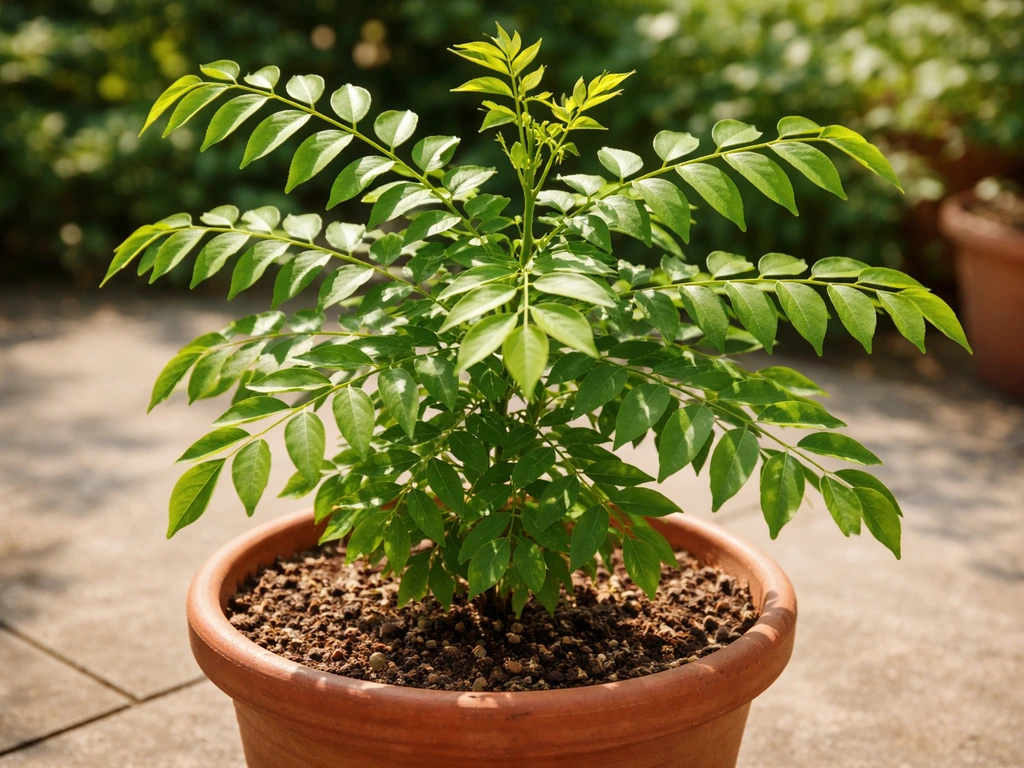
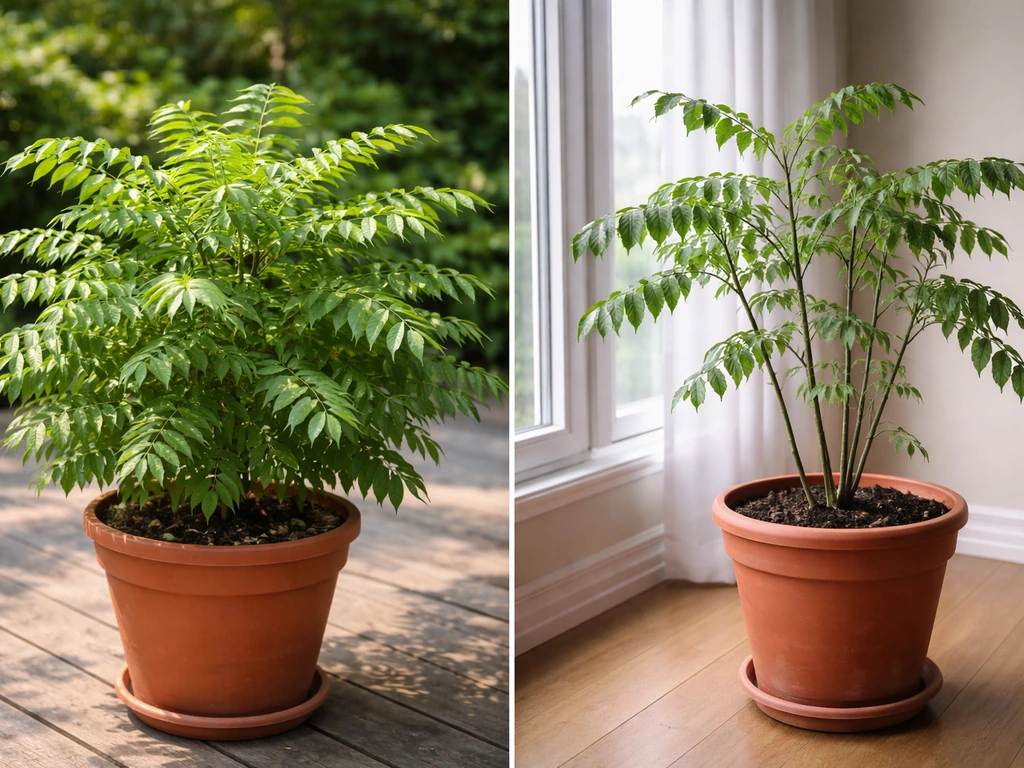
Curry leaf plants grow well in pots, and plenty of home gardeners do it successfully on balconies, patios, and even sunny windowsills. They won't get as big as an in-ground tree (which can reach 6 to 15 feet), but a container-grown plant kept at 2 to 4 feet through pruning will still give you a steady harvest of fresh curry leaves. The key things you need to get right are full sun, warm temperatures, excellent drainage, and patience, especially if you're starting from seed.
How to Grow Curry Leaf Plant in a Pot Step by Step

Marcus Whitley
4 May 2026
Can a curry leaf plant really thrive in a pot?
Yes, but go in with realistic expectations. [Curry leaf plants (Murraya koenigii, also called Bergera koenigii)](https://www. wur. nl/en/show/medicinal-plant-descriptions.
htm) are tropical to subtropical shrubs that prefer outdoor heat and humidity. Elkhorns are a type of staghorn fern, and you can grow them in pots if you use the right container, mounting mix, and watering routine. In a pot, growth is slower than in the ground, and you'll need to bring the plant indoors or to a sheltered spot if temperatures drop below about 32°F (0°C).
The RHS recommends overwintering them in a frost-free space like a conservatory or heated porch, and UC Master Gardeners confirm that container growth is possible but less vigorous than in-ground planting. That said, millions of people grow curry leaf plants in pots in South Asia, the US, UK, and Australia, so don't let that discourage you. You just need the right setup.
If you're in USDA zones 9 to 12, you can keep the pot outside year-round. In cooler zones, think of it as a container plant you move indoors for winter, similar to how you'd treat a lemon tree or a betel leaf plant in a pot. The payoff is big: fresh curry leaves are genuinely hard to find in stores, and having a plant at home means you can harvest them anytime.
Picking the right pot and drainage setup
Start with a pot that's at least 12 inches wide and 12 inches deep for a young plant or sapling. Once the plant is established and you want to encourage more growth, move up to a 16- to 18-inch pot. I'd avoid going huge too early because excess soil that doesn't dry out between waterings can cause root rot, which is one of the most common reasons curry leaf plants die in containers.
Material matters more than most guides admit. Terracotta pots are my first choice because they're porous, which means the soil dries out a bit faster and reduces the risk of waterlogging. Plastic pots work fine too and are lighter for moving indoors in winter, but you'll need to be more careful with watering. Whatever pot you choose, it must have at least two or three drainage holes at the bottom. If yours only has one small hole, drill or punch more. You can add a thin layer of gravel or broken pottery pieces at the base to keep the holes from clogging, but skip the thick gravel layer that old advice recommends. It actually makes drainage worse.
Best soil mix and how to plant
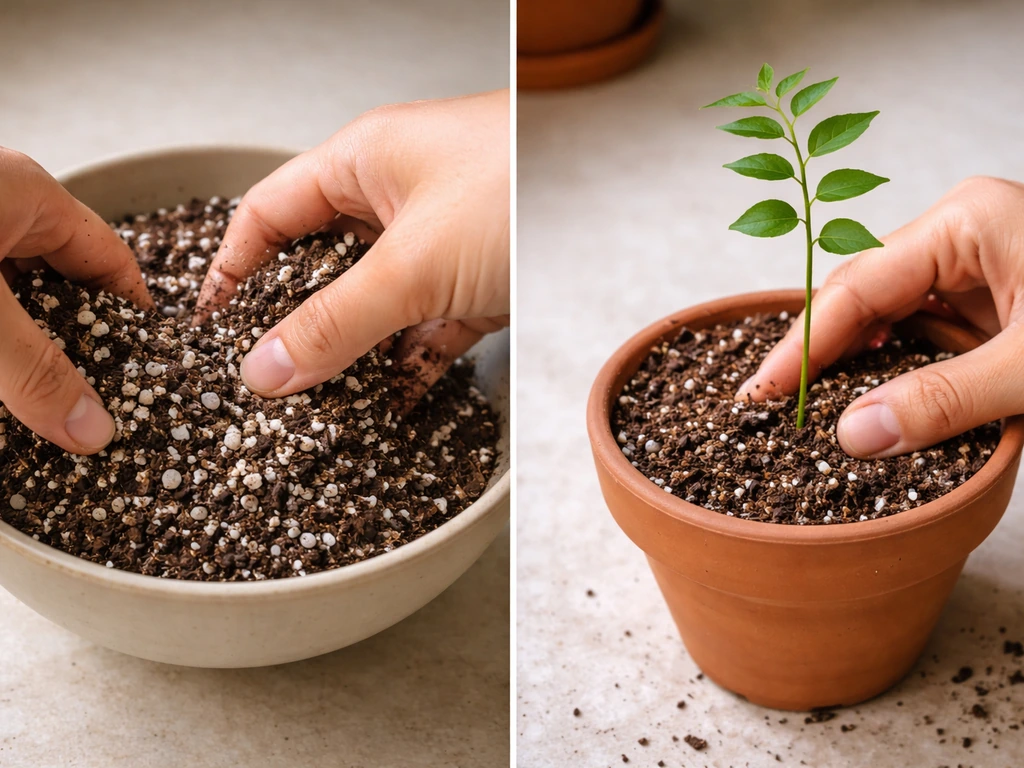
Curry leaf plants want well-draining, slightly acidic to neutral soil with a pH around 6.0 to 7.0. A ready-made potting mix from a garden center works as your base, but I strongly recommend improving it before you plant. Mix two parts regular potting mix with one part perlite or coarse sand to open up the structure and boost drainage. You can also add a small amount of compost for nutrients. Avoid dense, heavy garden soil in pots. It compacts over time and suffocates the roots.
Starting from seed
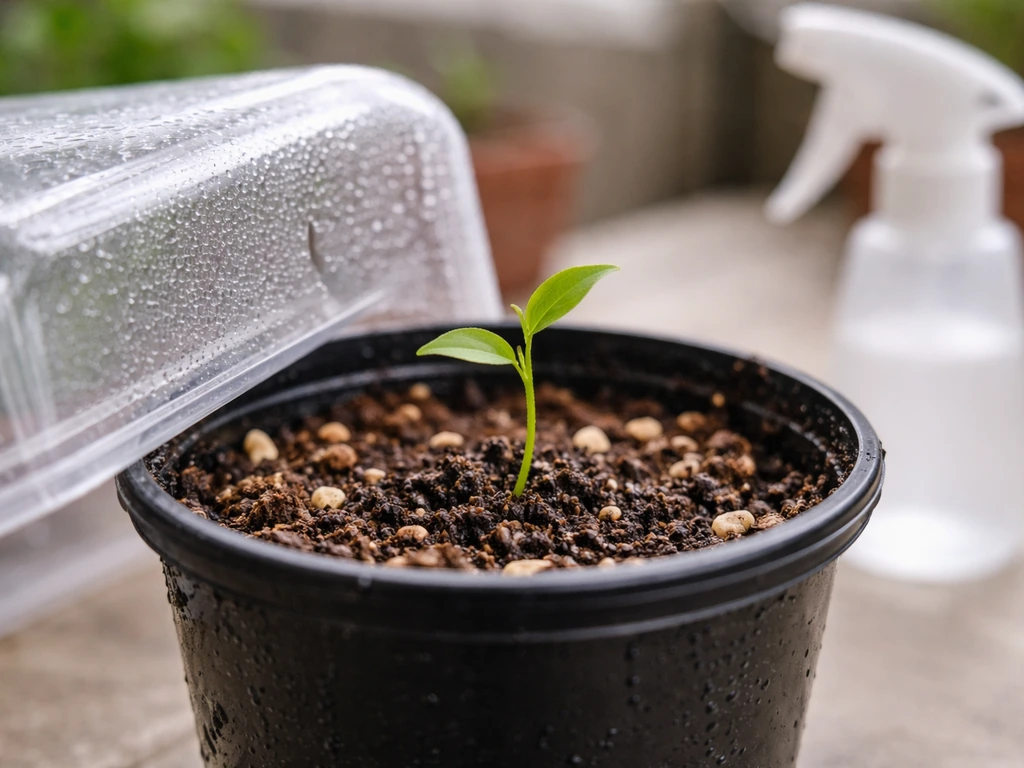
Growing from seed is possible but genuinely slow and unpredictable. According to the University of Washington's Elisabeth C. Miller Library, germination is erratic and typically takes 2 to 4 months. Remove the seed from a fresh curry leaf berry (the pulp can inhibit germination), soak it in water for 24 hours, then plant it about half an inch deep in moist seed-starting mix.
If you want to grow henna in a pot instead, use a potting mix that drains well and give it plenty of light so it can stay healthy. Keep it warm (around 75 to 85°F) and covered with plastic wrap to retain humidity. Even then, some seeds simply won't sprout. If you go this route, plant several seeds at once and celebrate if even half of them germinate.
Starting from a sapling or cutting
If you want results in a reasonable timeframe, buy a young plant from a nursery or get a stem cutting from someone who already has one. Cuttings root best in spring or early summer. Take a 4- to 6-inch semi-hardwood cutting (a stem that's not completely soft and new but not fully woody either), strip the lower leaves, dip the cut end in rooting hormone powder, and plant it in damp perlite or a seed-starting mix. Cover loosely with a plastic bag to keep humidity up and place it somewhere warm with indirect light. Roots typically develop in 4 to 6 weeks. Once you see new leaf growth, the cutting is ready to transplant into your prepared pot.
Light, temperature, and where to put the pot
Curry leaf plants need full sun, ideally 6 to 8 hours of direct sunlight per day. This is non-negotiable for healthy growth and frequent harvests. Outdoors, a south- or west-facing spot is ideal. Indoors, put the pot right next to your sunniest window, and supplement with a grow light if the plant starts looking leggy or pale. I've seen people try to grow curry leaf in a north-facing apartment with just one small window, and the plant barely survives. More sun really does mean more leaves.
Temperature-wise, curry leaf plants are happiest between 65°F and 95°F (18°C to 35°C). They slow down noticeably below 50°F and can die if they get hit by frost. If you're in a cold climate, start bringing the pot indoors when nighttime temperatures consistently drop below 50°F in autumn. Keep it in the sunniest indoor spot you have and cut back on watering since the plant's growth slows significantly in winter. Don't put it near a heating vent because the dry air will stress the plant.
How to water and fertilize curry leaf in a pot
Watering schedule
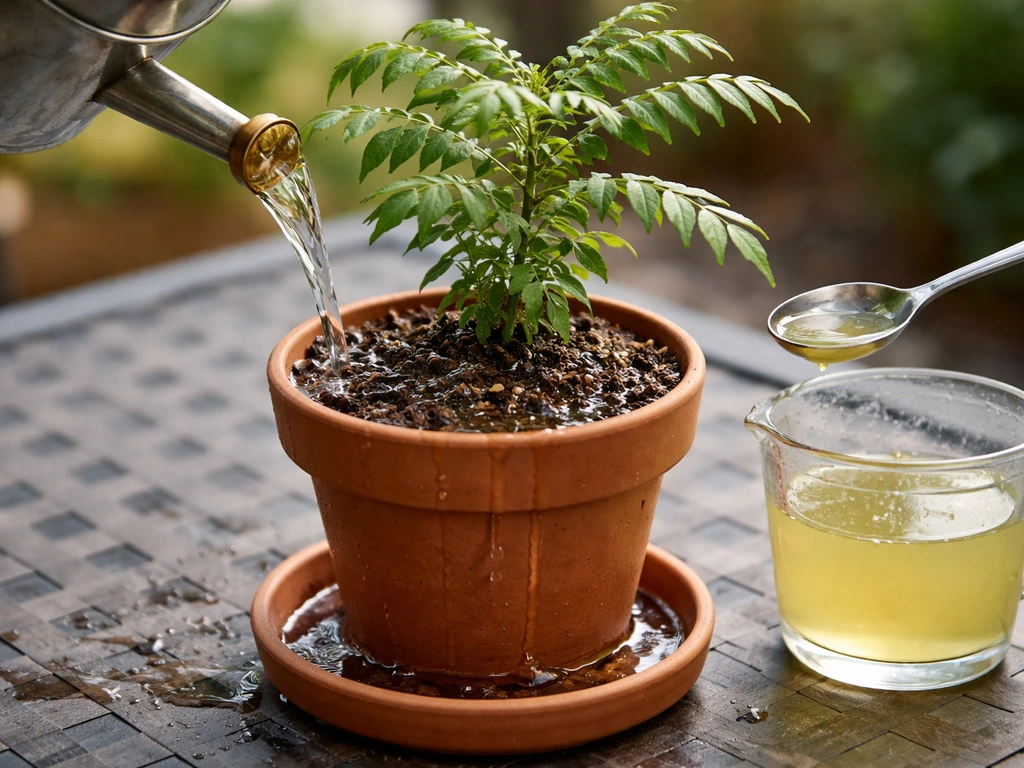
The rule I follow is simple: water thoroughly when the top inch of soil feels dry, and make sure water drains out of the bottom of the pot each time. In summer when the plant is actively growing and it's hot, this might mean watering every 2 to 3 days. In winter indoors, it might be once a week or even less. Don't water on a fixed calendar schedule. Check the soil with your finger every couple of days and respond to what you feel.
Overwatering is the most common mistake. Signs include yellowing leaves, a musty smell from the soil, and leaves dropping off while still green. Underwatering looks different: the leaves curl slightly, dry out at the tips, or drop off when they're crispy. If you're unsure which problem you have, stick your finger 2 inches into the soil. Wet and soggy means too much water. Bone dry means not enough.
Fertilizing for healthy leaf growth
Curry leaf plants in pots run out of nutrients faster than in-ground plants because watering flushes nutrients out of the container over time. During the growing season (roughly April through September), fertilize every 3 to 4 weeks with a balanced liquid fertilizer like a 10-10-10 or a diluted fish emulsion. Some growers swear by adding a small amount of iron supplement (like diluted iron chelate) a couple of times a year, as curry leaf plants can become iron-deficient in containers, which shows up as yellowing between the leaf veins. In winter, stop fertilizing almost entirely since the plant isn't actively growing and excess fertilizer can burn the roots.
A tip I find works really well: dissolve one teaspoon of Epsom salt (magnesium sulfate) in a liter of water and use it to water the plant once a month during the growing season. Magnesium supports leaf color and overall growth, and it's cheap and easy to find.
Pruning and harvesting to keep the plant bushy
Pruning is where a lot of beginners hold back, worried they'll damage the plant. Don't be shy about it. Regular pruning is actually what keeps a container curry leaf plant productive and compact. Without pruning, the plant tends to grow tall and lanky with leaves concentrated at the very top, which isn't what you want in a pot.
Start harvesting once the plant has at least 4 to 5 good branches and is established (usually 6 to 12 months after planting a sapling). Snip stems from the tip, leaving at least two sets of leaves on each branch. This signals the plant to branch out sideways rather than just growing upward, which over time gives you a much fuller, bushier plant with more harvesting points. You can harvest a few stems every 4 to 6 weeks during the growing season.
Once a year, usually in early spring before new growth kicks in, do a harder cutback: trim the plant back by about one-third of its total height. This rejuvenates it and encourages a flush of new, fresh growth. If the plant has grown very large for its pot, this is also a good time to either repot into a slightly larger container or root-prune (trim the outer roots and refresh the soil) to keep it manageable.
Troubleshooting common problems
| Problem | Likely cause | Quick fix |
|---|---|---|
| Yellow leaves all over the plant | Overwatering, poor drainage, or iron deficiency | Check soil moisture; if waterlogged, let it dry out. Add iron supplement if veins stay green but leaves yellow. |
| Leaves dropping off suddenly | Cold shock, overwatering, or underwatering | Move the plant somewhere warmer; adjust your watering based on soil moisture test. |
| Leggy stems with few leaves | Not enough sunlight | Move to a sunnier spot or add a grow light directly above the plant. |
| Brown leaf tips | Low humidity or underwatering | Mist leaves lightly in dry indoor conditions; water more consistently. |
| White cottony patches on stems | Mealybugs | Dab with rubbing alcohol on a cotton swab or spray with diluted neem oil solution. |
| Tiny moving dots on leaves | Spider mites (common indoors in dry air) | Spray leaves with water forcefully; apply neem oil spray every 5 to 7 days until resolved. |
| Slow or no growth in winter | Normal dormancy, especially indoors | Reduce watering, stop fertilizing, and wait for spring. Resume care as temperatures rise. |
Protecting the plant through winter
When you move the plant indoors for winter, expect some leaf drop. This is normal and not a sign the plant is dying. It's adjusting to lower light and different humidity levels. Keep it near the brightest window, mist it occasionally if your home is very dry, and water sparingly. Most plants bounce back strongly in spring when you move them back outside. Don't rush to fertilize or prune during this period. Just keep it alive and let it rest.
Quick recap for getting started today
- Choose a 12- to 18-inch terracotta or plastic pot with multiple drainage holes.
- Fill with a mix of two parts potting mix and one part perlite or coarse sand.
- Plant a sapling or rooted cutting for the fastest results; seeds can take 2 to 4 months just to germinate.
- Place the pot in the sunniest spot you have, ideally outdoors in summer with 6 to 8 hours of direct sun.
- Water when the top inch of soil feels dry; drain fully every time.
- Fertilize every 3 to 4 weeks during the growing season with a balanced liquid fertilizer.
- Harvest regularly by snipping stem tips to encourage bushy growth.
- Bring the pot indoors before the first frost and reduce watering through winter.
Growing curry leaf in a pot takes a little patience at the start, but once the plant is established and you're pruning and harvesting regularly, it becomes one of the most rewarding herbs you can grow at home. If you also want to explore a more tropical leaf option, the process of growing bay leaves in a pot is a helpful related comparison how to grow bay leaves in a pot.
If you want to try a different fragrant tree in a container, learn how to grow neem plant in pot with the right sun, soil, and watering routine Growing curry leaf in a pot. If you want to boost your results, follow a dedicated elaichi-in-a-pot approach for light, warmth, and watering how to grow elaichi in pot.
Edelweiss can be grown in a pot too, but it needs a very well-draining, gritty mix and cooler, brighter conditions than most indoor herbs grow edelweiss in a pot. Elephant ears can also be grown in a pot, but they need warm temperatures, consistent moisture, and the right container size to thrive how to grow elephant ears in a pot.
If you enjoy growing aromatic and culinary plants in containers, you might also want to explore growing bay leaves or a betel leaf plant in a pot, both of which share similar warm-weather care needs and thrive in the container setup described above.
FAQ
How do I tell if my curry leaf plant is root-bound in its pot?
Check roots at the drainage holes and topsoil. If roots circle the inside or appear heavily through the holes, growth will slow and leaves may yellow even with correct feeding. Repot to a size up (about 2 to 3 inches wider) in early spring, and trim only a small portion of the outer roots if needed.
Can I grow curry leaf from the store-bought dried curry leaves I buy for cooking?
Usually no. Dried leaves are not viable seeds, and even fresh leaves from cooking are typically not prepared for germination. To grow from seed, use the actual berry from a living plant (the fresh pulp has to be handled carefully because it can inhibit sprouting).
Why is my curry leaf plant dropping leaves indoors even when I water correctly?
Leaf drop commonly happens from the light and humidity shift when moving indoors, not just watering. Place the pot right at the brightest window you have, consider a grow light if you see pale or stretched growth, and reduce watering slightly because cooler indoor conditions slow uptake.
What should I do if the leaves turn yellow but the soil is not soggy?
First check iron-related yellowing patterns. If the yellowing shows between the leaf veins while veins stay greener, it can be an iron deficiency common in containers, so adjust fertilizing (more regular during the growing season) and consider a properly diluted iron chelate rather than increasing water or adding heavy compost.
Is it better to prune heavily or harvest lightly to keep a curry leaf plant productive in a pot?
For most container plants, frequent light harvesting from the tips is better than letting it grow tall and then doing one big cut. Keep doing tip snips once it is well branched, and schedule the one-third height cutback in early spring. This combination maintains bushiness and reduces stress.
How do I prevent fertilizer burn or salt buildup in a container?
Avoid fertilizing during winter rest, and do not exceed dilution rates for liquid fertilizers. Every few weeks during the growing season, do a “flush” watering by running water through the pot until it drains freely, then empty the saucer, this helps move excess salts out of the root zone.
Should I keep the curry leaf plant in a saucer of water so it stays moist?
No. A saucer can trap water and keep the root zone too wet, especially in cool indoor temperatures. Instead, water thoroughly until it drains, then discard any runoff. Let the top inch of soil dry before the next watering.
Can I grow curry leaf indoors year-round, or do I need to move it outside?
You can, but it often performs much slower without strong light. If you keep it indoors, aim for consistent warm temperatures (avoid cold drafts), place it in the sunniest spot you have, and use a grow light to mimic 6 to 8 hours of direct sun. Moving outdoors in warm months can improve vigor and leaf production.
What pests should I watch for on potted curry leaf plants?
Common container issues include spider mites and scale, especially when indoor air is dry. Look closely on the undersides of leaves and along stems. If you catch them early, rinse the plant and treat promptly, because infestations can flare when humidity drops in winter.
How often should I repot, and do I need to refresh the soil even if the plant seems fine?
Repot about once every 1 to 2 years or when drainage declines, the plant becomes crowded, or you see a salt crust on the soil surface. If you do not repot, at least top-dress by removing a small amount of the top layer and replacing it with fresh draining mix in early spring.