Yes, chrysanthemums grow really well in pots, and they're one of the more rewarding container flowers you can grow at home. Dipladenia also grows well in containers, so match its warm, sunny needs and consistent watering for best results how to grow dipladenia in pots. You get bold, long-lasting blooms in almost any color, and you can move them around to catch the best light or bring them indoors before a frost. The key things you need to get right are pot size, drainage, consistent watering, and a bit of pinching early in the season to shape the plant and maximize flowers. Get those basics down and you'll have a plant that puts on a genuinely impressive show. Callaloo is also well-suited to container gardening, as long as you keep the pot warm, water regularly, and give it rich compost.
How to Grow Chrysanthemums in Pots: Step-by-Step Guide
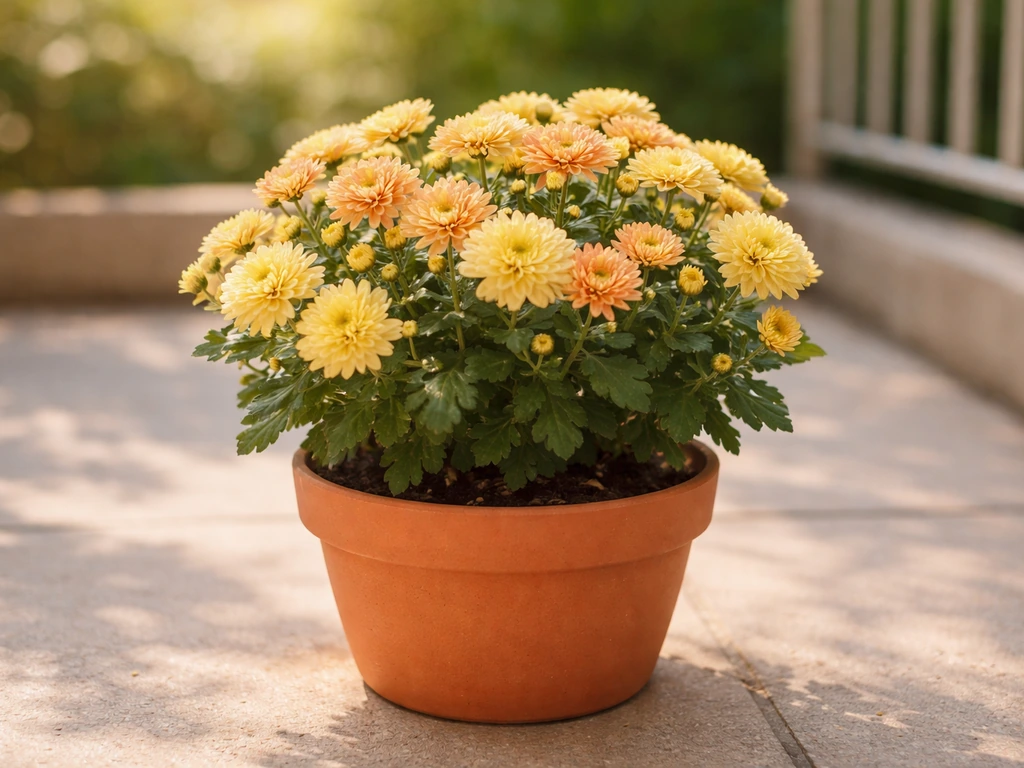
Do chrysanthemums actually do well in pots?
They do, with a few caveats worth knowing upfront. Chrysanthemums are naturally compact, bushy plants that don't have enormous root systems, which makes them well-suited to container life. They thrive when they get full sun, consistent moisture, and regular feeding, and a pot actually makes all three of those easier to control than a garden bed. The main limitation is that a pot dries out faster than the ground and exposes roots to more temperature swings, so you can't just plant them and walk away. But if you're willing to check in on them a few times a week, they're genuinely one of the easier flowering plants to grow in containers.
One thing that surprises a lot of beginners is that chrysanthemums are short-day plants, meaning they set flower buds when the nights get longer in late summer and autumn. This is great news for container growers because you don't have to do much to trigger flowering, the season does it for you. Your job is mostly to keep the plant healthy and well-shaped through spring and summer so it's ready to perform when the days start to shorten.
Picking the right pot and setting it up properly
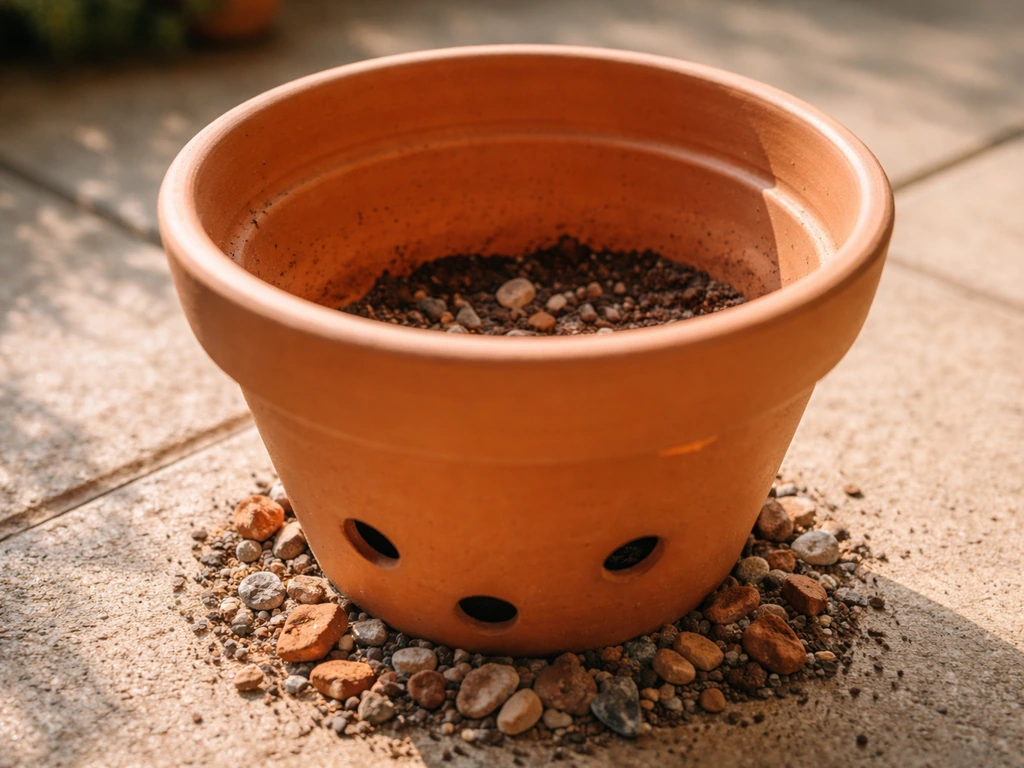
Pot size matters more than most people expect. Go too small and the roots get cramped, the compost dries out in a few hours, and the plant stresses out before it even has a chance to establish. The Royal Horticultural Society recommends a minimum container diameter of 30 cm (about 12 inches), and that's genuinely the smallest I'd bother with for a single plant. For a fuller display or if you want to plant two or three mums together, go up to 40 or 45 cm. Bigger pots hold more moisture and give the roots room to develop, which translates directly to better flowering.
For material, terracotta looks great with chrysanthemums but dries out quickly, which means more watering in warm weather. Plastic and resin pots hold moisture longer and are lighter to move around, which is a real advantage if you're growing on a balcony or need to bring the pot inside in winter. Whichever you choose, drainage holes are non-negotiable. Chrysanthemums are extremely sensitive to waterlogged roots and will rot fast in a pot that doesn't drain freely. If your pot has just one small hole, consider drilling a couple more. Raise the pot slightly off the ground using pot feet or a couple of bricks so water can actually escape.
Soil, compost, and planting basics
Don't use garden soil in a pot. It compacts, drains poorly, and often carries pests and diseases. Instead, use a good-quality peat-free compost. John Innes No. 2 is a reliable choice that the RHS specifically recommends for container chrysanthemums. It's a loam-based mix that holds nutrients well and doesn't shrink away from the pot sides the way some lighter composts do. If you want to improve drainage even further, mix in about 20 to 25 percent perlite or coarse grit by volume. This is especially worth doing if you tend to be a heavy waterer or if your pot is in a spot that doesn't dry out quickly.
Timing your planting makes a real difference. The ideal window is early spring, after the last frost has passed. You want the plant to have at least six weeks to establish its root system before either a summer heat wave or an autumn cold snap arrives. If you're buying nursery plants in autumn that are already in bud or bloom, you can still pot them up, but understand that they won't have time to establish before winter, so treat them more as a one-season display rather than a perennial investment.
When you plant, set each chrysanthemum at the same depth it was growing in its nursery pot. If you're planting more than one in a large container, space them 30 to 45 cm (12 to 18 inches) apart, following the RHS spacing guidance. Water in thoroughly after planting so the compost settles around the roots and any air pockets collapse.
Sun, water, and feeding: the everyday care schedule
Sunlight
Put your pot in the sunniest spot you have. Chrysanthemums genuinely want full sun, meaning at least six hours of direct sunlight per day. More is better. A warm, sheltered spot (like against a south-facing wall) is ideal because it protects the plant from wind and keeps temperatures a bit warmer, which encourages better growth. If you're growing on a shaded balcony or under a pergola, you'll get leggy stems, fewer buds, and much more disease pressure. The difference between a plant in full sun and one in part shade is dramatic.
Watering
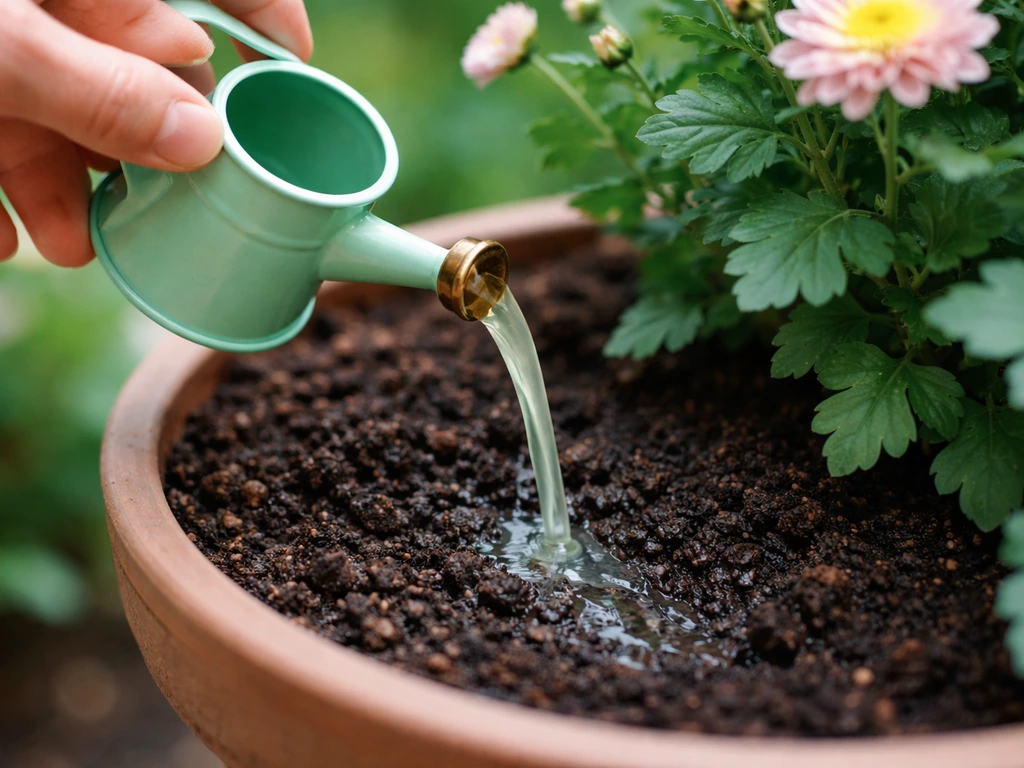
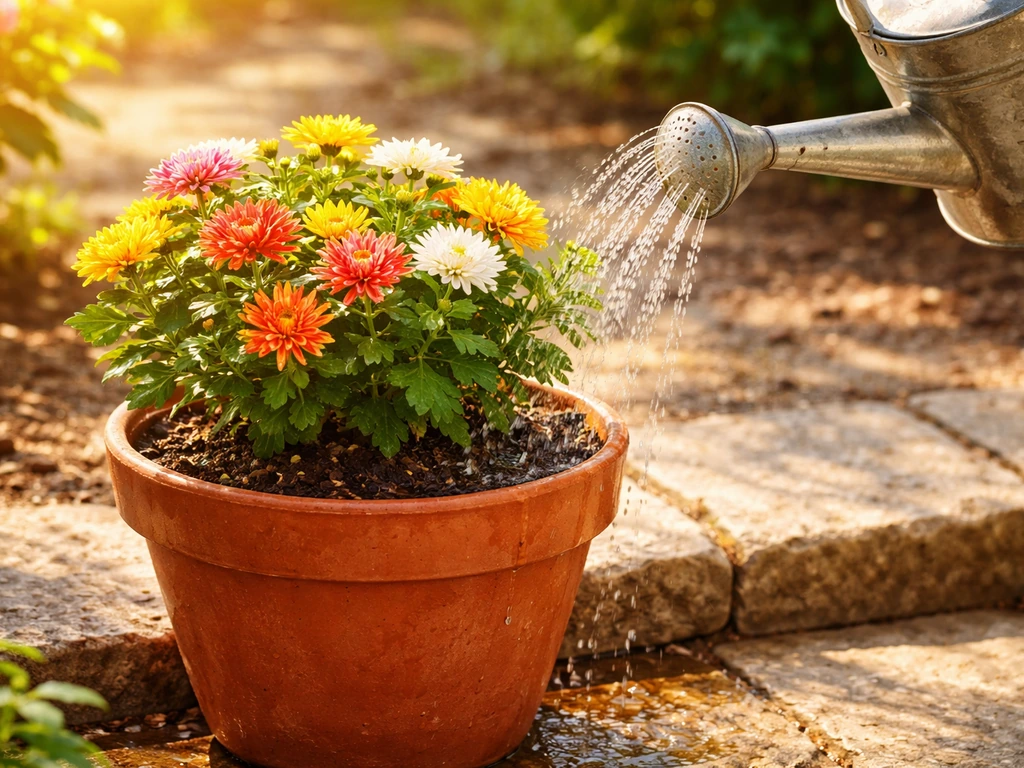
The watering rule with chrysanthemums is simple: keep the compost consistently moist but never waterlogged. In a similar way, you can keep colocasia thriving in pots by monitoring moisture closely and ensuring good drainage never waterlogged. In practice, that usually means watering every two to three days in warm weather, and daily during a hot spell if your pot is in full sun. Push your finger about an inch into the compost. If it feels dry at that depth, water thoroughly until water runs freely from the drainage holes. If it still feels moist, wait another day. In cooler autumn weather, you can stretch the interval to every three or four days. The worst thing you can do is let the pot dry out completely, which stresses the plant and can cause bud drop, but overwatering is equally damaging. Always water at the base of the plant rather than overhead to keep the foliage dry, which helps prevent fungal disease. If you also want a trailing, colorful option that works well in containers, you can compare this with how to grow calibrachoa in pots for similar pot-care fundamentals like light and watering water at the base.
Feeding
Container compost runs out of nutrients faster than garden soil, so feeding is essential if you want good flowers. From spring through midsummer, feed every one to two weeks with a balanced liquid fertilizer (one with roughly equal nitrogen, phosphorus, and potassium, like a 10-10-10 formula). This supports leafy growth and a strong stem structure. About six to eight weeks before you expect flowering (typically late summer), switch to a high-potassium fertilizer, the kind used for tomatoes and other fruiting plants. Potassium encourages bud formation and better flower color. Stop feeding once the plant is in full bloom.
Pinching, shaping, and getting more flowers
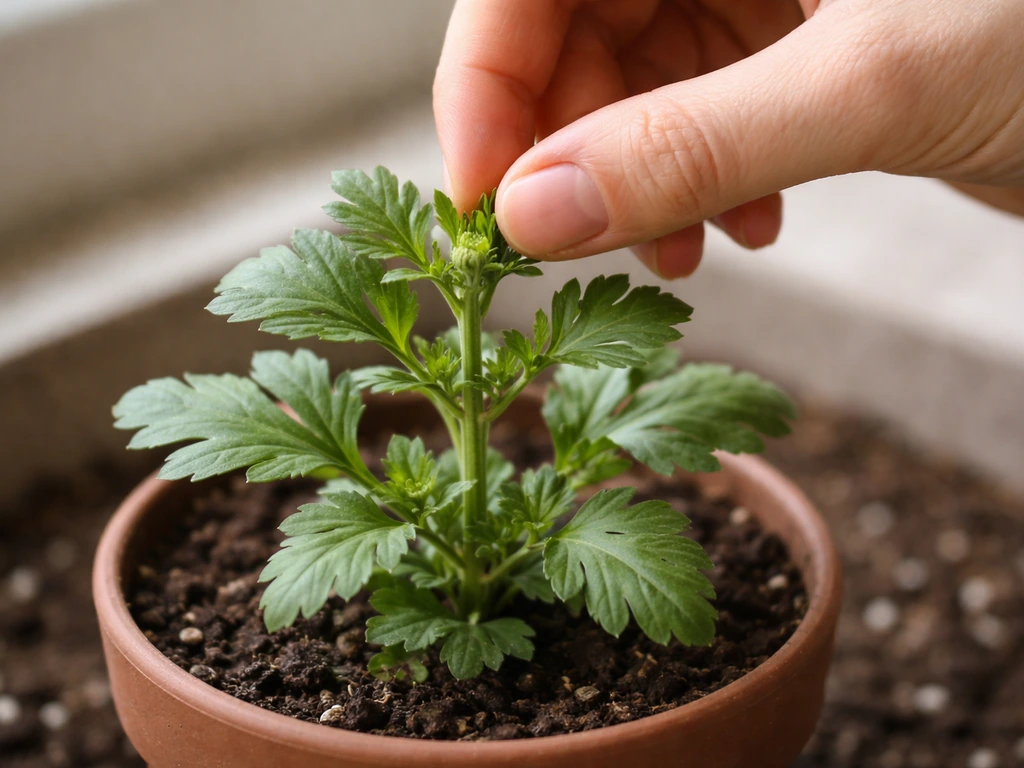
Pinching is the single most effective thing you can do to turn a scraggly young mum into a full, bushy plant covered in flowers. It sounds counterintuitive because you're removing growth, but it works. When your plant reaches about 15 cm (6 inches) tall in spring, use your fingers or clean scissors to remove the top 2 to 3 cm of each stem, just above a set of leaves. This forces the plant to branch out rather than grow straight up. Each pinched stem produces two or more new shoots, and each of those shoots will eventually carry flower buds.
Repeat this pinching process every three to four weeks until around midsummer, roughly late June or early July in the Northern Hemisphere. After that, stop pinching so the plant has time to mature those shoots and set buds before the days shorten in late summer. If you keep pinching after midsummer, you risk delaying flowering until after the first autumn frost, which would cut the display short.
If you want very large individual blooms rather than masses of smaller flowers, you can practice disbudding. This means removing all the small side buds from each stem and leaving only the central terminal bud to develop. This is the approach used for exhibition-style spray chrysanthemums and gives you fewer but dramatically larger flowers. For a general garden display, most people skip this and enjoy the natural multi-flower look.
As mentioned, chrysanthemums are short-day plants. Bud initiation happens naturally when night length exceeds a critical threshold, which varies by cultivar but generally begins to trigger in late summer. You don't need to do anything to make this happen outdoors. However, be aware that if your pot is near a bright outdoor light that stays on through the night (a patio light, a street lamp), it can disrupt the plant's perception of daylength and delay or prevent flowering. Move the pot away from artificial nighttime light if this is a concern.
Pests, diseases, and fixing common container problems
The good news is that chrysanthemums in containers are relatively trouble-free when you give them the right conditions. Most problems come down to poor airflow, wet foliage, or stressed plants. Here's what to watch for and what to do about it.
Fungal leaf spots
The most common disease issue in container chrysanthemums is fungal leaf spotting, caused by organisms like Septoria, Alternaria, and Cercospora. These appear as brown or yellow spots on the leaves, often spreading upward from the base of the plant. They're encouraged by prolonged leaf wetness and humid, still air. The fix is mostly cultural: water at the base (never overhead), space plants so air can circulate, remove and dispose of affected leaves promptly, and clean up fallen debris around the pot. In severe cases, a copper-based fungicide applied according to the label can help prevent spread, but good airflow and dry foliage are your first line of defense.
Powdery mildew
Powdery mildew shows up as a white or grey powdery coating on leaves and stems. It's worst in shaded spots with poor air circulation and can reduce growth and flowering when severe. Moving your pot to a sunnier, more open position is often enough to stop it in its tracks. Fungicides won't cure existing infection but can protect healthy growth from spreading infection, which makes them worth considering only if the plant is heavily affected and you're trying to save it for overwintering.
Common pests
- Aphids: Soft-bodied green or black insects clustered on new growth and buds. Knock them off with a strong spray of water, or use an insecticidal soap spray.
- Earwigs: These chew ragged holes in petals, usually at night. Trap them by leaving a rolled-up damp newspaper near the pot overnight, then dispose of it in the morning.
- Fourlined plant bug: Causes sunken dark spots in a pattern across the leaves. Remove by hand if numbers are low; insecticidal soap can help.
- Vine weevil: The adult notches leaf edges, but the grub in the compost does the real damage by eating roots. If a plant wilts despite adequate watering, check for white grubs in the root zone. Biological controls (nematodes) work well in container compost.
Yellowing leaves and bud drop
Yellowing lower leaves are often a sign of overwatering or waterlogged compost. Check that drainage holes are clear and let the pot dry out a little before watering again. Bud drop, where buds form but fall off before opening, is usually caused by a sudden change in conditions, such as a sharp temperature drop, a dry spell during bud development, or moving the pot from outdoors to indoors suddenly. Try to keep conditions stable once buds are visible.
Seasonal care and getting through winter
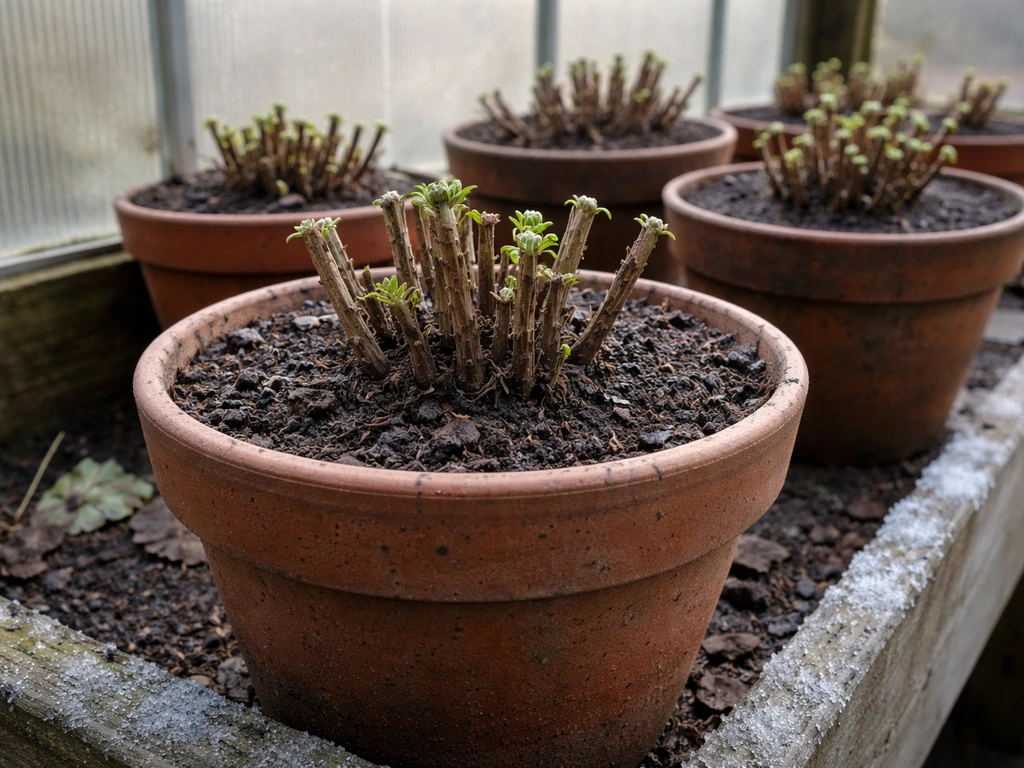
Once your chrysanthemums finish flowering in autumn, cut the stems back to about 20 cm (8 inches) above the compost. This is sometimes called creating a "stool," the short woody base from which new growth will emerge next spring. Clear away any dead foliage and debris from around the pot to reduce disease risk.
Overwintering is where container chrysanthemums are more vulnerable than garden-grown ones. In the ground, roots are insulated by a large volume of soil. In a pot, roots are much closer to the cold air and can freeze through in a hard winter even if the same plant variety would survive in the ground. A general rule recommended by Penn State Extension is to treat container plants as if they're two USDA hardiness zones more tender than you are. So if you're in Zone 7, protect them as if they were Zone 5 plants.
You have a few practical options for getting them through winter. The easiest if you have space is to move the pot into an unheated but frost-free space, like a garage, a garden shed, or a cold frame. You want somewhere that stays above freezing but cool, not a warm heated room. Check the compost every few weeks and water very lightly if it's completely dry, but don't overwater during dormancy as this encourages root rot. Resume normal watering when you bring the pot back outside in spring.
If you don't have indoor space, you can bury the pot up to its rim in the ground in a sheltered spot and pile mulch or straw around and over it. The surrounding soil acts as insulation and buffers the roots from the worst of the cold. Alternatively, cluster several pots together and wrap them in bubble wrap or horticultural fleece, which traps some warmth around the root zone. Larger pots provide more natural insulation than small ones, which is another reason to go bigger when you first plant up.
In spring, once the risk of hard frost has passed and you start to see new shoots emerging from the base, bring the pot back to its sunny spot and resume watering and feeding. The plant will grow away again and you can start the pinching cycle fresh. Many container-grown chrysanthemums will carry on like this for several years if you look after them through winter, giving you a repeat display each autumn without having to buy new plants every season.
A quick-reference care summary
| Care aspect | What to do | When |
|---|---|---|
| Pot size | Minimum 30 cm (12 in) diameter with drainage holes | At planting |
| Compost | Peat-free John Innes No. 2, mixed with perlite for extra drainage | At planting |
| Planting time | Early spring after last frost, at least 6 weeks before heat or cold extremes | Spring |
| Sunlight | Full sun, minimum 6 hours per day, warm sheltered spot | Year-round |
| Watering | Keep moist but not waterlogged; water at the base, not overhead | Every 2–3 days in warm weather |
| Feeding (spring to midsummer) | Balanced liquid fertilizer every 1–2 weeks | Spring to midsummer |
| Feeding (late summer) | Switch to high-potassium fertilizer to encourage buds | 6–8 weeks before expected bloom |
| Pinching | Remove top 2–3 cm of each stem when plant reaches 15 cm tall; repeat every 3–4 weeks | Spring to early July |
| After flowering | Cut stems back to 20 cm, remove dead foliage | Autumn |
| Overwintering | Move to unheated shelter, water sparingly, or bury pot in ground with mulch | Late autumn to early spring |
If you enjoy growing compact flowering plants in containers, chrysanthemums fit naturally alongside other great pot performers. Plants like calibrachoa and portulaca are brilliant for summer color in pots, while caladiums and coleus shine in shadier spots. Coleus can also be grown successfully in pots, as long as you give it bright, indirect light, consistently moist compost, and pinch back for a bushier shape. Chrysanthemums fill the gap those plants leave as autumn arrives, giving you color right through to the first frosts when most summer flowers have long finished. That seasonal handoff is one of the things I love most about planning a container garden. If you want another low-maintenance option for sunny containers, learn how to grow portulaca in pots for colorful, drought-tolerant blooms.
FAQ
How many chrysanthemums can you grow in one pot without them competing too much?
For the best results, plan on one plant per 30 cm pot, or two plants if the pot is 40 to 45 cm and you can maintain spacing and airflow. If you crowd them, the compost dries unevenly and leaf-spotting and powdery mildew become more likely.
What pot type is safest if I tend to overwater or forget to check moisture frequently?
Choose a larger plastic or resin pot with drainage holes and use a compost mix that includes about 20 to 25% perlite or coarse grit. Larger volume holds moisture more evenly, and extra drainage capacity reduces the chance of waterlogged roots, which is the main rot trigger.
My mum is growing tall but making few buds. What should I check first?
First confirm full sun, at least six hours of direct light, because shade delays bud development and increases leggy growth. Then check pinching timing, stop around midsummer so the plant can mature buds, and make sure feeding switches to a high-potassium formula about 6 to 8 weeks before you expect flowers.
Can I grow chrysanthemums from seed in pots the same way as store-bought plants?
You can, but potted autumn displays are usually easier with nursery transplants because flowering timing depends on cultivar and night-length sensitivity. Seed-grown plants may also be less predictable in size and bloom habit, so expect more variation than with bought plants.
Do chrysanthemums in pots need deadheading to keep blooming?
Deadheading is optional for chrysanthemums in containers, since the main show comes from new buds later in the season. If you remove spent blooms, do it gently and avoid damaging surrounding buds, and always keep foliage as dry as possible to reduce fungal leaf spotting.
Why do my buds drop after I bring the pot inside, or after a weather change?
Bud drop often happens when conditions shift suddenly, like a cooler room, a hotter window, or a drier draft. Once buds are visible, avoid moving the plant frequently and keep soil moisture steady, water at the base, and avoid letting the compost fully dry out.
How do I prevent leaf spot and powdery mildew in a pot?
Use airflow and leaf hygiene as your baseline. Water only at the base, remove yellowing or spotted leaves promptly, and clear fallen debris around the pot. If mildew shows up, improving sun and ventilation helps most, and fungicide is best treated as a support to prevent spread, not a cure.
Is it okay to feed my chrysanthemum right up until the first flowers open?
Feed up to the start of bloom, then stop once it is in full flower. Keeping high-nitrogen feeding too late can encourage more leafy growth at the expense of bud quality, and it can also make the plant more vulnerable when airflow is limited in a pot.
What’s the safest overwintering method if I only have a balcony?
Cluster pots together for insulation, then wrap them with horticultural fleece or bubble wrap around the pot sides and top mulch or straw to buffer temperature swings. In a hard freeze, burying the pot up to the rim outdoors in a sheltered spot is even more protective, but only if drainage is reliable.
How can I tell if my compost is drying too fast in the pot?
Do a finger test 2 to 3 cm down. If it feels dry there sooner than every day during hot weather, the pot or compost may be too small or too fast-draining. Moving to a slightly more sheltered full-sun position and using a bigger container often fixes rapid drying better than changing watering frequency alone.
Should I repot my chrysanthemum each spring, or can I keep it in the same soil?
If the plant is healthy and your pot still has plenty of room, you can reuse the container, but refresh the compost. In spring, scrape off the top layer and replace with fresh peat-free compost, then resume feeding gradually, because container nutrients are depleted after a season of blooms.