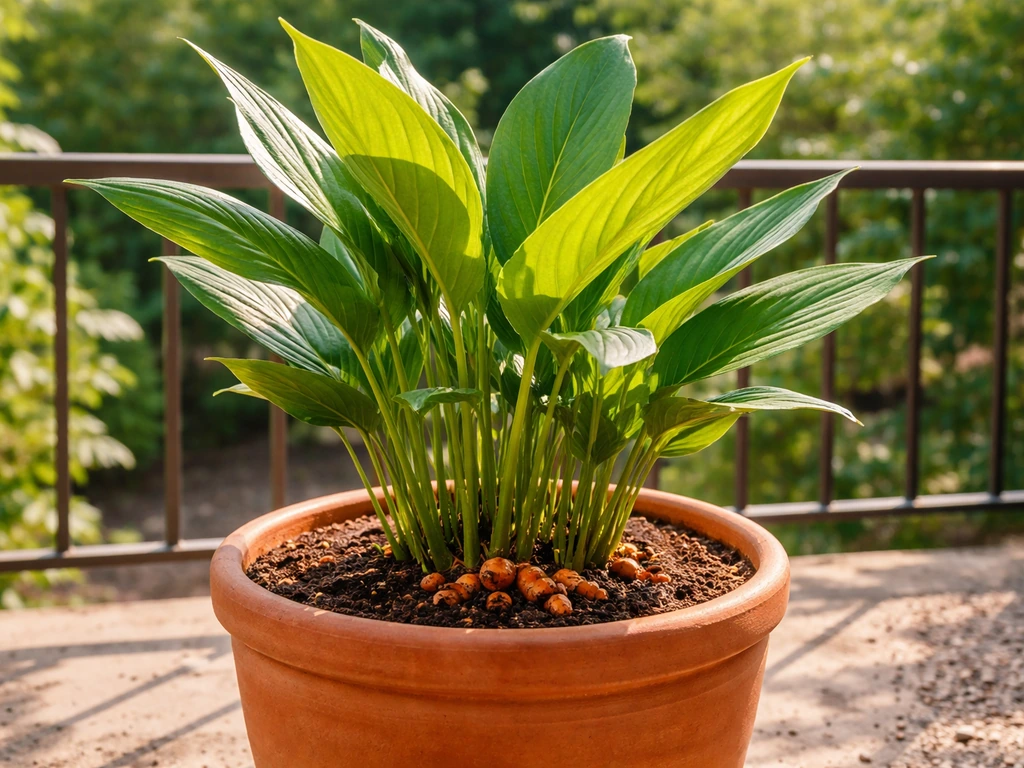
You can absolutely grow cardamom in a pot, indoors or outdoors, as long as you nail three things: a deep, well-draining container, high humidity, and warm temperatures. It won't be a fast harvest, expect to wait two to three years before pods appear, but as a lush, fragrant tropical houseplant that occasionally rewards you with spice, it's genuinely worth the effort.
How to Grow Cardamom in a Pot: Step-by-Step Guide

Marcus Whitley
1 May 2026
Best pot and location for container cardamom
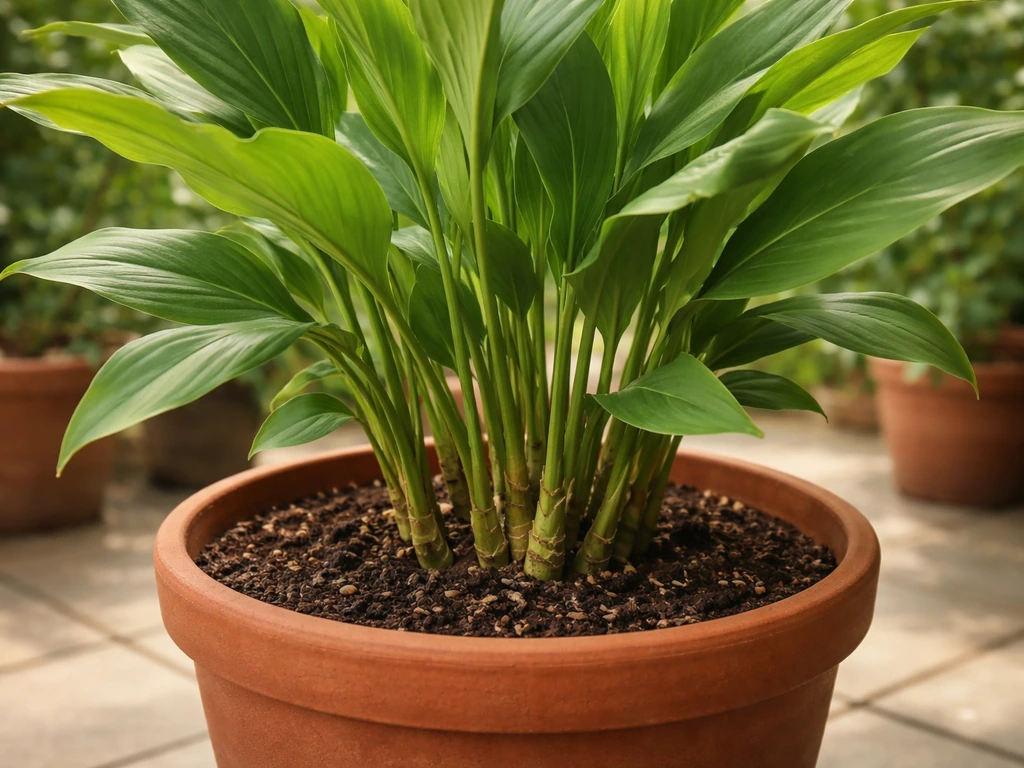
Start with a pot that's at least 10 inches deep and wide, cardamom develops a spreading rhizome system and needs room to send up new shoots (called tillers). A 12–14 inch pot gives it even more room to grow, which matters because more tillers eventually means more flower stems. Whatever container you choose, drainage holes are non-negotiable. Soggy roots will rot a cardamom plant faster than almost anything else. If your pot doesn't drain freely within about 15 minutes of watering, it's the wrong pot.
Material-wise, plastic or glazed ceramic pots retain moisture better than terracotta, which can be useful since cardamom likes consistent moisture. That said, if you're growing indoors in a lower-light room where the soil stays wet longer, terracotta's breathability helps prevent rot. One practical trick: sit a plastic nursery pot inside a decorative terracotta outer pot but don't let the base sit in standing water. If you use a foil wrapper or decorative sleeve, pierce the bottom so water can escape, trapped moisture at the base is a silent killer.
For location, cardamom is a rainforest understory plant, which means it evolved under a canopy with filtered light. Outdoors, a spot with bright shade or dappled light is ideal, think morning sun and afternoon shade. Indoors, place it near a bright window (north or east-facing works well) but away from harsh direct afternoon sun through glass, which can scorch the leaves. Cardamom needs warmth above everything else. Keep it away from drafty windows, air conditioning vents, and any spot that regularly drops below 65°F. It dies back to the ground at 50°F and won't flower the following season if it experiences that kind of cold shock.
Soil mix and potting steps
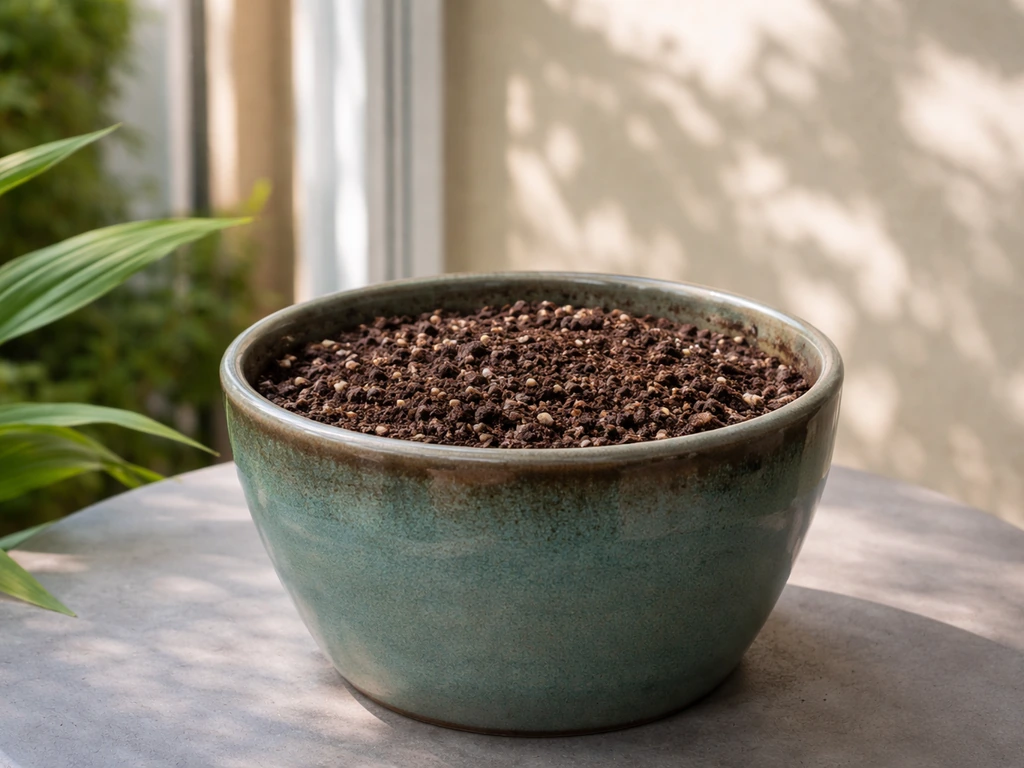
Cardamom wants soil that drains well but holds onto enough moisture to stay consistently damp, not wet, not bone dry. A sandy-loamy mix amended with organic matter hits that balance perfectly. I use a mix of about 40% quality potting soil, 30% perlite or coarse sand for drainage, and 30% well-rotted compost or aged manure for nutrients and moisture retention. Avoid heavy garden soil straight from the ground, it compacts badly in containers and suffocates roots.
Here's how to pot it up. First, cover the drainage holes with a small piece of mesh or a coffee filter so soil doesn't wash out. Add a couple of inches of your mix to the bottom, then position the rhizome or seedling, backfill, and firm gently. If you're planting a rhizome, it should sit about 5–7 cm (roughly 2–3 inches) deep with the buds facing upward. Water it in thoroughly, let the excess drain completely, and then put it in its spot. Don't water again until the top 2–3 cm of soil feel dry to the touch.
How to start cardamom in a pot: seed vs rhizome
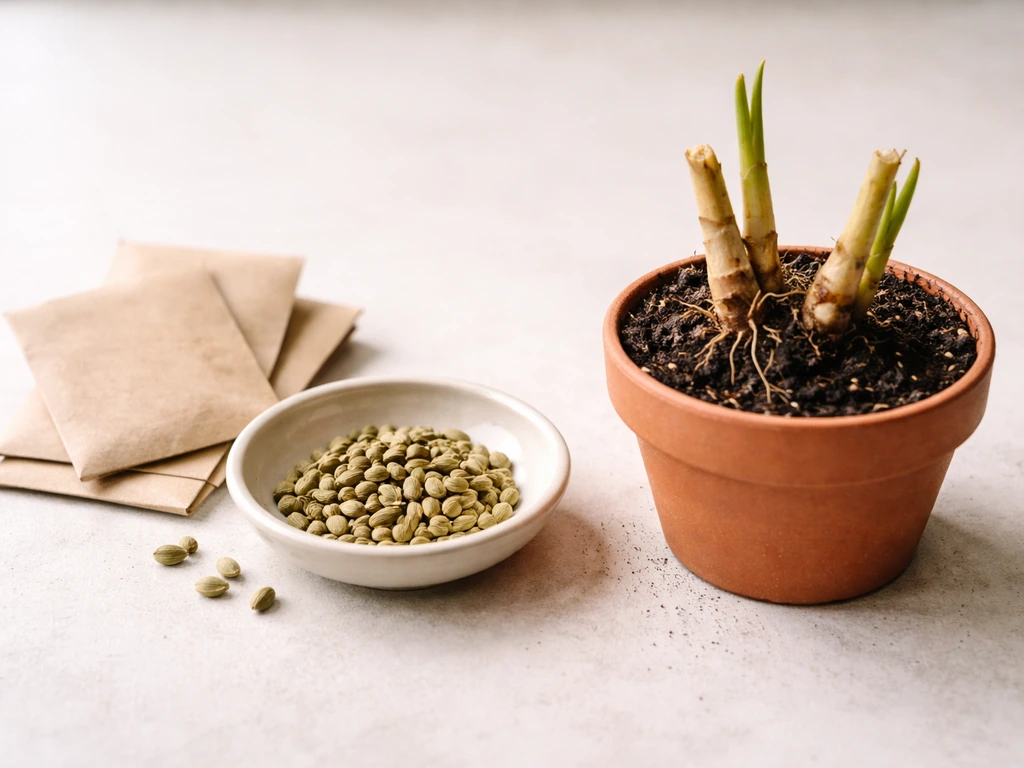
You have two options for starting cardamom, seeds or rhizome divisions, and they're not equally practical. Rhizomes (or divisions from an established plant) are faster and more reliable. A healthy rhizome division will typically establish within weeks and can be a producing plant in about two years. Seeds work too, but they come with a catch: blank" rel="noopener noreferrer">cardamom seeds lose viability extremely fast. You need to sow them within about 15 days of harvest or they simply won't germinate. If you're buying seeds from a packet that's been sitting in a shop for months, your germination rate will be poor. Fresh seeds from a known source are the only ones worth trying.
For rhizomes, source them from a reputable nursery or an established plant. Look for a section with at least one or two visible buds (they look like small green nubs). Plant horizontally, buds facing up, about 5–7 cm deep as described above. Keep the soil consistently moist and warm (at least 70°F) and you should see new shoots within four to six weeks. For seeds, sow them about 1 cm deep in a moist, warm seed-starting mix, keep them at 75–85°F, and be patient, germination can take three to six weeks even under ideal conditions.
| Method | Time to establish | Ease for beginners | Best for |
|---|---|---|---|
| Rhizome division | 4–6 weeks to sprout | High — straightforward | Anyone wanting reliable results |
| Fresh seeds (within 15 days of harvest) | 3–6 weeks to germinate | Medium — needs warmth and timing | Those with access to fresh seed sources |
| Old/packaged seeds | Unreliable, often fails | Low — high failure rate | Not recommended |
Light, watering, and humidity care
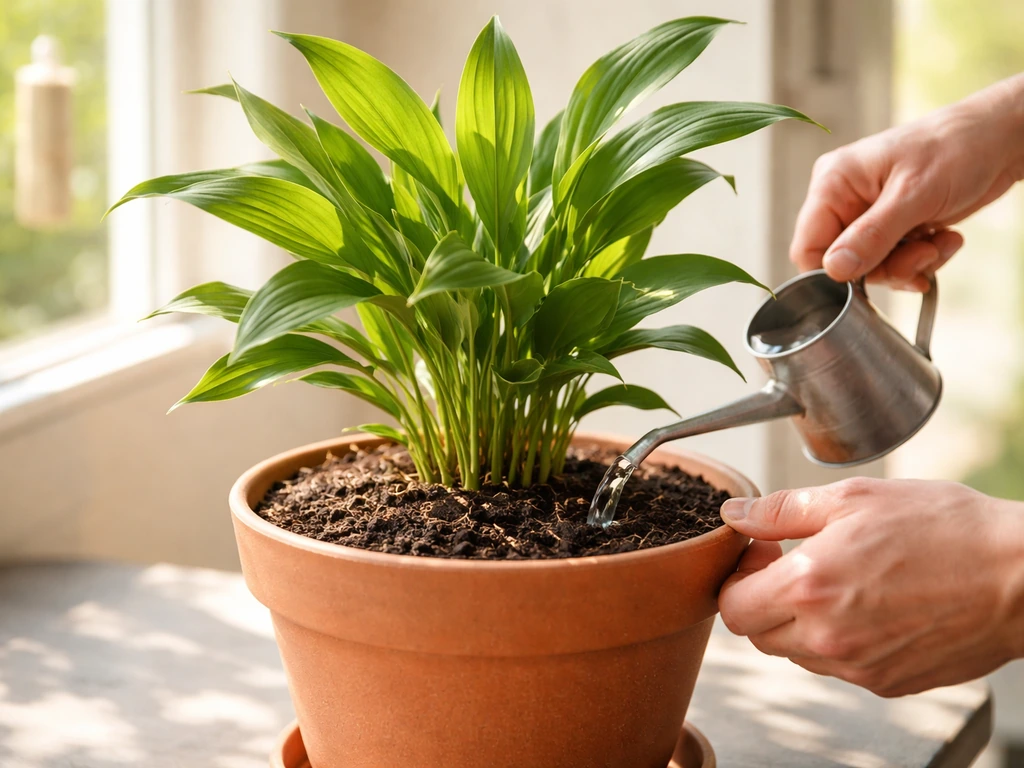
Cardamom is not a cactus and it's not a fern, it lives in that sweet spot of consistently moist soil with good airflow. Water when the top 2–3 cm of soil dries out, which in summer typically means every three to five days. In winter, when growth slows and light is lower, you'll water far less, maybe once a week or even less. The number one mistake I see with potted cardamom is overwatering. If you push your finger into the soil and it's still damp below the surface, wait another day.
Light should be bright and indirect. A few hours of gentle morning sun is fine outdoors; indoors, a bright spot near an east-facing window works well. If your leaves are pale, yellowing, or the plant looks washed out, it may be getting too much direct sun. If growth is very slow and stems are stretching toward the light (called etiolation), it needs more brightness.
Humidity is where most indoor cardamom growers struggle, and it's genuinely the hardest part. Cardamom thrives at around 75% relative humidity, most homes sit at 30–50%. You have a few practical ways to close that gap. A pebble tray works well: fill a shallow tray with gravel, add water until it's just below the top of the gravel, and set your pot on top.
As the water evaporates, it raises humidity right around the plant. Just make sure the pot base isn't sitting in the water itself. You can also mist the leaves a few times a week, group it near other moisture-loving plants, or run a small humidifier nearby. This is similar to what you'd do growing turmeric in a pot indoors, since it's another tropical rhizome plant with similar humidity needs.
Feeding, temperature, and seasonal care
Feed your potted cardamom with a balanced NPK fertilizer (something like a 10-10-10 or similar all-purpose liquid) once a month during the active growing season, roughly April through September. Container plants need more regular feeding than in-ground plants because nutrients wash out with watering. During winter (October through March), hold back on fertilizer, the plant is in a slower phase and pushing nutrients into stagnant roots can cause salt buildup and root damage.
Temperature is critical. Cardamom's happy range is about 65–95°F (18–35°C). Below 65°F, growth stalls. Below 50°F, the plant dies back entirely and won't flower the following year, a real setback when you're already waiting two or three years for your first pods. If you're growing outdoors in a temperate climate, bring the pot inside once nighttime temperatures start dropping toward 55°F in autumn. Indoors year-round is perfectly fine for the plant's health, just keep it away from cold drafts and air conditioning.
Seasonally, spring is the time to repot if the plant looks rootbound (roots circling the bottom or emerging from drainage holes). Move up one pot size, refresh the soil mix, and give it a light dose of fertilizer to kick off the growing season. This is also when you'll see the most vigorous new tiller growth.
Pest and disease prevention in pots
The good news about growing cardamom in a pot is that you're working with a controlled environment, far fewer pests than in a field. That said, there are a handful of problems that pop up regularly, and catching them early makes all the difference.
Common pests to watch for
- Thrips: Tiny insects that cause silvery streaking or stippling on leaves. Check the undersides of leaves regularly. Neem oil spray applied every seven to ten days is effective.
- Spider mites: More likely in dry indoor conditions. Fine webbing on stems and leaf undersides is the giveaway. Increase humidity and use neem oil or insecticidal soap.
- Root grubs: Rare in containers but possible if you use outdoor soil or unsterilized compost. Stick to quality potting mix and inspect roots when repotting.
Common diseases and how to prevent them
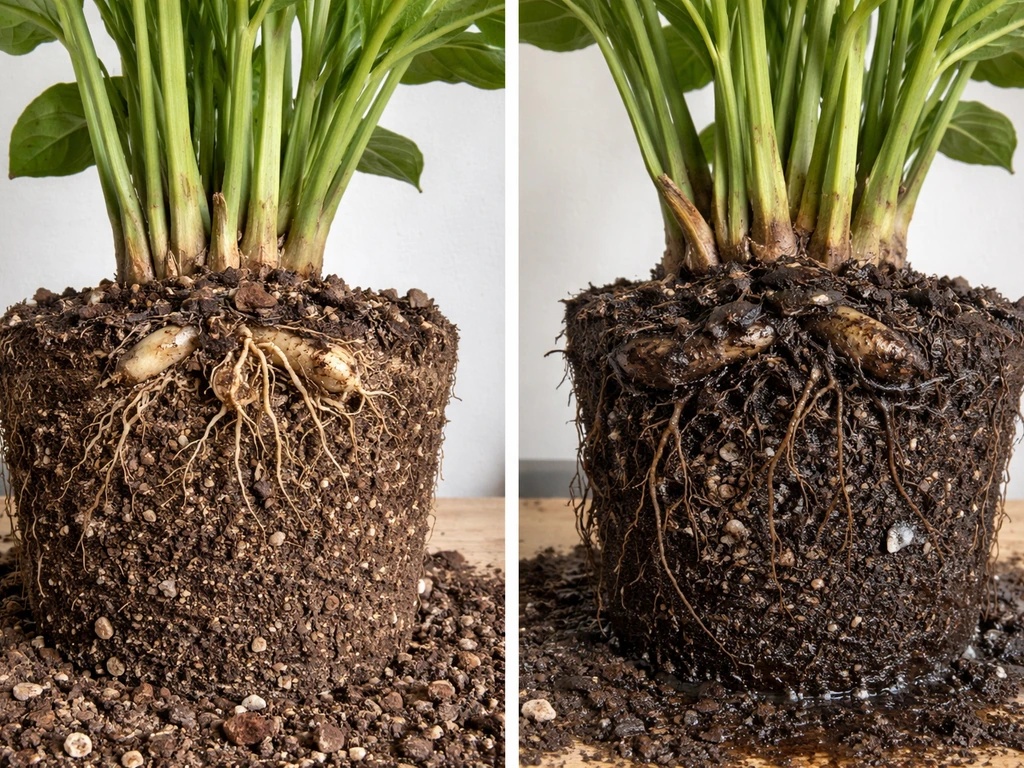
Rhizome rot (caused by Pythium, Fusarium, or Rhizoctonia fungi) is the most serious disease for container cardamom and it's almost always caused by poor drainage or overwatering. Prevention is straightforward: use a free-draining soil mix, never let the pot sit in standing water, and water only when the top layer has dried. If you notice mushy, discolored rhizomes when repotting, remove the affected sections with a clean knife, dust the cut surfaces with powdered cinnamon (a natural antifungal), and repot in fresh soil.
Leaf blotch and leaf spot diseases show up as brown or yellow spots on the foliage. These are often fungal and spread when leaves stay wet for long periods. Water at the base of the plant rather than overhead, improve airflow around the pot, and remove affected leaves promptly. Damping off affects seedlings specifically, if you're starting from seed, use a sterile seed-starting mix and avoid overwatering right after germination.
Troubleshooting yellowing leaves and slow growth
Yellowing leaves with browning at the margins on older growth usually signal nitrogen deficiency, time to fertilize. If new growth is pale or yellow, it's more likely a light or humidity issue. Stunted, slow growth in an otherwise healthy-looking plant often just means it needs a bigger pot or warmer conditions. Cardamom is genuinely slow, so don't panic if your plant seems to be doing nothing for a few weeks in winter, that's normal.
Harvesting expectations and getting your plant to thrive long-term
Here's the honest timeline: from a rhizome division, you're looking at roughly two to three years before your plant reaches flowering maturity. From seed, add another six to twelve months. Once flowers do appear (they emerge on low-growing stems near the base), pods form and take about 120–135 days to reach full maturity. That's a long game, and it requires patience.
There's an important indoor caveat on pods: cardamom is highly cross-pollinated by bees in nature, and without pollinators, indoor plants rarely set pods. A study on honeybee foraging and pollination in cardamom (Elettaria cardamomum) found that honeybee visitors were predominant (>99% of visitors), with Apis cerana indica as a major visitor (95. 8%) and Trigona iridipennis (2. 2%) [honeybee pollination in cardamom](https://updatepublishing.
com/journal/index. php/josac/article/view/4551). If you're growing entirely indoors, you can try hand-pollinating the small flowers using a fine paintbrush to transfer pollen between blooms, but results are inconsistent. Outdoors on a patio or balcony in summer, visiting bees and insects will do the job for you.
Think of indoor cardamom more as a stunning aromatic plant that might reward you with pods, rather than a reliable spice producer.
When pods do form, harvest them just before they fully ripen, slightly green but plump. Waiting until they split open reduces quality and aroma. After harvest, the harvested stems die back naturally; trim them at the base and let the plant put energy into new tillers for the next growing cycle.
What to do right now to set your plant up for success
If you already have a cardamom plant and it's struggling, the most common fixes are: repot into a deeper container with fresh well-draining mix, move it somewhere warmer, and start a humidity tray. If you're starting fresh, order a rhizome division from a reputable nursery rather than trying old seeds. Get your pot and soil mix sorted before the rhizome arrives so you can plant it immediately.
- Choose a pot at least 10–12 inches deep with multiple drainage holes.
- Mix your soil: 40% potting mix, 30% perlite or coarse sand, 30% compost.
- Set up a pebble humidity tray under the pot from day one.
- Find a bright, warm spot away from cold drafts — ideally 70°F or above.
- Plant your rhizome 5–7 cm deep, buds facing up, and water in well.
- Begin monthly balanced fertilizer feeding once you see new growth in spring.
- Move the pot indoors before temperatures drop below 55°F in autumn.
Growing cardamom in a pot is genuinely one of the more satisfying tropical experiments you can do as a container gardener. It's not instant gratification, but the fragrant foliage alone is worth it while you wait. If you enjoy growing tropical rhizome plants, you might find that growing turmeric in a pot or growing cinnamon in a pot scratch a similar itch, and the care overlap makes maintaining a little tropical corner very manageable.
If you want another bold container plant with big color, learning how to grow cannas in pots is a great next step. If you also want an easy herb to try at home, learn how to grow tulsi in a pot for fresh leaves and a fragrant, healthy plant growing tulsi in a pot. If you want to try another pot-friendly herb next, here is how to grow marjoram in a pot.
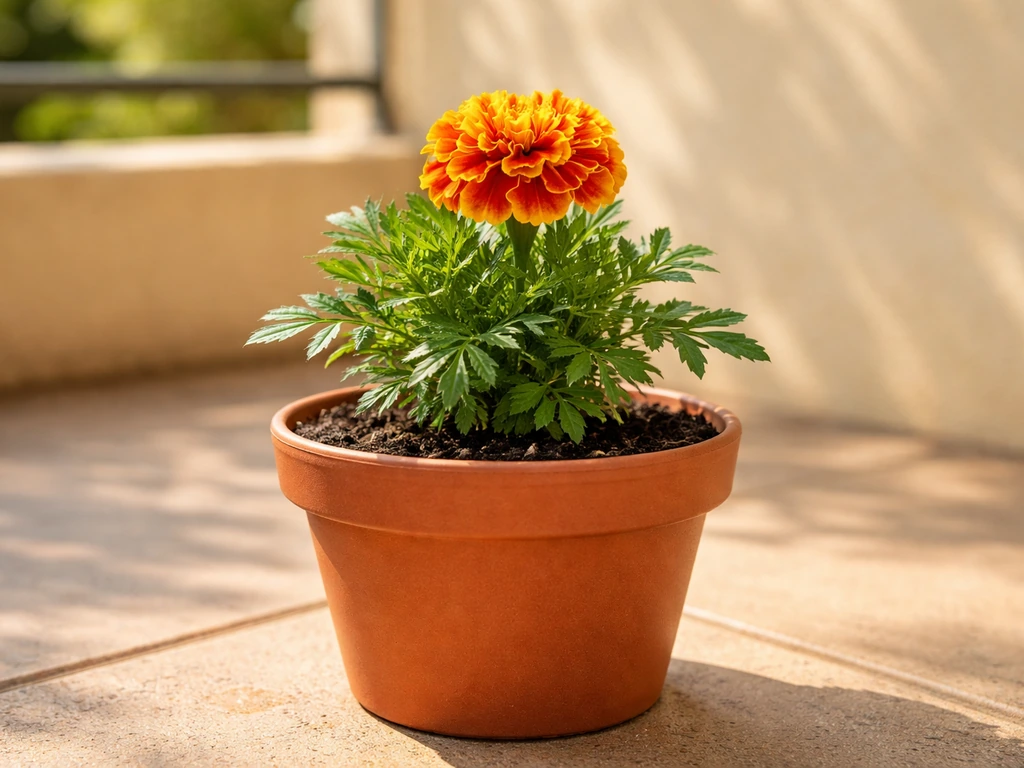
If you want to try a different bright, cheerful container flower next, learn how to grow marigolds in pots for an easy, nonstop bloom growing turmeric in a pot.
FAQ
What size pot is the minimum I should use if I want cardamom in a small indoor space?
If you have limited room, don’t go under about 10 inches deep and wide. Cardamom spreads through rhizomes and keeps making new shoots, so a shallow or narrow pot stalls growth and reduces future flowering. If you must start smaller, plan to up-pot within 6 to 12 months.
Can I grow cardamom in a terracotta pot without it drying out too fast indoors?
Yes, but manage moisture carefully. Because terracotta dries quickly, you may need more frequent watering and consistent humidity support (like a pebble tray or humidifier). If the soil stays damp for too long in a cooler room, switch toward a faster-draining mix or a plastic inner pot approach.
How do I tell whether I’m overwatering versus underwatering with potted cardamom?
Overwatering usually shows persistently damp soil below the surface, slow rotting rhizomes, and yellowing that progresses quickly. Underwatering tends to show drying, crispy leaf edges, and drooping that improves after watering. Use the touch check at the top 2 to 3 cm and also monitor weight, pots that feel consistently heavy after watering often mean you are staying wet too long.
My cardamom leaves look pale or washed out, but humidity is already high. What else could be wrong?
Pale, yellowing leaves can also come from too much sun through glass or from fertilizer imbalance. Try moving the pot slightly farther from the window or back behind a sheer curtain, and if it’s been more than a month during the growing season, use a diluted balanced liquid rather than increasing frequency.
Should I mist cardamom, and will it replace a humidifier?
Misting helps temporarily, but it rarely raises humidity long-term, especially in dry homes or near heaters. It can also leave leaves wet longer, which may worsen leaf-spot type issues if airflow is poor. A humidifier or pebble tray is more reliable, mist only to refresh the canopy if you can keep airflow good.
Do I need to prune cardamom in a pot?
Minimal pruning is best. Remove only dead or diseased leaves or stems, especially after winter dieback, and trim spent flower stems at the base when you harvest pods. Avoid heavy cutting, since cardamom relies on tillers to produce the next cycle.
If my plant grows lots of shoots but never flowers, what should I check first?
Start with temperature stability and light. Flowers take years from rhizomes, so maturity matters, but cold drafts (below 65°F) and insufficient brightness can delay flowering even when growth is active. Also confirm the pot isn’t too small, since more tillers generally means more potential flower stems.
Can I get pods indoors without bees? How should I hand-pollinate?
You can try, but success is inconsistent because indoor conditions and pollen transfer may not mimic insect activity. If you hand-pollinate, do it when blooms are fresh, dab pollen from one flower to another using a fine brush, and repeat over multiple days. Expect that even with attempts, pod set may be limited.
What’s the safest way to start with seeds if I already have some at home?
Treat seeds as perishable. If they are older than a couple of weeks from harvest date, germination is often very low. Use a sterile, moist seed mix, keep temperature in the 75 to 85°F range, and avoid soggy conditions right after germination attempts, since damping-off is the main risk.
How can I prevent rhizome rot when repotting or when the plant goes quiet in winter?
Don’t increase watering just because growth slows. In cooler months, let the top layer dry more before watering and ensure the pot drains freely. When repotting, inspect rhizomes for softness or discoloration, remove affected pieces with a clean knife, and always replant in fresh mix so old pathogens are not carried over.
What fertilizer routine prevents salt buildup in containers?
Use a balanced liquid at about once a month during active growth, then stop or reduce during winter. If you notice crusting on the soil surface or a strong fertilizer odor, flush the pot with plain water to move excess salts out through the drainage holes, then let it drain completely before returning to normal care.
My pot plants smell bad or the rhizome feels mushy, what should I do immediately?
Act fast. Remove the plant from the pot, discard any foul-smelling mushy rhizome tissue, and repot into fresh sterile, well-draining mix. Don’t replant into the same soil, and keep it warmer than 65°F after recovery, since slow growth increases the chance of renewed rot.
Is there a way to encourage more tillers in a pot?
Give the plant room and stable conditions. Up-pot when it becomes rootbound, keep warm temperatures consistent, and maintain high humidity. Also avoid letting the rhizome sit too shallow, since buds need to stay at the right depth to push new shoots reliably.