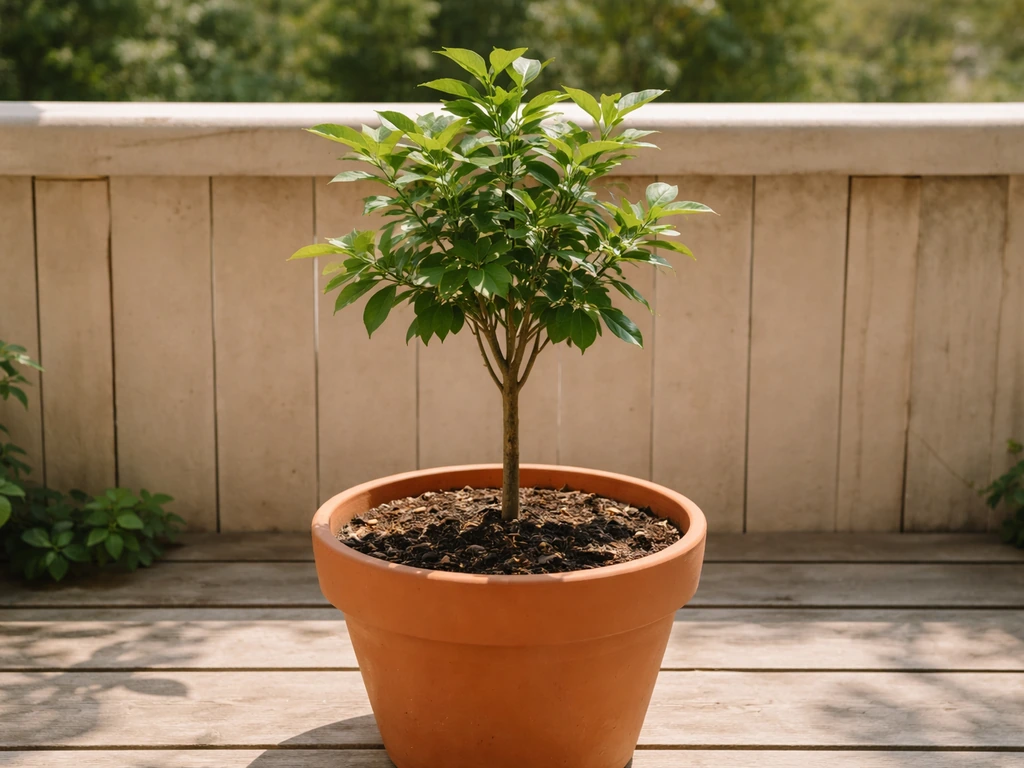
You can absolutely grow a drumstick tree (moringa) in a pot, and it's one of the more rewarding container plants you can try. Start with a dwarf or PKM-1 variety, use a large pot with excellent drainage, fill it with a sandy, well-draining mix, and give the plant as much direct sun as you can manage. Do those four things right and you'll be harvesting fresh drumstick pods within six to eight months.
How to Grow Drumstick in Pots: Step-by-Step Guide

Marcus Whitley
30 Apr 2026
Choosing the Right Drumstick Variety and Pot Size
Not every moringa variety behaves the same in a container. The standard Moringa oleifera is a fast-growing tree that wants to shoot up three meters or more, which makes it tricky to manage in pots long-term. For container growing, focus on two options: the dwarf moringa variety (sometimes sold as 'Dwarf Moringa' by heirloom seed companies) and the PKM-1 line. If you want the full process, including choosing a compact variety and pot size, follow the steps for how to grow a drumstick tree in a pot how to grow drumstick tree in a pot. The dwarf type stays compact and still produces leaves, flowers, and pods. PKM-1 is an early-maturing, bushier selection that's widely grown for pod production and typically gives you your first harvest around six to eight months after planting. Either one is a better starting point than a standard tree type if you're working in a limited space.
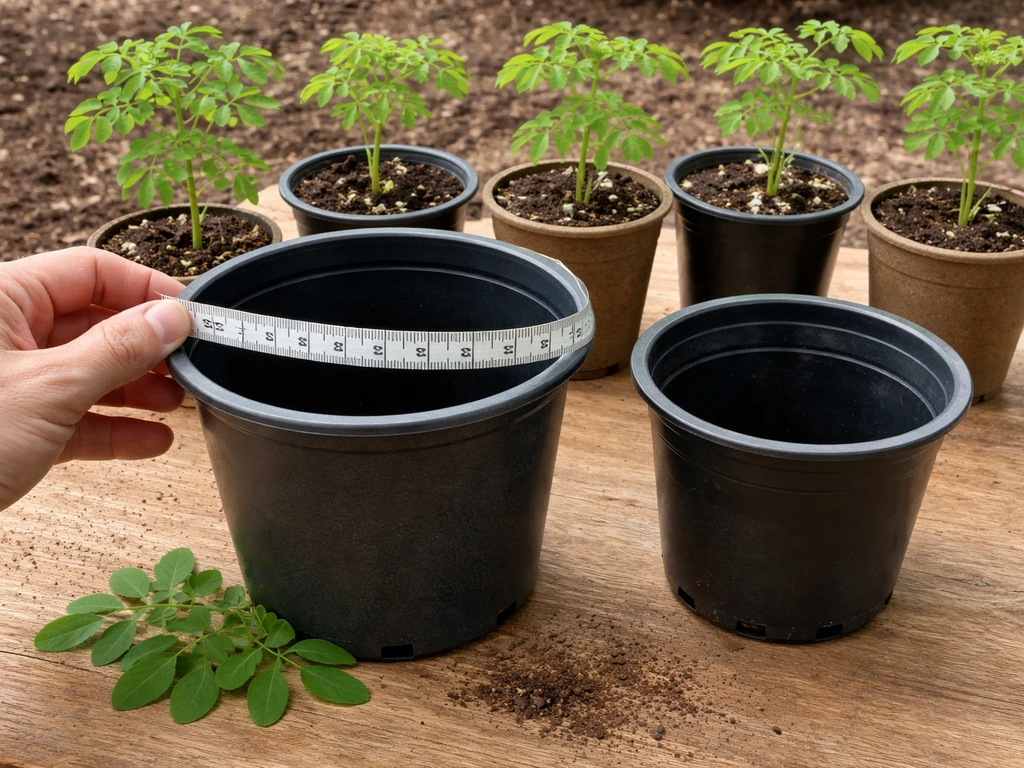
For pot size, go bigger than you think you need. A minimum of 20 liters (roughly a 5-gallon pot) works for short-term leaf harvesting, but for pod production you really want at least 40 to 60 liters, which is closer to a 15 to 20-gallon container. A wide, deep pot matters: the roots go deep, and a shallow pot will stunt the plant fast.
Fabric grow bags in the 20-gallon range are a great option for urban gardeners because they're light, breathable, and easy to move indoors when temperatures drop. Whatever container you choose, drainage holes are non-negotiable. Moringa roots rot quickly in standing water, so if your pot doesn't have at least two or three holes in the base, drill them before you plant.
Soil Mix and Container Setup for Drumstick Trees
Moringa comes from dry, rocky landscapes, so the worst thing you can do is plant it in a heavy, moisture-retaining mix. Standard potting soil alone is too dense and holds too much water. I mix roughly 50% coarse sand or perlite with 50% regular potting mix. That ratio sounds extreme, but it gives you the fast drainage moringa actually needs while still holding enough nutrients to get the plant going. Some growers add a small amount of compost into the blend for extra organic matter, which is fine as long as the overall mix stays light and gritty.
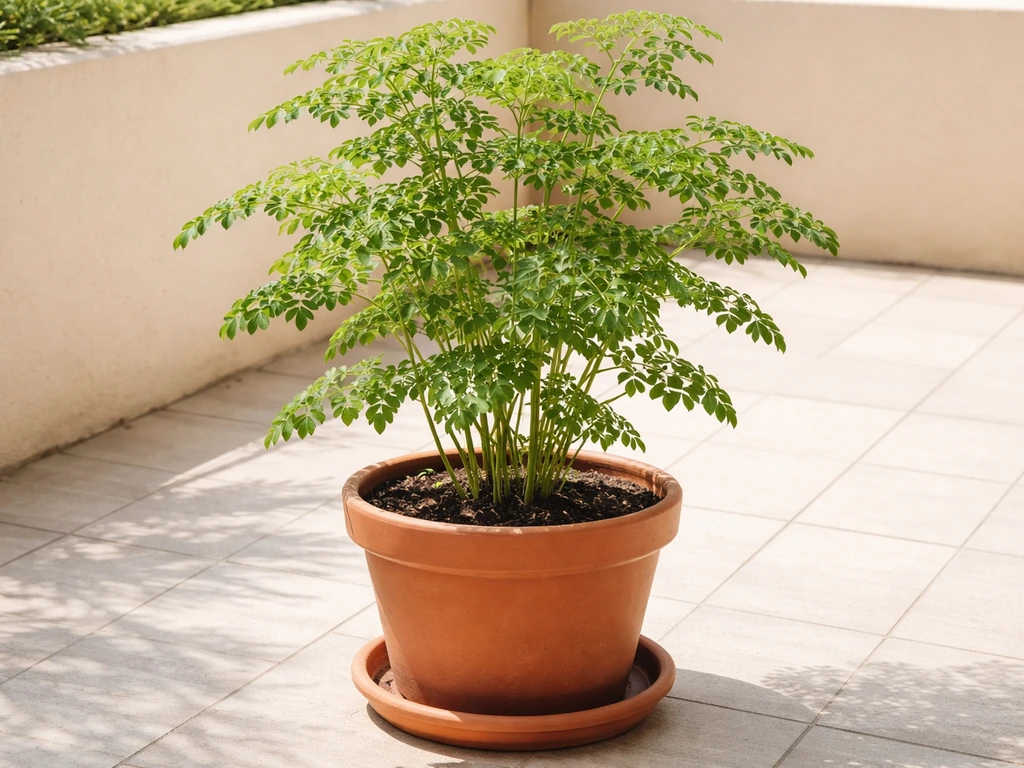
Container setup matters beyond just the soil. Place a layer of gravel or broken terracotta pieces at the base before adding your mix. This keeps the drainage holes from getting clogged. If you're on a balcony or patio, set the pot on pot feet or bricks so excess water can run out freely. Because mature moringa plants in large containers get heavy and top-heavy, pick a stable, wide-based pot and position it somewhere sheltered from strong wind. You want to be able to move the pot indoors during cold snaps, so factor in weight early: fabric bags and lighter plastic containers are your friends here compared to ceramic or heavy terracotta.
Planting Seeds vs Seedlings, Step by Step
Starting from Seed
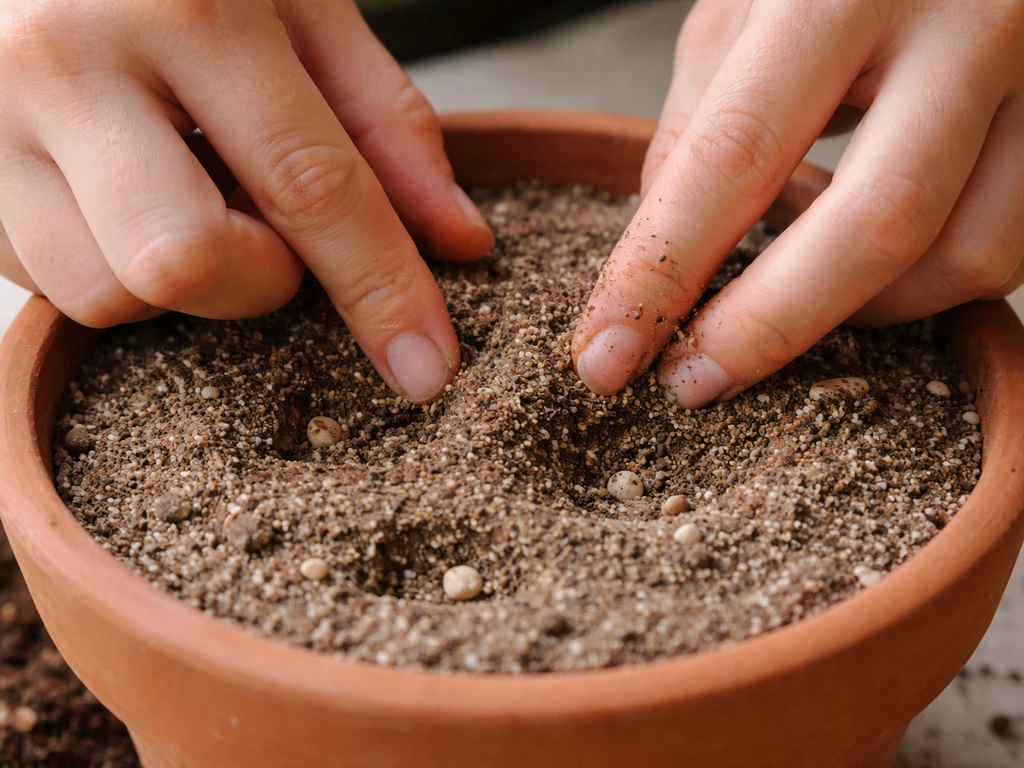
Moringa seeds germinate fast and reliably, often sprouting within five to twelve days in warm conditions. There's no need to soak them overnight, though some people do and report slightly faster germination. Here's how to do it directly in your container:
- Fill your prepared container with the sandy potting mix to about 3 cm below the rim.
- Make a small hole about 2 cm deep in the center of the pot.
- Place one or two seeds in the hole, pointed end down if you can tell.
- Cover lightly with the same soil mix and water gently until the mix is just moist, not soaking wet.
- Place the pot in a warm spot, ideally 25 to 35°C. A sunny windowsill or warm patio works well.
- Keep the soil barely moist until sprouts appear. Do not overwater at this stage.
- Once both seedlings have two or three sets of leaves, snip the weaker one at soil level. Don't pull it out, as this disturbs the roots of the one you're keeping.
Transplanting a Seedling
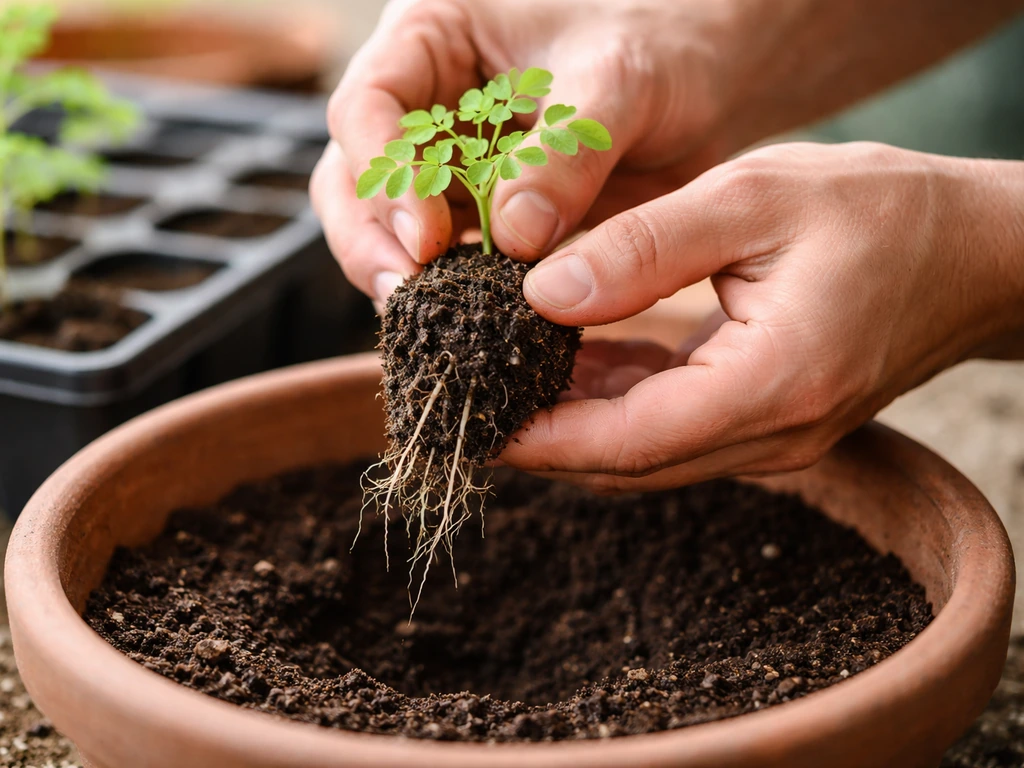
If you're working with a nursery seedling or one you've started in a smaller tray, handle the roots carefully because moringa has a taproot that doesn't love being disturbed. Water the seedling an hour before transplanting to reduce stress. Dig a hole in your prepared container mix deep enough to sit the seedling at the same depth it was growing before. Backfill gently, firm the soil lightly around the base, and water in well. Avoid transplanting in harsh midday heat. Morning or late afternoon is ideal, and a few days of shade after transplanting helps the seedling settle in before you put it back in full sun.
Light, Temperature, and Watering Schedule in Pots
Drumstick trees are sun lovers. They need a minimum of six hours of direct sunlight per day, and eight or more is better for pod production. In an r/homestead thread, people discuss whether moringa can be grown in a pot and share takeaways like it growing faster with more sun and the need to manage container conditions [eight or more is better for pod production](https://www. reddit.
com/r/homestead/comments/1f4j9mh/tipsonmoringatreecanyougrowitinapot/). A south-facing balcony or rooftop is ideal. If you're growing indoors near a window, be honest with yourself about how much real sun the spot gets. Low light means slow, leggy growth and very little chance of pods.
If your only space is a shaded balcony, stick to leaf harvesting and accept that pods may not be realistic.
Temperature matters a lot. Moringa grows best between 25 and 35°C and will visibly slow down below 20°C. The AVRDC/World Vegetable Center home garden guide lists the preferred climatic conditions for moringa as air temperatures of 25, 35°C with full sun blank" rel="noopener noreferrer">25–35°C and full sun. Anything near 0°C causes leaf drop and dieback, and a hard frost can kill the plant outright. If you're in a climate with cold winters, plan to move the pot inside before temperatures drop below 10°C, not after the first frost hits.
Watering in a pot is where most people go wrong, usually by doing too much. A simple schedule that works well: water thoroughly when the top 3 to 5 cm of soil feels dry to the touch, then let it drain completely and don't water again until it dries out at that same depth. In hot summer weather that might mean watering every two to three days. In cooler months or indoors, once a week or even less may be plenty. The plant tolerates dry spells much better than it tolerates soggy soil, so when in doubt, wait an extra day.
Feeding and Fertilizing Routine for Potted Drumstick
Container-grown plants need regular feeding because nutrients wash out of pots with every watering. For moringa, I keep the fertilizing routine simple. For the first four to six weeks after planting, skip fertilizer entirely. The seedling just needs to establish roots, and over-fertilizing young plants causes more problems than it solves.
Once the plant is actively growing and showing new leaves, start feeding every two to three weeks during the growing season (spring through summer). A balanced, all-purpose liquid fertilizer works fine, something like a 10-10-10 NPK diluted to half strength. When the plant starts forming buds and pods, switch to a fertilizer that's slightly higher in phosphorus (the middle number on the label), which supports flowering and fruiting. In autumn and winter, back off to once a month or stop completely if the plant is dormant.
Organic options work well too. Diluted fish emulsion or seaweed extract every two to three weeks gives steady, gentle nutrition without the risk of burning roots. If you notice the leaves turning pale yellow-green, that's usually a sign of nitrogen deficiency, and a dose of a nitrogen-rich fertilizer will green things up within a week or two. One thing to watch: moringa is sensitive to fertilizer salt buildup in containers. Every couple of months, water the pot heavily and let it flush completely through the drainage holes to rinse out any accumulated salts.
Training, Pruning, Flowering, and Harvesting Tips
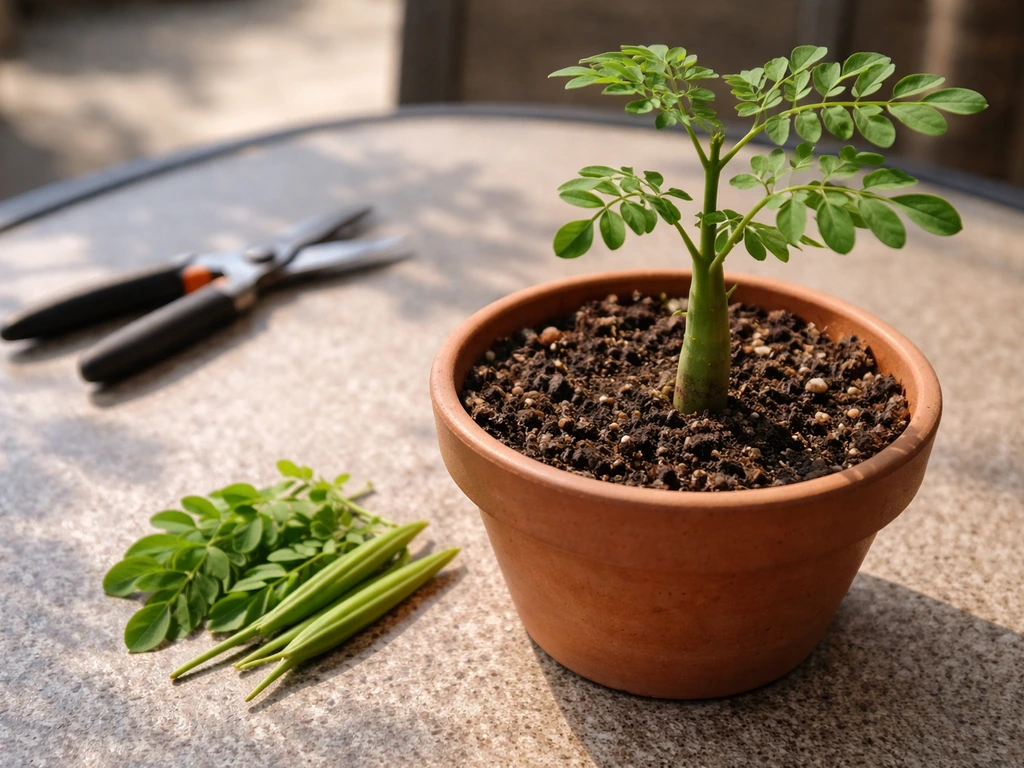
Left alone, moringa will grow straight up and fast, which isn't ideal in a pot. The fix is simple: pinch or cut the growing tip when the plant reaches about 60 to 90 cm tall. AVRDC/World Vegetable Center recommends blank" rel="noopener noreferrer">pinching pruning in the first three months, when seedlings reach about 60 cm, by pinching the terminal growing tip about 10 cm from the top to encourage bushier growth. This forces it to branch out sideways, giving you a bushier shape that's easier to manage and actually produces more leaves and pods per plant. Don't be nervous about cutting it back. Moringa is vigorous and bounces back quickly.
Keep pruning throughout the growing season to maintain a manageable size, around 1 to 1.5 meters for a potted tree. Every time you cut a stem, two or three new branches usually grow in its place. Regular harvesting of leaves also acts as a form of light pruning and keeps the plant producing fresh growth. Use clean, sharp scissors or pruning shears and cut just above a leaf node (the point where a leaf meets the stem).
If you're growing PKM-1 or the dwarf variety from seed, expect the first flowers to appear around four to six months in warm conditions. Flowers are small and cream-colored, appearing in clusters. Pods (the actual drumsticks) follow flowering and take roughly six to eight weeks to reach harvestable size. Harvest pods when they're young and tender, about 40 to 60 cm long. At that stage, the whole pod is edible and has the best culinary quality. If you let them go too long, they become fibrous and woody. A good rule of thumb: if the pod snaps cleanly when bent, it's ready.
Common Problems in Containers and Quick Fixes
Container growing comes with its own set of challenges, but most problems moringa growers run into have straightforward solutions. Here's what to look for and what to do:
| Problem | Likely Cause | Quick Fix |
|---|---|---|
| Yellow leaves (lower leaves first) | Overwatering or nitrogen deficiency | Let soil dry out fully between waterings; feed with nitrogen-rich fertilizer |
| Yellow leaves (new growth pale) | Iron or nutrient deficiency from waterlogged soil | Improve drainage; flush pot to remove salt buildup; use chelated iron if needed |
| Slow or stunted growth | Too little sun, cold temperatures, or root-bound pot | Move to brighter location; check temperatures; repot into a larger container |
| Leggy, stretched stems | Insufficient light | Move to a sunnier spot; at least 6 hours of direct sun daily |
| Wilting despite moist soil | Root rot from poor drainage | Check roots (brown, mushy = rot); repot into fresh, dry, sandy mix; trim dead roots |
| Wilting in dry soil | Underwatering or extreme heat | Water thoroughly and move out of direct midday sun temporarily |
| White powdery coating on leaves | Powdery mildew | Improve air circulation; apply diluted neem oil spray weekly |
| Small bugs on new growth | Aphids or spider mites | Blast off with water; apply neem oil or insecticidal soap spray |
Root rot is the single most common killer of potted moringa, and it almost always comes down to soil that stays wet too long. If your plant is wilting despite regular watering and the soil feels damp, tip the plant out of the pot and look at the roots. Healthy moringa roots are firm and white or cream-colored. Rotten roots are brown, soft, and may smell unpleasant. Cut off any rotted sections with clean scissors, dust the cuts with cinnamon (a natural antifungal), and repot into fresh, dry, sandy mix. Then adjust your watering habits going forward.
Seasonal Care, Repotting, and Overwintering
In spring and summer, moringa in a pot grows fast and needs consistent watering and regular feeding. This is the time to let it run, harvest leaves often, and watch for flowers and pods. By late summer, start easing off the fertilizer to let the plant slow its growth naturally as days shorten and temperatures cool.
Repotting is something you'll need to think about every one to two years. When you see roots circling the base of the pot or poking out of drainage holes, or when growth slows down despite good care, it's time to size up. Move to a container that's 20 to 30% larger in volume and refresh the soil mix completely at the same time. Spring is the best window for repotting, just as the plant is waking up and about to put on new growth.
In cooler climates, overwintering is the biggest challenge with potted moringa. Because the tree is so cold-sensitive (leaf drop starts below 10°C and frost causes serious damage or death), your container setup actually gives you an advantage here: you can move it. Before temperatures drop to 10°C, bring the pot inside to a bright, warm spot like a sunny indoor room or a heated greenhouse. Reduce watering significantly during this period since the plant's growth slows almost to a standstill.
You may see leaf drop anyway, and that's okay. The plant is essentially going dormant. Don't panic and don't over-water trying to fix it. Keep the soil barely moist, give it whatever light you can, and once temperatures warm back up in spring, move it outside again and resume normal care.
Most potted moringa trees bounce back from a dormant winter period and put on vigorous new growth once warm weather returns.
Growing drumstick in a pot requires more active management than ground planting, but the payoff is real: you can harvest leaves within weeks and pods within months, all from a balcony, patio, or small urban space. Bay trees can also be grown successfully in pots with the right container size, drainage, and consistent watering.
If your goal is how to grow big trees in pots, focus on enough root space, full sun, and a fast-draining mix so growth stays vigorous. If you enjoy the process and want to explore other compact trees in containers, moringa sits in good company alongside fast-growing or tropical trees that can be managed in pots with the right setup.
If you want another container tree to experiment with, check out how to grow cocoa trees in pots for a similar potted-fruit approach other compact trees in containers. The fundamentals remain the same across most of them: right-sized container, fast-draining soil, full sun, and attention to watering. This same container-first approach also helps when learning how to grow coconut tree in pots right-sized container. Get those right and moringa will reward you generously.
FAQ
Can I grow drumstick (moringa) in a pot from cuttings instead of seeds?
Yes, but seeds are usually more reliable for beginners. If you use cuttings, pot them in the same fast-draining mix, keep them in bright light with partial sun for the first 2 to 3 weeks, and avoid heavy feeding until you see new growth (usually after several weeks).
How often should I water if I’m using a fabric grow bag versus a plastic pot?
Fabric bags dry out faster, so expect more frequent checks (often every day in hot weather). Use the same rule as the article (water only after the top 3 to 5 cm dries), but plan for fabric to require more frequent watering than plastic or ceramic.
My moringa leaves look fine, but there are no pods. What should I change first?
First confirm you’re getting enough true sun (at least 8 hours for best pod production). Next check feeding timing, switch to a phosphorus-leaning fertilizer once buds start, and make sure nighttime temperatures are not consistently below the plant’s comfortable range (slower growth can reduce flowering).
What size pot should I choose if I only care about leaf harvest, not pods?
A smaller container can work, but use at least 20 liters (about 5 gallons). Larger pots improve stability and moisture buffering, so if you’re often away or in a windy area, going closer to 40 liters helps reduce stress.
Do I need to prune if I’m growing a dwarf or PKM-1 variety?
It’s still helpful. Even compact types can get top-heavy in a container. Pinch or cut the growing tip once it reaches about 60 to 90 cm to keep it bushy and easier to harvest, then prune lightly as needed during the growing season.
How do I tell early between drought stress and overwatering in pots?
In drought stress, the plant usually looks limp and the soil is dry, while overwatering often keeps soil damp and can start with wilting plus yellowing. If it’s damp and wilting persists, inspect roots and act quickly to prevent root rot.
Is cinnamon really okay to use on rotted roots, and how much should I apply?
Yes, dusting is the key. After trimming to healthy tissue, lightly dust the cut ends with a thin coating of cinnamon, then repot into fresh dry mix. Don’t bury large amounts of cinnamon into wet soil, which can affect soil behavior.
When should I repot, and what’s the best sign besides roots circling?
Roots poking from drainage holes is a clear sign, but another is sudden slow growth despite correct sun, watering, and feeding. Repot in spring and move up only about 20 to 30 percent in volume to avoid waterlogged excess mix.
Can I keep the pot outside year-round in mild winters?
Only if your winter temperatures stay well above freezing. If leaf drop begins below about 10°C and frost causes damage, treat those periods as the trigger to move the pot indoors to a bright location and reduce watering so the plant can rest.
How do I prevent fertilizer salt buildup if I’m feeding every two to three weeks?
Every couple of months, do a deep flush by watering heavily until excess drains freely, then wait until the pot fully drains before returning to your normal watering schedule. This helps remove accumulated salts from the root zone, especially in small or fabric containers.
What’s the best way to start seeds directly in the pot without disturbing the taproot later?
Plant seeds directly at the intended depth in the final container (rather than starting in trays). If you must transplant, water the day before and handle gently, since moringa taproots dislike disturbance.
Why does my moringa look leggy and stops branching after growing indoors?
Most indoor issues come from insufficient direct sun. Move the pot to the brightest window or, better, outdoors for hardening in warm weather. If light is truly limited, you may still harvest leaves, but pods are less likely and branching may remain weaker.