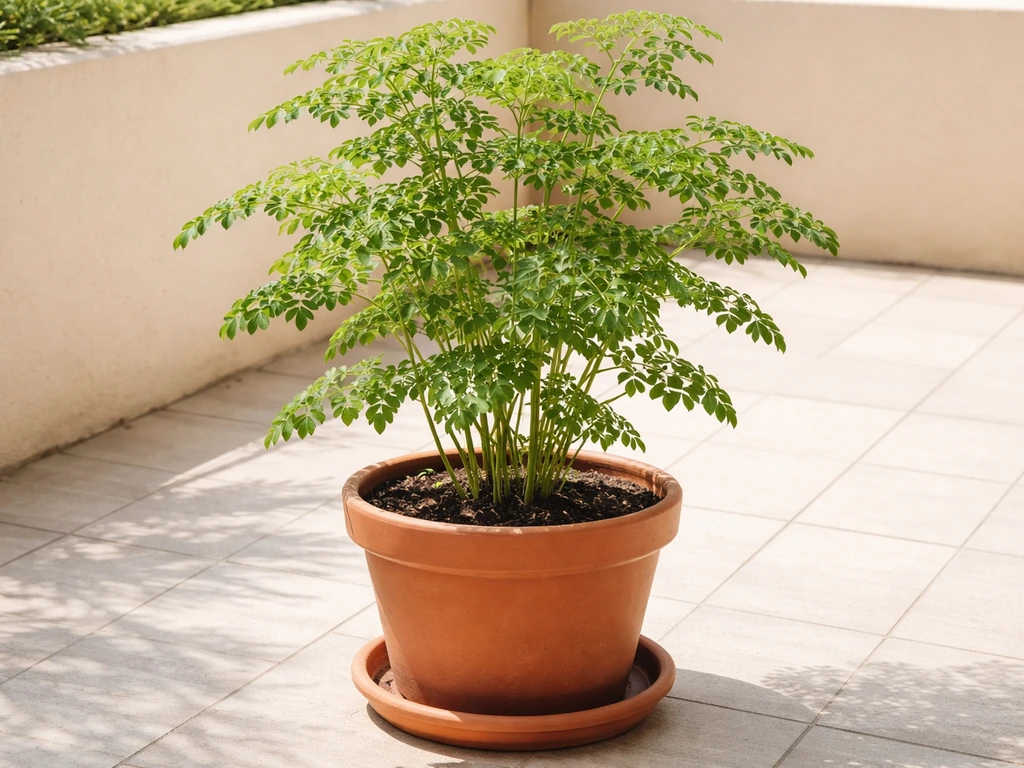
Yes, you can absolutely grow a drumstick tree (Moringa oleifera) in a pot, and it works better than most people expect. With the right container, a fast-draining mix, and a bit of pruning to keep it tidy, a potted moringa will give you fresh leaves within a few months and, eventually, pods too. It will stay smaller than an in-ground tree, but that is actually the point: you get a manageable, productive plant that fits a balcony, a patio, or even a bright indoor space.
How to Grow Drumstick Tree in a Pot Step by Step

Marcus Whitley
30 Apr 2026
Can a drumstick tree really grow in a pot (and what to expect)
Moringa oleifera is one of the more container-friendly trees you can grow. It is naturally fast-growing, tolerates root restriction better than most fruit trees, and responds well to hard pruning, which is exactly what you need to keep it pot-sized. Research trials have even grown moringa successfully in plastic bags filled with just one kilogram of soil, so a decent-sized pot is genuinely enough.
That said, set realistic expectations. A potted moringa will not reach the 5 to 10 metre height of a garden-grown tree. Kept pruned to around 1 to 1.5 metres, it grows more like a large shrub. You will get a good continuous harvest of leaves fairly quickly, usually within a few months of planting. Pods are a longer game: fruiting can start anywhere from 6 months to around 3 years depending on the variety and how well-established the plant is. Do not be disheartened if your first-year pot plant skips pods entirely and focuses on leafy growth instead.
One thing to plan for upfront: moringa does not tolerate frost at all. Even a light freeze can kill it back to the roots. If you are in a cool-climate zone, the pot format is actually your best friend here because you can bring the tree inside or into a greenhouse once temperatures drop. More on that in the placement section below.
Choosing the container and drainage setup
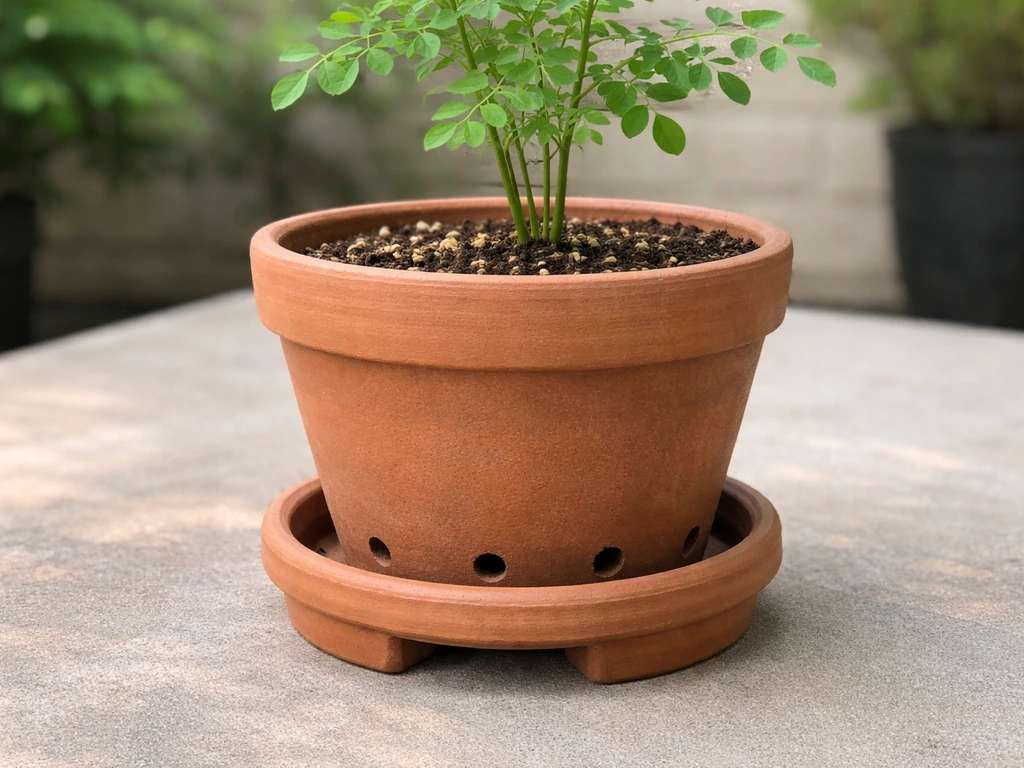
Start with a container that is at least 40 to 45 cm (roughly 15 to 18 inches) wide and equally deep. Moringa has a taproot that wants to go down, so depth matters as much as width. A 30-litre pot is a sensible minimum for a tree you plan to keep long-term. Bigger is better if you have the space, as root restriction directly limits how much the tree can grow and produce.
Drainage is the single most important detail with moringa. The pot must have multiple holes in the base. Terracotta pots drain and breathe well and work great, but they are heavy. Food-grade plastic or fabric grow bags are lighter and perfectly fine. Avoid decorative pots with no drainage holes or a single tiny hole, because moringa sitting in wet soil will rot at the roots fast.
One common mistake worth flagging: adding a layer of gravel, rocks, or broken pot shards at the bottom of the container does not improve drainage. University extension research is pretty clear on this. What actually matters is the quality of your potting mix and the presence of proper drainage holes. Skip the gravel layer and use that space for more soil instead. Also, if your pot sits in a saucer or tray, empty it after watering so the roots are never sitting in standing water.
Best soil and potting mix for potted moringa
Moringa's biggest soil requirement is drainage. In the ground, it thrives in sandy or loamy soils that dry out between rains. In a pot, you need to replicate that with a mix that is light, airy, and fast-draining. A standard heavy potting compost on its own tends to stay too wet and will cause problems.
A mix that works well is roughly two parts good-quality potting compost, one part perlite or coarse sand, and one part coir (coconut fibre). The perlite or sand keeps the mix from compacting and improves drainage. The coir helps retain just enough moisture without getting waterlogged. If you want to add slow-release fertiliser granules to the mix at planting time, that is a good idea and reduces how much you need to feed later.
On pH, blank" rel="noopener noreferrer">moringa prefers a slightly acidic to neutral soil, ideally in the 6.3 to 7.0 range. Most good-quality potting mixes fall somewhere in this range naturally, so you usually do not need to adjust anything. MSU Extension notes that soils with pH 6.5, 7.0 generally provide best growing conditions, which is why aiming near neutral is often recommended pH range (around 3 to 7.0). If you are testing your mix and it is coming up notably acidic (below 5.5), add a small amount of garden lime to bring it up. Moringa is not fussy about soil richness, but it does need nutrients to keep producing leaves, so do not use plain garden soil from the ground, which compacts badly in pots and often drains poorly.
How to start: seeds vs cuttings, and the planting steps
Seeds vs cuttings
| Method | Time to establish | Difficulty | Best for |
|---|---|---|---|
| Seeds | Germinate in 7 to 15 days; usable plant in 3 to 4 months | Easy | Beginners, anyone starting fresh |
| Cuttings | Root in 2 to 4 weeks; faster to mature | Moderate | Getting a head start, replicating a known plant |
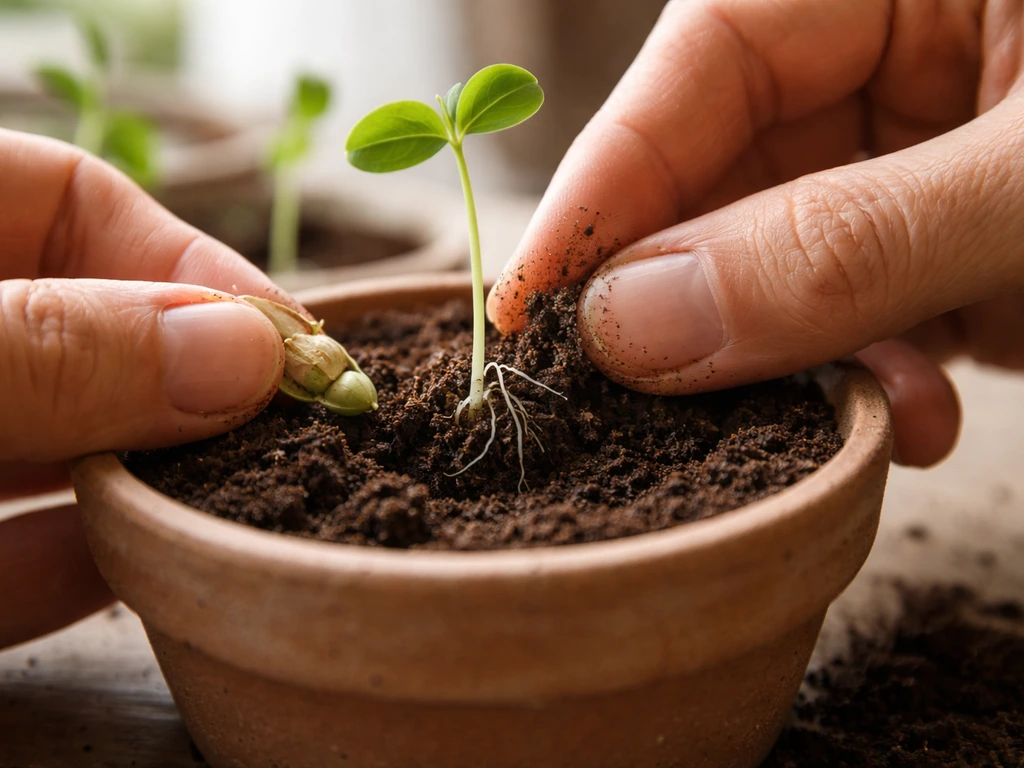
Seeds are the most beginner-friendly route. Fresh moringa seeds germinate reliably, usually within 7 to 15 days at room temperature. To speed things up, soak the seeds in water for 12 hours, then let them dry for 12 hours (an alternate wetting and drying cycle) before sowing. Remove the papery wing from each seed before planting. Sow about 2 cm deep in moist seed-starting mix, cover loosely, and keep somewhere warm, ideally above 25°C. Once seedlings reach about 10 to 15 cm tall, they are ready to pot up into their permanent container.
Cuttings work well too, especially if you have access to a mature moringa plant. Take a hardwood cutting around 45 to 90 cm long and at least 4 to 5 cm in diameter. Let the cut end dry out for a day or two, then plant it about one third of its length deep in a pot of moist sandy mix. Keep it warm and do not overwater while it roots. Cuttings taken from hardwood skip the taproot stage, so they tend to be slightly more wind-prone, but for a container plant that is not a big issue.
Transplanting into the container
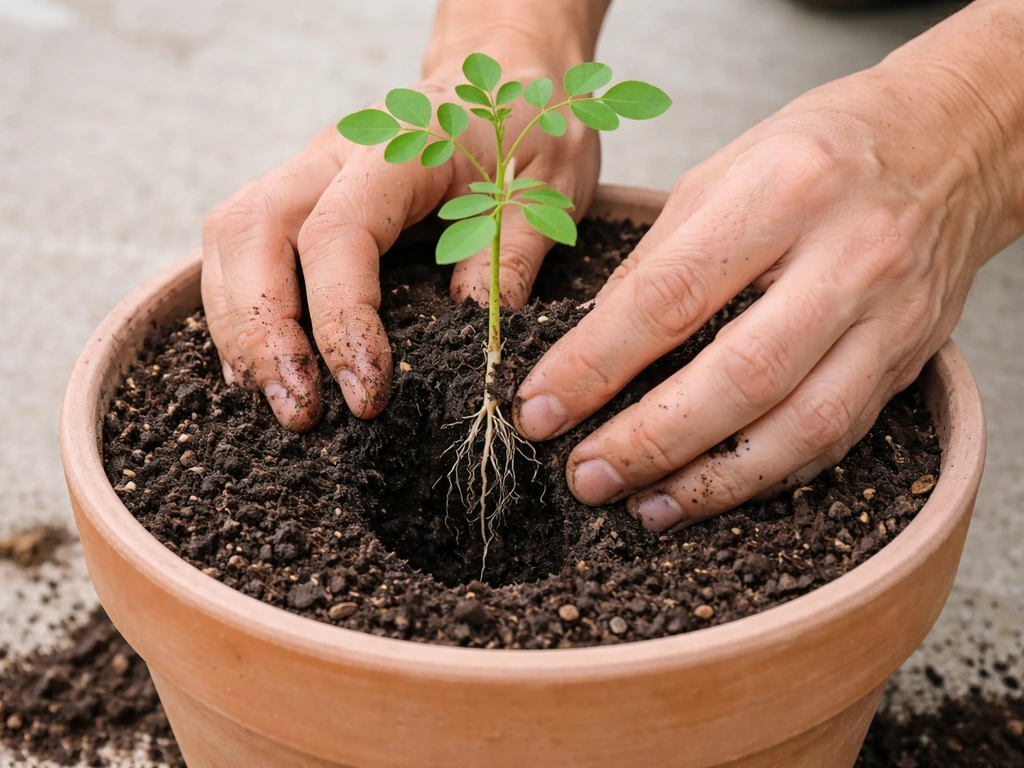
- Fill your pot about two thirds full with your prepared mix.
- Make a hole in the centre large enough to fit the rootball without cramping the roots.
- Set the seedling or rooted cutting in so the base of the stem sits at roughly the same depth it was in its nursery pot.
- Backfill with mix, firming gently around the base to remove big air pockets.
- Water thoroughly until water drains freely from the bottom.
- Place the pot somewhere warm and bright but slightly sheltered for the first one to two weeks while the plant settles in.
Light, warmth, and where to put your pot
Moringa is a sun-lover and will perform best with at least 6 hours of direct sunlight per day. A south-facing balcony, patio, or windowsill is ideal. That said, very young seedlings fresh out of germination actually benefit from a bit of protection from the harshest midday sun for the first couple of weeks. Think of it as easing them in rather than throwing them straight into full blaze. Once established, the more sun the better.
Temperature is non-negotiable with moringa: it does not tolerate freezing or frost at all. It is happiest in temperatures between 25°C and 35°C. It will still grow in cooler conditions, but growth slows noticeably below about 15°C. If you are growing in a temperate climate, keep the pot outdoors from late spring through to early autumn, and bring it inside or into a greenhouse once night temperatures start dropping towards 10°C. Near a warm, south-facing window indoors can keep it ticking over through winter, though growth will slow significantly.
Container-grown plants are much more vulnerable to cold damage than plants in the ground because the roots have no insulating soil mass around them. If you cannot move the pot indoors, wrap the pot itself with horticultural fleece or bubble wrap during cold snaps, and consider mulching the surface of the soil to protect the root zone. Moving the entire pot into a sheltered spot, such as against a wall or inside a cold-frame, makes a real difference.
Watering and feeding your potted moringa

Watering
Moringa is drought-tolerant once established, but in a pot it dries out faster than it would in the ground, so you need to pay closer attention. For the first two months after planting, water regularly, keeping the soil moist but never waterlogged. Once the tree is established, back off and let the top 3 to 5 cm of soil dry out before watering again. In warm summer months, a pot in full sun may need watering every two to three days. In cooler or overcast weather, once a week might be plenty. Always check the soil rather than watering on a fixed schedule.
Overwatering is the most common way people kill potted moringa. Yellow leaves, soft mushy stems near the base, and a sour smell from the soil are all warning signs. If you suspect overwatering, hold off watering entirely, let the soil dry out, and check the drainage holes are not blocked.
Feeding
Moringa is not a heavy feeder, but because pot plants are fed from a limited volume of soil, nutrients deplete faster than in the ground. A balanced, slow-release granular fertiliser applied at the start of the growing season (spring) gives a good foundation. Then top up with a liquid balanced fertiliser every four to six weeks through the growing season. If you are harvesting leaves frequently, lean slightly towards a fertiliser with decent nitrogen content to keep up with the growth. If you added slow-release fertiliser at planting time, you can usually skip the first few liquid feeds and just observe how the plant is growing.
Pruning and training to keep it container-sized
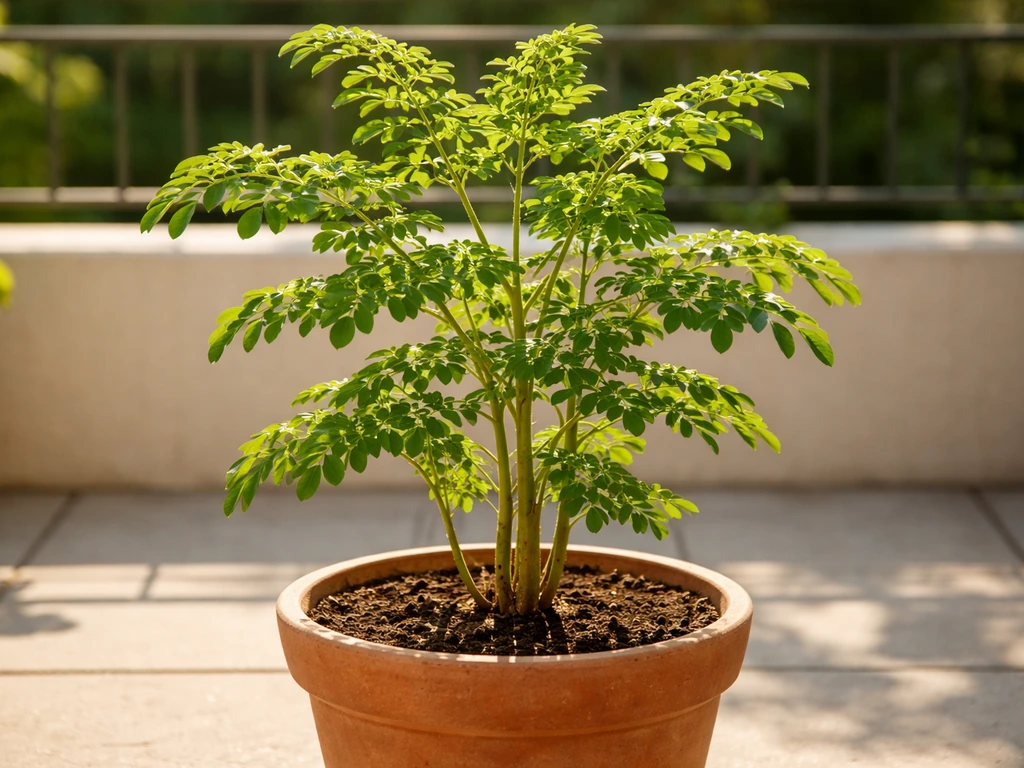
Pruning is what makes a potted moringa work. Without it, the tree will put all its energy into one tall, lanky stem that becomes top-heavy, hard to manage, and frankly less productive. Pruning forces the plant to branch out, which gives you more leaf harvest points and a denser, more compact shape.
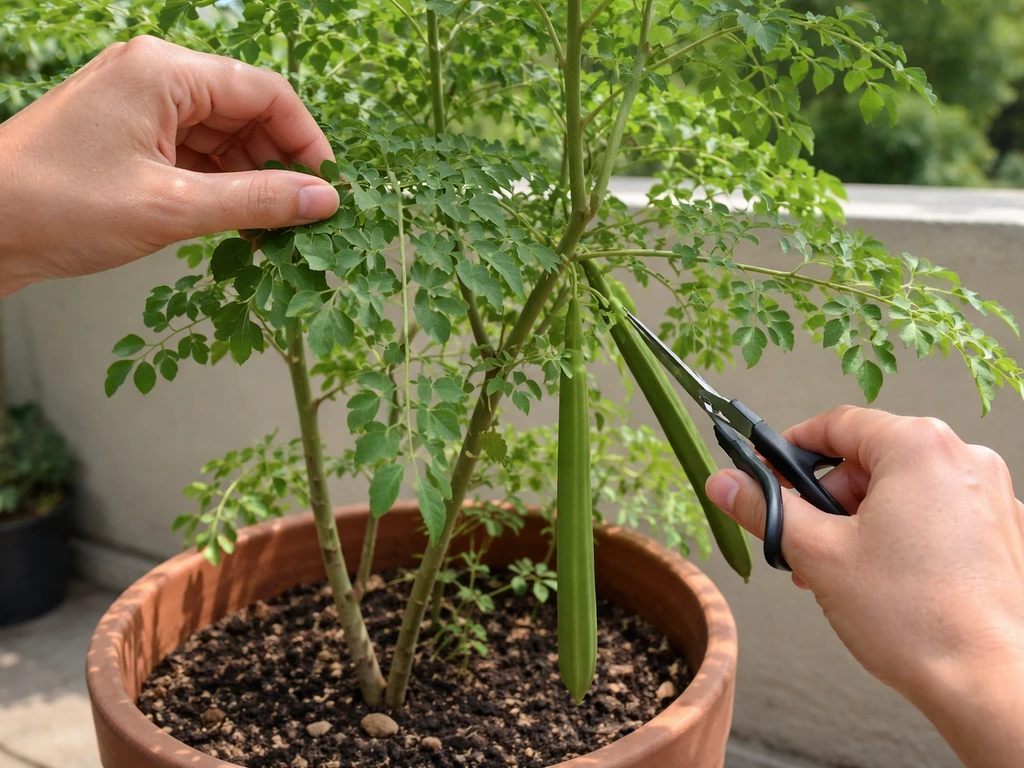
The first pruning should happen when your young tree reaches about 50 to 60 cm tall. Cut the main stem back to around 30 to 40 cm. Yes, it feels brutal, but moringa bounces back fast and will push out several side branches from below the cut within a few weeks. Those branches are what you want. Once they grow out, you can do the same again: tip-prune any branches that are getting too long, cutting just above a leaf node at a slight angle.
For ongoing management, aim to keep the tree at 1 to 1.5 metres tall. This is the height range recommended for productive leaf harvesting in cultivation guides, and it is also a practical size for a pot. Do a harder cutback once a year, usually in late winter or early spring before the growing season kicks in. You can cut it back to around 1 metre at this point and it will regrow vigorously. If you want to prune for pods rather than just leaves, allow some branches to grow longer and avoid cutting those specific branches while flower buds form.
Always use clean, sharp secateurs. Cut at a slight angle so water runs off the cut rather than sitting on it. After each pruning session, the harvested leaves can go straight to the kitchen.
Troubleshooting common problems, and when to harvest
Common problems and fixes
| Problem | Likely cause | What to do |
|---|---|---|
| Yellow leaves on older growth | Nitrogen deficiency | Apply a nitrogen-containing liquid feed |
| Yellow leaves with green veins on new growth | Iron deficiency | Use a chelated iron supplement or foliar iron spray |
| Soggy stems, mouldy soil | Overwatering or poor drainage | Let soil dry out completely; check drainage holes; repot if needed |
| Wilting despite moist soil | Root rot from waterlogging | Remove from pot, trim rotten roots, repot in fresh dry mix |
| Sticky residue or cottony clusters on leaves | Aphids or mealybugs | Spray with water first, then insecticidal soap; repeat every 2 to 3 days for two weeks |
| Slow growth, pale overall colour | Root-bound or nutrient-depleted soil | Repot into a larger container with fresh mix and add balanced fertiliser |
For pests like aphids and mealybugs, the key is catching them early and being persistent. A strong blast of water dislodges many of them. Follow up with insecticidal soap spray every two to three days for a couple of weeks to break the life cycle. Inspect the undersides of leaves regularly, since that is where most soft-bodied pests hide first.
Harvesting leaves and pods
Leaves are the easiest harvest from a potted moringa. You can start picking small amounts as soon as the plant has plenty of healthy growth to spare, usually after the first proper pruning. For ongoing harvesting, strip whole leaf clusters from the ends of branches. In a well-maintained pot, you can harvest every 50 to 60 days in a light rotation without stressing the plant. The more consistently you prune and harvest, the more the plant branches and the more it produces.
Pods (drumsticks) take longer. Expect to wait at least six months from planting, and realistically your first full pod harvest on a container plant is more likely in the second or third year. Pods should be harvested young, while they are still tender and before the seeds inside become woody. A typical pod ready for cooking is around 30 to 45 cm long and snaps cleanly. Once you have a productive, established potted moringa, pods and leaves are both reliably available through the growing season.
Growing a drumstick tree in a pot is genuinely one of the more rewarding container gardening projects you can take on. If you are specifically interested in cocoa, the next step is to learn how to grow cocoa trees in pots so you can match the right warmth, drainage, and care to your space. It is fast, it is useful in the kitchen, and once you get the watering and pruning rhythm down, it practically manages itself. If you enjoy growing trees in containers, moringa slots nicely alongside other tropical container trees, though it is considerably faster-growing and more forgiving than something like a coconut or cocoa tree. Start with a seed or a cutting today, get your pot and mix sorted, and you could be harvesting fresh moringa leaves within a few months. If you are also curious about how to grow bay tree in pots, the key idea to keep in mind is matching the pot, drainage, and pruning to your plant’s growth habits. If you are also interested in acorns and shade trees, you can learn how to grow oak trees in pots using similar container basics like drainage, soil structure, and consistent watering potted moringa. If you want your potted tree to grow larger too, focus on deeper containers, strong light, and consistent pruning and watering how to grow big trees in pots. If you are wondering how to grow a tree in a pot, follow the same steps for choosing the container, using a fast-draining mix, and keeping up with pruning.
FAQ
What size pot should I choose for a potted drumstick tree if I want pods, not just leaves?
If your goal is pods, do not start in a very small container. Aim for at least a 30 liter pot (around 40 to 45 cm wide and deep). Larger pots give more stable moisture and more root volume, which generally supports earlier flowering, though pods still depend heavily on variety and establishment time.
My moringa is getting tall and lanky again after pruning. Why, and what should I do?
Usually it is either insufficient light or pruning that is too light. Confirm you are giving at least 6 hours of direct sun, then tip-prune again just above a leaf node to force branching. Avoid removing too much of the new side growth, because frequent heavy cuts can delay regrowth.
Can I grow moringa indoors year-round, or do I need to move it outside?
You can keep it indoors if you can provide strong light, ideally near a very bright south-facing window, but growth will slow. For best results, move it outdoors in warm months and bring it back in before night temperatures near 10°C. Indoor plants also need extra attention to watering because potting mixes dry unevenly near heaters.
How often should I water a potted moringa if I am away for a week?
Before you leave, water thoroughly until it drains, then let the top 3 to 5 cm dry before the next watering. A simple safeguard is to check weight, lift the pot, and remember the feel of “dry enough,” since leaf wilt from drought can happen faster in heat. Consider a sheltered spot out of harsh afternoon sun to reduce drying rate.
What if the pot saucer keeps collecting water after I water my moringa?
Do not leave the pot sitting in that collected water. Empty the saucer or tray right after draining, because moringa roots can rot quickly even if the soil surface looks only slightly damp.
Do I really need to remove the seed wing before sowing, and what happens if I don’t?
Removing the wing helps because it reduces uneven soaking and can interfere with consistent germination. If a seed still germinates with the wing on, it may emerge weaker or with a stuck husk, so you may need to improve moisture and handle the seedling gently.
How can I tell if my moringa is suffering from overwatering versus underwatering?
Overwatering often shows yellowing plus soft, mushy lower stems and a sour smell from the soil. Underwatering more often leads to wilting and dry leaf edges, and the plant may look lighter in the pot. The fastest fix is to check drainage holes and confirm how wet the soil is 5 to 10 cm down.
Should I fertilize even if my moringa looks healthy?
If it is in fresh potting mix, you can usually wait until the spring growing period to start feeding, especially if you used slow-release granules at planting. If leaves are pale or growth is sluggish, start with a balanced, slow-release foundation and then add liquid balanced fertilizer every 4 to 6 weeks during active growth.
Can I root moringa cuttings in water, or do I need soil?
For best container results, plant hardwood cuttings directly into a moist, sandy mix as described. Water rooting is less reliable for moringa cuttings and can lead to weaker root systems that struggle after transplanting, because they are used to an entirely different moisture environment.
Will a potted moringa survive a light frost if I cover it with plastic?
Do not rely on coverings like plastic sheets for frost protection. Moringa is extremely frost-sensitive and even mild freeze can kill it back to the roots. If you cannot bring the pot inside, use insulation around the pot plus shelter, like a cold-frame or against a wall, and watch night forecasts closely.
When should I expect flowering and pods on a container plant?
Pods are the longest wait. Even with good conditions, first pods commonly appear anywhere from 6 months to a few years depending on how long the plant has been established and the variety. Focus on building a healthy branching plant with steady heat and consistent pruning, because stressed plants often delay flowering.