The best pot plants don't happen by accident, but they're also not complicated. If you want more ideas beyond general pot plant care, see this guide for how to grow money plant in pot container plants. Thriving container plants come down to a handful of decisions made early: the right plant, the right pot, decent potting mix, and a watering rhythm you can actually stick to. If you’re looking for a full guide on how to grow potted plants, including how to grow organic potted plants, this step-by-step breakdown will help you get started. If you want to grow a pot plant yourself, follow the same steps and tailor them to the plant you choose. Get those four things right and the rest is just dialing in the details. I've killed enough pots to know where things go wrong, and I've grown enough great ones to know exactly what makes the difference. Here's the practical, step-by-step breakdown.
How to Grow the Best Pot Plants: Setup to Results
Start with the right plant for container success
Not every plant thrives in a container, but far more do than most people expect. The key is matching the plant's natural habits to what a pot can realistically offer: limited root space, faster drying soil, and whatever light your balcony, patio, or windowsill provides. A good container plant either naturally stays compact, adapts well to root restriction, or gives you a harvest before it runs out of room.
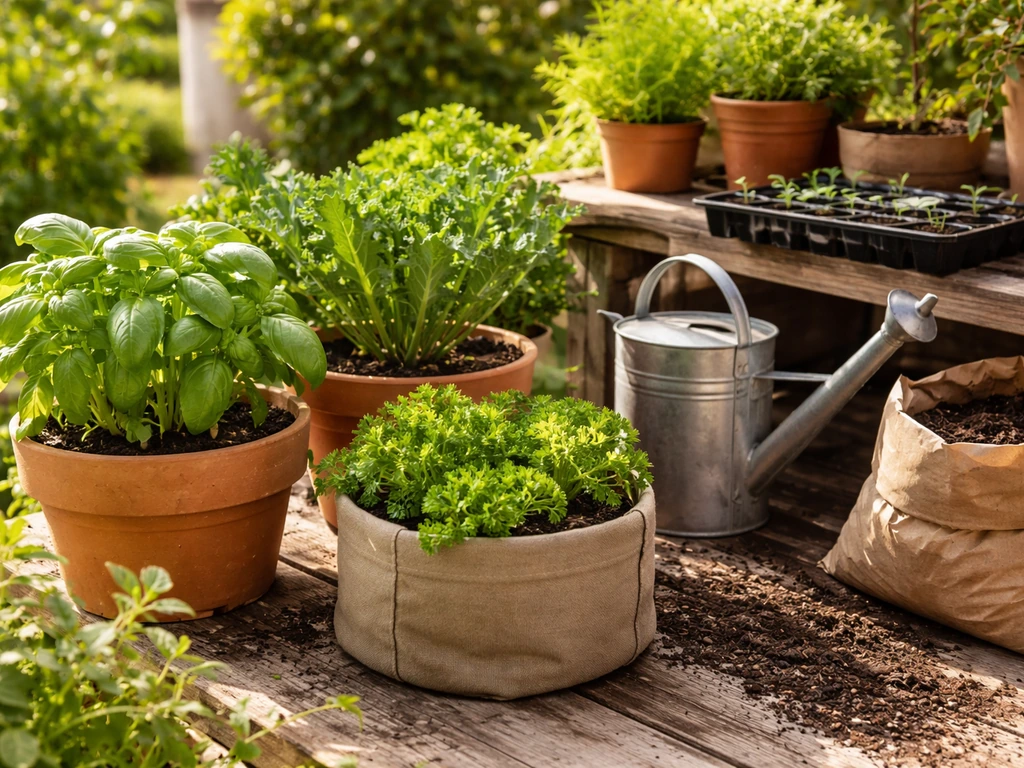
For beginners, some of the most reliable choices are herbs like basil, mint, and chives; salad greens like lettuce and spinach; cherry tomatoes; dwarf peppers; marigolds; and trailing plants like petunias or nasturtiums. These all tolerate the slightly variable conditions that come with container life. If you're keen on something more ambitious like a shrub or fruiting tree, it's very doable, but you'll need a larger pot and a longer commitment. (There's a full guide on growing shrubs in pots if that's where you're headed.)
The biggest mistake I see beginners make is choosing a plant they love without checking what it actually needs. If your space gets four hours of sun a day, a tomato plant will disappoint you. If your balcony is shaded and cool, leafy greens will do brilliantly. Honest assessment of your light and space upfront saves a lot of frustration later.
Match the plant to your conditions
As a rough guide, flowering plants, fruiting vegetables, and water plants need at least eight hours of full sun each day to perform well. Root vegetables like carrots and radishes do well with around six hours. Leafy vegetables and most herbs can get by with as little as four hours. Knowing which category your plant falls into tells you immediately whether your space is a match.
Choose the best pot size, drainage, and materials
Pot choice is one of those decisions that people underestimate until their plant is struggling and they can't figure out why. Too small and the roots run out of room quickly, leading to water stress and nutrient deficiency. Too large and the extra soil holds more moisture than the roots can use, which can cause root rot. Getting it roughly right matters more than getting it perfect.
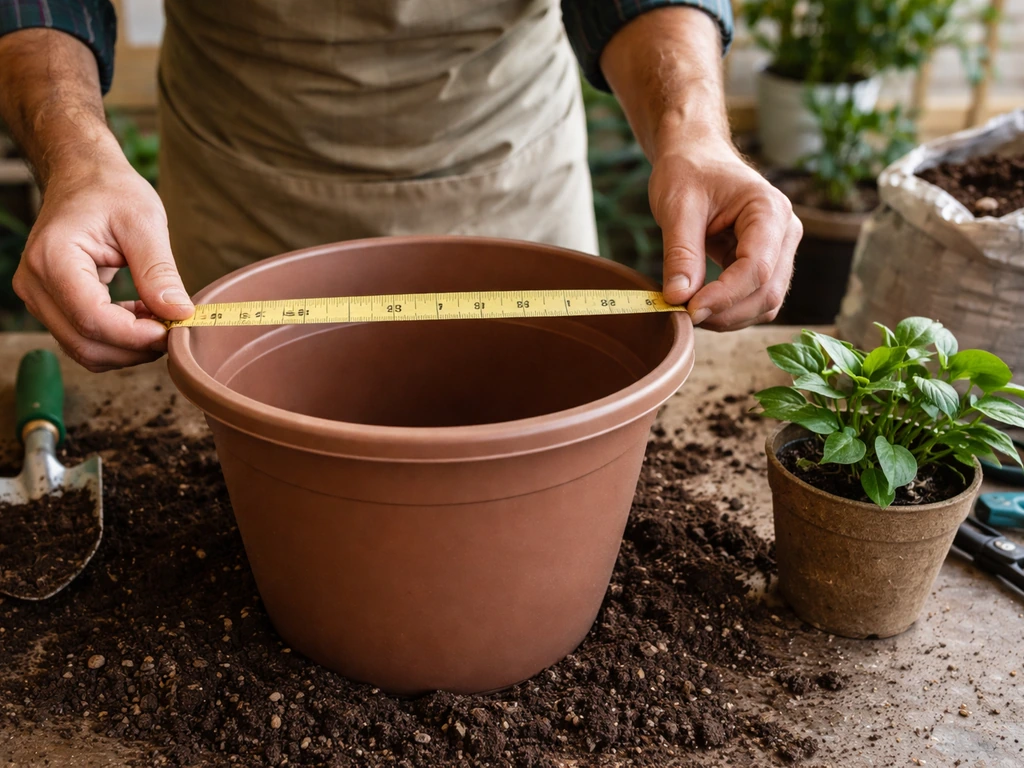
Getting the size right
A practical spacing rule from MSU Extension is to allow roughly one plant for each 8 to 12 inches of diameter at the top of a round container. So a 12-inch pot comfortably holds one larger plant or a small group of compact ones. For fruiting and flowering plants, container height matters too: taller plants produce more root mass and need deeper pots to support that. A cherry tomato in a 10-inch-wide but only 6-inch-deep pot will struggle, even though the top diameter looks fine.
Larger containers also give you a practical advantage: they dry out more slowly than small ones. Toward the end of summer, a small pot in full sun can need watering twice a day. If your schedule doesn't allow for that, go bigger. Solid-sided containers (like terracotta vs. fabric pots) also reduce how often you need to water.
Drainage is non-negotiable
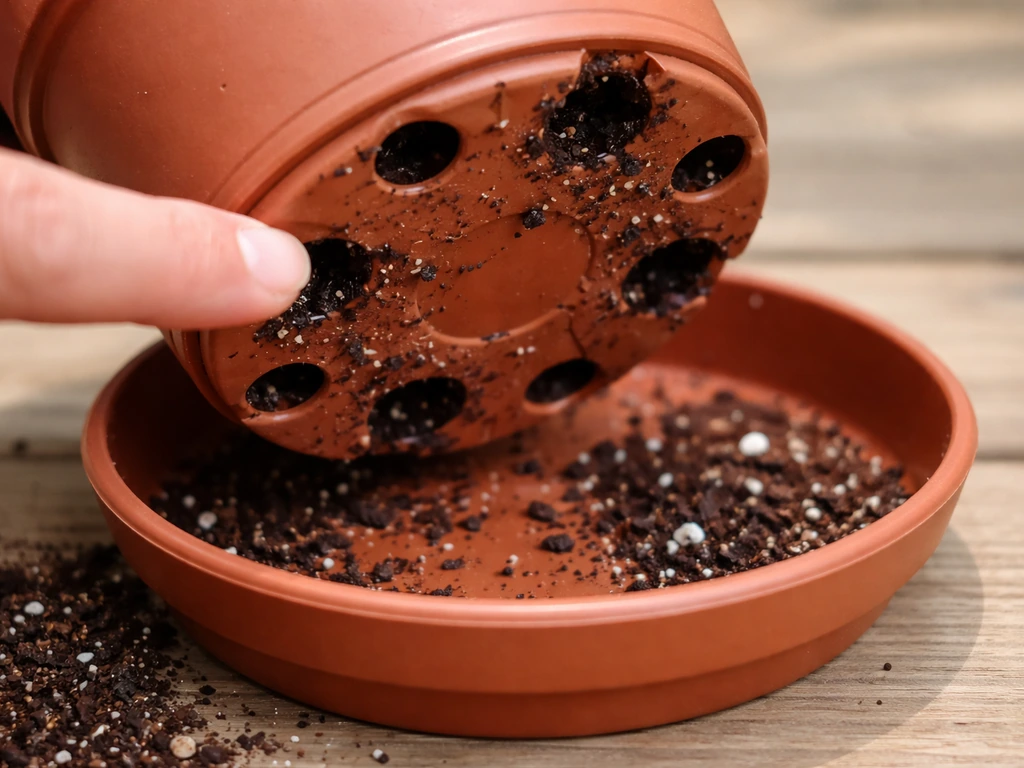
Every container needs a way for excess water to escape. Waterlogged roots can't access oxygen, and that's where root rot begins. The ideal setup is numerous small drainage holes, roughly quarter-inch holes every two to three inches across the bottom of the container. If you're buying pots, check the holes are already there and that they're not just one token hole in the center. If you're repurposing a container, drill your own. Putting a saucer underneath is fine for indoor plants, but empty it after watering so roots aren't sitting in standing water.
Pot materials compared
| Material | Pros | Cons | Best for |
|---|---|---|---|
| Terracotta / clay | Breathable, attractive, stable | Dries out fast, heavy, can crack in frost | Herbs, succulents, small flowering plants |
| Plastic | Lightweight, retains moisture, cheap | Less breathable, can degrade in UV | Vegetables, annuals, beginners on a budget |
| Fabric / grow bags | Excellent air pruning of roots, good drainage | Dries out very quickly, less durable | Tomatoes, root vegetables, experienced growers |
| Glazed ceramic | Attractive, retains moisture well | Heavy, limited drainage holes usually | Indoor plants, decorative displays |
| Wood (timber planters) | Good insulation, natural look | Can rot over time without treatment | Herbs, mixed plantings, raised container beds |
For most beginners, a good-quality plastic pot with proper drainage holes is the most forgiving option. It holds moisture longer, which reduces watering frequency, and it's light enough to move around easily. If you want something that looks better, a glazed pot or terracotta works well, just be ready to water more often with porous materials.
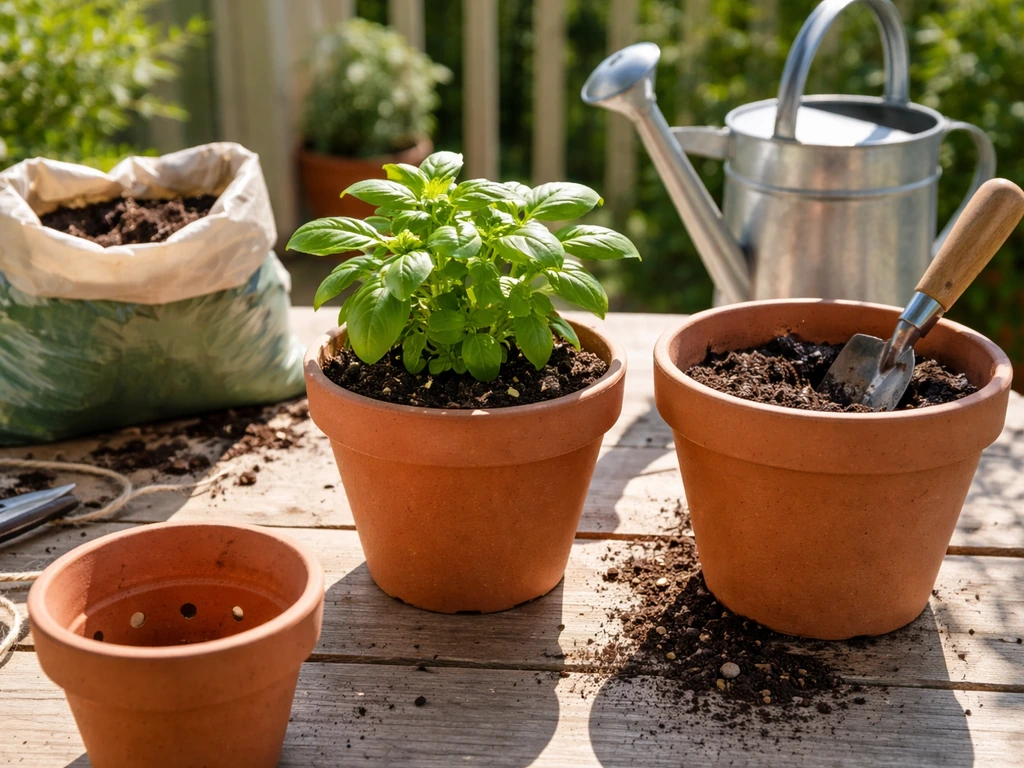
Use the right potting mix and nutrition plan
This is where a lot of beginners cut corners and pay for it later. Do not use garden soil in containers. Mineral-based garden soil compacts in pots, can become waterlogged, and limits the oxygen your roots need. It might seem wasteful to buy bagged potting mix when you have a garden full of perfectly good soil, but the structure of a proper potting mix is genuinely different and genuinely important.
What's actually in good potting mix
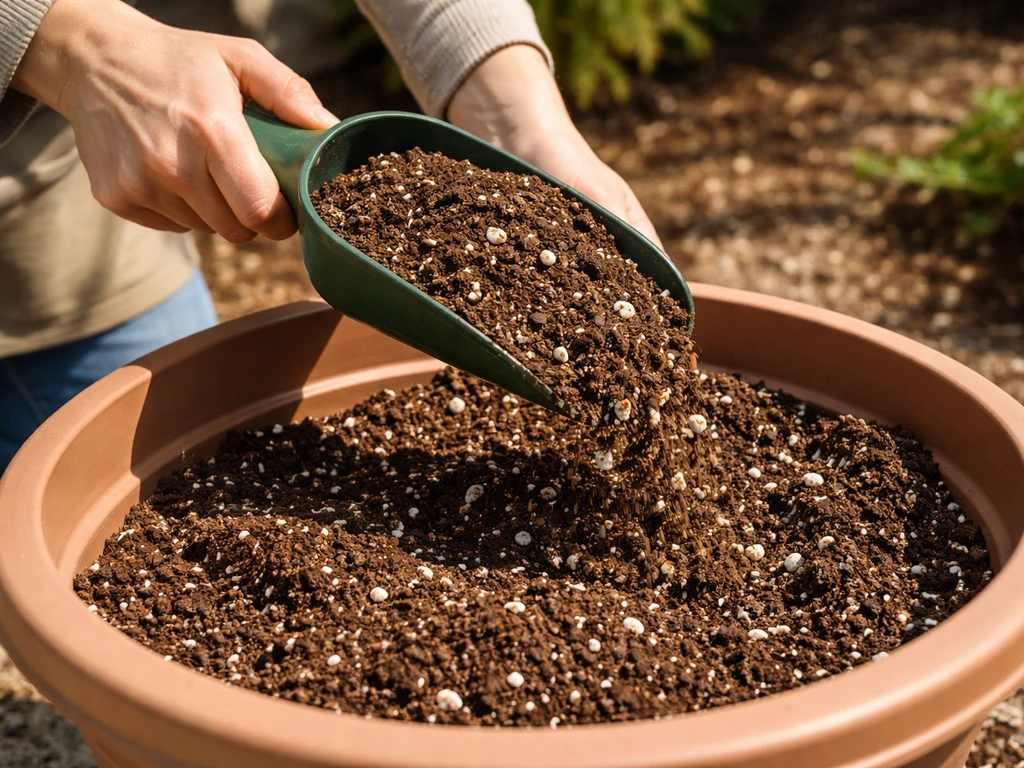
A quality potting mix is usually built from a combination of sphagnum peat moss or coconut coir (for moisture retention and structure), perlite or vermiculite (for air pockets and drainage), and composted bark or compost (for nutrients and biological activity). Peat is naturally acidic, so limestone is typically added to balance the pH. Good commercial mixes are formulated to land in a pH range of roughly 5.5 to 6.5, which suits most common container plants. You don't need to test pH obsessively as a beginner, but it's useful to know why you shouldn't mix random ingredients and expect great results.
One interesting tip: potting mix that includes around 20% properly composted pine bark has been shown to help suppress some of the root-rot fungi (like Pythium and Phytophthora) that love wet conditions. It's not a cure-all, but it's a useful built-in advantage if you're choosing between similar products.
Feeding your container plants
One of the biggest differences between growing in the ground and growing in a container is that nutrients wash out of pots much faster with repeated watering. In-ground plants can draw on a large reservoir of soil nutrients; your container plant is working with a fixed, shrinking supply. This means feeding regularly is not optional if you want good results, it's part of the routine.
The type of fertilizer matters depending on what you're growing. For leafy greens and herbs, a balanced fertilizer with a decent nitrogen content keeps growth lush and green. For flowering and fruiting plants (tomatoes, peppers, marigolds), you want a fertilizer where phosphorus and potassium are higher relative to nitrogen. These are sometimes labeled as 'tomato food' or 'bloom booster.' The reason: too much nitrogen on a fruiting plant produces lush, leafy growth but delays or reduces the actual harvest. Yellowing on older, lower leaves is a classic sign you're running low on nitrogen. Conversely, if your tomato plant is enormous and leafy but not fruiting, ease off the nitrogen.
Vegetable crops in containers need the most nutrients when they're first getting established and again during flowering and fruiting. A slow-release granular fertilizer mixed into the potting mix at planting is a great foundation, followed by a liquid feed every one to two weeks during active growth. Stalling growth, pale leaves, or poor flowering are your plant's way of telling you it's running out of fuel.
Light placement and watering rhythms for pots
Once your plant is in the right pot with the right soil, placement and watering are the two levers you'll be adjusting most often. Get these right and you'll avoid the majority of container gardening problems.
Placing your pot for the right light
Use the light requirements you matched in the first step and place your container accordingly. South or west-facing spots generally give the most sun in the northern hemisphere. East-facing positions give gentle morning light, which is great for herbs and salad greens. If you're container gardening indoors, a bright south-facing windowsill can support herbs and some compact fruiting plants, though most vegetables will still need supplemental light or an outdoor spot in warmer months. One of the great advantages of container gardening is that you can move pots as seasons shift or as you learn more about where the sun actually hits in your space.
A practical watering approach
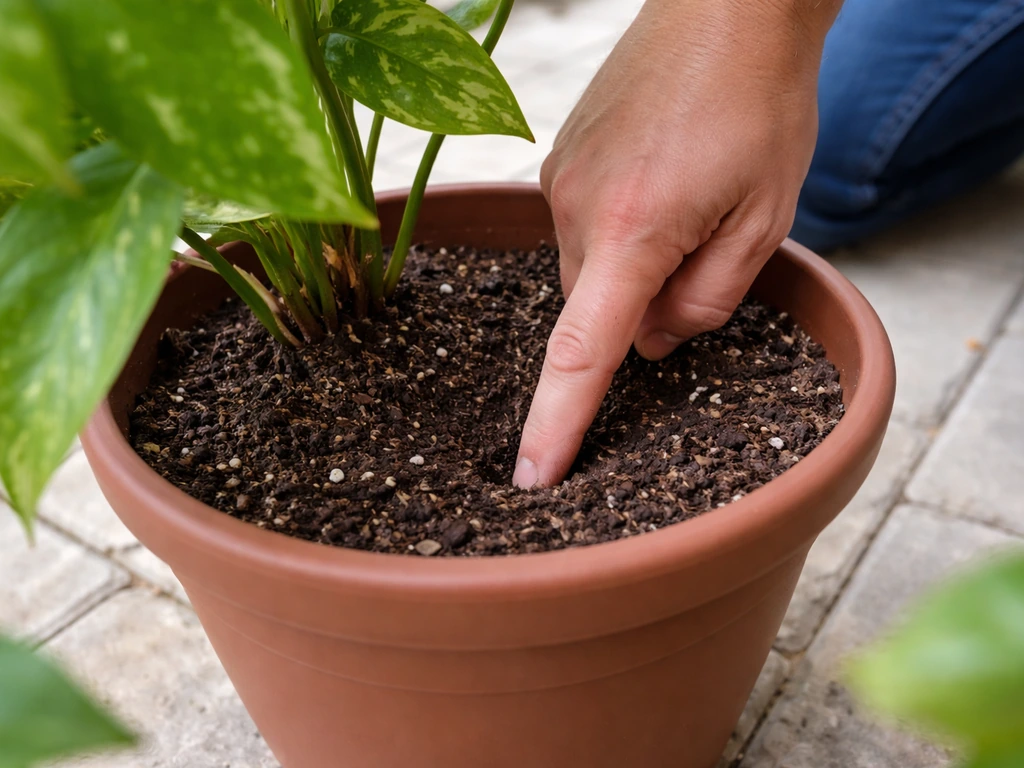
The most reliable watering method for containers is also the simplest: feel the soil. Push your finger about an inch into the potting mix. If it feels dry at that depth, water thoroughly. If it still feels moist, leave it for another day. When you do water, water until it runs freely out of the drainage holes, not just a splash on the surface. This ensures moisture reaches the lower root zone and doesn't just wet the top layer.
Another technique I find really useful is lifting the pot. A dry container is noticeably lighter than a watered one. Once you've done this a few times with the same pot, you develop an instinct for it without even getting your hands dirty. This is especially handy for large or heavy pots where sticking a finger in is awkward.
Container soil dries out faster than in-ground beds, especially in windy spots or during hot weather. In peak summer, a small pot in full sun may genuinely need watering twice a day. If that's not realistic for you, move to a larger container or consider self-watering pot inserts, which act as a reservoir and extend time between watering. Wilting is often the first visible sign of drought stress, and while plants usually recover if you catch it quickly, repeated wilting weakens them over time.
Overwatering is just as dangerous as underwatering, and in my experience it's actually the more common mistake. Water fills the air pockets in potting mix, cutting off oxygen to the roots. Yellowing leaves combined with soft or mushy stems, and a pot that's heavy but the plant still looks stressed, are classic overwatering signals. If you're unsure which problem you have, check the soil first: soaking wet soil plus a wilting plant almost always points to overwatering or root rot, not drought.
Planting methods: seeds vs seedlings (and when to repot)
Both seeds and seedlings work well in containers, and the right choice usually comes down to timing and convenience.
Starting from seed
Seeds give you more variety choice and are cheaper per plant, but they require more time and a bit more attention early on. Start seeds in small trays or pots, and transplant seedlings to their own individual containers as soon as the first true leaves appear (the second set of leaves that look like the adult plant, not the initial seed leaves). Don't leave multiple seedlings crowded in one small pot, that's a fast track to weak, leggy plants competing for light and nutrients.
If you're starting seeds indoors before moving plants outside, hardening off is an essential step that's easy to skip and easy to regret. Hardening off means gradually exposing your seedlings to outdoor conditions over one to two weeks, starting with an hour or two of sheltered outdoor time and building up. The goal is to allow the plant tissue to toughen up from soft, indoor growth to firmer, weather-ready growth. Skipping this step and moving plants straight outside often results in scorched, wilted, or set-back seedlings.
Starting from seedlings or cuttings
Buying seedlings from a nursery or propagating from cuttings is the faster, lower-risk option. You skip the germination stage entirely and get a head start on the growing season. For beginners or anyone who wants results sooner, I'd recommend starting with seedlings for at least your first season. You'll still learn plenty about potting, watering, and feeding without the added complexity of seed germination.
When and how to repot
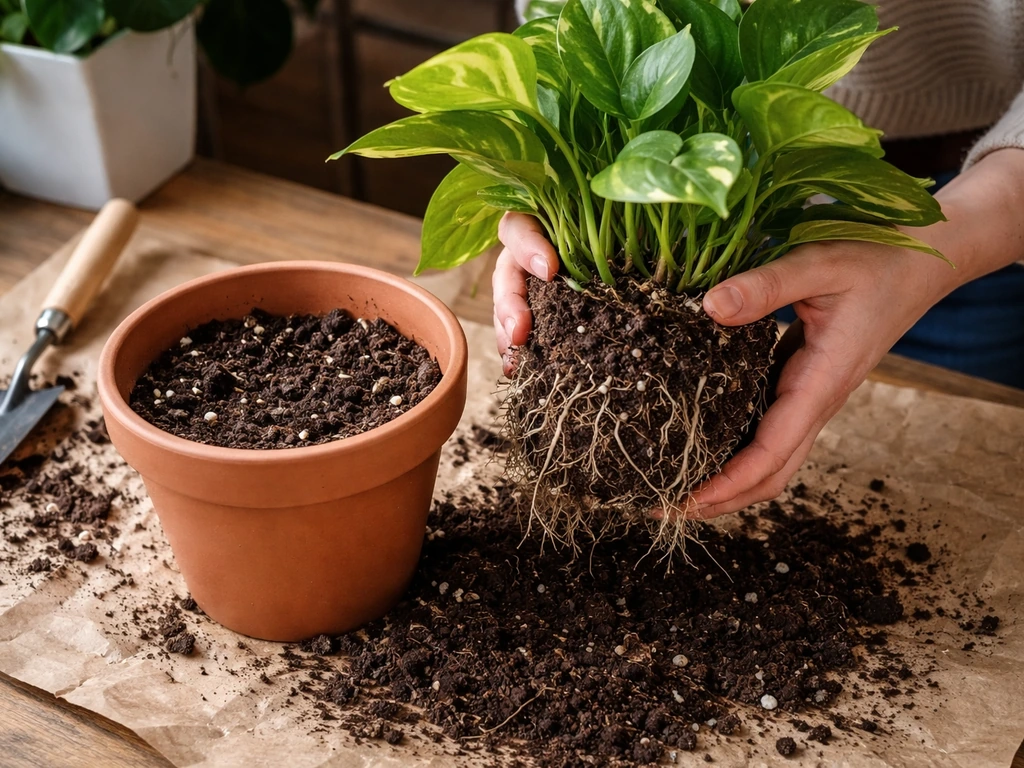
Plants need repotting when they've outgrown their container, not on a fixed schedule. The clearest signs are roots appearing on the soil surface, roots emerging from the drainage holes, or circling roots visible around the outside of the rootball when you tip the plant out. A plant that wilts very quickly after watering and seems to dry out unusually fast is often root-bound.
When you repot, go up one size, usually 2 inches wider in diameter, rather than jumping to a huge container. If you find circling roots, gently loosen or cut them before replanting, this stops them from continuing to spiral and eventually girdling the plant. Spring is the best time to repot most plants, just as active growth begins.
Ongoing care: pruning, training, temperature, and airflow
Once your plant is established and growing, a little ongoing attention keeps it performing well all season. This is the part that separates a plant that limps through summer from one that genuinely thrives.
Pruning and training
Deadheading (removing spent flowers) is the single highest-impact pruning task for flowering container plants. It redirects the plant's energy from producing seeds into producing more flowers, which extends the display for weeks or even months. Just snip or pinch off the faded flower and its stalk back to a set of healthy leaves.
Pinching back means removing the growing tip of a young plant to encourage it to branch outward rather than grow tall and leggy. This is particularly useful for annuals like petunias, basil, and coleus. Petunias especially tend to get long and stringy by midsummer, and a hard cut back (removing about a third of the plant) followed by a feed will give you a second flush of compact, flowering growth. It feels brutal the first time you do it, but it genuinely works.
For vining or climbing plants like tomatoes or cucumbers, some training onto a stake or trellis keeps them manageable in a container and improves airflow around the stems, which reduces disease risk.
Temperature and airflow
Containers heat up and cool down faster than in-ground beds because they're more exposed. In summer, a dark-colored pot in full sun can heat the root zone significantly, stressing roots. Wrapping pots in light-colored material or moving them to a spot with afternoon shade during heat waves helps. In early spring and autumn, containers are vulnerable to frost: a frost-tolerant plant in the ground may not survive in a pot because the roots have no soil insulation. Bring frost-sensitive containers under shelter, into a greenhouse, or against a warm wall when temperatures drop.
Good airflow around your plants reduces the risk of fungal diseases like powdery mildew, which thrive in still, humid air. Don't crowd containers together too tightly, and make sure air can circulate through the foliage. This is especially important on balconies and in sheltered courtyards where air can be stagnant.
Pest, disease, and common container problems
Container plants can get all the same pests and diseases as garden plants, and in some ways they're more vulnerable because they can't tap into the larger ecosystem of beneficial insects that a full garden provides. The good news is that problems are usually easy to spot early when you're checking a small number of pots regularly.
Common pests
The most frequent container plant pests are aphids, spider mites, whiteflies, and fungus gnats. Aphids cluster on new growth and flower buds, sucking sap and leaving a sticky residue. Spider mites cause stippling and fine webbing, usually when conditions are hot and dry. Whiteflies are tiny, white, flying insects that cluster on leaf undersides and cause yellowing. Fungus gnats are more annoying than damaging to adult plants, but their larvae live in moist potting mix and can damage young seedling roots. Letting the surface of your potting mix dry out between waterings is the most effective control for fungus gnats.
For aphids and spider mites, a strong spray of water to knock them off, or an application of insecticidal soap, handles most infestations. Fungus gnats and whiteflies are harder to eliminate completely, but sticky yellow traps catch adults and monitoring helps you catch problems before they escalate. It's also worth knowing that fungus gnats can spread root-rot fungi, so dealing with them isn't just cosmetic.
Disease and root problems
Root rot caused by water-mold fungi like Pythium and Phytophthora is the most serious disease problem in containers, and it's almost always linked to overwatering or poor drainage. The symptoms look deceptively like drought: wilting, yellowing, and dieback, because the rotted roots can no longer deliver water even when the soil is wet. If you tip a plant out and the roots are brown, slimy, or have no white tips, root rot is likely already underway.
Prevention is much more effective than cure. Use a well-draining potting mix, ensure your drainage holes are adequate, and don't let containers sit in standing water. If you catch root rot early, you can remove the affected roots, repot into fresh mix, and reduce watering. Severe cases are usually fatal, but you can often save a cutting from the healthy upper growth.
Troubleshooting quick reference
| Symptom | Most likely cause | Fix |
|---|---|---|
| Yellowing older/lower leaves | Nitrogen deficiency | Feed with a balanced or nitrogen-rich fertilizer |
| Lush growth, no flowers or fruit | Too much nitrogen | Switch to a bloom/tomato fertilizer with higher P and K |
| Wilting despite wet soil, heavy pot | Overwatering or root rot | Check roots, repot into fresh mix, reduce watering |
| Wilting and dry, very light pot | Underwatering or too-small pot | Water thoroughly; consider upsizing container |
| Pale, washed-out leaves overall | General nutrient deficiency from leaching | Start a regular liquid feeding schedule |
| Sticky residue or distorted new growth | Aphids | Spray off with water or apply insecticidal soap |
| Fine webbing on leaves, stippled surface | Spider mites | Increase humidity, spray with water or insecticidal soap |
| Tiny flies around soil surface | Fungus gnats | Let soil surface dry out; use yellow sticky traps |
| Roots out of drainage holes or on soil surface | Root-bound plant needing repotting | Repot into a pot 2 inches wider in diameter |
| Leaves soft or mushy, plant collapsing | Advanced overwatering / root rot | Remove from pot, cut affected roots, repot and reduce watering |
Do this today: your container garden checklist
Whether you're just starting out or doing a mid-season check on existing pots, here's what to actually do right now.
If you're setting up a new pot
- Pick a plant that matches your available light: 8+ hours for fruiting and flowering, 6 hours for root vegetables, 4 hours minimum for herbs and leafy greens.
- Choose a pot that's large enough for the plant's mature size, with at least quarter-inch drainage holes every 2 to 3 inches across the base.
- Fill it with quality potting mix, not garden soil. Look for mixes containing peat or coir, perlite, and composted bark.
- Mix in a slow-release fertilizer if the potting mix doesn't already include one.
- Plant at the right spacing: roughly one plant per 8 to 12 inches of pot diameter.
- Water thoroughly until it runs from the drainage holes, then place the pot in its right light position.
Ongoing care checklist (do this weekly)
- Check soil moisture with your finger or by lifting the pot, and water only when the top inch feels dry.
- Look under leaves and at new growth for early signs of pests.
- Remove any dead or yellowing leaves and deadhead spent flowers.
- Check that drainage holes are not blocked.
- Top up liquid feed every 1 to 2 weeks during active growing season.
- Rotate pots a quarter turn each week if they're against a wall or fence, so all sides get even light.
How to know your plant is actually thriving
Success in a container for <a data-article-id="5D216519-E9EB-43DE-9391-B268FEF7D63D">how to grow money plant in pot</a> looks like: steady new leaf growth at the tips, deep green (not yellow or pale) foliage, flowers opening and continuing to develop, and fruit setting and sizing up. If you tip the plant slightly out of its pot (carefully), you should see white root tips actively growing. That's a healthy root zone. If growth has stalled, leaves are off-color, or the plant looks the same as it did three weeks ago, something is limiting it. Work through the troubleshooting table above: it's almost always watering, nutrition, or pot size.
Container gardening has a short feedback loop compared to in-ground gardening, which is actually one of its great advantages for learning. When something goes wrong, you usually see the signs within days rather than weeks, and you can fix it quickly. Don't be discouraged by a failed pot, it's information. Note what happened, adjust one variable, and try again. Most experienced container gardeners I know have a running list of things they've tried that didn't work, and that's exactly how they got good at it.
FAQ
How do I know if my potting mix is dry enough before watering again?
Most container problems come from watering the wrong way, not the wrong plant. If you use the finger test, water until runoff and then stop, wait for the top inch to dry (and for the pot to feel lighter), then repeat. Avoid “frequent small sips,” they keep the lower roots oxygen-starved and often trigger root problems.
Can I put my container plant on a saucer and not remove the water?
Yes, but only if the roots still get enough oxygen. A common approach is a saucer under indoor pots, then empty it 10 to 30 minutes after watering. If you leave water sitting longer, the pot can stay waterlogged even when the surface looks dry.
Is there a specific time of year I should repot containers?
For most container plants, the best time to repot is just as active growth starts, typically spring for outdoor growers. If you notice circling roots or drainage holes packed with roots mid-season, you can repot earlier, but plan for extra watering control and slower growth for a few weeks.
What should I do first if my container plant looks sick, fertilizer or watering changes?
Add only one “adjustment” at a time. If leaves yellow and growth is stalled, first confirm drainage and watering rhythm, then start with a light feeding plan (for example, diluted liquid fertilizer every 1 to 2 weeks) rather than immediately switching potting mix or doubling nitrogen.
Why does my tomato plant grow lots of leaves but not fruit?
A lot of gardeners overdo nitrogen for leafy plants, but underfeed flowering and fruiting types. If you want tomatoes, peppers, or flowering plants to set properly, use a fertilizer relatively higher in phosphorus and potassium, and avoid late-season heavy nitrogen that keeps plants vegetative.
How much should I pinch or harvest herbs in containers without stressing them?
It depends on what your goal plant is. If you are growing herbs for frequent harvest, gentle pinching is great. If you are trying to get maximum basil size before cutting, do most harvesting in small portions and never strip more than about a third at once, then feed lightly after pruning.
Does pot color affect watering needs and plant health?
Dark pots dry and heat faster, especially in direct sun. If your pot is in strong afternoon sun, either move it to morning-only light, use a larger container to buffer moisture swings, or choose a lighter pot material to reduce root-zone overheating.
How do I avoid over-fertilizing if I already mixed in slow-release fertilizer?
If you use slow-release fertilizer, reduce how often you add liquid feed. A practical rule is: when slow-release pellets are in the mix, switch to liquid feeding only during active flowering or when growth pale, stalled, or weak indicates it is running low.
What is the most effective way to stop fungus gnats in container potting mix?
For fungus gnats, the key is drying the top layer without letting the entire root zone desiccate. Let the top inch dry between waterings, and consider covering the mix surface with a thin layer of horticultural sand or grit to discourage egg laying.
How can I tell whether leaf wilting is overwatering or underwatering in a pot?
In containers, a “browning” or drying look can come from two opposite causes. If the soil is wet or stays heavy, assume root stress and check drainage and root health. If the pot is light and the mix is dry, then your watering frequency or pot size is the likely culprit.
Can I mix garden soil with potting mix to save money?
Usually not, because most garden soils compact in containers and lose oxygen. If you absolutely must use something from your yard, mix it with a structured potting component, but the safer beginner choice is to use a bagged container potting mix designed to stay airy.
If roots are poking out of the drainage holes, do I have to repot immediately?
If you see roots emerging from the drainage holes, that is a sign to size up, but you can delay repotting briefly if the plant is healthy and you can keep feeding properly. However, once roots start circling, they keep spiraling and can reduce vigor, so plan repotting soon.