You can absolutely grow elaichi (cardamom) in a pot at home. If you are also wondering how to grow henna plant in pot, focus on choosing a spacious container, well-draining soil, and plenty of bright light grow elaichi (cardamom) in a pot. Start with a rhizome division rather than seeds, use a deep 12-inch pot with excellent drainage, keep it in bright indirect light with high humidity, and you can expect your plant to establish well within the first year and potentially start producing pods in two to three years. It's a slow grower, but it's one of the most rewarding spice plants you can keep on a balcony or near a bright window.
How to Grow Elaichi in a Pot From Planting to Harvest

Marcus Whitley
14 May 2026
Seeds vs. seedlings: the best way to start elaichi in a pot
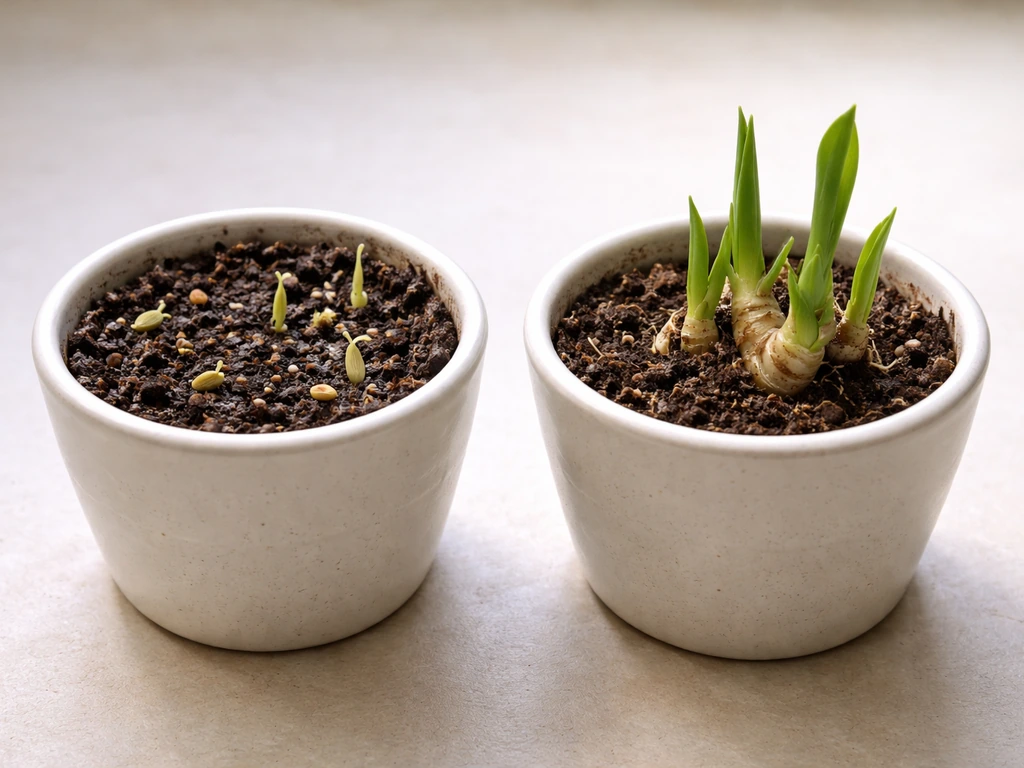
This is the first decision you'll make, and it matters. You have two real options: grow from seed, or start from a rhizome division (a small clump of roots and shoots split from a mature plant). My honest recommendation is to go with a rhizome division every time if you can find one.
Seeds are the harder path. Cardamom seed germination takes around 30 to 40 days under warm, humid conditions, and that's when everything goes right. Seeds must be fresh (dried or old seed often won't sprout at all), the temperature needs to stay consistently warm, and even then germination is uneven. After sprouting, seedlings need another 3 to 6 months in a nursery-like setup before they're robust enough to move into a permanent container. That's a long, uncertain process for a beginner.
Rhizome divisions, on the other hand, give you a head start. A healthy division already has roots, a shoot system, and stored energy. It's genetically identical to the parent plant, so you know what you're getting. The one caution worth knowing: vegetative propagation can occasionally transmit mosaic virus if the parent plant was infected, so always source your division from a visibly healthy, vigorous plant. Once you have a good division, establishment is much faster and far more predictable than seeds.
If seeds are your only option, soak them in warm water for 24 hours before sowing, press them about 1 cm deep into moist seed-starting mix, cover the tray with a plastic lid or wrap to hold humidity, and keep it somewhere warm (around 25 to 30°C). Be patient. Forty days feels like forever, but it's normal.
Picking the right pot, spot, and container setup
Pot choice is more important for cardamom than for most plants, because the rhizomes spread horizontally and the plant genuinely dislikes being cramped. Go with a pot that's at least 12 inches wide and 10 to 12 inches deep. Terracotta is fine and helps prevent waterlogging, but any container works as long as it has multiple drainage holes at the bottom. A single hole isn't enough. If water can't escape freely, you'll get root rot, and cardamom rhizomes are very susceptible to rot caused by Pythium and Fusarium fungi.
For indoor placement, put the pot near an east- or west-facing window where it gets bright, indirect light for most of the day. Cardamom is naturally a forest understory plant, so it's built for filtered light, not harsh direct sun. Direct afternoon sun will scorch the leaves quickly. If you're on a balcony or terrace, morning sun is fine, but make sure it's shaded from noon onward. A spot under a shade net or beneath a larger plant canopy works well outdoors.
Humidity is the other big factor people overlook. Cardamom wants it humid. If you're growing indoors, place the pot on a tray filled with pebbles and water so the evaporating water raises humidity around the leaves. Mist the leaves a few times a week, especially in dry seasons or in air-conditioned rooms. A small humidifier nearby works brilliantly if you're serious about the plant thriving.
Getting the potting mix right and planting your elaichi
The potting mix for cardamom needs to do two things at once: drain excess water quickly so roots don't sit wet, and still hold enough moisture that the rhizomes don't dry out completely between waterings. That sounds contradictory, but it's easy to achieve with the right recipe.
A good all-purpose mix for container cardamom is two parts good-quality potting soil, one part coarse river sand or perlite, and one part coco peat or compost. This gives you aeration, drainage, and moisture retention in one go. Keep the soil pH between 5.5 and 6.8 (slightly acidic to near-neutral). If you're unsure of your soil's pH, a basic pH testing kit from a garden store can help, and adding compost usually nudges things in the right direction naturally.
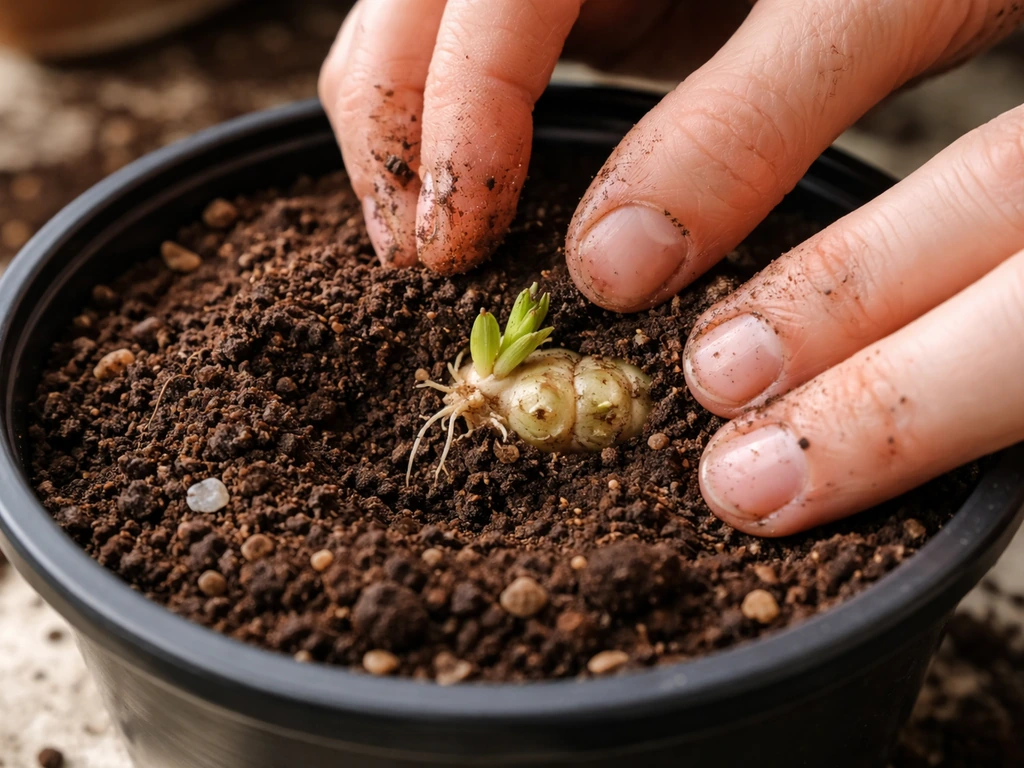
Before filling the pot, add a layer of gravel or broken pot shards at the bottom to prevent the drainage holes from getting clogged. Fill the pot about two-thirds with your mix, then place the rhizome division so that the top of the rhizome sits about 2 to 3 cm below the soil surface. Don't plant it too deep. Cover with the remaining mix, firm it gently, and water it in well. If you're potting multiple divisions in a large container, space them at least 20 to 25 cm apart to give each clump room to spread.
Watering, humidity, and temperature: getting the daily care right
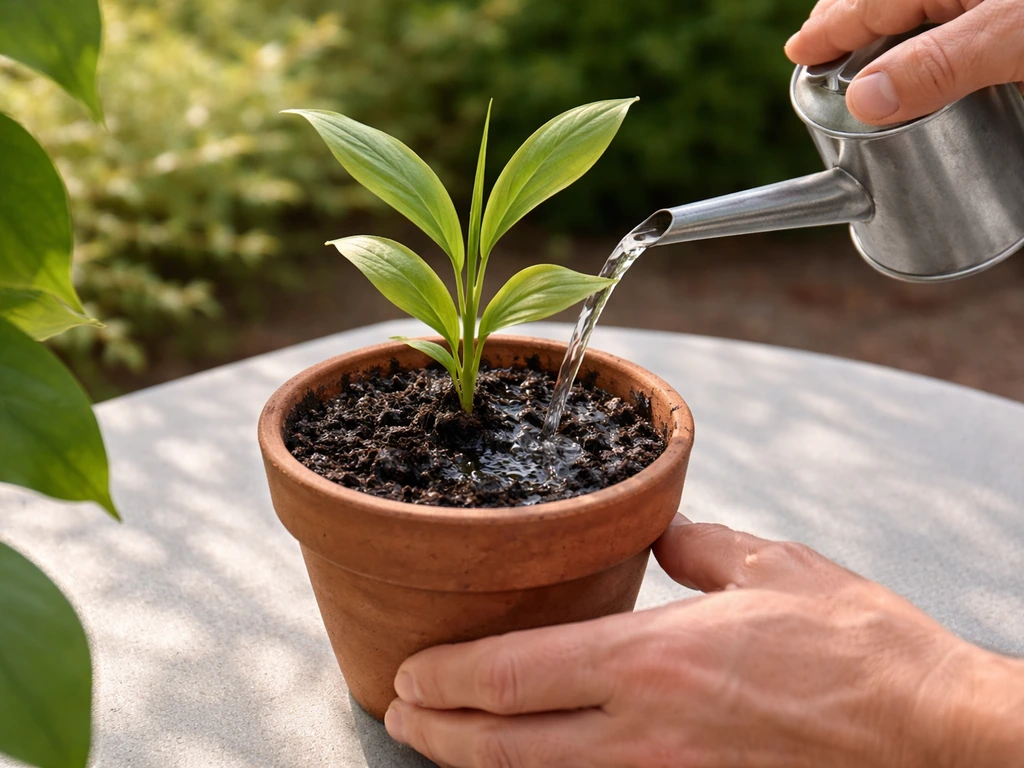
Watering is where most beginners go wrong with cardamom in pots. The plant likes consistently moist soil, but it absolutely cannot tolerate soggy, waterlogged conditions. The practical rule I follow: water when the top inch of soil feels dry to the touch, and water thoroughly so it drains out of the bottom. Then wait. Don't water again until that top inch dries out. In hot or dry weather, this might mean watering every two to three days. In cooler or humid months, once a week might be enough.
Temperature-wise, cardamom is a tropical plant that prefers warmth year-round. It does best between 18 and 35°C. It really doesn't like cold, and anything below about 10°C will stress the plant significantly. If you're in a climate with cold winters, bring the pot indoors before temperatures drop. Indoors, keep it away from cold drafts, air conditioning vents, and heaters, which dry out the air.
For humidity, aim for at least 50 to 70% relative humidity around the plant. The pebble tray trick mentioned earlier genuinely helps, and so does grouping your cardamom pot with other tropical plants, since they all release moisture as they breathe. If the leaf tips are browning or curling, low humidity is usually the culprit.
Feeding your container cardamom: a simple fertilizing schedule
Cardamom in a pot needs regular feeding because nutrients in container soil get used up and wash out much faster than in the ground. During the active growing season (roughly spring through early autumn), feed the plant every two to four weeks. Two approaches work well here.
The first is a liquid fertilizer with higher nitrogen content relative to potassium. Nitrogen drives leafy, green growth, which is what you want while the plant is establishing. Apply it diluted to half strength every two weeks during the growing season, as recommended for houseplants. The second option, if you prefer organic gardening, is compost tea or a balanced organic fertilizer every four to six weeks. Both work. Organic feeding tends to improve soil structure over time and is gentler on the roots.
In winter, when growth slows, cut feeding back to once a month or stop entirely. Never feed a stressed, underwatered, or newly repotted plant. Always water the soil first before applying liquid fertilizer so you don't burn the roots with concentrated nutrients hitting dry soil.
Pests and diseases to watch for (and how to fix them fast)
Container cardamom is reasonably tough, but a few issues come up regularly. Knowing what to look for early saves the plant before damage gets serious.
| Problem | What you'll see | Quick fix |
|---|---|---|
| Spider mites | Fine webbing on undersides of leaves, stippled/yellow patches | Increase humidity immediately, spray neem oil diluted in water, isolate the pot |
| Mealybugs | White cottony clusters at leaf joints and on new growth | Dab with alcohol-soaked cotton, follow with neem oil or insecticidal soap spray |
| Scale insects | Brown bumps on stems and leaves, sticky residue | Scrape off manually, treat with neem oil or insecticidal soap |
| Leaf spot | Brown or black spots with yellow halos on leaves | Remove affected leaves, improve air circulation, avoid wetting leaves at night |
| Rhizome rot | Yellowing, wilting despite moist soil, foul smell from roots | Remove plant, cut off rotten roots, let dry briefly, repot in fresh dry mix, reduce watering |
| Damping off (seedlings) | Seedlings collapse at soil level | Improve drainage, reduce watering, use sterile seed-starting mix |
Spider mites thrive when the air around the plant is too dry, so they're a direct signal that you need more humidity. Neem oil is your go-to solution for most soft-bodied pests. Mix about 5 ml of neem oil with a few drops of dish soap in a litre of water, shake well, and spray all leaf surfaces including the undersides every five to seven days until the infestation clears.
The most important prevention for all fungal diseases is good air circulation around the pot and avoiding chronic wetness at the soil surface. Sanitation and avoiding chronic wetness are key early steps because major cardamom diseases include capsule rot, rhizome or clump rot, seedling rot or damping off, and leaf spots or blights.
Growth timeline and what to expect on the way to pods
I want to be upfront about this: cardamom is a slow plant. If you go in expecting fast results, you'll get frustrated. But if you understand the timeline, you can enjoy each stage.
- Months 1 to 3: A rhizome division settles in and begins pushing up new shoots. Growth looks slow but root establishment is happening underground. Don't panic if nothing seems to be happening above soil for a few weeks.
- Months 3 to 6: Visible new leaves and stems emerge. The plant starts to look like a proper clump. This is when consistent watering and feeding really starts to pay off.
- Months 6 to 12: The plant matures into a fuller clump. Suckers (new shoots from the base) appear. Research shows suckers can reach maturity in about 10 to 12 months, which is when reproductive potential begins.
- Year 1 to 2: The plant grows taller (cardamom can reach 1 to 2 metres even in pots) and starts to look lush. No flowers yet at this stage, but this is normal.
- Year 2 to 3: Under good conditions (warmth, humidity, bright indirect light, consistent feeding), flowering can begin. Flowers emerge on trailing spikes from the base of the plant, close to the soil level, not from the top.
- Year 3 onward: Pods may follow flowers if pollination occurs. Most productive growth happens from year four onward. Indoor plants often won't pod without hand pollination or access to pollinators.
Getting pods indoors is the hard part. Cardamom relies heavily on bee activity for fruit set, and indoor plants don't have that. If your plant flowers inside, you can try hand-pollinating by using a small soft brush to transfer pollen between flowers. It takes patience and some luck. Outdoors in a warm climate, pollinators do the work for you. Either way, pods take up to 120 days after flowering to mature, so even once flowering starts, harvest is still months away.
Troubleshooting common problems
- Yellow leaves: Usually overwatering or low light. Check soil moisture and move to a brighter spot before assuming a nutrient problem.
- No new growth for months: Too cold, too dark, or completely root-bound. Check temperature, light, and whether roots are circling the pot.
- Leaves curling or browning at the tips: Low humidity or underwatering. Increase misting and check your watering frequency.
- Seeds not sprouting: Seeds may be old or dried out. Cardamom seed viability drops off quickly. Try fresh seed with a warm, humid setup.
- Plant looks leggy and floppy: Not enough light. Move it closer to the window or add a grow light for 12 to 14 hours per day.
Repotting, harvesting pods, and keeping the cycle going
Cardamom in a pot will need repotting roughly every two to three years, or sooner if you see roots escaping through the drainage holes or the plant wilting quickly after watering (a sign it's too root-bound to hold moisture properly). Move up one pot size at a time, maybe from a 12-inch to a 14 or 16-inch container. Repot in spring when growth is just picking up, use the same mix formula, and give the plant a few weeks without feeding to let the roots settle into the new soil.
Harvest pods when they've changed colour from deep green to a lighter, slightly yellowish green, but before they split open. The USDA’s maturity guidance for pods describes harvesting when pods begin to turn color until the seeds are golden brown, aligning harvest timing with effective seed moisture Harvest pods when they've changed colour from deep green to a lighter, slightly yellowish green. Inside, the seeds should be turning golden-brown. Don't wait too long once you spot colour change. Harvest by snipping the pod off the spike with scissors rather than pulling, which can damage the plant. Pods harvested at the right time are intensely aromatic and far better than anything you'll buy in a packet.
For storage, let the pods dry in a single layer in a warm, airy spot out of direct sunlight for one to two weeks. Once dry, store them whole in an airtight jar away from light and heat. Whole pods keep their flavour for up to a year. Grind seeds only as you need them.
To propagate for a new pot or to share with someone, division is your best option. When repotting, gently separate the rhizome clumps, making sure each division has at least two to three healthy shoots and a good section of roots. Pot each division into its own container with fresh mix and treat it like a new plant. This is exactly how you start the whole rewarding process again, and it's how I've kept a continuous supply of cardamom going in containers for years without buying anything new.
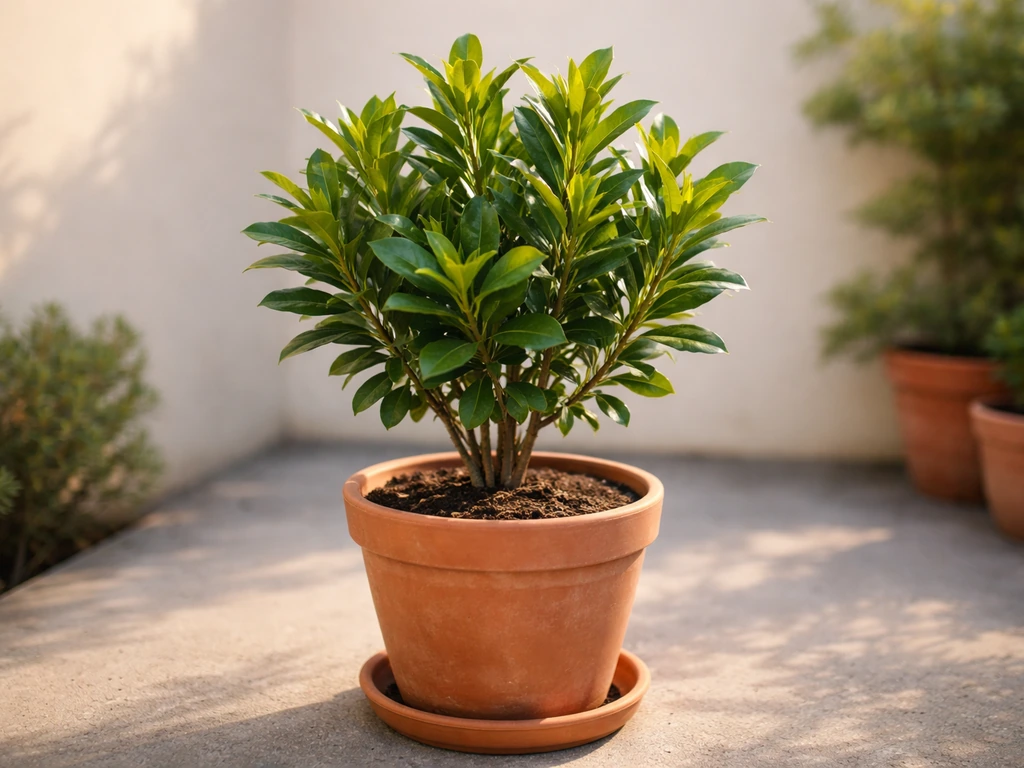
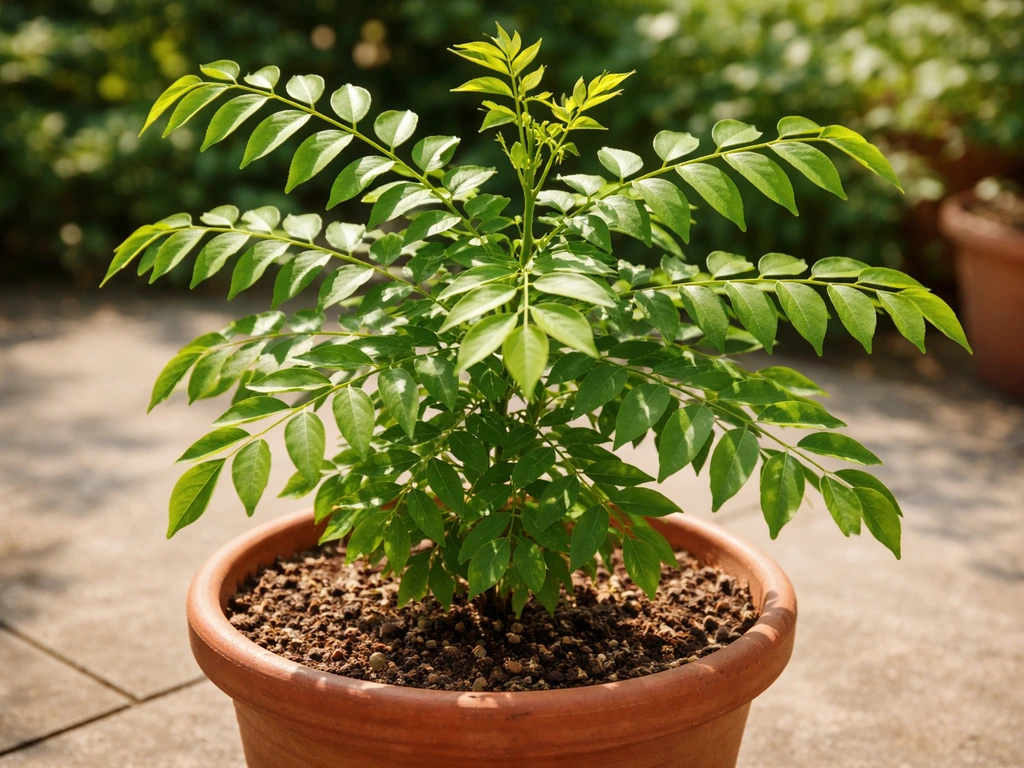
If you enjoy growing tropical spice plants in containers, you might find similar satisfaction growing a curry leaf plant or a bay leaf plant in a pot, both of which share some of the same care principles around warmth, drainage, and regular feeding. If you want another rewarding container tropical, learning how to grow elkhorns in pots can be just as satisfying as these spice plant options tropical spice plants in containers.
If you want a similar container challenge, learn how to grow bay leaves in a pot so you can match the right warmth, watering, and light needs bay leaf plant in a pot. Edelweiss can also be grown in a pot if you give it the right cool conditions, fast drainage, and plenty of light how to grow edelweiss in a pot.
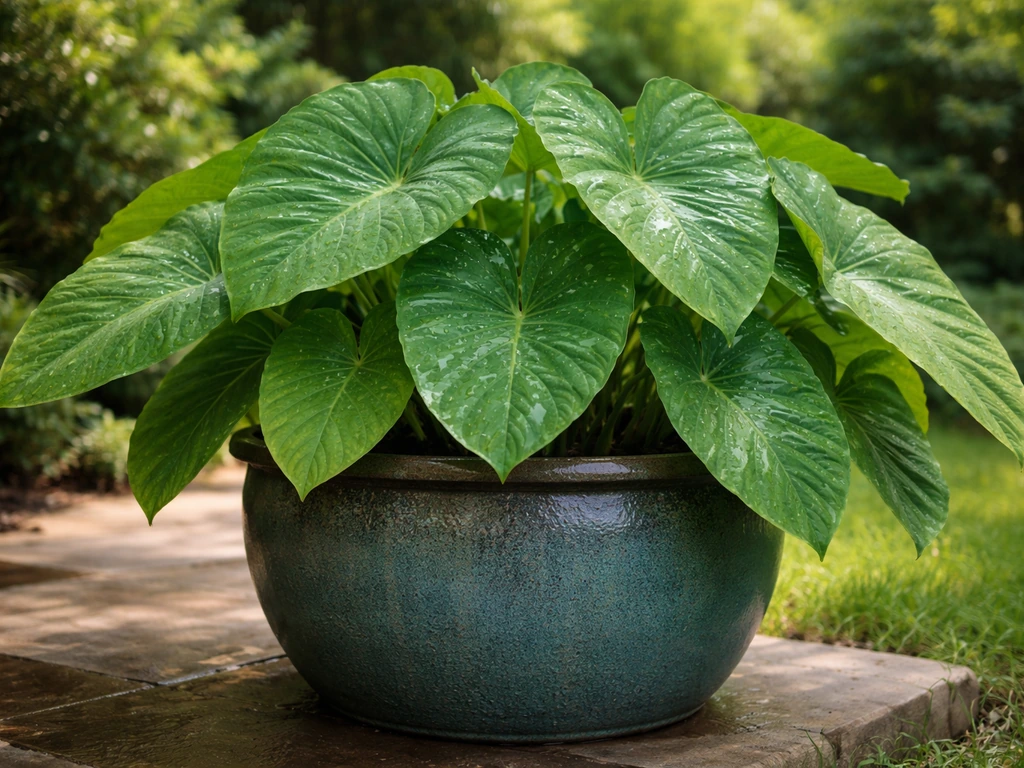
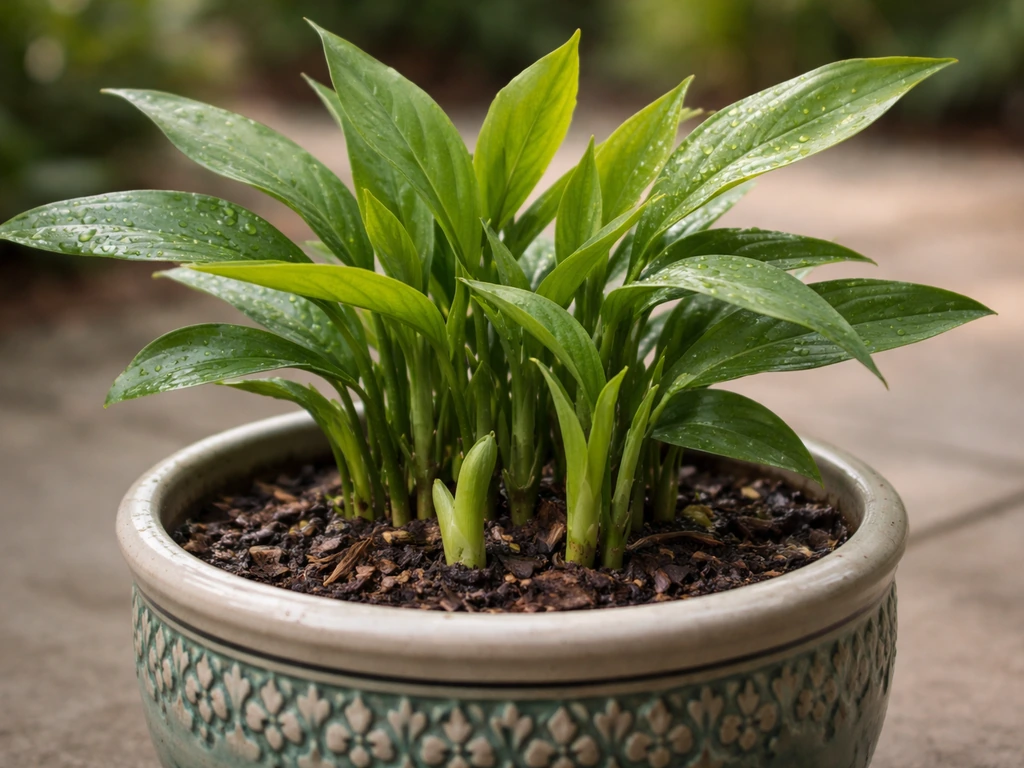
If you want to go beyond elaichi, this pot-care approach can also work for learning how to grow curry leaf plant in a pot. If you want a bigger, more dramatic container plant, you can also learn how to grow elephant ears in a pot with the right warmth, light, and moisture routine. Betel leaf is another tropical container grower worth exploring once you have the hang of high-humidity care.
Betel leaf is a semi-aquatic, high-humidity plant, so you’ll want a warm spot, consistently moist soil, and a pot with excellent drainage to grow it successfully.
FAQ
Why won’t my elaichi rhizome start growing after planting in the pot?
Give it time, but also check three specifics: the rhizome top should be only 2 to 3 cm below the soil surface, the pot must have multiple drainage holes, and the top inch of soil should dry slightly between deep waterings. If the soil stays wet and cool, rhizomes often rot without obvious early signs, so warm the location to above 18°C and improve airflow.
Can I grow elaichi in a shallow pot or a small container?
It usually struggles. Cardamom rhizomes spread horizontally and like room, so use at least 12 inches wide and 10 to 12 inches deep. If you only have a smaller pot, plan on more frequent watering and earlier repotting, and expect lower pod production.
Is it better to keep elaichi in terracotta or plastic for pot cultivation?
Terracotta can help by letting the mix dry faster, which reduces rot risk, but it may dry out too quickly indoors during winter or AC season. Plastic holds moisture longer. Either is fine, as long as drainage is excellent and you monitor the top inch moisture before watering.
How do I know if I’m watering too much or too little?
Overwatering shows up as persistently damp soil, slow yellowing leaves, and a sour smell from the pot. Underwatering shows as leaf droop, crisping edges, and the mix pulling away from the pot sides. Use the “top inch dry” test, then water thoroughly until excess drains out, and never water again until that top inch dries.
Do I need to use fertilizer, or can I grow elaichi without feeding?
You can keep it alive without much feeding, but pods and strong foliage are unlikely in containers. Feed during spring to early autumn every two to four weeks as described in the article, and if you just repotted, wait about two to four weeks before the first fertilizer to let roots settle.
What’s the right way to manage humidity if I have a heater or air conditioner indoors?
Avoid placing the pot near vents, heaters, or cold drafts, since dry air quickly leads to browning or curling leaf tips. Use a humidifier nearby or a pebble tray, and consider lightly misting in the morning only (not at night) so leaves dry before darkness, which helps reduce fungal issues.
Why are my elaichi leaves getting brown tips even though I’m watering regularly?
Brown tips indoors often point to low humidity or salt buildup from water or fertilizer. First, raise humidity to the 50 to 70% range and keep the pot out of direct sun. If tips worsen despite humidity, flush the pot with clean water occasionally to leach excess salts, then resume a light feeding schedule.
Can I grow elaichi from seed successfully in a pot if I keep it warm?
Yes, but success depends heavily on seed freshness and consistent warmth. If your seeds are not fresh, germination can fail even with correct temperature. If you do sow, keep the mix evenly moist under a humidity cover and expect uneven sprouting, then give seedlings a longer nursery-like period before moving them to a permanent larger container.
How do I avoid fungal problems like root rot in container elaichi?
The key is avoiding chronic wetness. Ensure the pot drains freely, do not let water collect in the saucer, and keep air moving around the plant without blasting it with cold drafts. If you suspect rot, stop fertilizing immediately, check roots at repot time, remove any dark mushy parts, and replant into fresh mix.
What should I do if my elaichi flowers but doesn’t set pods indoors?
Indoor fruit set is harder because pollinators are missing. If flowers appear, try hand-pollination using a small soft brush, moving pollen from one flower to another. Timing matters, so pollinate soon after the flowers open and repeat over multiple days. Even with hand-pollination, be prepared for months before pods mature.
How often should I repot, and what signs mean it’s time?
Repot roughly every two to three years, but watch for earlier indicators: roots circling densely, water running through too fast (mix not holding moisture), or the plant wilting soon after watering. Repot in spring, keep the rhizome placement at the same depth, and skip fertilizer for a few weeks after the move.
When harvesting pods, how can I tell the exact best time before they split?
Harvest when pods shift from deep green to a lighter green to slight yellowish green, but before they start opening. If you wait until you see pods beginning to gape, aroma quality drops. Snip with scissors to avoid damaging spikes and the nearby growing points.
How should I store elaichi pods to keep maximum aroma?
Dry them in one layer in a warm, airy place away from direct sun for about one to two weeks, then store whole pods in an airtight jar away from light and heat. Grind only when needed, and avoid keeping pods near spices with stronger odors, since cardamom can absorb nearby scents.