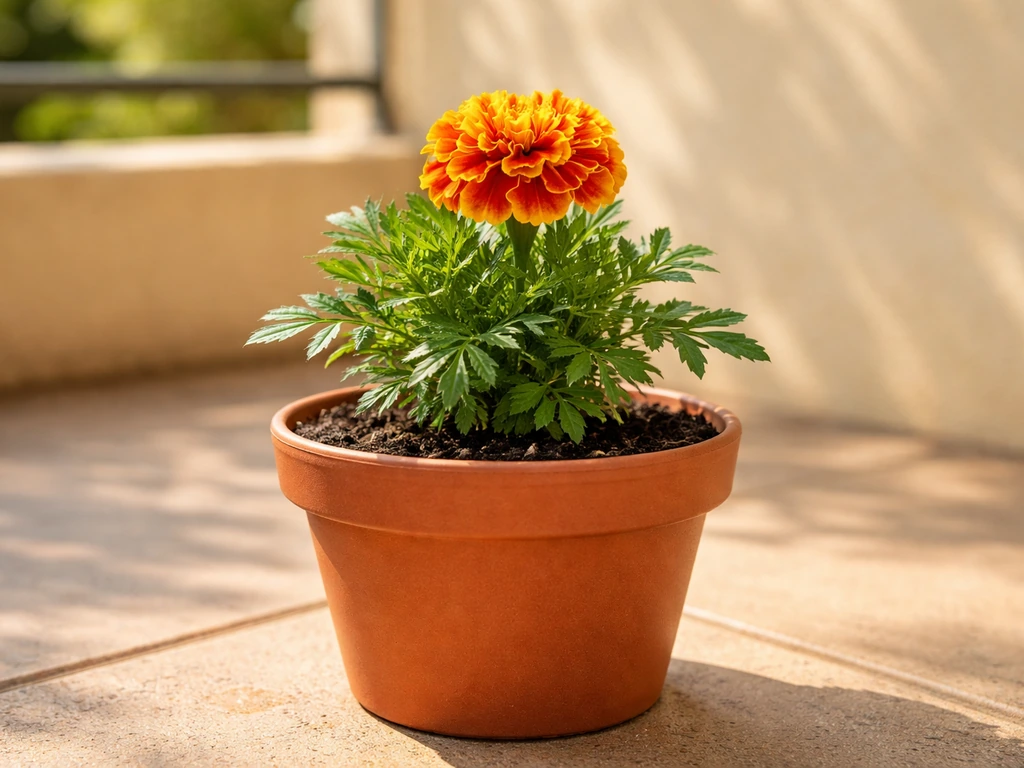
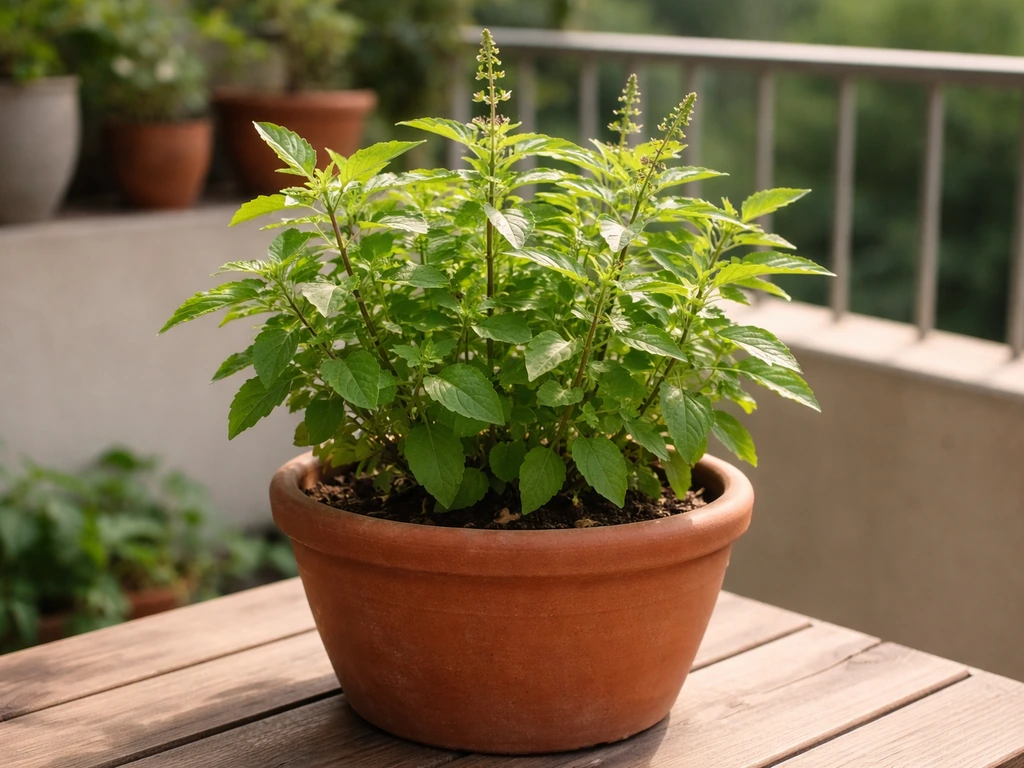
You can grow tulsi in a pot at home without a garden, a greenhouse, or any special equipment. For basil (Ocimum basilicum), Clemson HGIC recommends adjusting soil pH into roughly the 6.0 to 6.5 range blank" rel="noopener noreferrer">basil (Ocimum basilicum) recommends adjusting soil pH into roughly the 6.0 to 6.5 range. Cinnamon also grows well in a pot if you give it warm conditions, bright light, and well-draining soil how to grow cinnamon in a pot. If you are also interested in herbs like marjoram, you can use similar container gardening basics when you learn how to grow marjoram in a pot. Pick a pot at least 8 inches (20 cm) wide, fill it with a well-draining potting mix, give it 6 to 8 hours of direct sun, and water only when the top inch of soil feels dry. That is the core of it. Everything below is just making those basics work reliably, even in a small balcony or a sunny windowsill.
How to Grow Tulsi Plant in Pot at Home: Step by Step

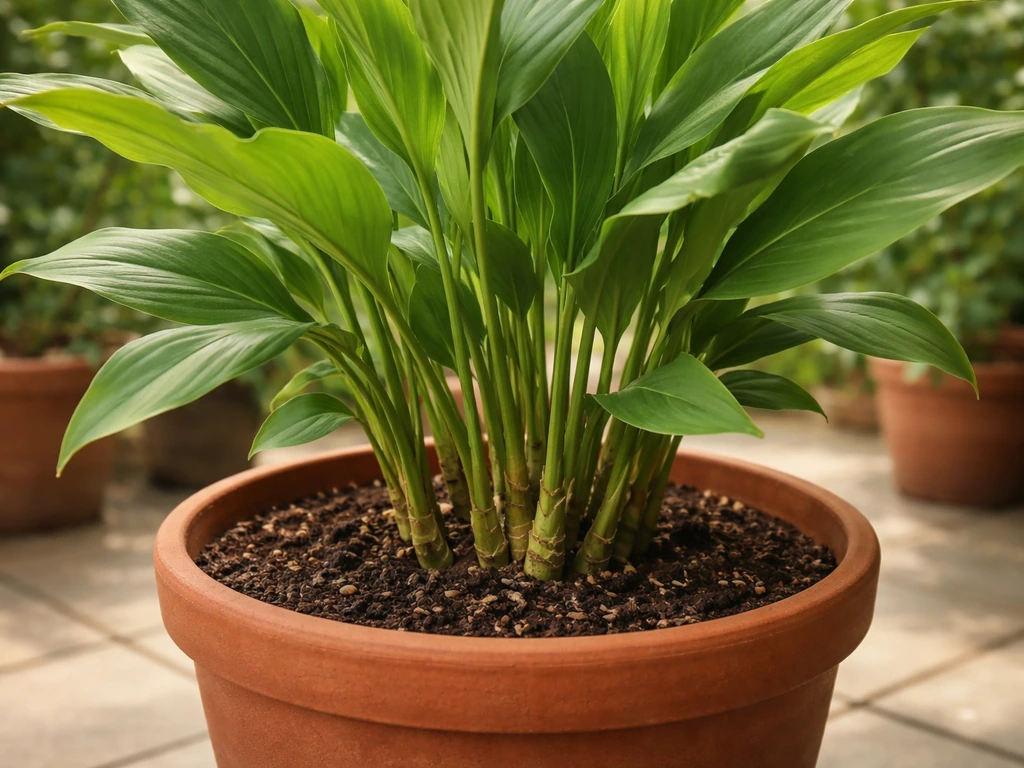
Choosing the right pot and drainage
Start with a pot that is at least 8 inches (20 cm) in diameter. Tulsi has a decent root system and can get leggy and stressed in anything smaller. If you want a fuller, bushier plant that you can harvest from regularly, go up to a 10 or 12-inch pot. Terracotta, plastic, and ceramic all work fine. Terracotta breathes a little better, which helps prevent overwatering mistakes, but plastic is lighter and holds moisture longer, which is useful if you tend to forget watering. Either is fine as long as drainage is sorted.
Drainage is not optional. Tulsi sitting in waterlogged soil develops root rot fast, and once that happens, it is very hard to bring back. Make sure your pot has at least one drainage hole. For pots in the 8 to 10-inch range, aim for holes roughly 1/4 to 1/2 inch wide. A quick test before you plant anything: fill the empty pot with water and watch how fast it empties. If it drains in under a minute or two, you are in good shape. If it sits there, water will pool around your roots and cause trouble. You can cover the holes with a small piece of mesh or a broken terracotta shard to stop soil from washing out without blocking drainage.
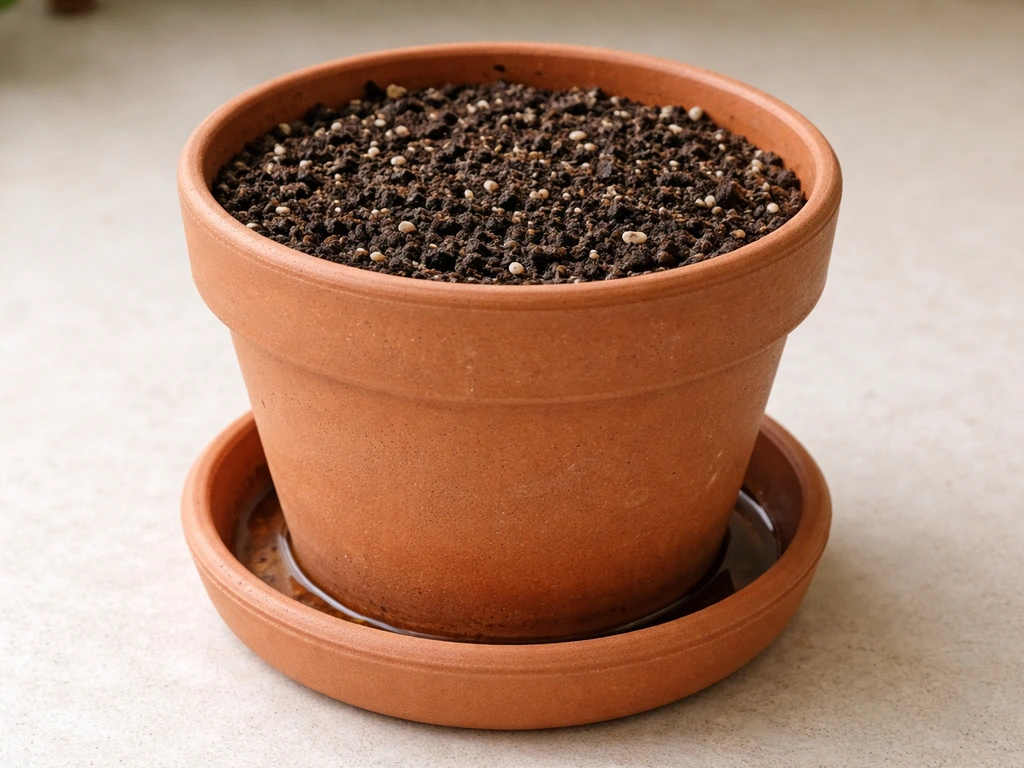
Best soil mix for tulsi in containers
Do not use garden soil straight from the ground in a pot. It compacts quickly in containers, drains poorly, and often brings pests and pathogens with it. Tulsi wants loose, well-draining soil that still holds some moisture and nutrients. A good mix for container tulsi is two parts good quality potting mix, one part coarse perlite or sand, and one part compost. The potting mix gives structure, the perlite or sand keeps it from getting waterlogged, and the compost gives a slow, gentle nutrient boost right from the start.
Tulsi prefers a slightly acidic to neutral pH, somewhere in the 6.0 to 7.0 range. Most commercial potting mixes already sit in this zone, so you generally do not need to test or adjust unless your plant keeps looking unhappy despite good care. If you are buying a bag of potting mix, look for one labeled for herbs or vegetables. These tend to be lighter and better draining than all-purpose mixes.
Planting tulsi: seeds vs sapling or cuttings
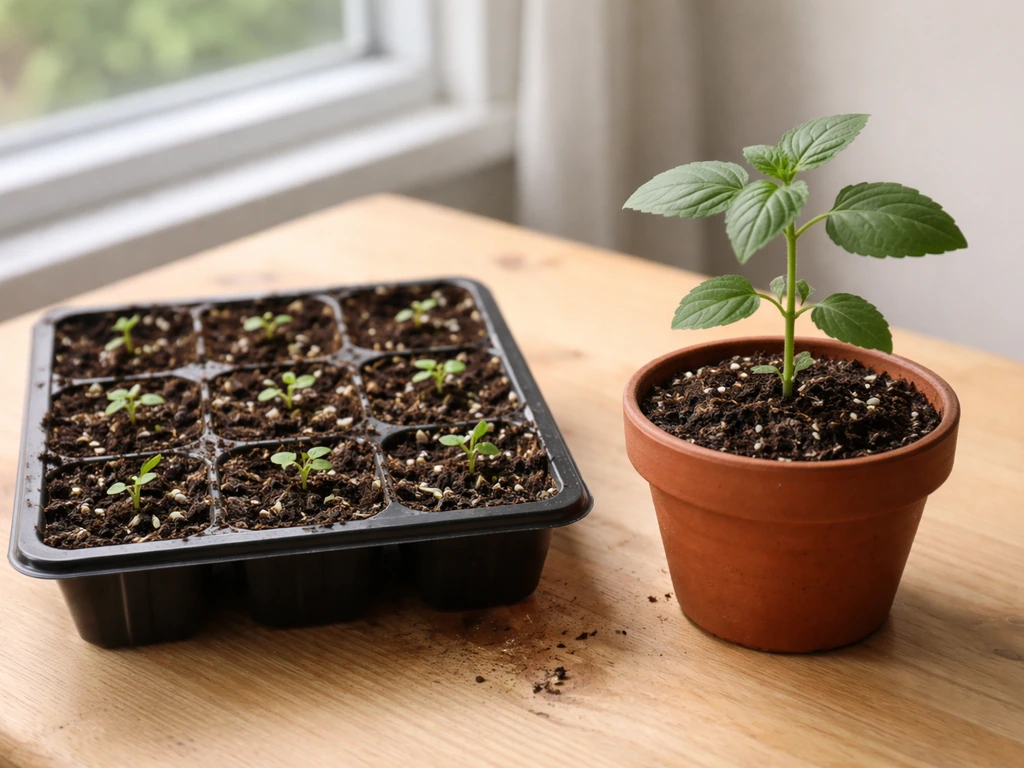
You have three ways to start tulsi in a pot: seeds, a bought sapling, or cuttings from an existing plant. Each has a trade-off.
| Method | Time to usable plant | Difficulty | Best for |
|---|---|---|---|
| Seeds | 4 to 6 weeks to transplant-ready seedlings, then another 3 to 4 weeks to harvest | Easy but slow | Beginners who want to learn from the start |
| Sapling (bought) | Ready to grow immediately, harvest in 2 to 3 weeks | Easiest | Anyone who wants quick results |
| Cuttings | 2 to 3 weeks to root, then growing right away | Easy with a healthy donor plant | Gardeners who already have a tulsi plant |
Starting from seeds
Sow tulsi seeds about 1/8 inch deep in moist potting mix. Keep the temperature between 65 and 70°F (18 to 21°C) and expect germination in roughly 5 to 14 days. Seeds germinate faster with warmth, so if your home is cool, set the pot on top of a refrigerator or near a warm appliance. Once seedlings are a few centimetres tall and have two or three sets of true leaves, thin them to one plant per pot or transplant them into their final container. If you are starting seeds indoors to eventually move plants outside, time it about 4 weeks before you plan to put them outdoors permanently.
Using cuttings
Cuttings are probably the fastest way to get a productive plant if you already have access to a healthy tulsi. Cut a stem that is about 10 to 15 cm long, strip off the lower leaves, and place it in a glass of water or directly into moist potting mix. In water, you will see small white roots appear in about 1 to 2 weeks. Once roots are around 2 to 3 cm long, pot the cutting up into your prepared container mix and treat it like a young plant. Keep it out of harsh direct sun for the first few days while it adjusts.
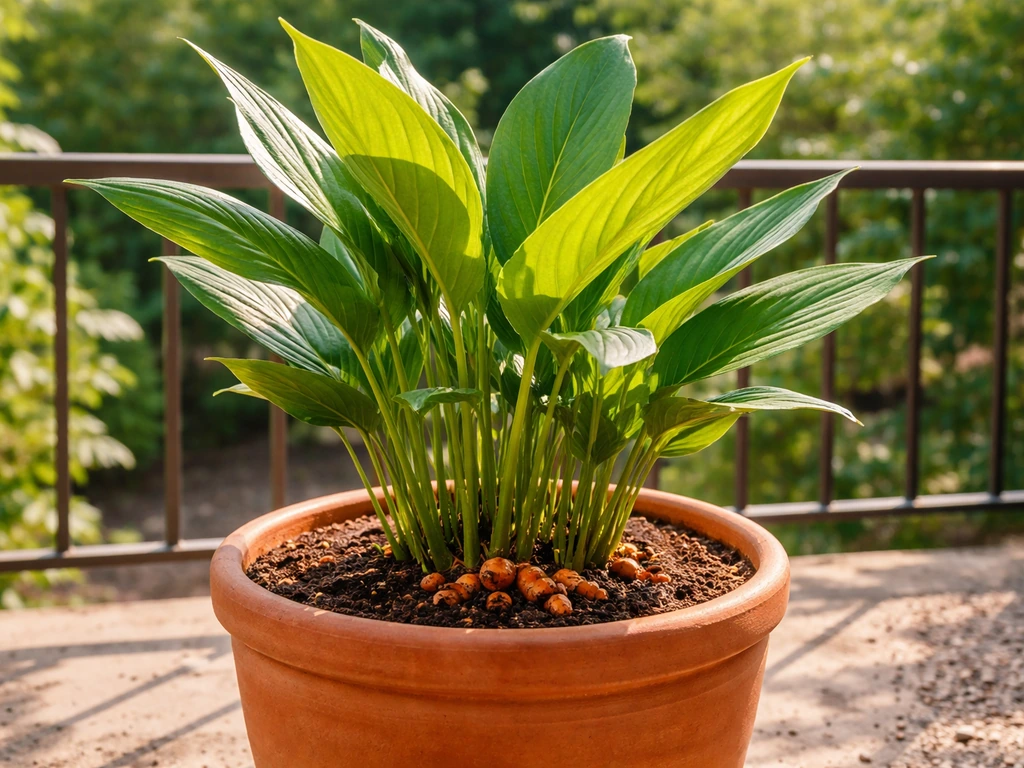
Light, placement, and temperature for container tulsi
Tulsi loves sun. It needs a minimum of 6 to 8 hours of direct sunlight each day to grow well, produce plenty of leaves, and stay healthy. The absolute best spot for a pot of tulsi is a south or west-facing balcony, window ledge, or rooftop where it gets uninterrupted morning and afternoon sun. East-facing spots work if the afternoon shade is not too harsh. North-facing spots are usually too dark and result in a tall, thin, weak plant that barely produces.
Temperature-wise, tulsi is a tropical plant and it thrives between 20 and 35°C (68 to 95°F). It starts to struggle below 10°C (50°F) and will die if it hits frost. If you are in a climate with cold winters, bring the pot indoors before temperatures drop at night. A sunny indoor windowsill can keep it alive through winter, though growth slows noticeably. The pot is your biggest advantage here compared to growing in the ground: you can move it as the seasons change. This is also true for other container herbs like marjoram, where portability makes seasonal care much easier.
Watering routine and signs of over or under-watering
The single most common mistake with pot-grown tulsi is overwatering. In a container, water has nowhere to go except down and out of the drainage hole, so the soil can stay wet longer than you expect. The rule is simple: push your finger about an inch into the soil. If it feels dry at that depth, water thoroughly until you see water draining freely from the bottom of the pot. Water tulsi frequently but avoid soggy soil; let the top layer (about an inch) dry slightly between waterings, according to Garden Guides water thoroughly until you see water draining freely from the bottom of the pot.. If it still feels damp, leave it for another day and check again.
In hot weather (above 30°C), you may need to water every day or even twice a day for smaller pots. In cooler weather or indoors, every 2 to 3 days might be plenty. The plant and the soil will tell you more than any fixed schedule can. What you are aiming for is consistently moist but never waterlogged soil.
Reading the warning signs
- Yellowing leaves with a droopy, limp look, and soil that stays wet: almost always overwatering or poor drainage. Check the drainage holes are not blocked and ease off on watering.
- Wilting leaves with dry, dusty soil pulling away from the pot edges: the plant is thirsty. Water deeply right away and consider moving to a slightly less harsh sun position during peak afternoon heat.
- Yellowing that starts between the leaf veins on older leaves: possible nutrient deficiency, especially if you have not fed the plant in a while.
- Sudden collapse with dark, mushy stems near the soil line: root rot from prolonged wet soil. Repot into fresh dry mix immediately and cut away any blackened roots.
Feeding and fertilizing schedule in pots
Potted plants need regular feeding because nutrients wash out of the container every time you water. If your potting mix had compost mixed in at planting, you have a head start, but it will not last forever. Start fertilizing about 3 to 4 weeks after planting or transplanting, once the plant is settled and actively growing.
A balanced liquid fertilizer works well for tulsi. Look for something with equal parts nitrogen, phosphorus, and potassium, like a 10-10-10 formulation. Apply it every 2 to 3 weeks during the active growing season (spring through early autumn). If you prefer a more cautious approach, use half the recommended dose every 3 to 4 weeks. Tulsi grown for leaves (rather than flowers and seeds) benefits from nitrogen, which drives leafy growth, but too much of it can actually reduce the aromatic oils that make tulsi smell and taste so good. So do not overdo it. Organic liquid fertilizers like fish emulsion or seaweed extract are also excellent options and are gentle enough to use at full strength.
Stop or reduce feeding in late autumn and winter if growth slows significantly. Feeding a dormant or slow-growing plant just builds up unused nutrients in the soil, which can damage roots.
Pruning, harvesting, and encouraging bushy growth
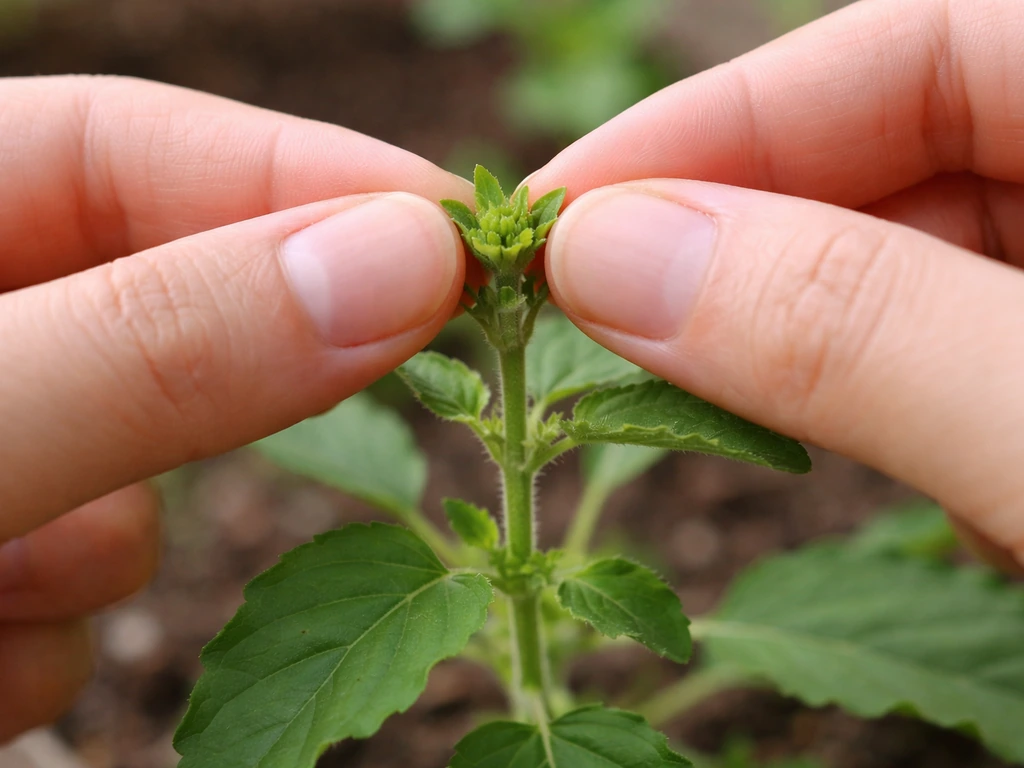
This is where most beginners go wrong: they either never prune their tulsi and end up with a tall, spindly plant, or they harvest too aggressively and leave the plant unable to recover. The goal is to keep the plant bushy and compact so it keeps producing new leaves from multiple stems.
The technique is called pinching. Look at any stem on your tulsi plant and find a pair of leaves. Just above that pair of leaves, you will often see tiny new leaf buds forming. Pinch or snip the growing tip of the stem right above that leaf pair. Within about a week, that single stem will branch into two new stems, doubling the number of growing points. Do this regularly across the plant and you end up with a wide, full, multi-stemmed tulsi instead of a single leggy stalk.
When harvesting, cut stems just above a leaf node and leave at least two-thirds of the plant intact at any one time. This gives the plant enough leaf area to keep photosynthesizing and recovering. Never strip the plant bare in one go, no matter how tempted you are. Also, pinch off flower spikes as soon as they appear. Once tulsi flowers and sets seed, it stops putting energy into leaf production. Removing flowers (called deadheading) keeps the plant in its most productive, leafy phase for much longer.
Troubleshooting common pot-grown tulsi problems
Even with good care, things go wrong sometimes. Here is what to look for and what to do about the most common issues with container tulsi.
Yellowing leaves
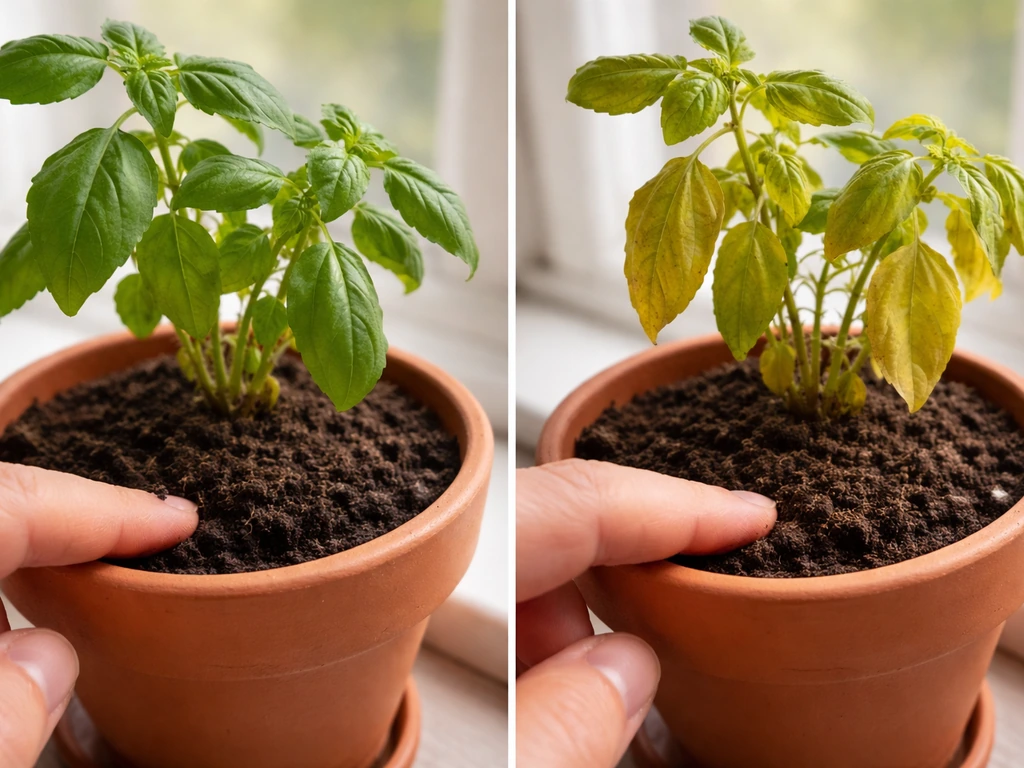
Yellow leaves are the most common complaint and they have several possible causes. Overwatering and root rot are the most frequent culprits in pots. Check the soil moisture and drainage first. If the soil is damp and has been for a while, let it dry out fully before watering again. If the yellowing is patchy and shows angular spots limited by the leaf veins, it could be downy mildew, a fungal problem. Improve airflow around the plant, avoid wetting the leaves when you water, and remove affected leaves.
Pests: aphids, whiteflies, and spider mites
Small soft-bodied insects are the most common tulsi pest. Aphids cluster on new growth and undersides of leaves; whiteflies rise in a cloud when you disturb the plant; spider mites leave fine webbing and stippled, pale leaves. For mild infestations, a strong spray of water knocks them off. For persistent problems, spray with neem oil or insecticidal soap every 5 to 7 days until clear. Yellow sticky traps placed near the pot help catch and monitor whiteflies. Neem oil doubles as a preventive measure against many fungal issues too, so it is a useful thing to have on hand.
Powdery mildew
Powdery mildew looks like a white or grey dusty coating on the leaves. It tends to appear when there is warm, humid weather combined with poor air circulation around the plant. Move the pot to a spot with better airflow, space it away from walls or other plants, and avoid overhead watering. Remove affected leaves and spray with a diluted neem oil solution. Powdery mildew rarely kills a plant on its own, but it weakens it over time and makes the leaves unpleasant to use.
Slow or leggy growth
If your tulsi is growing slowly, stretching toward the light, or looks pale and thin, the most likely cause is not enough sun. Move the pot to a brighter spot. If the plant is already in full sun and still looks weak, check whether it needs fertilizing or if the pot is too small and the roots are cramped. A root-bound plant (one where the roots fill the entire pot and circle back on themselves) will grow slowly and wilt quickly despite regular watering. If you tip the plant out and see a dense ball of roots with little soil visible, it is time to move up one pot size.
Wilting despite regular watering
If the soil seems moist but the plant is still wilting, root rot from overwatering is the likely culprit. Roots damaged by rot cannot move water up to the leaves even when water is present in the soil. Tip the plant out gently, check the roots (healthy roots are white and firm; rotted roots are dark, mushy, and smell bad), trim away any damaged roots with clean scissors, and repot into fresh, dry potting mix. Ease back on watering for a week or two while the plant recovers.
Your first week and a simple ongoing checklist
When you first plant or transplant tulsi into a pot, keep it in bright but indirect light for the first two or three days to reduce transplant shock, then move it to its full-sun spot. Water it in well on planting day, then use the finger-test method going forward. Do not fertilize for the first 3 to 4 weeks. Check on it daily, mainly to see whether the soil needs water and to spot any early pest or disease signs.
- Day 1: Plant in an 8-inch or larger pot with well-draining mix. Water thoroughly.
- Days 2 to 3: Keep in bright indirect light. Do not water again until the top inch of soil is dry.
- Day 4 onward: Move to full sun (6 to 8 hours minimum). Continue the finger-test watering routine.
- Week 2: Begin pinching stem tips above leaf nodes to encourage branching.
- Week 4: Start fertilizing with a balanced liquid fertilizer every 2 to 3 weeks.
- Ongoing: Remove flower spikes as they appear, harvest regularly above leaf nodes, and check weekly for pests.
Quick tips for balcony and indoor setups
- On a windy balcony, use a heavier terracotta pot to stop it blowing over, and shield the plant from strong gusts which dry it out fast.
- Indoors near a window, rotate the pot a quarter turn every few days so all sides get even light and the plant grows straight rather than leaning.
- If indoor light is genuinely poor, a basic grow light on a 12-hour timer will keep tulsi productive through winter.
- Group your herb pots together: tulsi does well alongside other container herbs and the shared humidity slightly benefits all of them.
- Small terracotta saucers work fine under indoor pots, but empty them after watering so the pot is never sitting in standing water.
Growing tulsi in a pot is genuinely one of the more forgiving container gardening projects you can take on. If you are learning how to grow cannas in pots, use the same mindset: choose a roomy container, ensure drainage, and match light and watering to the plant’s needs. It grows fast, recovers well from mistakes, and rewards consistent attention with an almost constant supply of fragrant leaves. If you enjoy growing herbs in containers, the same approach applies beautifully to plants like marjoram or even more adventurous projects like turmeric or cardamom in pots, all of which share that same need for good drainage, warmth, and regular harvesting to keep them productive. If you want, you can use the same pot-and-drainage fundamentals here to learn how to grow turmeric in a pot.
FAQ
Can I grow tulsi in a pot indoors year-round, and what light setup works best?
Yes, but you will usually get slower growth. Choose the brightest south or west window you have, and rotate the pot every week so it does not lean. If the plant becomes tall, pale, or stops producing fresh leaves, supplement with a grow light (aim for many hours of strong light) rather than moving it to dimmer spots.
How often should I water tulsi in a pot if I am in a hot climate?
Use the finger test every day during heat waves, because smaller pots dry faster than you expect. Water thoroughly until runoff appears, then wait until the top inch is dry before watering again. If the pot is 8 to 10 inches wide, twice daily may be necessary at peak summer temperatures.
What pot material is best for tulsi, and does it change the watering schedule?
Terracotta generally dries faster and is more forgiving if you tend to overwater, while plastic holds moisture longer and helps during vacations. With plastic, check the finger test more carefully because the surface can look dry while soil deeper down stays wet.
Is it okay to use mulch or stones on top of potting mix to reduce evaporation?
Avoid thick mulch directly on the soil surface in containers, it can trap moisture and encourage fungus. If you want to reduce evaporation, use a thin layer of coarse material only if drainage is excellent, and keep the base of the plant uncovered for airflow.
When should I repot my tulsi, and how do I know it is root-bound?
Repot when the plant grows fast but wilts quickly, or when roots fill the pot and start circling. A practical signal is when the pot dries unusually fast even after regular watering. Move up one pot size (for example, from 8 inches to 10 or 12 inches), then pause fertilizer for 3 to 4 weeks.
Can I grow tulsi from store-bought seeds, and how can I improve germination?
Often yes, but seed quality varies. Warmth is the biggest factor, keep the mix consistently moist and around 65 to 70°F (18 to 21°C). If germination is slow, use fresh moist mix, keep light gentle (do not bury deeper than recommended), and avoid letting the mix dry between checks.
What is the right depth and spacing if I seed multiple tulsi in one pot?
Sow seeds shallow (about 1/8 inch) and plan to thin early. Do not leave many seedlings in one pot because competition increases leggy growth and pest issues. Once seedlings have true leaves, thin to one plant per pot or transplant into final containers.
Should I fertilize tulsi immediately after planting or cutting propagation?
Wait until the plant is actively growing, typically about 3 to 4 weeks after planting or transplanting. For cuttings, use the same rule after potting up, because fresh roots need time before fertilizer. Early feeding can stress young roots and worsen yellowing.
How can I prune tulsi without reducing leaf harvest?
Pinch regularly at leaf pairs to create branching, this increases harvestable tips. When harvesting, cut stems above a leaf node and leave at least two-thirds of the plant. Avoid stripping all stems at once, it slows regrowth and can trigger stress-driven leaf yellowing.
Should I remove flowers on pot tulsi, and what happens if I let it bloom?
Yes, pinch off flower spikes as soon as they appear if your goal is continuous leaf production. If tulsi flowers and sets seed, it shifts energy away from producing new leaves, so you will harvest less frequently and the plant may look less lush.
What can I do if my tulsi leaves turn yellow but the soil feels dry?
If the soil is dry yet leaves yellow, check sun intensity and temperature stress first (too little light causes pale, weak growth, extreme heat can also stress). Also consider nutrient depletion, especially after several weeks in the same mix, and apply a light, balanced feed after the plant has settled.
How do I tell overwatering from under-watering when tulsi is wilting?
Under-watering usually comes with dry soil and leaves that droop but recover after a thorough watering. Overwatering often leaves soil damp for days, and wilting continues even after watering. If wilting persists with damp soil, check roots for rot and repot with fresh dry mix.
What pests and diseases should I watch for most on balcony-grown tulsi?
Aphids, whiteflies, and spider mites are common on new growth, and powdery mildew can show up in humid conditions with poor airflow. Check the undersides of leaves weekly, increase airflow, and avoid wetting leaves during watering to reduce fungal outbreaks.
Is neem oil safe to use on tulsi leaves if I plan to eat or use them?
Generally, yes, but use it carefully and follow label guidance for timing. Apply when temperatures are moderate so foliage is not stressed, and wait until treatment dries or per instructions before harvesting so leaves are not freshly treated.
What should I do with my potted tulsi in winter if temperatures drop near freezing?
Bring the pot indoors before nights consistently reach near-freezing levels, since frost can kill tulsi. Keep it in a sunny spot, growth will slow, and you should water less often than in summer because evaporation drops. Avoid heavy feeding during dormancy or near-dormancy.
Can tulsi survive rain and outdoor weather changes on a balcony?
It can, but drainage still matters. During extended rain, check whether the pot is staying wet longer than usual, and consider moving it under partial cover so leaves are not constantly wet. If you notice root-rot signs (mushy roots, bad smell), repot into fresh well-draining mix promptly.