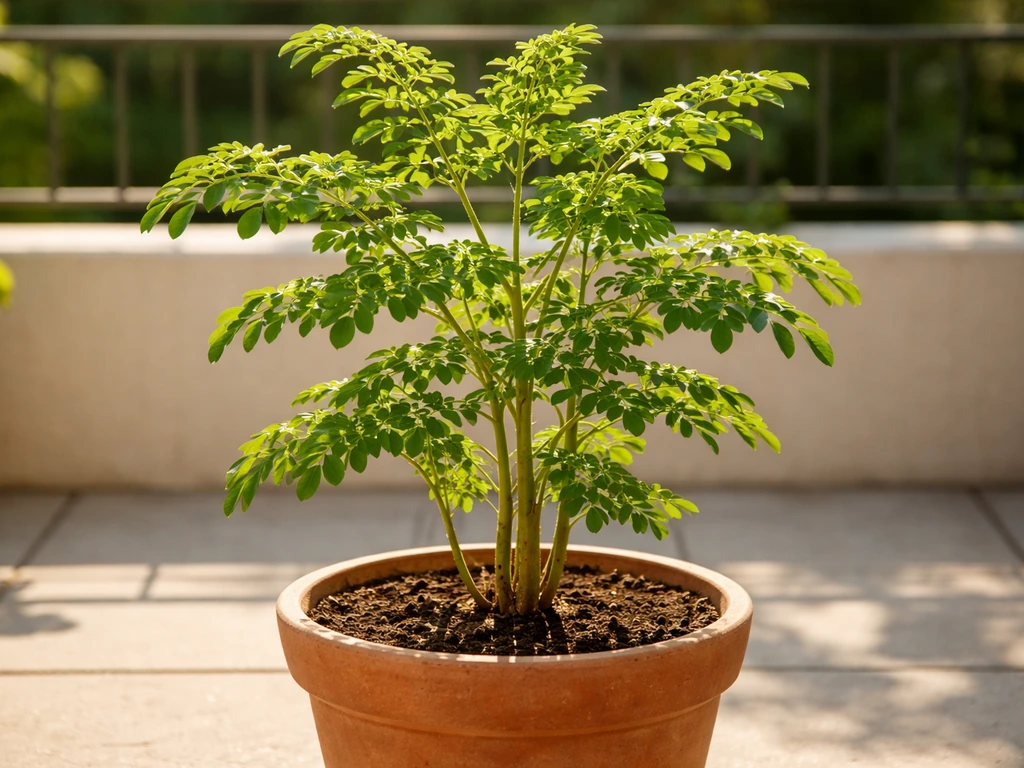
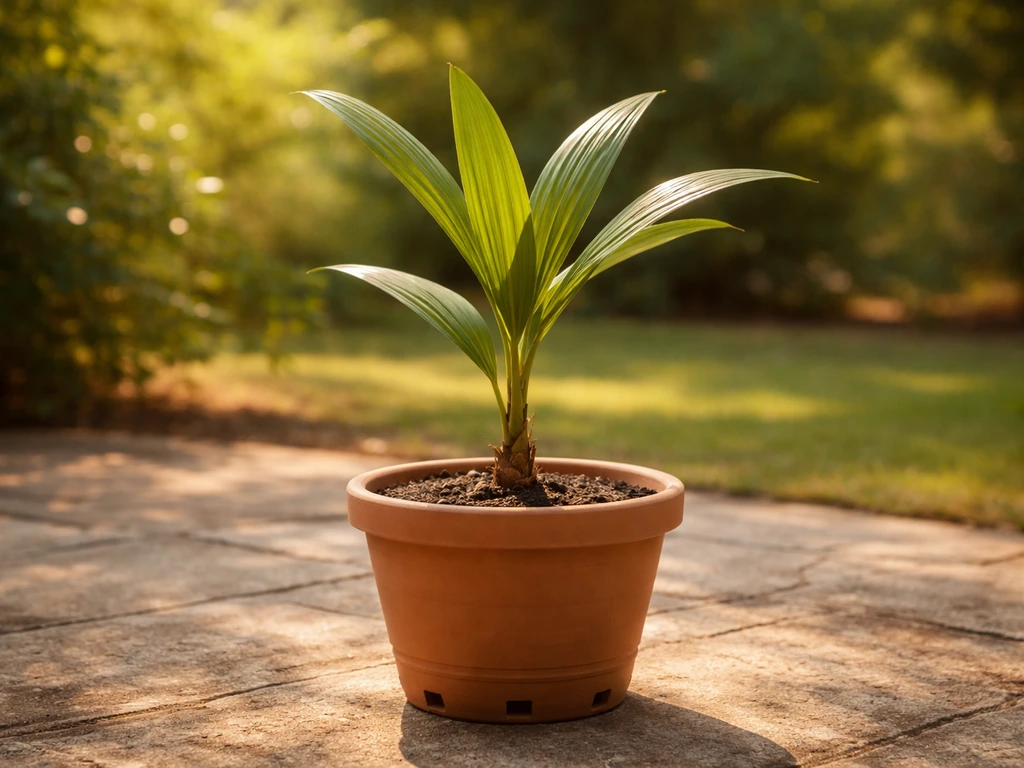
You can grow a coconut tree in a pot, and it works surprisingly well for the first few years. You won't get a towering beach palm on your balcony, but you can absolutely grow a healthy, beautiful coconut palm in a large container, enjoy the tropical look, and even get it to a size where fruiting becomes possible if you live somewhere warm enough. The key is starting with the right coconut, giving it a big enough pot from the start, keeping it warm, and not drowning it with water. Get those four things right, and you're most of the way there.
How to Grow Coconut Tree in Pots: Step-by-Step Guide

Marcus Whitley
3 May 2026
Is a coconut tree realistic in a pot (and what to expect)
Let's be honest about what you're signing up for. A potted coconut palm grows more slowly than one planted in the ground, and it may take 5 to 7 years or longer before it produces fruit, even in ideal conditions. Container growing naturally limits root space, which slows the whole plant down. That said, many people grow them purely for the look, and a coconut seedling in a pot is genuinely one of the most striking houseplants you can own.
The biggest real-world constraint is temperature. Coconut palms are tropical plants, full stop. Root activity drops sharply when the soil temperature falls below about 65°F (18°C), so if you're in a cold climate, you'll need to keep your plant genuinely warm, not just frost-free. If your winters push your home below that soil temperature range, your palm will stall out and sulk. People in USDA zones 10 and 11 can grow coconut palms outdoors year-round, but if you're outside those zones, plan on treating it as an indoor plant for a good chunk of the year. Unlike something like a bay tree or an oak, which can handle cooler temperatures in a pot, coconuts have almost zero cold tolerance. If you want a similar container option, check out how to grow bay tree in pots for the right soil, light, and pruning. If you want a similar approach for an oak, check out our guide on how to grow oak trees in pots.
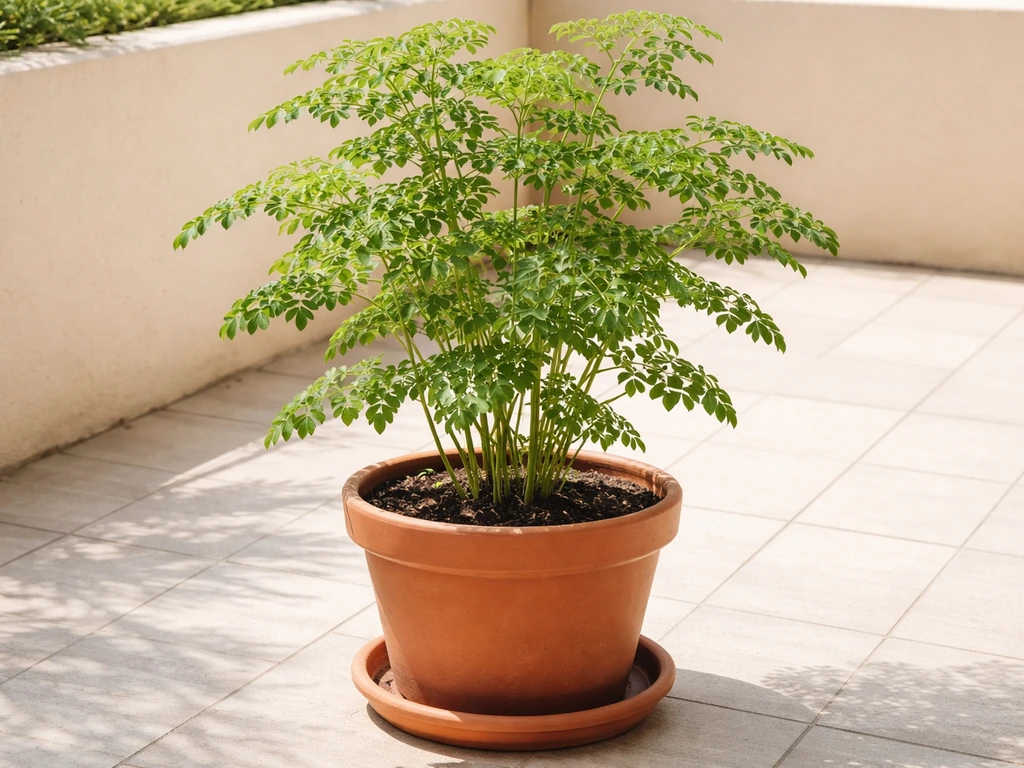
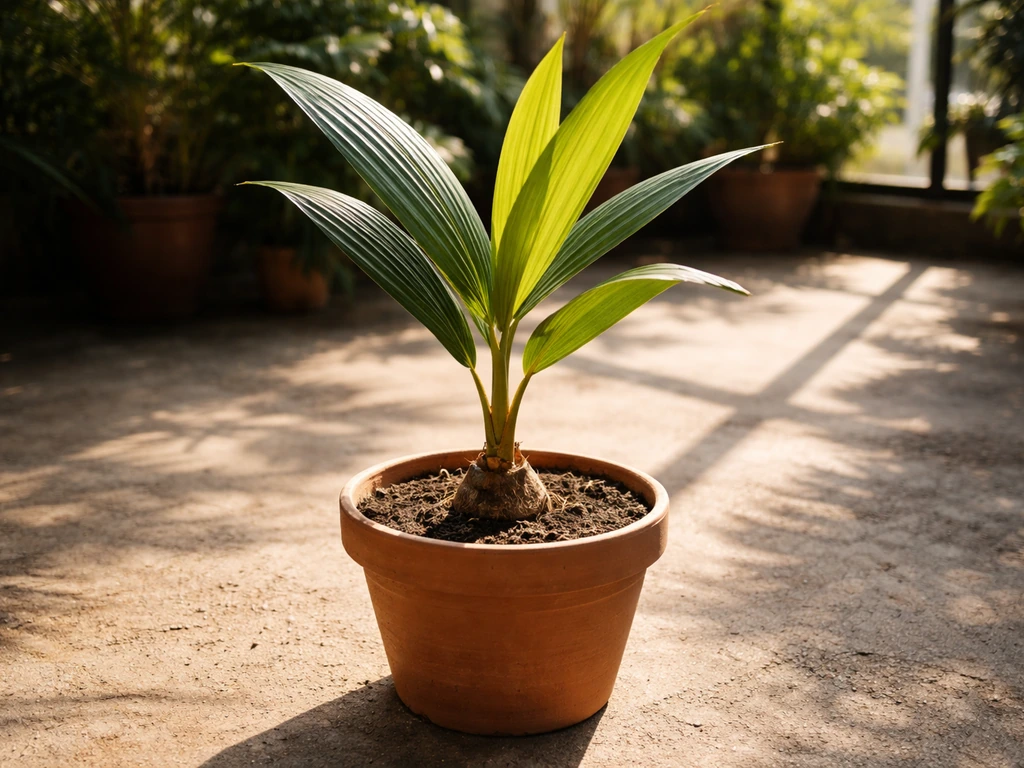
The realistic best-case scenario for most home gardeners: a healthy, attractive palm that grows 4 to 6 feet tall over several years in a large container, stays manageable with some root restriction, and fills any warm sunny corner with serious tropical energy. That's a completely worthwhile result.
Choosing the right coconut and starting method

You start a coconut palm from a coconut, which is technically the seed. The best type for container growing is a Dwarf variety (like Malayan Dwarf or King Coconut) rather than a Tall variety. Dwarf coconuts grow slower, stay more manageable in size, and actually produce fruit sooner. Tall types can eventually outgrow any reasonable pot within a few years. If you can source a Dwarf coconut from a specialty nursery or online supplier, do that. If you can only get a grocery store coconut, it'll still germinate, but you won't know which variety it is.
When picking your coconut, shake it. You want to hear liquid sloshing around inside, which means it's still viable. A dry, light coconut is past its prime for germination. The husk (the fibrous outer layer) can stay on during germination, and many growers leave it on because it helps retain moisture around the seed.
How to get germination started
The simplest method is to soak the coconut in water for 3 to 4 days before planting. Change the water every single day during soaking. This softens the husk and helps kick-start germination. After soaking, place the coconut in a warm spot, ideally in a bag or a tray with some moist coir (coconut fiber), with about one-third of the coconut exposed to air. Think of it like pre-sprouting. Warmth is everything here: aim for 85 to 95°F (29 to 35°C) for the fastest germination. A heat mat designed for seed starting works perfectly for this stage. Germination can take anywhere from 3 to 6 months, so don't panic if nothing happens in the first month or two.
Pot size, drainage, and container setup
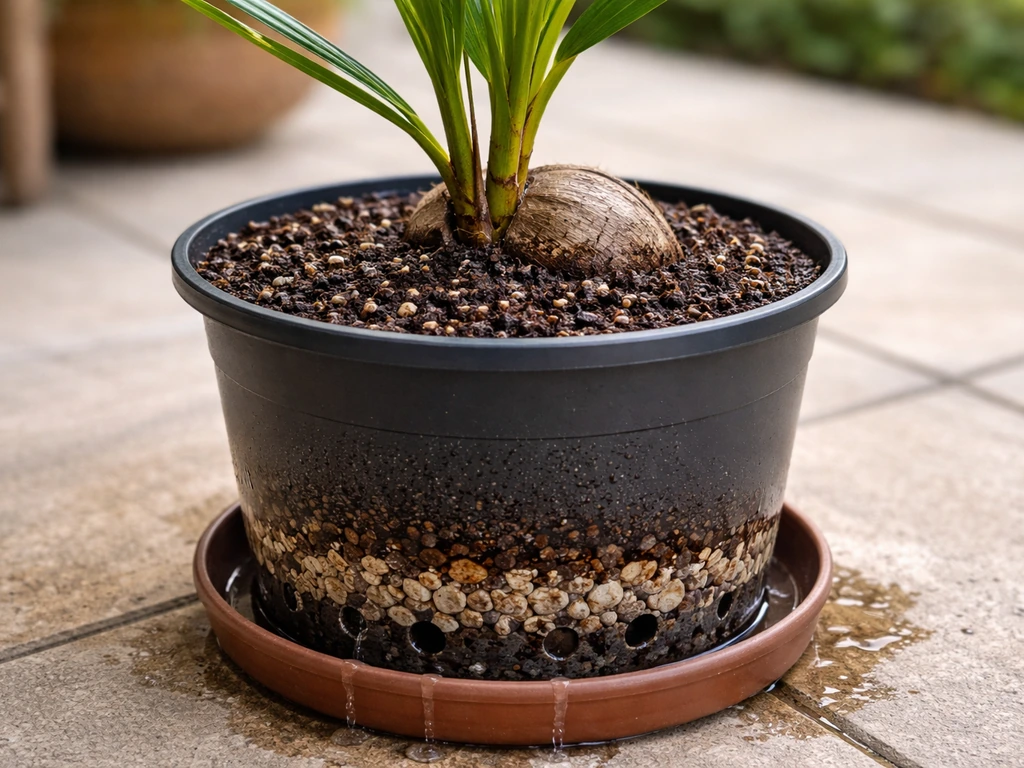
Drainage is non-negotiable with coconut palms. Root rot is the number one killer of potted coconuts, and it almost always comes from a pot that holds too much water. University of Maryland Extension also recommends preventing root rot in indoor plants by avoiding excess water and using sterile or clean potting media, like clean pots and media rather than garden soil, and separating any infected plants avoiding excess water and using clean, sterile potting media. Your container must have multiple drainage holes at the bottom, not just one. If you're using a decorative pot with limited drainage, drill more holes or use it as a cachepot with a functional grow pot inside.
For pot size, start with a container that's about 10 to 12 inches in diameter for your sprouted coconut. This might seem small, but over-potting (using a pot that's too large for the current plant) is a real problem because all that extra soil stays wet for too long, which suffocates the roots. As the palm grows, move up in pot size incrementally. Within 2 to 3 years, you'll likely be in a 20 to 25 gallon container, and eventually a 30 to 45 gallon pot for a mature specimen. Use a pot that's proportionally bigger than the root ball, but not dramatically so.
Material matters less than drainage, but terracotta pots dry out faster than plastic, which can actually be an advantage with palms. Plastic containers are lighter and easier to move indoors in winter, which might matter more if you're in a non-tropical climate. Either works fine as long as drainage is solid.
Soil mix and planting depth
Standard potting mix alone is not great for coconut palms. You want something that drains fast, stays aerated, and doesn't compact into a soggy brick. A good mix for potted coconuts is roughly 2 parts cocopeat (coconut coir), 1 part pine bark chips, and 1 part coarse perlite or coarse sand. This kind of substrate drains freely, doesn't stay waterlogged, and holds just enough moisture between waterings. Cocopeat is actually a fantastic base for this because it's made from coconut husks, it's sustainable, and it handles wet-dry cycles well. Adding a small amount of dolomite to the mix gives a slow-release source of calcium and magnesium, two nutrients coconut palms genuinely need.
Planting depth is one of the most common mistakes, and it's one that quietly kills seedlings over weeks. When you plant the sprouted coconut, position it so that roughly one-third of the coconut sits above the soil surface. Do not bury it completely. Being even half an inch too deep can severely slow or kill the seedling, so err on the side of shallow rather than deep. The sprouting shoot should be able to push up freely. For drumstick trees, you can use a similar approach: start with a viable seed or cutting, then provide a warm, sunny pot setup with excellent drainage as the key to strong growth. Tamp the soil gently around the coconut to hold it in place, and water immediately after planting.
Light, warmth, and watering your potted coconut
Light requirements
Coconut palms want as much direct sunlight as you can give them. Outdoors, aim for a minimum of 6 hours of full sun per day, and more is better. Indoors, put it in your brightest south-facing window. If your indoor light is limited, a full-spectrum grow light run for 12 to 14 hours a day can fill the gap. A palm that doesn't get enough light will stretch, produce weak fronds, and generally look sad. This is one area where there's no real workaround: if you can't provide strong light, the palm will struggle.
Temperature and warmth
Keep your palm in temperatures above 65°F (18°C) at all times, and ideally above 70°F. Remember that it's the soil temperature that matters, not just the air temperature. If your pot sits on a cold concrete floor in winter, the roots can get too cold even if the room feels warm. Raise the pot off the floor on a plant caddy or a piece of wood, or use a heat mat under the pot during cold months. Moving the palm outdoors in summer and back inside in autumn is a perfectly good strategy for non-tropical climates.
Watering schedule
In the first year, aim to keep the soil consistently moist but never waterlogged, roughly equivalent to about 1 inch of water per week. In practice, for a container, this means checking the soil every 2 to 3 days and watering when the top inch or so feels dry. In summer or in a hot climate, you may be watering every 2 days. In cooler months indoors, you might water once a week. The goal is moist, never saturated. If you lift the pot and it feels very heavy, wait a day before watering. If water pools on the surface and drains slowly, your soil mix may be compacting and needs attention.
Fertilizing, repotting, and managing growth long-term
Fertilizing your potted coconut
Coconut palms are hungry plants, and in a pot they depend entirely on you for nutrients. A palm-specific slow-release fertilizer is the easiest option for container growing. Look for a ratio roughly in the range of 8-2-12 (nitrogen, phosphorus, potassium) with added magnesium and micronutrients. This kind of formulation mirrors what's actually recommended for palm nutrition in Florida and other coconut-growing regions. If you prefer liquid feeding, a water-soluble fertilizer at about a 3-1-2 NPK ratio, applied at around 200 ppm nitrogen, works well. Feed during the active growing season (spring through late summer) every 4 to 6 weeks. Reduce or stop fertilizing in autumn and winter when the plant's growth slows down.
Magnesium deficiency is common in potted palms and shows up as yellowing on older fronds, starting at the tips. If you see this, a dose of Epsom salt (magnesium sulfate) dissolved in water, about 1 tablespoon per gallon of water, applied as a drench can help in the short term, but switch to a fertilizer that includes magnesium as a regular practice.
Repotting and managing size
Plan to repot every 2 to 3 years, moving up one pot size at a time. When you repot, handle the roots carefully because palms don't regenerate damaged roots quickly. If the palm has become root-bound (roots circling the bottom or growing out of drainage holes), it's past time for a larger pot. When you repot, refresh the soil mix entirely rather than just adding fresh soil on top. If you want to keep the plant smaller and more manageable long-term, root pruning during repotting is an option, but it stresses the plant temporarily. Be prepared for a slow-down period after any repotting.
Troubleshooting common problems and quick fixes
Most problems with potted coconut palms trace back to one of four things: too cold, too wet, too little light, or the wrong nutrients. Here's how to read the symptoms and fix them fast.
| Symptom | Most Likely Cause | Quick Fix |
|---|---|---|
| Coconut won't germinate after 3+ months | Too cold or coconut was not viable | Check soil temp (needs 85-95°F), use a heat mat, try a fresh coconut |
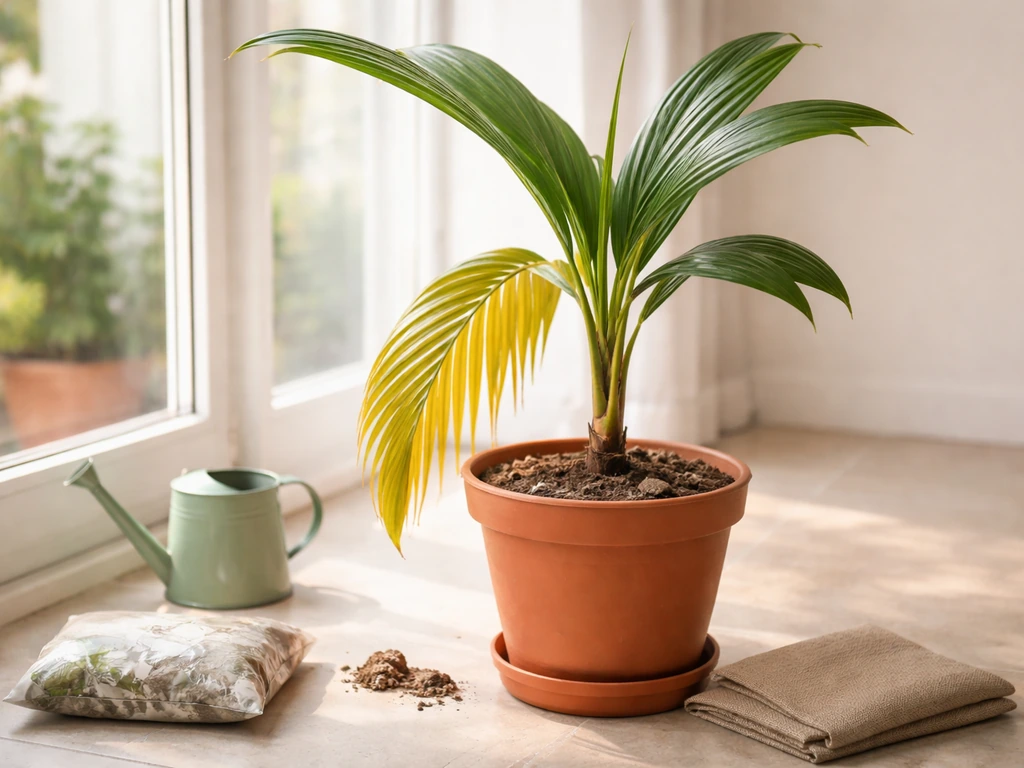
| Yellowing lower/older fronds | Magnesium or potassium deficiency | Apply magnesium drench; switch to palm fertilizer with micronutrients |
| Yellowing all over, soft mushy base | Root rot from overwatering or poor drainage | Check drainage holes, let soil dry out, remove rot and repot if severe |
| Drooping or wilting fronds | Underwatering or cold stress | Check soil moisture; move plant to warmer spot above 65°F |
| Slow or no growth (established plant) | Not enough light or roots too cold | Increase direct light, raise pot off cold floors, use heat mat |
| Fronds turning brown at tips | Salt buildup or dry air | Flush pot with clean water; mist fronds; reduce fertilizer frequency |
| Seedling collapsed shortly after planting | Planted too deep | Replant so one-third of coconut stays above soil surface |
Root rot deserves extra attention because it's the most common way potted coconut palms die. The organisms responsible (including Fusarium, Phytophthora, and Pythium) thrive in waterlogged, poorly aerated soil. If you catch it early, you can save the plant by removing it from the pot, cutting away any black or mushy roots with clean scissors, letting the roots air dry for an hour, and repotting into fresh, well-draining mix. If the rot has reached the base of the stem, the plant is usually lost. Prevention is much easier than cure: get your drainage right before you plant, not after.
One last thing worth saying: slow germination and slow early growth are completely normal with coconut palms. This is not a fast plant even in perfect conditions. I've had coconuts that took five months to show their first shoot, and they grew into perfectly healthy palms. Normalize the waiting, keep conditions warm and bright, and resist the urge to overwater while you're waiting for signs of life. If you've nailed the pot setup, the soil mix, and the warmth, your best move is patience. Once your coconut palm is established, the same pot-culture tips still apply as you plan how to grow cocoa trees in pots. Once your coconut is established, follow proven container care steps to help it grow into a big, impressive tree in a pot how to grow big trees in pots. If you want step-by-step guidance, follow the steps in our guide on how to grow a tree in a pot.
FAQ
Can I use a coconut from the grocery store to grow a potted coconut tree, and how do I make sure it is viable?
Yes, it can germinate, but you cannot control variety. Shake the coconut and confirm you hear liquid sloshing, avoid dry or light coconuts, and if possible choose one that is not already sprouted or damaged. Expect longer timelines than dwarf types, and plan for pot size changes because you will not know how fast your particular plant will outgrow containers.
What should I do if my coconut sprouts but the seedling turns yellow or looks weak after a few weeks?
Most often it is either too deep planting, too cold root zone, or inconsistent moisture. Verify about one-third of the coconut stays above the soil, move the pot so the soil stays reliably above 65°F (18°C), and switch to watering only when the top inch dries, not on a fixed schedule.
How long can I keep the coconut in pre-sprouting before giving up?
Do not discard it early. Germination commonly takes 3 to 6 months in warm conditions, sometimes longer. Keep it moist but not waterlogged, maintain warmth around 85 to 95°F (29 to 35°C) if possible, and be patient even if there is no visible change for a month or two.
Is it okay to use a decorative pot without many drainage holes?
It is a common failure point. Coconut palms need multiple bottom drainage holes, not one. If you love a decorative outer pot, place a fully drained grow pot inside it (cachepot style) so excess water can escape, and never let the inner pot sit in standing water.
How can I tell whether I am overwatering or underwatering in a pot?
If the pot is very heavy and the soil stays wet for days, you are likely overwatering or your mix is compacting. If the top inch dries quickly and fronds look dull or droop, you may be underwatering or the pot is drying too fast. A practical check is to water only when the top inch feels dry, then empty any saucer after draining.
Do coconuts need fertilizer right away after germination?
Wait until you have active growth, usually after the seedling has established fronds, then start with a palm-appropriate slow-release or a diluted liquid fertilizer. During cooler months when growth stalls, pause or reduce feeding, because fertilizing a dormant palm can worsen nutrient imbalance in containers.
What nutrient problem should I suspect first if older fronds yellow at the tips?
Magnesium deficiency is a frequent cause in potted palms, often showing as yellowing starting at the tips on older fronds. Address it by using a fertilizer that includes magnesium and micronutrients, and if you need a short-term fix, an Epsom salt drench can help while you correct the longer-term feed program.
How do I repot without losing the palm, and when is the best time to do it?
Repot every 2 to 3 years, but do it during active growth (spring through late summer) when the palm can recover quickly. Refresh the entire soil mix, handle roots carefully because they regrow slowly, and expect a temporary slowdown after repotting. If you see circling roots or roots coming out of drainage holes, it is past time to size up.
Can I prune a potted coconut palm, or will it stop growing?
Avoid heavy pruning. Remove only dead fronds, and do not cut into the crown or growing point. Pruning stress compounds container stress, and if you suspect a problem, correct cold, light, and water first before doing any cutting.
What is the safest way to winterize a potted coconut tree in a cold climate?
Focus on soil temperature, not just air temperature. Raise the pot off cold floors, consider a heat mat under the pot, and keep the plant above 65°F (18°C) year-round if you want to maintain growth. When moving indoors, gradually increase light exposure if possible to reduce shock.