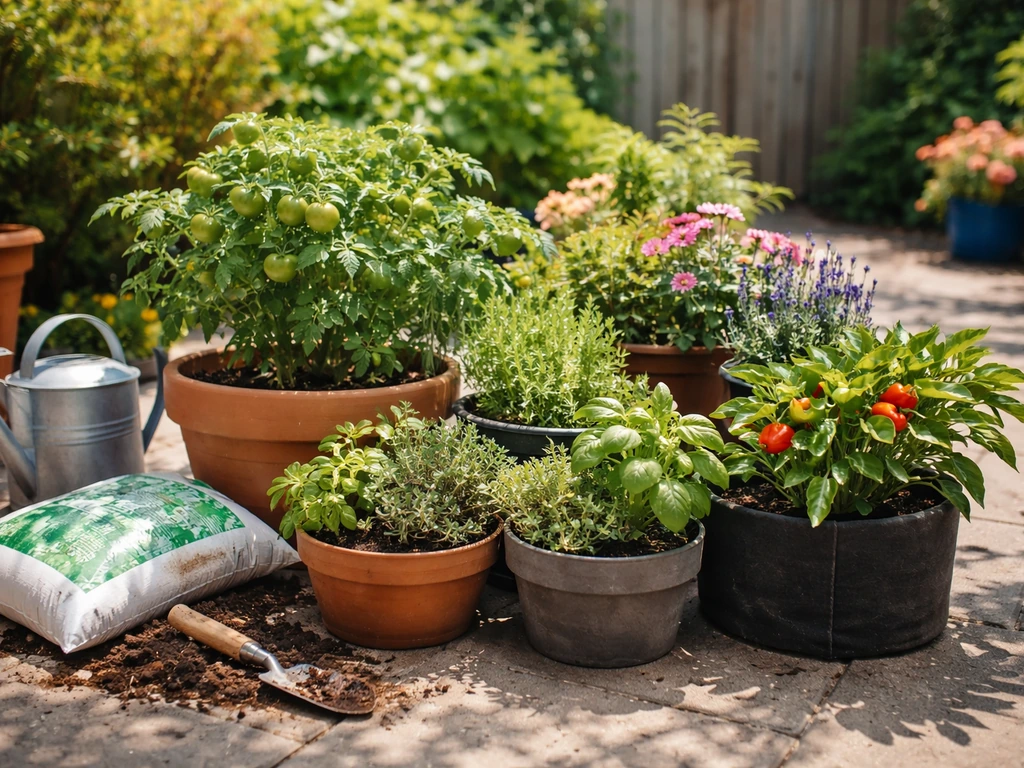
Yes, you can absolutely grow shrubs in pots, and they can look genuinely impressive doing it. The key is matching the shrub to the container, getting the soil right from day one, and keeping up with watering and feeding because containers dry out and run out of nutrients much faster than garden beds, so you’ll want to learn how to keep your soil and watering practices dialed in for how to grow organic potted plants. I've grown everything from dwarf hydrangeas to compact camellias in containers on a small patio, and the ones that thrived all came down to the same few basics. This guide walks you through every step, from picking the plant to keeping it healthy for years.
How to Grow Shrubs in Pots: Step-by-Step Guide
Marcus Whitley
24 Mar 2026
Choosing the right shrub for a pot
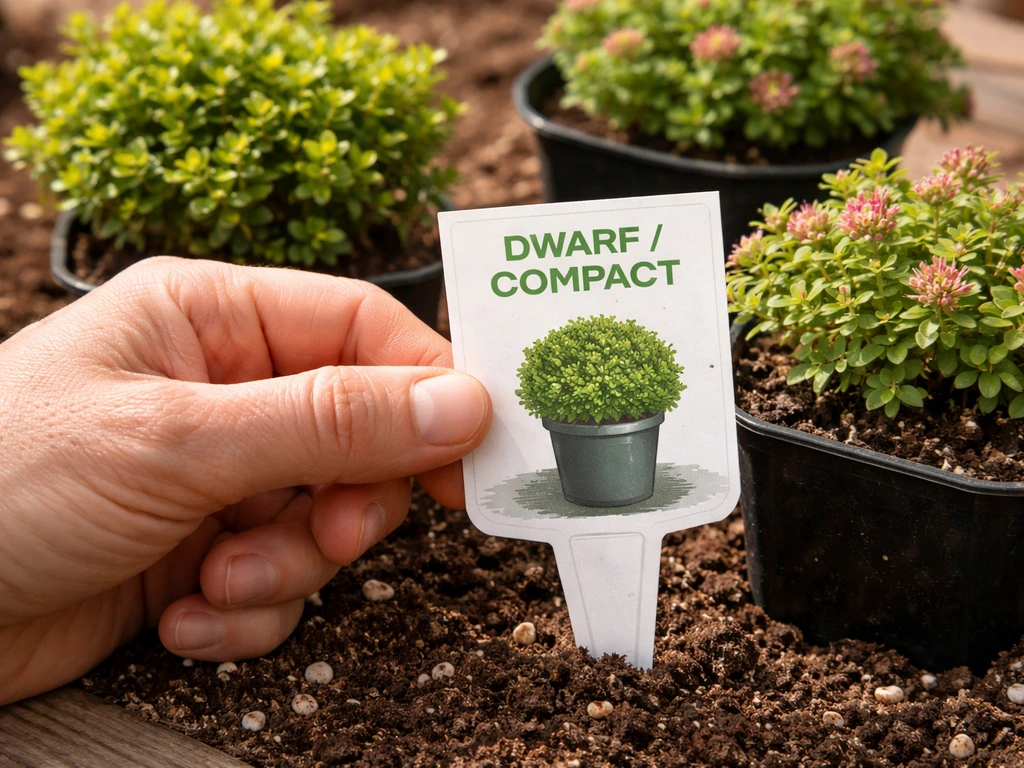
Not every shrub will be happy in a pot long-term. Large, fast-growing varieties that want to spread 10 feet wide are going to fight you constantly. What you're looking for are shrubs described as 'dwarf,' 'compact,' or 'slow-growing,' because these are genuinely bred or selected for a smaller mature size, not just temporarily small at the garden center.
Some of the best shrubs for containers include dwarf boxwood, compact spirea, dwarf fothergilla, blueberries (which actually prefer containers in many climates), small-growing hydrangeas like 'Incrediball Blush' or 'Bobo,' dwarf Japanese holly, and evergreen azaleas. Roses bred for patio use work well too. If you're growing mostly for foliage interest year-round, a dwarf evergreen like a compact nandina or small-leafed pittosporum is hard to beat.
One thing beginners overlook: check the plant's cold hardiness relative to your local winters. A shrub rated for Zone 7 might survive fine in the ground in Zone 6, but in a pot the roots are exposed to air on all sides, so the effective cold exposure is much harsher. A general rule of thumb is to buy shrubs rated one to two hardiness zones colder than your actual zone if you plan to leave them outside in winter.
Picking the best pot and placement
Size and drainage
Pot size matters more than most beginners realize. For most shrubs starting out in a 1- to 3-gallon nursery pot, move up to a container that's at least 12 to 16 inches in diameter and a similar depth. For larger shrubs, a 20- to 25-gallon container or half-barrel is more appropriate. Going too small means the roots get cramped and dry out within hours on a hot day. Going too large with a tiny plant can lead to soggy, waterlogged soil around the root zone, which causes rot.
Drainage holes are non-negotiable. I've seen beautiful pots at garden centers with no holes drilled, and while you can sometimes drill them yourself, always check before you buy. To test whether drainage is adequate after planting, water thoroughly and check back 24 hours later. If water is still pooling or the soil is waterlogged after a full day, something is blocking drainage and you need to fix it before the roots suffer.
Empty saucers after watering. Letting a pot sit in standing water, even for a few days, invites root rot. If you need a saucer under the pot to protect a deck or floor, drain it within a few hours of watering.
Material choices: which pot is best?
| Pot Material | Pros | Cons | Best For |
|---|---|---|---|
| Terracotta | Breathable, classic look, affordable | Dries out fast, can crack in frost | Shrubs tolerating drier conditions; mild climates |
| Glazed ceramic | Retains moisture longer, attractive | Heavy, can crack if not frost-proof | Patios with good sun; decorative plantings |
| Plastic/resin | Lightweight, retains moisture, affordable | Can look cheap; degrades in UV over years | Balconies, rooftops; budget-friendly setups |
| Fabric grow bags | Excellent air pruning of roots, affordable | Dries out very quickly, less attractive | Fast-draining setups; temporary growing |
| Fiberglass | Lightweight, frost-resistant, durable | More expensive upfront | Permanent patio shrubs; year-round displays |
| Wooden half-barrels | Large volume, insulates roots, natural look | Heavy, can rot over time | Larger shrubs; spaces where insulation matters |
For overwintering shrubs outdoors in cold climates, thicker-walled containers (fiberglass, wood, or double-walled resin) give the roots more insulation than thin terracotta or single-wall plastic. That insulation can genuinely be the difference between a shrub that survives winter and one that doesn't.
Placement: sun, wind, and access to water
Most flowering shrubs want at least 6 hours of direct sun. Shade-tolerant shrubs like azaleas, fothergillas, and some hydrangeas can work with 4 hours of morning sun and afternoon shade. Wind is a bigger problem in pots than in the ground because it accelerates drying. On exposed rooftops or balconies, position pots near walls or use a windbreak, especially for newly planted shrubs that haven't established yet.
Soil mix and planting setup
What to put in the pot
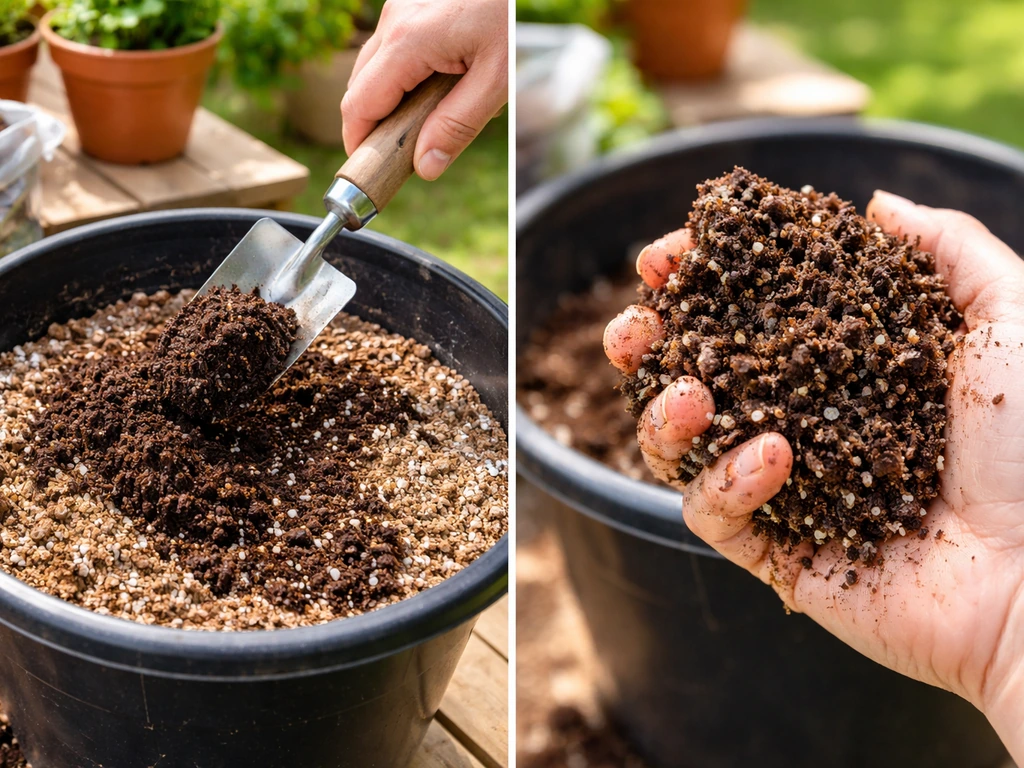
Never use straight garden soil in a container. Garden soil compacts in pots, blocks drainage, and can introduce diseases. Buy a quality potting mix instead. For shrubs specifically, look for a mix labeled for trees and shrubs, or use a general-purpose potting mix and improve it slightly by mixing in about 20 to 25 percent perlite by volume to boost drainage.
You can add a small amount of compost (no more than 20 percent of the total mix) to improve moisture retention and add some nutrients, but don't overdo it. Too much compost can make a mix hold too much water. A slow-release granular fertilizer mixed into the potting medium at planting time is a good idea and will feed the plant for the first few months without you having to think about it.
Planting depth and root prep
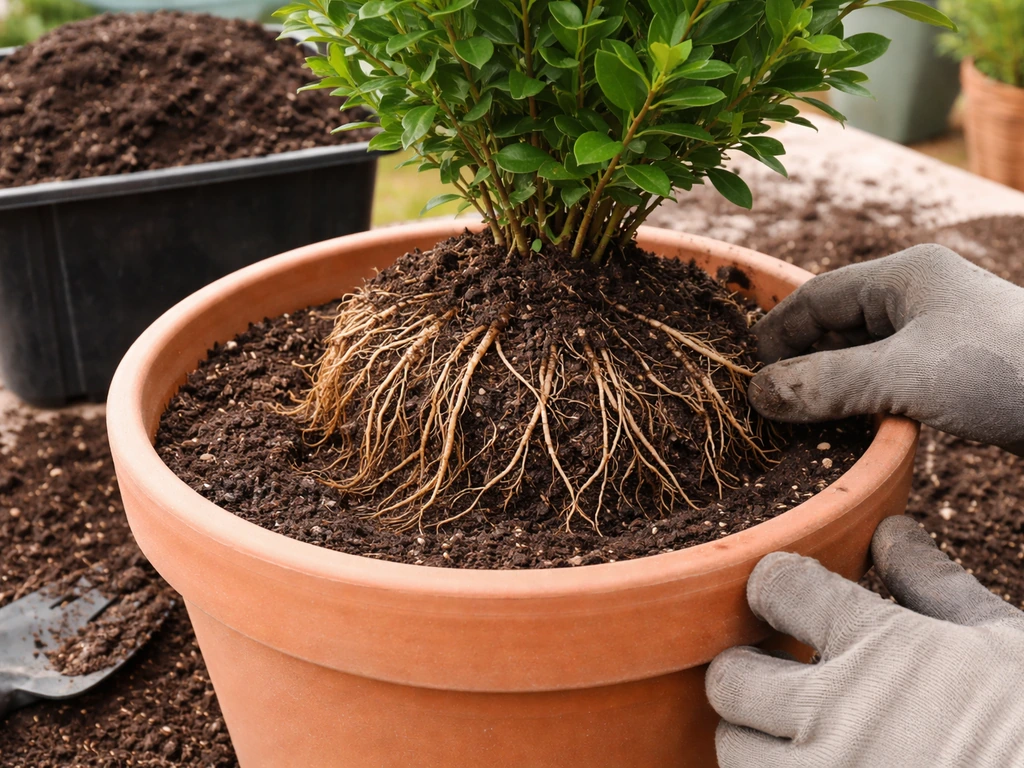
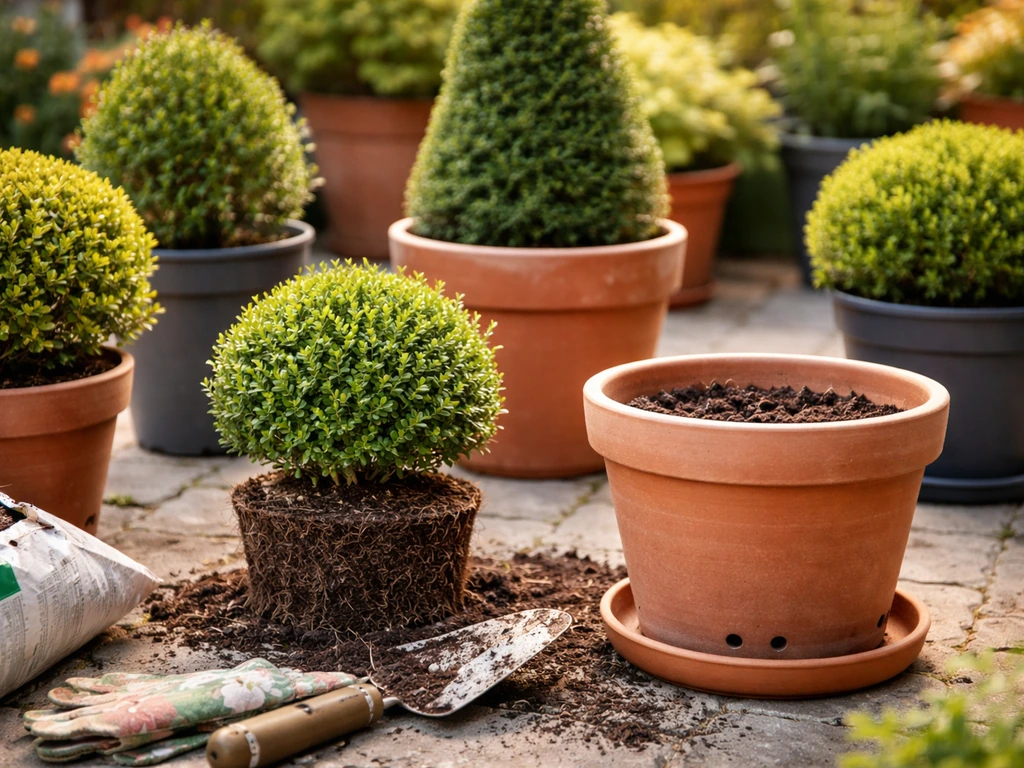
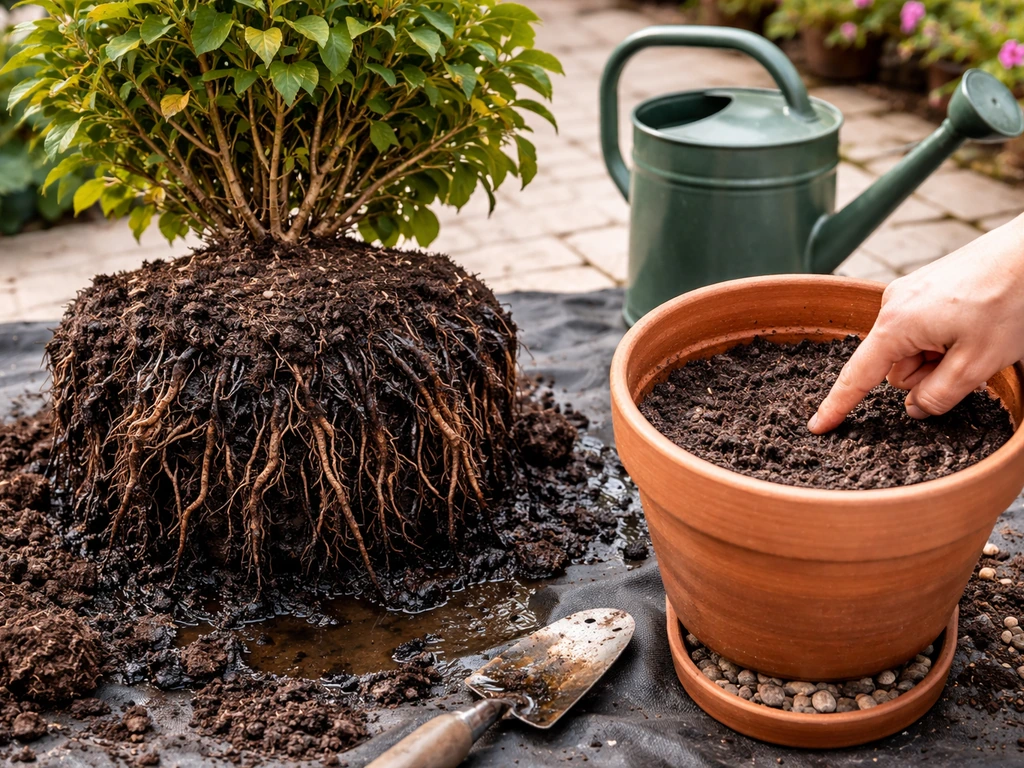
Before you drop the shrub into its new pot, take the plant out of its nursery container and look at the roots. If you see roots circling tightly around the outside of the root ball, this is called root circling, and it's a common problem in nursery-grown container plants. If you leave those roots as-is, they can eventually wrap around and strangle the main stem as the plant grows. Use your fingers or a hand fork to tease out circling roots and gently straighten them before planting.
Plant the shrub so the top of the root ball sits at or just slightly below the rim of the pot (leaving an inch or two of space for watering). The crown, which is the point where the stems meet the roots, should sit at the same level it was sitting in the nursery pot. Burying it too deep invites crown rot; planting it too shallow exposes roots to drying out.
Best time to plant
Plant or repot shrubs when temperatures are reliably above freezing and conditions aren't excessively hot and dry. In most climates that means spring (March through May) or early fall (September through October). Spring planting gives the shrub a full growing season to establish before winter. Fall planting works well in mild climates but can be risky in cold zones if the plant doesn't have time to settle in before freeze.
Watering and feeding schedule for container shrubs
How often to water
Container shrubs dry out much faster than the same plant in the ground. In summer heat, a medium-sized pot might need watering every day or every other day. In spring and fall, every two to three days is more typical. In winter, significantly less. Instead of following a rigid schedule, check the soil: push your finger about an inch into the mix. If it's dry at that depth, water. If it still feels damp, wait. how to grow the best pot plants. If you want the same results with other greenery, this guide on how to grow potted plants walks through the basics step by step. how to grow a pot plant. how to grow a potted garden
When you water, water thoroughly until it runs freely out of the drainage holes. This confirms the entire root zone got wet, not just the top inch. Shallow watering encourages roots to stay near the surface, which makes them more vulnerable to drying out. After a newly planted shrub goes into its pot, a good starting amount is roughly one-quarter to one-third of the volume of the pot the plant came from, applied at each watering session until it establishes.
Feeding your container shrubs
Container plants get hungry faster than in-ground plants because watering leaches nutrients out of the mix over time. The simplest approach is to mix a slow-release granular fertilizer into the potting mix when you plant, then reapply it every spring according to the packet instructions. For an organic option, worm castings mixed into the top few inches of soil work well.
By late summer, container shrubs often start to look a bit tired and pale, which is a sign the slow-release is running low. At that point, supplement with a water-soluble balanced fertilizer applied every two weeks while you're watering. Stop feeding about six to eight weeks before your first expected frost to avoid pushing soft new growth that won't have time to harden off before cold weather.
Light, temperature, and seasonal care
Getting light right
Most shrubs sold for garden use are full-sun to part-sun plants. Full sun means at least 6 hours of direct sunlight per day. Part sun or part shade means 3 to 6 hours. One of the big advantages of container gardening is that you can move pots to optimize light, at least while the plant is small enough to shift. In summer, keep an eye on whether a spot that looked sunny in spring is now shaded by a tree or building in full leaf.
Overwintering your container shrubs
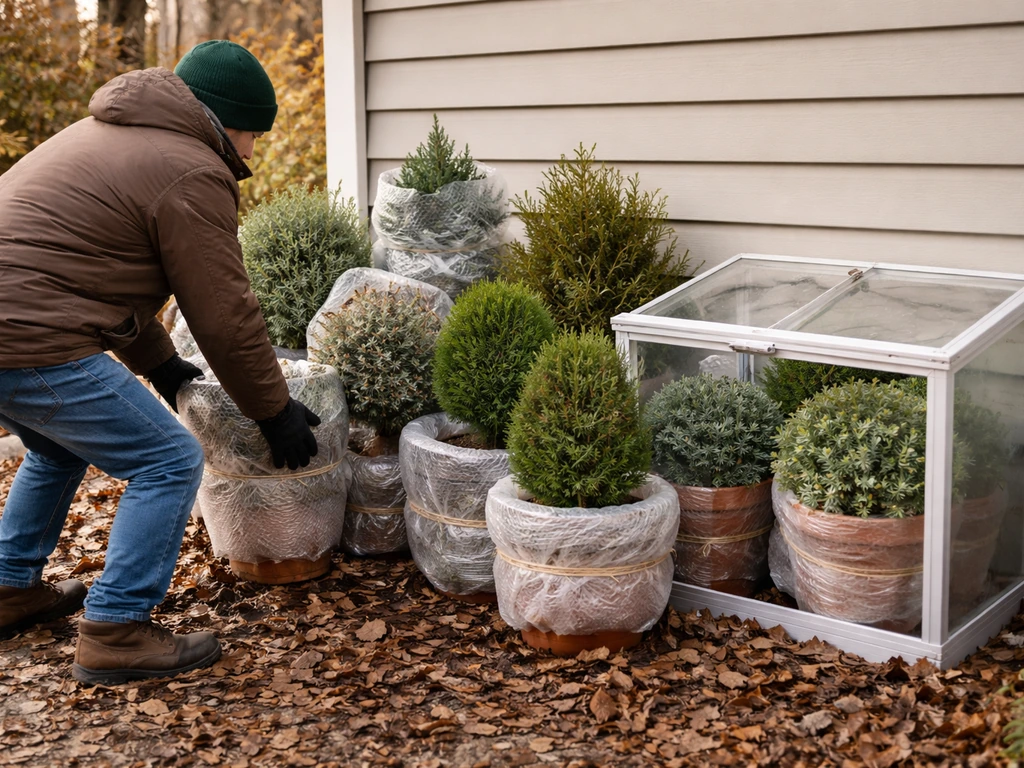
This is where a lot of beginners lose shrubs, and it doesn't have to happen. The issue is that pot-bound roots have almost no insulation from air temperature when sitting exposed outside. There are three practical strategies that work, and which one you use depends on how cold your winters get.
- Move pots to an unheated garage, shed, cold frame, or basement for winter. This is the most reliable option. The plant goes dormant, doesn't need much light, and the space stays just above freezing. Check soil moisture monthly and water lightly if it's bone dry.
- Group pots together in a sheltered spot and insulate them. Cluster pots against a wall or in a corner, then pack straw, dry leaves, or bark mulch around and between them. You can wrap the whole group in a thermal blanket or burlap. This works well for moderately cold climates (Zone 6 and warmer).
- Pot-in-pot insulation: place the planted container inside a slightly larger container and fill the gap between them with straw, bubble wrap, or insulating foam. This is a clean-looking option for a patio where you want things to look tidy even in winter.
For evergreen shrubs, position them somewhere they still get some light in winter if possible, as they continue to photosynthesize at low levels. Deciduous shrubs that have dropped their leaves can go somewhere completely dark without harm.
Pruning, training, and managing root-bound growth
When and how to prune
Timing your pruning around when the shrub flowers is one of those things that trips people up until someone explains the logic. Shrubs that flower in spring (like forsythia, lilacs, and flowering quince) produce their flower buds on wood that grew the previous year. That's called 'old wood.' If you prune these in late winter, you cut off all the flower buds before they open. The right time to prune spring-flowering shrubs is shortly after they finish blooming, usually May or early June.
Shrubs that flower in summer or fall (like most hydrangeas in the panicle and smooth groups, and spirea) bloom on new growth from the current season. These can be pruned in late winter or very early spring before growth starts. When in doubt, wait until you see where new growth is emerging before cutting.
In containers, you're mainly pruning to keep the plant at a manageable size and to remove any dead, damaged, or crossing branches. Avoid heavy shearing that creates a dense outer wall of foliage, because that blocks light from reaching the interior and reduces air circulation, which sets the stage for disease.
Dealing with root-bound plants
After a few years in the same pot, most shrubs become root-bound, meaning the roots have filled the container and started circling or running out of the drainage holes. Signs include water running straight through without being absorbed, rapid wilting even after watering, and a plant that's clearly too big for its pot. Plan on repotting or root-pruning your container shrubs roughly every three years as a general maintenance habit.
When repotting, go up one container size at a time (don't jump from a 5-gallon to a 30-gallon), or root-prune the plant by carefully removing it, trimming away about one-third of the outer and bottom root mass with clean pruning shears, and replanting into the same container with fresh potting mix. Root pruning sounds dramatic but shrubs handle it well if done in spring before growth kicks off.
Pests, diseases, and common problems
The usual suspects
Container shrubs face the same pest threats as in-ground plants, but the contained environment can sometimes make infestations more concentrated. The most common pests are aphids, scale insects, and spider mites. All three are piercing-sucking insects (or in the case of mites, arachnids) that feed on plant sap and can cause yellowing, distorted leaves, and general decline. Check under leaves regularly. Aphids are visible to the naked eye and usually cluster on new growth. Scale looks like small brown or tan bumps on stems. Spider mites leave fine webbing under leaves, especially in hot, dry conditions.
For mild infestations, a strong spray of water to knock pests off the plant works surprisingly well. For more persistent problems, insecticidal soap or neem oil applied in the evening (to avoid burning foliage in direct sun) is effective and low-impact.
Root rot and fungal issues
Root rot is the single most common killer of container shrubs, and it's almost always caused by overwatering or poor drainage rather than any exotic disease. The culprit is usually a fungal water mold that thrives in persistently soggy soil. By the time you see wilting or browning leaves, the roots may already be significantly damaged. Prevention is everything here: use well-draining mix, never let pots sit in standing water, and check soil moisture before watering rather than watering on a fixed daily schedule.
Powdery mildew shows up as a white or grey powdery coating on leaves, usually in late summer. It thrives when days are warm and dry but nights are cool and humid, and it doesn't need wet foliage to spread. Improve air circulation by thinning congested growth, avoid overhead watering in the evening, and use a potassium bicarbonate or neem oil spray if it becomes severe.
Troubleshooting common problems
| Problem | Likely Cause | What to Do |
|---|---|---|
| Yellow leaves all over | Overwatering or nutrient deficiency | Check drainage and soil moisture first; if drainage is fine, apply a balanced fertilizer |
| Wilting despite wet soil | Root rot from waterlogging | Reduce watering, check for soggy root ball, repot into fresh mix if roots are brown and mushy |
| Wilting in dry conditions | Underwatering or root-bound pot | Water thoroughly; check if roots are filling the pot and consider repotting up one size |
| No flowers | Pruned at wrong time, or insufficient light | Check pruning timing (spring bloomers need pruning after flowering); move to brighter location |
| Stunted or no new growth | Root-bound, low nutrients, or compacted soil | Repot into larger container with fresh mix; apply slow-release fertilizer |
| White powdery coating on leaves | Powdery mildew | Improve air circulation; apply neem oil or potassium bicarbonate spray |
| Sticky residue or distorted new growth | Aphids or scale insects | Inspect undersides of leaves; spray with water or insecticidal soap |
| Leaves falling off in summer | Heat stress, drought, or pot too small | Move to part shade during peak heat; water more frequently; consider upsizing the pot |
Your quick-start checklist and next steps
If you're ready to get started today, here's everything distilled down to a simple action list. Work through it in order and you'll have a container shrub set up correctly from day one. If you want to try something different, you can also grow hydroponic pot plants by setting up a hydroponic reservoir, using the right nutrients, and keeping the roots oxygenated.
- Pick a shrub labeled 'dwarf' or 'compact,' rated one to two hardiness zones colder than your zone if you plan to overwinter it outdoors.
- Choose a container with drainage holes, at least 12 to 16 inches wide and deep for a small shrub, larger for anything that will grow beyond 3 feet.
- Select a frost-resistant pot material (fiberglass, thick resin, or wood) if you're in a cold climate.
- Fill with a quality purchased potting mix, not garden soil. Add 20 percent perlite for extra drainage and mix in a slow-release fertilizer.
- Remove the shrub from its nursery pot, check for and straighten any circling roots, and plant at the same depth it was growing before.
- Place in a spot that matches the shrub's light needs (most want 6 hours of sun).
- Water thoroughly until water runs out of the drainage holes. Empty the saucer within a few hours.
- Check soil moisture every day or two, especially in warm weather, and water when the top inch feels dry.
- Supplement with water-soluble fertilizer every two weeks from midsummer onward if the plant looks pale.
- Plan for winter: decide now whether you'll move the pot inside, insulate it outdoors, or use a pot-in-pot setup.
- Prune after flowering for spring-blooming shrubs; prune in late winter for summer-blooming shrubs.
- Repot or root-prune every three years to keep the plant healthy and growing vigorously.
If this is your first time growing a container shrub, start with one forgiving variety, blueberry, dwarf boxwood, or a compact panicle hydrangea are all excellent choices, and get comfortable with the watering rhythm before expanding. Once you've got that dialed in, the rest of the care falls into place naturally. Container shrubs are genuinely satisfying to grow, and the fact that you can rearrange, protect, or move them makes them more flexible than anything planted in the ground. Start simple, pay attention to what the plant is telling you, and adjust from there. You'll be surprised how quickly you get the hang of it.
FAQ
Can I water container shrubs with a sprinkler or overhead hose?
Yes, but timing and method matter. Water deeply at pot-level, not just a quick top splash, and do it early in the day so the foliage dries by evening. If you notice leaves yellowing and soil staying wet, pause overhead watering and switch to slow, thorough drainage-safe watering instead.
How do I know when to water a potted shrub if the schedule changes?
Aim for consistent moisture, not constant wetness. A practical approach is to water until runoff, then wait until the top 1 inch feels dry before watering again, and during hot spells use a second quick check (after a few hours) to confirm the container is draining and not hydrophobic.
What’s a reliable way to tell whether my potting mix is drying out too slowly or too fast?
Use the finger test described in the article, but also check weight. Lift the pot after watering and again when the soil is dry, if the weight difference is small the mix may be holding water too long or drainage may be blocked.
What should I do if my shrub looks wilted but the soil is still wet?
If drainage is poor, you need to fix it before you rescue the shrub. First confirm the holes are clear, then adjust the potting mix (add perlite as suggested) and consider repotting if the mix has compacted. Never “solve” root rot by watering less while the soil is still waterlogged.
How do I fertilize container shrubs without causing too much lush growth?
For shrubs in containers, choose a fertilizer that matches growth stage. After the slow-release base, keep supplementation balanced and stop 6 to 8 weeks before first frost to avoid tender growth, then resume only when new growth starts in spring.
Is it okay to leave a pot under a saucer for a while after watering?
Most container shrubs do not like being left in water trapped in a saucer. Even if you must use one to protect a deck, drain it within a few hours and ensure the pot sits level so runoff is not channeling to one side.
If I just bought a shrub, how should I acclimate it to outdoor container conditions?
Yes, and it often prevents shock. Move the pot to a sheltered spot for the first 1 to 2 weeks, protect from strong midday sun or wind, and gradually increase exposure, especially for newly purchased shrubs that were grown under more protected conditions.
Does a bigger pot always help prevent drying out?
A big pot can be a problem only when it stays wet too long. If your shrub is in a large container, use an appropriate mix and consider slightly coarser drainage materials, then monitor with the 24-hour drainage check after watering to make sure the extra soil is not staying soggy.
Should I repot sooner than three years if my shrub is struggling?
Repotting is not only about size, it’s also about refreshing soil structure. If you see roots circling, water running through immediately, or repeated “dry” symptoms in a pot that still looks packed, root-prune or repot even if it has been less than three years.
When is the safest time to root-prune a shrub in a pot?
Do it when you can minimize stress, typically in spring before active growth, or very early spring for shrubs that bloom on new wood. Avoid late-season root work if you expect hard frosts soon, because damaged roots have less time to recover.
How often should I check my container shrub for pests?
Treat as part of pest monitoring. Aphids, scale, and mites show up more quickly in warm, dry, crowded growth, so inspect underside of leaves weekly in summer and again during any heat spikes.
What’s the best way to prevent powdery mildew on potted shrubs?
For powdery mildew, reduce humidity and leaf wetness risk. Avoid overhead watering late day, thin dense growth so air moves through the shrub, and treat early if you see the first patches, since severe mildew can persist even after conditions improve.
How can I protect potted shrubs from wind on a balcony or rooftop?
Most container shrubs need wind protection, and the exact setup depends on your space. Place pots near walls or fences, use a windbreak that still allows airflow, and ensure the pot cannot tip in gusts, because a tilted pot can create uneven wet and dry areas.
What’s the best way to winterize container shrubs if my winters are borderline?
Cold protection depends on whether the shrub is evergreen or deciduous. Use thicker-walled containers for long outdoor winters as mentioned, and for extra insurance, wrap pots or move them close to the ground near a sheltered wall, while still keeping them exposed to some winter light when possible.