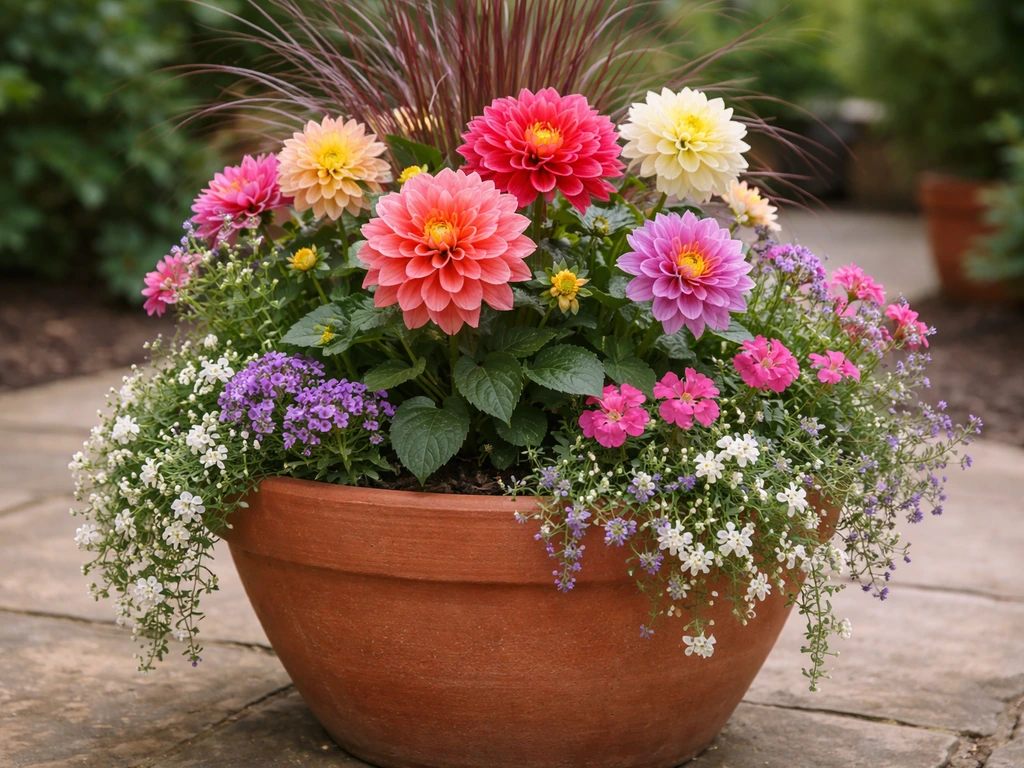
Growing plants in pots works brilliantly once you get three things right: the correct pot size for your plant's roots, a proper potting mix (not garden soil), and a watering routine that keeps the soil moist without drowning the roots. Get those three fundamentals dialed in and almost everything else falls into place. This guide walks you through every step, from picking the right container to fixing common problems like yellowing leaves and wilting, whether you're growing tomatoes on a balcony, herbs on a windowsill, or flowers in a courtyard. Dahlias are a great example of a pot-friendly flower, and you can tailor your container approach to what to grow with dahlias in pots.
How to Grow Them in Pots: A Beginner Container Guide

Marcus Whitley
18 Jun 2026
First, figure out what you're growing and what it needs
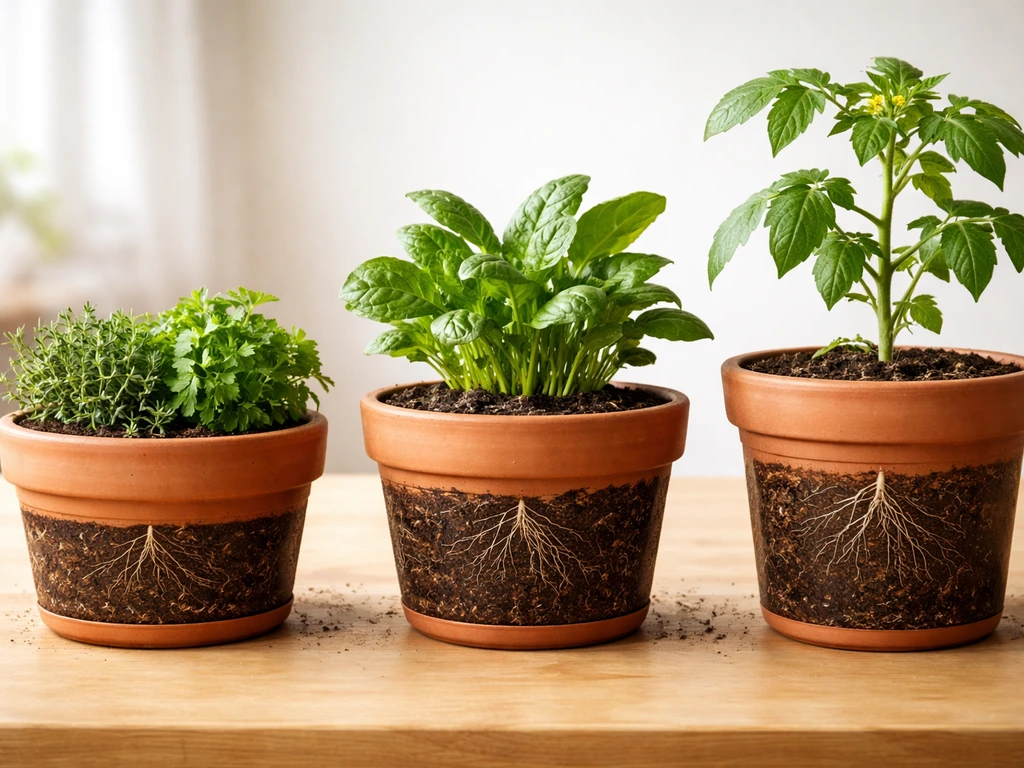
Because "them" could mean almost anything, the most useful thing you can do before buying a single pot is group your plant into one of these three broad categories. Each one has a different set of container requirements, and mixing them up is one of the most common beginner mistakes.
| Plant group | Examples | Root depth needed | Sun needs | Feeding level |
|---|---|---|---|---|
| Shallow-rooted herbs & greens | Basil, thyme, parsley, green onions, lettuce, cilantro | 6–8 inches | 6+ hours (some tolerate less) | Light feeder |
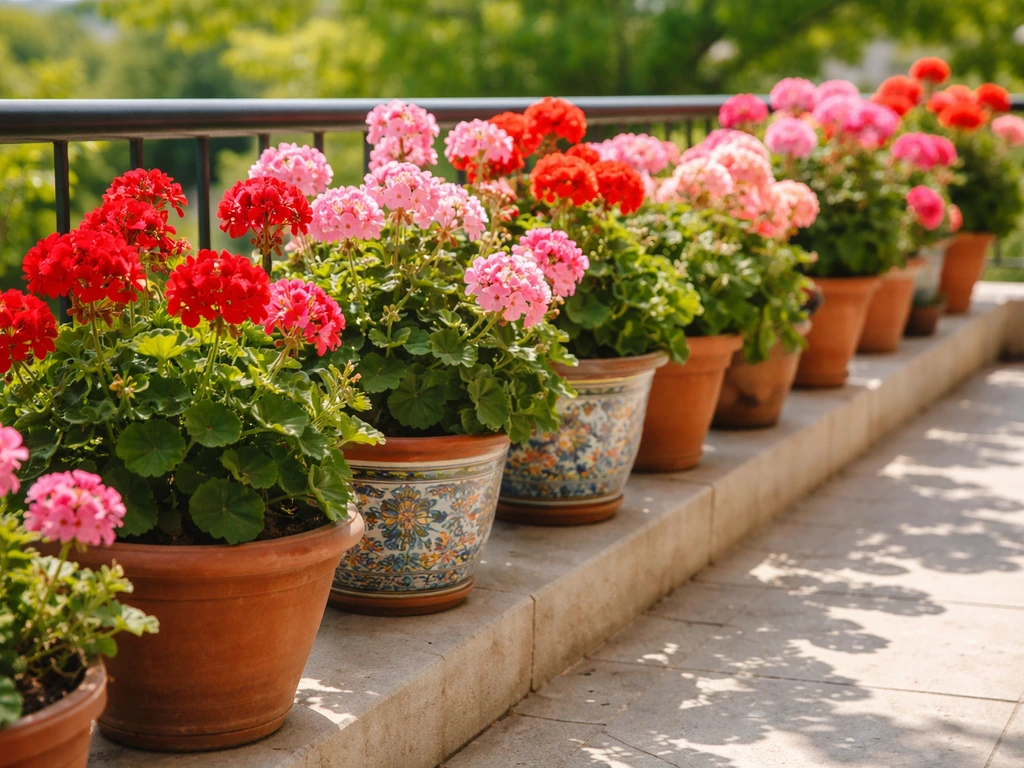
| Medium-rooted flowers & brassicas | Dahlias, pelargoniums, gypsophila, broccoli, bush beans | 10–12 inches | 6+ hours | Moderate feeder |
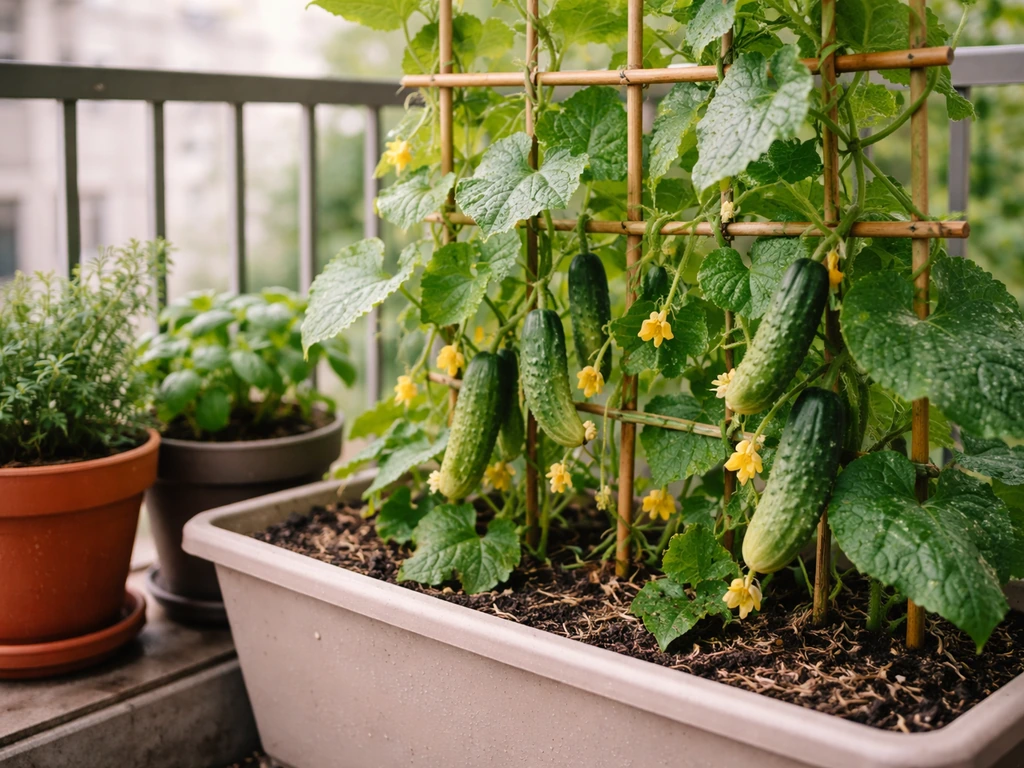
| Deep-rooted fruiting crops | Tomatoes, peppers, eggplant, cucumbers, squash, gherkins | 12–18 inches | 6–8 hours minimum | Heavy feeder |
Once you know your plant's group, you know roughly what size pot you need, how deep to plant, and how often to feed. Everything in this guide maps back to these three categories, so keep yours in mind as you read.
Choosing the right pot: size, material, and drainage
Size matters more than anything
Most beginner mistakes come down to using a pot that's too small. A cramped root system stresses the plant, dries out within hours on a warm day, and limits how much the plant can actually produce. Here are the size benchmarks worth sticking to:
- Herbs (basil, thyme, rosemary, cilantro): 4- to 6-inch diameter pots work fine for individual plants; a 10-inch pot lets you grow two or three together
- Parsley and green onions: a 10-inch pot is a good starting point
- Medium crops (broccoli, bush beans, most flowers): aim for at least 10–12 inches depth
- Large fruiting crops (tomatoes, peppers, eggplant, cucumbers): use a minimum five-gallon container with 12–18 inches of depth—this is the benchmark recommended by multiple university extension programs and it really is the minimum, not just a suggestion
If you're unsure, size up rather than down. A slightly too-big pot won't hurt anything, but a pot that's too small will limit your plant's growth all season and you'll spend twice as long watering it.
Pot material: clay, plastic, or something else?

Porous containers like unglazed terracotta and untreated wood let air and moisture move through the walls, which is great for roots but means the soil dries out faster. Non-porous containers like plastic, glazed ceramic, and metal hold moisture much longer. Neither is better universally: terracotta suits herbs that prefer drier conditions (rosemary, thyme), while plastic or glazed pots are more forgiving for thirsty plants like tomatoes and cucumbers. The one thing that matters regardless of material is drainage: your pot must have drainage holes at or near the bottom. Without them, water pools at the root zone and root rot follows quickly.
One thing to skip: don't put a layer of gravel at the bottom of the pot thinking it improves drainage. It actually raises the waterlogged zone higher into the pot, which is the opposite of what you want. Just use good potting mix right through to the bottom and let the drainage holes do their job.
Soil, planting depth, spacing, and timing
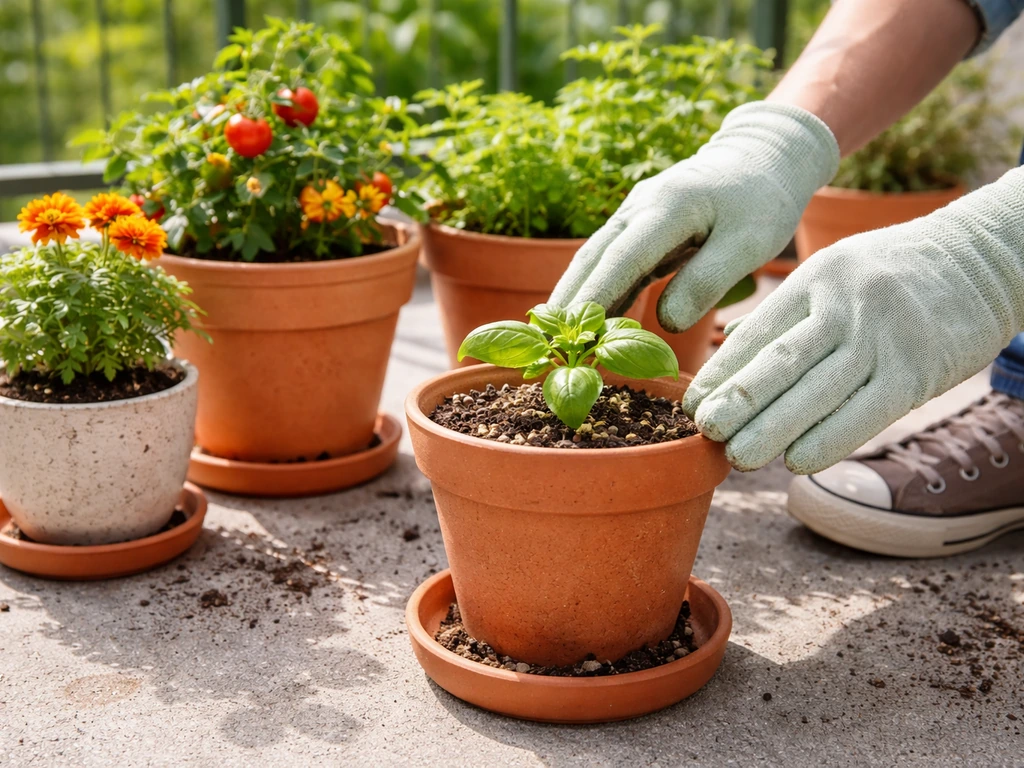
Always use potting mix, never garden soil
Garden soil compacts inside a container, turning almost concrete-hard over time. That shuts down drainage and suffocates roots. Use a commercial potting mix that contains perlite or vermiculite: those gritty white particles are what keep the mix loose and airy so water drains freely. For an extra nutritional boost before planting, mix in up to 50% compost by volume, which gives transplants a strong start. If your potting mix already has slow-release fertilizer blended in (many commercial mixes do), make a note of it because it changes how soon you need to start feeding.
One thing to watch: don't leave too much unfilled space between the top of the soil and the rim of the pot. A few inches of headroom is fine for watering, but an excessively large pot relative to the plant's current size holds more moisture than the roots can use, which encourages root rot. Fill the pot properly and match it to the plant's mature root size, not just its current seedling size.
How deep to plant
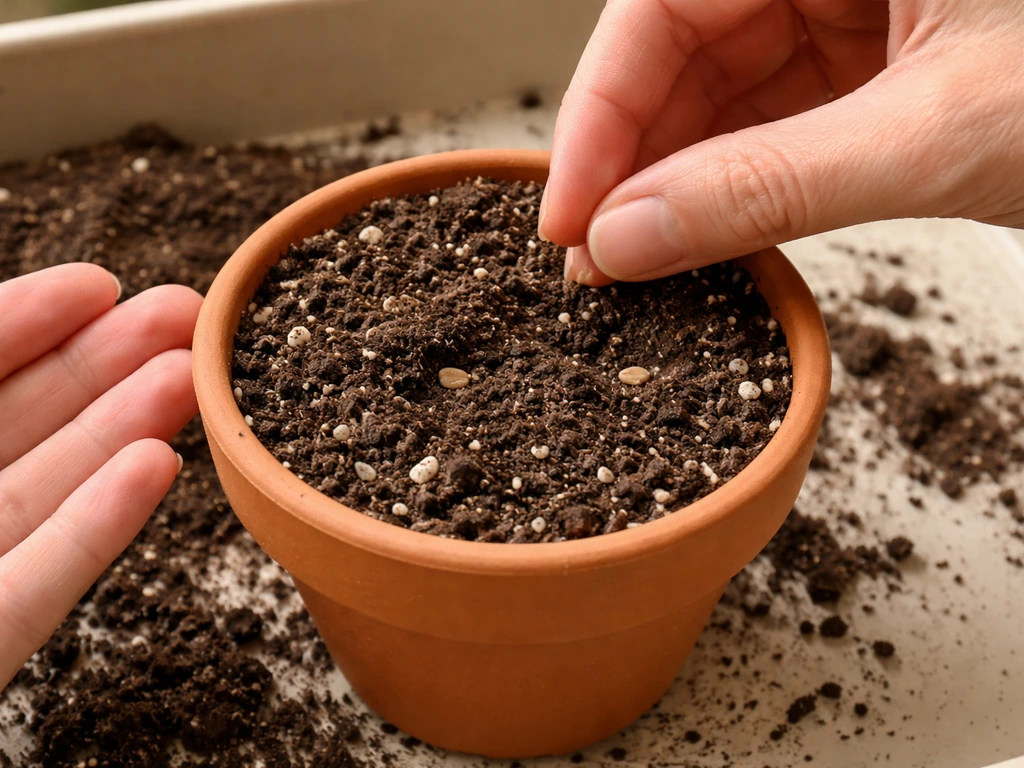
For seeds, a reliable rule of thumb is to plant at a depth of two to four times the seed's minimum diameter. A small basil seed goes in barely covered; a bean seed goes in about an inch deep. Planting too deep is a common mistake that either prevents germination or causes seeds to rot underground before they can sprout. For transplants, plant them at the same depth they were growing in their nursery pot, with one notable exception: tomatoes benefit from being planted deeper, burying some of the stem so it develops additional roots. NC State Extension notes that, except for tomatoes, transplants should be planted at the same depth they grew in the container.
Spacing and timing
In pots, overcrowding is a real problem. Plants that are too close compete for water, nutrients, and light, and airflow drops, which invites disease. Follow the spacing on the seed packet or plant label as a minimum, and in a container lean toward the generous end of any range given. For timing, cool-season crops (lettuce, spinach, broccoli, herbs like parsley and cilantro) can go into pots when soil temperatures reach around 40 to 50 degrees Fahrenheit. Warm-season crops (tomatoes, peppers, cucumbers, basil) need soil that's at least 55 to 60 degrees and no risk of hard frost, defined as temperatures below 28 degrees Fahrenheit.
If you're moving transplants from indoors to outdoors, give them two to three days of temporary shade first to help them adjust without wilting. This is called hardening off and it dramatically reduces transplant shock. If your pepper or tomato transplant looks limp for a few days after moving, don't panic: that's normal stress and it usually resolves within a week as long as watering is consistent.
Watering: how often, how much, and how to avoid root rot
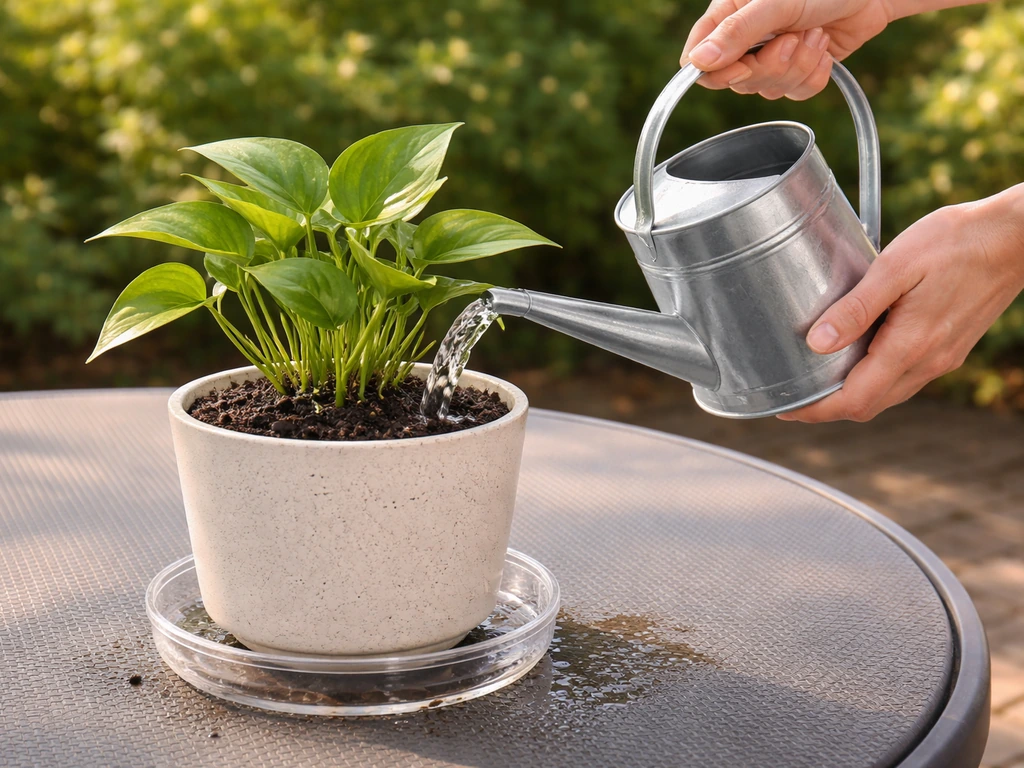
Containers dry out much faster than garden beds, especially in warm weather, so watering is the one task you need to stay on top of. The golden rule is this: water thoroughly every time, but only when the soil actually needs it. To check, push your finger about 2 to 3 inches into the soil near the plant. If it feels dry at that depth, water. If it still feels moist, wait and check again tomorrow. This simple finger test beats any watering schedule because it accounts for weather, pot size, and plant type automatically.
When you do water, water slowly and fully until water runs out of the drainage holes at the bottom. That tells you the entire root zone has been saturated, not just the top inch or two. Shallow watering encourages roots to stay near the surface, making plants more vulnerable to heat and drought.
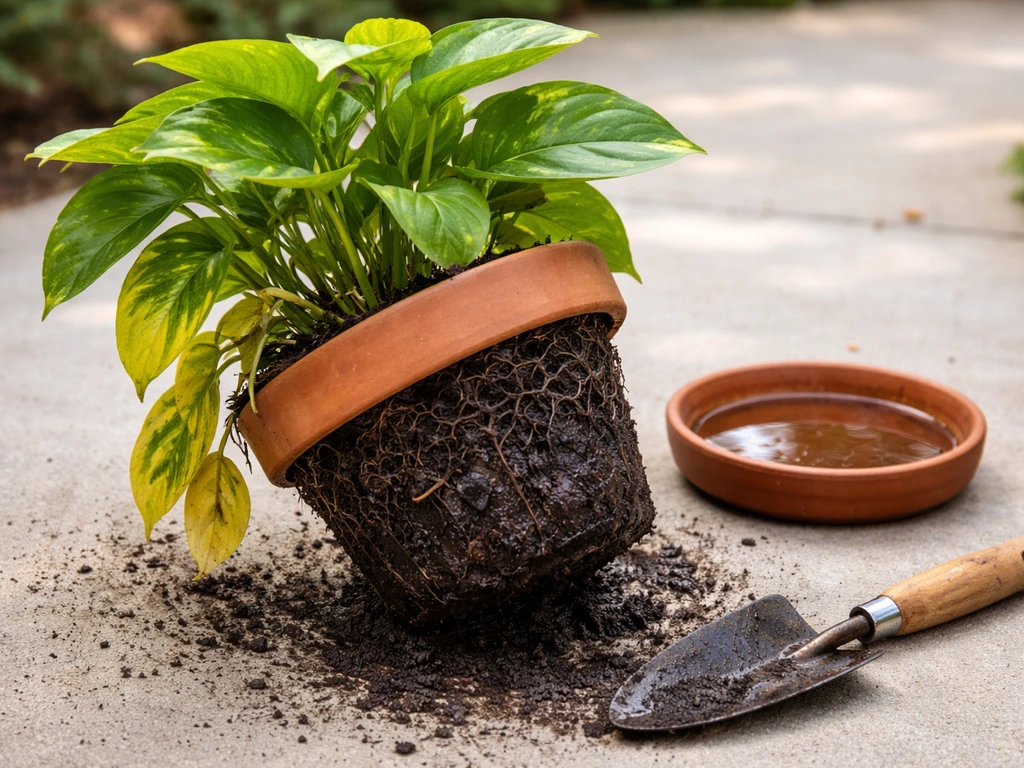
Root rot is the most common container killer and it comes entirely from overwatering or poor drainage. Oregon State University Extension also stresses that container mixes need decent drainage so water does not pool around roots blank" rel="noopener noreferrer">decent drainage for container mixes. The early signs are wilting that persists even when the soil is wet, yellowing leaves, and browning at the base of stems. If you suspect root rot, check the drainage holes aren't blocked, ease off watering immediately, and in serious cases consider repotting into fresh, dry potting mix. Prevention is far easier than cure, so always err toward checking before watering rather than watering on a fixed schedule.
Light and temperature: where to put your pots
Most vegetables, fruiting plants, and sun-loving flowers need at least 6 hours of direct sunlight per day, and for fruiting crops like tomatoes, peppers, cucumbers, and gherkins, 8 hours is genuinely better. Put these in the sunniest spot available, whether that's a south-facing balcony, a sunny patio, or the brightest corner of a rooftop. If you're in a hot climate in midsummer, some afternoon shade can actually protect plants from heat stress rather than hurting them.
For growing indoors, the honest reality is that a windowsill rarely provides enough light for fruiting crops or most vegetables. Natural window light often produces leggy, weak seedlings that lean toward the glass and never fully thrive. If you want to grow food indoors long-term, a dedicated grow light positioned close to the plants makes a real difference. Herbs like parsley, chives, and mint can manage on a bright windowsill better than most, making them a smarter choice for indoor growing without supplemental lighting.
Temperature-wise, remember that pots heat up and cool down much faster than the ground does. In spring, pots on a sunny patio can warm up fast enough to tempt you into planting early, but a single cold night can damage warm-season plants. Wait until nighttime temperatures are reliably above 50 degrees Fahrenheit before putting tender plants like basil or tomatoes outside to stay.
Feeding your container plants
Container plants need more feeding than plants in the ground, full stop. Every time you water, small amounts of nutrients wash out through the drainage holes. After about 3 to 4 weeks of growth, even a well-amended potting mix starts running low on the nutrients plants need, and that's when you need to step in.
If your potting mix contains slow-release fertilizer pellets, you can wait about three weeks after planting before adding any supplemental feed. If it doesn't, or if you're using a basic compost-amended mix, start a liquid feeding routine around weeks 3 to 4. A balanced liquid or water-soluble fertilizer applied once a week at half the recommended strength works well for most crops. Alternatively, apply at full strength every two weeks.
For heavy-feeding fruiting crops like tomatoes, peppers, cucumbers, and eggplant, light feeding every two weeks throughout the growing season keeps production going. Slow-release granular fertilizers are convenient because they work for 2 to 3 months with a single application, but liquid fertilizers give you more control and are easy to adjust.
Pruning, pinching, and support
Pinching out the growing tips of bushy plants like basil, pelargoniums, and certain flowers encourages the plant to branch out rather than grow tall and leggy. Do this early and often once the plant has 4 to 6 sets of leaves. For tall plants like tomatoes and some dahlias, a cane or small trellis placed in the pot at planting time prevents you from disturbing roots later when you need to add support. Indeterminate tomato varieties especially need staking or a cage from the start. Cucumbers and gherkins grown in pots also benefit from a trellis, which keeps the fruit off the soil and makes the most of vertical space, a real advantage in small gardens.
Troubleshooting common container problems
Even when you do everything right, things go wrong sometimes. Here's a quick reference for the most common container issues and what actually fixes them:
| Symptom | Likely cause | Quick fix |
|---|---|---|
| Plant wilts even though soil is wet | Root rot or poor drainage | Check drainage holes are clear; stop watering; consider repotting into fresh dry mix |
| Leaves turn yellow | Overwatering, nutrient deficiency, or root rot | Do the finger test before next watering; start or increase liquid feeding; check roots for brown slime |
| Plant wilts in afternoon heat | Heat stress or underwatering | Move pot to a spot with afternoon shade; water more frequently; check drainage holes aren't evaporating through porous pot walls |
| Leggy, stretched growth toward light | Insufficient sunlight | Move to a sunnier spot; for indoors, add a grow light positioned 4–6 inches above plants |
| Brown leaf tips or crispy edges | Underwatering or fertilizer burn | Water more thoroughly; if recently fertilized heavily, flush with plain water |
| Stunted growth, pale leaves | Nutrient deficiency | Begin or increase liquid fertilizer feeding; check potting mix is not compacted |
| Insects on leaves (small clusters) | Aphids, spider mites, or whiteflies | Spray with insecticidal soap; repeat every 4–7 days; check undersides of leaves |
For pest control, insecticidal soap sprays handle the most common soft-bodied pests including aphids, spider mites, and whiteflies. Apply in the evening rather than in direct sun to avoid leaf scorch, and repeat every 4 to 7 days until the problem clears. Always check the undersides of leaves, where most of these pests hide and lay eggs.
If you're also growing flowering plants like dahlias, pelargoniums, or gypsophila in pots nearby, keep an eye on them too since aphids and spider mites move freely between containers. Gypsophila, in particular, does best in pots with an airy potting mix, plenty of sun, and a careful watering routine so the plant does not stay soggy grow gypsophila in pots. Catching an infestation early on one pot prevents it from spreading to everything else on your patio or balcony.
Your simple setup checklist and weekly routine
Here's everything you need to do to get a pot set up today, and then what to check each week once it's going.
Getting started (do this once)
- Identify your plant's group (herbs/greens, medium crops, or deep-rooted fruiting crops) and pick the right pot size: 4–6 inch for individual herbs, 10 inch for parsley and green onions, five gallons (12–18 inches deep) for tomatoes, peppers, cucumbers, and eggplant
- Confirm your pot has drainage holes at the bottom
- Fill with commercial potting mix containing perlite or vermiculite; optionally mix in up to 50% compost for extra nutrition
- Plant seeds at two to four times the seed's diameter in depth; plant transplants at the same depth they grew in their nursery pot (tomatoes are the exception: bury the stem deeper)
- Water thoroughly until water drains freely from the bottom
- Place the pot in the sunniest available spot (6–8 hours minimum for most plants)
- Add a cane, cage, or trellis for tall or vining plants before the roots get established
Weekly routine (do this every week)
- Check soil moisture with the finger test: 2–3 inches into the soil, water only if dry
- When watering, water fully until it drains from the bottom
- After weeks 3–4, apply liquid fertilizer at half strength weekly (or full strength every two weeks)
- Check leaves top and bottom for signs of pests; treat with insecticidal soap if needed
- Pinch or prune bushy plants to encourage branching
- Check for yellowing, wilting, or leggy growth and refer to the troubleshooting table above
Container gardening has a genuinely forgiving learning curve once you understand these core principles. Start with one or two pots, get comfortable with the watering routine, and expand from there. Small failures, a pot that dries out, a plant that gets leggy, a brief aphid outbreak, are all normal parts of learning and none of them mean you can't do this. Most problems are fixable fast, and each season you'll get a clearer sense of what your specific plants and your specific spot need.
FAQ
How do I choose the right pot size if I do not know my plant’s mature root system?
Use the plant’s mature size as your guide, then size the pot for that (containers are about root volume, not current height). If the label says a mature plant width, pick a pot with an inner diameter roughly equal to that width. When in doubt, go one size larger, but avoid doubling up on extra-large pots because they hold excess moisture and slow root growth.
Is it okay to reuse old potting mix or clean-out-only the pot?
For best results, do not reuse spent potting mix as-is, because nutrients and structure degrade and disease can linger. Empty the pot, scrub it, and refresh with new potting mix, mixing in only a small portion of the old mix if you know it is disease-free. Always check that drainage holes are clear after cleaning.
Do I need to add rocks or gravel under the potting mix for better drainage?
No. Rocks and gravel at the bottom can create a perched water zone, which keeps lower layers wetter than the roots need. The fix is to use a quality potting mix all the way down and confirm the pot has drainage holes, then water thoroughly so excess water truly exits.
How can I tell whether my pot is draining well or staying waterlogged?
After watering, watch how long it takes for runoff to appear and then how quickly the pot lightens. If water pools at the bottom rim or takes a very long time to drain, check for blocked holes and consider switching potting mix. A quick test is to water once, then lift the pot after 10 to 15 minutes, if it still feels heavy for hours, drainage is likely inadequate.
Can I grow multiple vegetables in one container, like lettuce with tomatoes?
You can, as long as their light and watering needs match closely. Keep in mind tomatoes and other tall plants can shade neighbors, and they usually need more frequent feeding. In mixed pots, prioritize the highest-need crop for sunlight and watering, and place smaller, lower-need plants around the edges where they receive more light and slightly less direct root competition.
Should I use slow-release fertilizer even if my mix already has it?
Avoid “stacking” fertilizers. If your potting mix already includes slow-release pellets, wait longer before adding anything and reduce or skip supplemental feeding until you notice pale growth or flowering slowdown. If you are unsure, start with a diluted liquid feed rather than adding granular products again.
Why are my seedlings dying right after repotting into a container?
Most post-repotting deaths are transplant shock or root damage combined with inconsistent moisture. Harden off plants gradually, keep watering steady (not soaking, not drying out), and handle seedlings by leaves or soil clump, not the stems. Also make sure the new potting mix is pre-moistened so the root ball does not dry before roots establish.
How do I prevent fungus gnats and mold in pots?
Let the top layer of mix dry slightly between waterings, use a potting mix with good aeration (perlite helps), and avoid leaving wet mulch on the soil surface. Use drainage trays carefully, do not let the pot sit in runoff, and water at soil level to keep leaves and the surface less constantly damp.
What’s the best way to water self-watering or saucer setups?
Only use saucers if you empty or manage runoff so the pot does not sit in water. With self-watering systems, monitor moisture because they can keep the bottom too wet for certain plants, especially those that prefer drier conditions. A simple check is to feel the soil 2 to 3 inches down, if it stays wet, reduce how often the reservoir refills.
How often should I rotate pots for even growth?
Rotate every 1 to 2 weeks, especially on balconies or patios where light comes from one direction. This helps prevent leaning and uneven leaf color. If your plants are producing fruit, rotations can cause minor stress, so do it gently and avoid moving them during very hot afternoons.
How do I protect potted plants from frost or sudden cold snaps?
Since pots cool faster than ground, move tender plants under cover when nights approach freezing, or wrap the pot with insulation (bubble wrap or horticultural fleece) and mulch the soil surface. Even if plants survive, growth may stall, so avoid fertilizing right before a cold period and keep watering moderate until temperatures stabilize.
When should I start pruning or pinching in a pot, and when should I stop?
Pinch basil and similar bushy plants after they establish enough growth to form several leaf sets, then continue lightly as new tips emerge. Stop heavy pruning once flowering or fruiting starts, because removing too much foliage can reduce energy for blossoms and yield. For tomatoes, follow the variety’s training approach rather than random pinching, especially if you are growing indeterminate types that need consistent support.