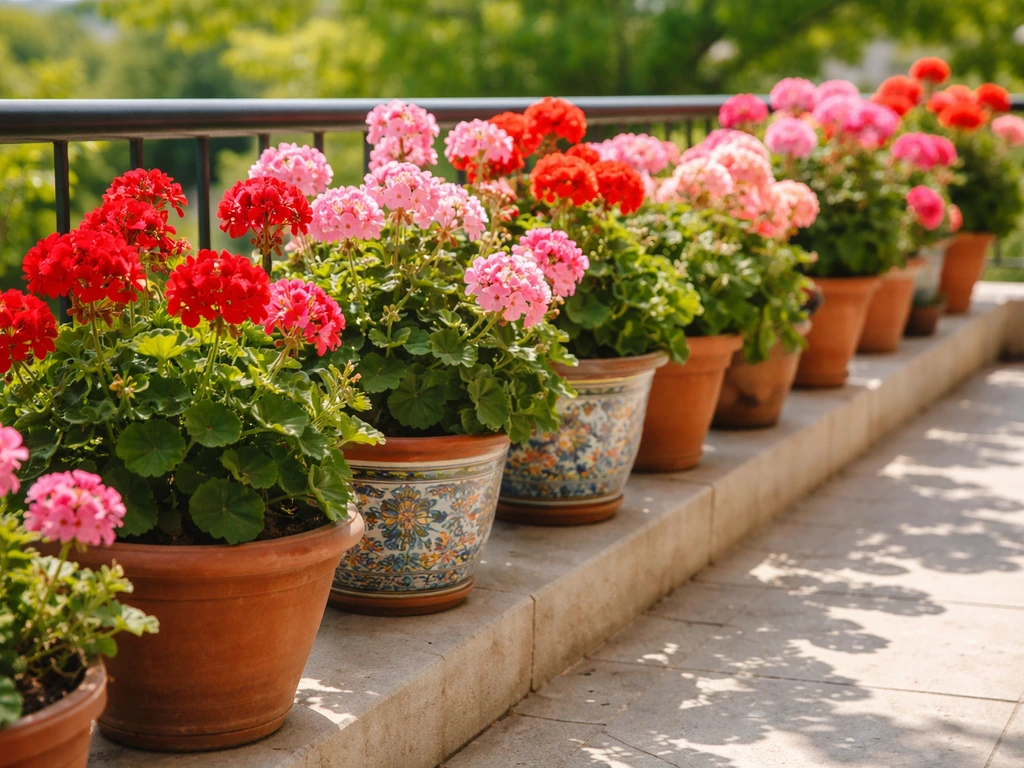
Pelargoniums are genuinely one of the best plants you can grow in a pot. They're tough, colourful, forgiving when you get things slightly wrong, and they'll bloom for months on end if you give them the right setup. The key things to get right are: a pot with good drainage, a free-draining potting mix, a sunny spot, and a watering routine that lets the compost dry out a little between sessions.
How to Grow Pelargoniums in Pots: A Step-by-Step Guide

Marcus Whitley
4 Jun 2026
how to grow gypsophila in pots a sunny spot. If you’re wondering how to grow them in pots, follow the steps on pot choice, drainage, and watering throughout this guide grow in a pot. Get those four things right and you'll have pelargoniums that flower reliably from late spring right through to autumn.
Choosing the right pelargonium type for pots
Not all pelargoniums behave the same way in a container, so it's worth picking a type that suits your space and what you want from the plant. There are four main groups to know about.
| Type | Growth habit | Best container use | Notes |
|---|---|---|---|
| Zonal (Pelargonium × hortorum) | Upright, bushy | Pots, window boxes, patio containers | Most common type; huge colour range; very reliable bloomers |
| Ivy-leaf / trailing (Pelargonium peltatum) | Trailing, cascading | Hanging baskets, deep window boxes, tall planters | Excellent for draping over edges; heat-tolerant |
| Regal / Martha Washington (Pelargonium × domesticum) | Upright, large flowers | Pots 8–12 inches diameter minimum | Showier blooms but shorter flowering season; needs cool nights to set buds |
| Scented-leaf | Varies; often sprawling | Pots, herb displays | Grown more for fragrance than flowers; very drought-tolerant |
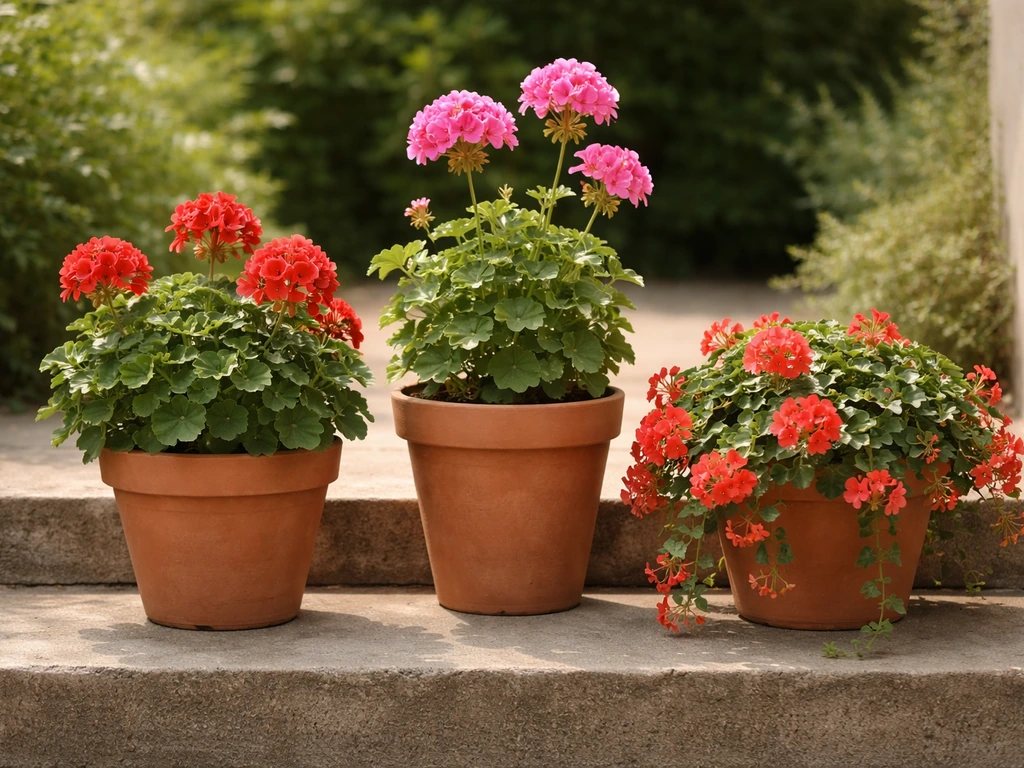
For most people starting out, a zonal pelargonium is the safest bet. They're easy to find, they bloom from late spring until the first frosts, and they cope well with the dry spells that container plants inevitably go through. If you've got a hanging basket or a tall pot where you want something to spill over the edges, go for an ivy-leaf type instead. I'd save regal pelargoniums for once you've got a season or two of experience under your belt, as they're slightly more demanding about temperature.
Pot size, drainage, and container setup
Pelargoniums actually prefer being slightly root-bound rather than swimming in a huge pot. A container that's too big holds excess moisture around the roots and that's one of the fastest ways to kill them. UNH Extension notes that drainage should be excellent and soil should maintain moisture but not remain water-logged [a container that's too big holds excess moisture around the roots](https://extension. unh.
edu/resource/care-flowering-gift-plants-home-fact-sheet). For a single zonal or ivy-leaf pelargonium, a pot around 6–8 inches (15–20 cm) in diameter is ideal. [For regal types, go up to 8–12 inches (20–30 cm) because they need a bit more soil volume to avoid wilting in hot weather. ](https://extension.
uga. edu/publications/detail. html? number=B790&title=geraniums) For a mixed display or a trio of smaller plants in one container, a 12–14 inch pot works well.
Drainage is non-negotiable. Every container you use needs drainage holes at the bottom, full stop. Terracotta pots are particularly good for pelargoniums because they're porous, which means the compost dries out more evenly and the roots get some air. Gherkins grown in pots need similar basics: plenty of sun, a supportive potting mix, and consistent watering so the plants do not dry out grow gherkins in pots. Plastic pots work fine too, but you need to be more careful about overwatering in them. Avoid placing a saucer permanently under the pot unless you're in a very hot, dry climate, as standing water in a saucer will rot the roots within days.
Before you add compost, place a piece of broken pot, a small stone, or a piece of mesh over the drainage holes to stop them from clogging with soil. There's no need to fill the bottom with a deep layer of gravel as a 'drainage layer', that's actually a gardening myth that can make drainage worse. Just cover the holes and get planting.
Potting mix and planting depth and spacing
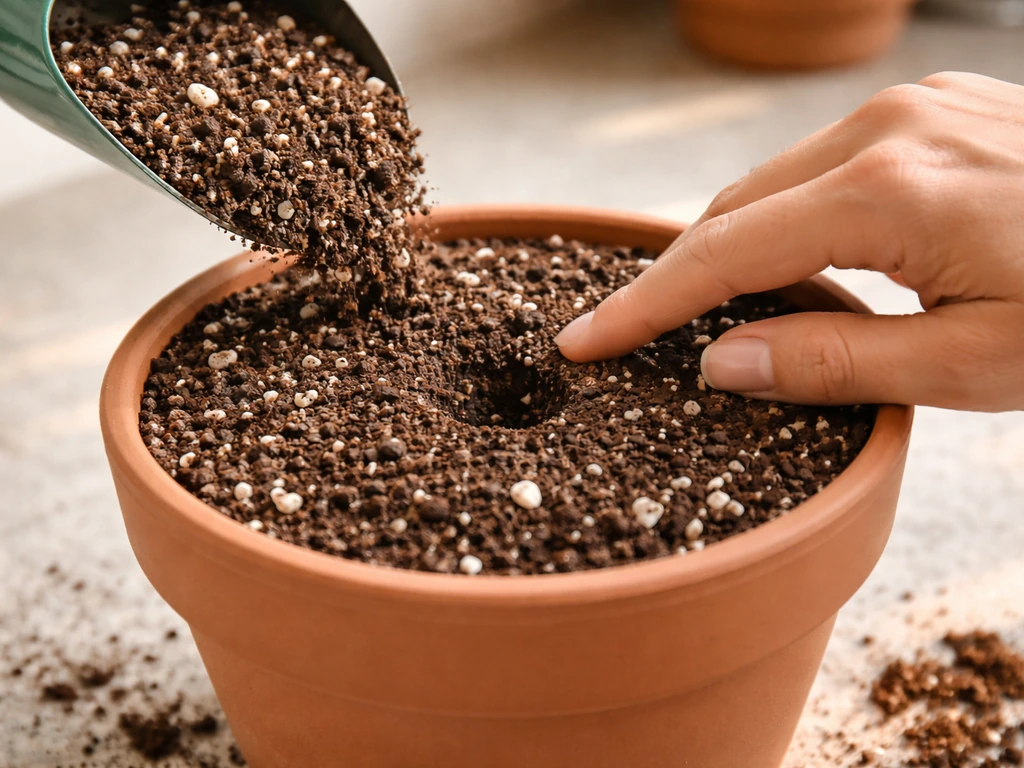
Use a good-quality all-purpose potting compost that already contains perlite or vermiculite. Those white granules you can see in the mix are what keep the compost from compacting and getting waterlogged. If your potting mix doesn't include them, buy a small bag of perlite and mix in about 20–25% by volume. Pelargoniums need free-draining compost above everything else, they'd rather be a bit dry than sitting in damp, heavy soil.
When it comes to planting depth, keep it simple: plant pelargoniums at the same depth they were growing in their nursery pot. You'll see a slight soil line on the stem, match that. Burying the stem too deep encourages rot, and planting too shallow means the roots dry out too fast. Firm the compost gently around the roots, then water it in well.
For spacing, if you're growing a single plant in a 6–8 inch pot there's nothing to think about. In larger containers with multiple plants, space zonal pelargoniums about 8–10 inches apart so each plant has room to bush out without crowding its neighbours. Crowding restricts airflow and increases the chance of fungal problems.
Light placement and watering for healthy roots
Where to put your pots
Pelargoniums need full sun, ideally six or more hours of direct sunlight a day. To get started with dahlias in pots, you’ll want the right tubers, a free-draining container, and plenty of sun full sun. A south- or west-facing spot outdoors is perfect. On a balcony, push the pots as close to the open edge as possible to maximise light. Indoors, a bright south-facing windowsill works well and, given enough light, pelargoniums will flower continuously inside all year round. If you only have a partially shaded spot, plants will survive but they'll produce fewer flowers and get leggier over time as they stretch toward the light.
How to water pelargoniums in containers
Overwatering is the number one mistake people make with potted pelargoniums, and I've done it myself more times than I'd like to admit. The rule is simple: water thoroughly, then let the compost dry out before watering again. When you do water, pour slowly until water runs freely out of the drainage holes at the bottom, that tells you the whole root zone has been reached. Then leave it. Don't water again until the top inch or two of compost feels dry when you push your finger in.
In practice during a warm summer, that might mean watering every two to three days. In cooler weather or indoors in winter, it might be once a week or even less. The frequency matters far less than the method: thorough watering followed by a proper dry-out period. One more useful tip from extension guidance: make sure water actually flows out the bottom each time you water, as this also helps flush away any soluble salt build-up from fertilisers, which can damage roots over time.
Feeding and getting lots of blooms
Pelargoniums are hungry plants when they're actively growing and flowering. A fresh potting mix contains some nutrients, but these get used up or washed out within about four to six weeks. After that, if you're not feeding, flowering will slow down noticeably. Start a regular feeding routine somewhere between two and six weeks after planting, depending on how fast your plant is growing and how often you're watering (frequent watering flushes nutrients out faster).
For consistent blooms, use a liquid fertiliser that's higher in potassium (often labelled as a tomato feed or flowering plant feed) every one to two weeks through spring and summer. High-potassium feeds promote flower production rather than leafy growth. Alternatively, mix a slow-release granular fertiliser into the compost at planting time and top it up a couple of times through the season. Either approach works, the key is not to skip feeding entirely and wonder why your plants stop flowering in July.
Stop feeding in early autumn as the plants start to wind down, and don't feed at all during winter. Starting up again in late winter or early spring, as days get longer and light improves, will help wake plants back up and encourage new growth.
Pruning, deadheading, and training for shape
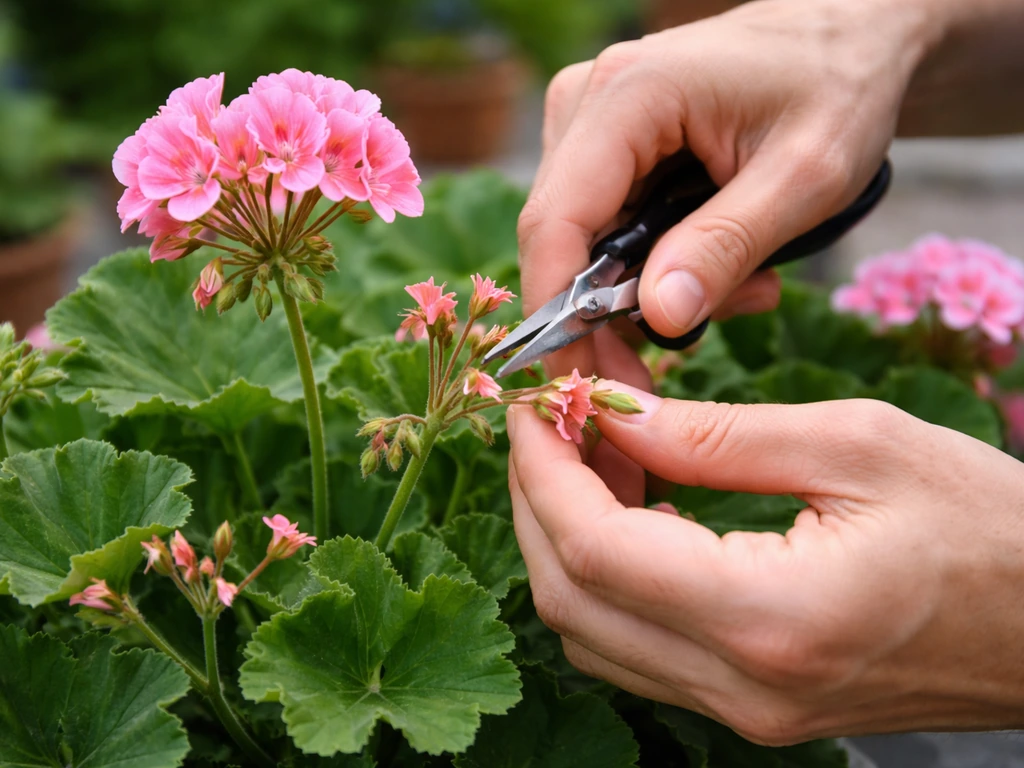
Deadheading (removing spent flower heads) is the single most important thing you can do to keep pelargoniums blooming. Once a flower cluster fades, snap or cut the whole stem back to where it meets a main stem or leaf joint. Don't just pull off the dead petals and leave the stalk, the whole stalk needs to go, or the plant puts energy into forming seeds rather than new flowers.
For shape and bushiness, pinch out the growing tips in spring and early summer. That means using your fingers or a pair of clean scissors to remove the top half-inch or so of each stem. It feels brutal the first time, but within a couple of weeks the plant will have sent out two or three new shoots from that point, making it much bushier and producing more flowers overall. Pinching works best on young plants or plants just coming out of winter storage.
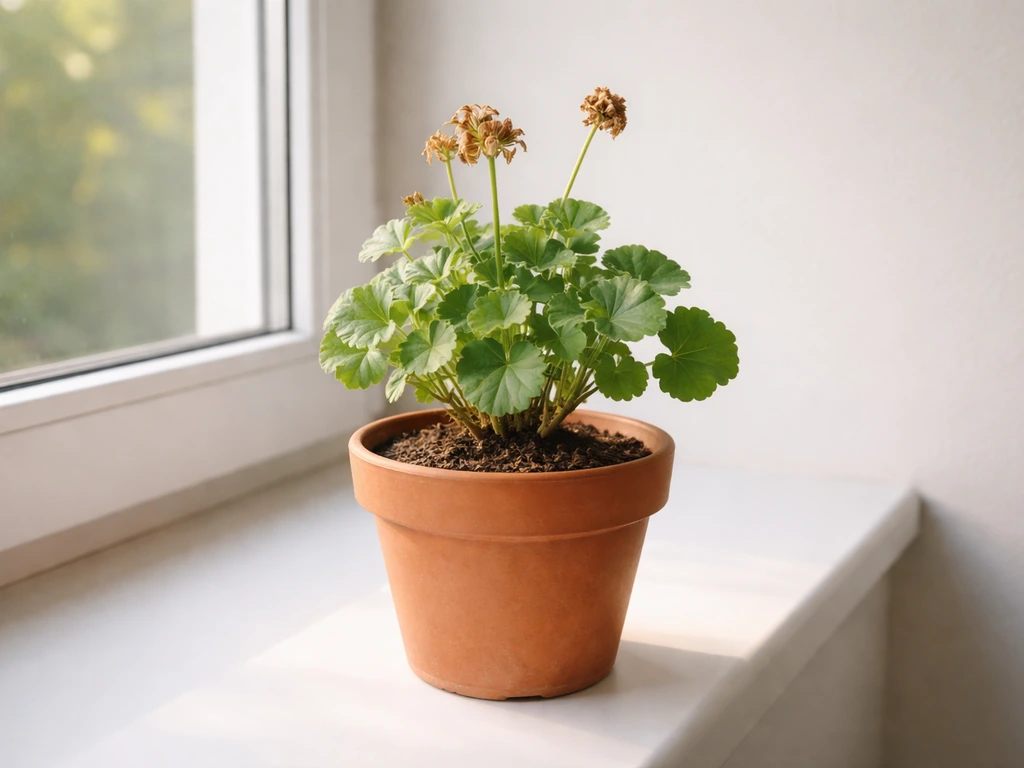
If a plant has become leggy over summer (long stems with leaves only at the tips), give it a harder cut back, reducing stems by about a third to a half will encourage fresh growth from lower down the plant. Do this in late summer or early autumn to refresh the plant before winter, or in spring as it starts growing again.
Troubleshooting common problems
No flowers
The most common reasons a pelargonium stops flowering are: not enough sunlight, too much nitrogen (which pushes leafy growth at the expense of blooms), or the plant is root-bound and stressed. Check the light first, six or more hours of sun is the minimum. Switch to a high-potassium feed if you've been using a general all-purpose fertiliser. And if the plant has been in the same pot for two or more years, it may be time to repot it into a slightly larger container with fresh compost.
Yellow leaves
Yellow leaves at the base of the plant are usually normal ageing, just remove them. If lots of leaves are yellowing, the most likely cause is overwatering. Check the compost: if it's been consistently damp for more than a week, ease off the watering and let it dry out properly. Less commonly, yellowing can signal a magnesium deficiency, which you can fix with an occasional dose of Epsom salts (one teaspoon dissolved in a litre of water, applied once a month).
Mushy stems and root rot
If you press a stem near the base and it feels soft and mushy, that's stem rot, almost always caused by overwatering or waterlogged compost. Unfortunately, once the rot has reached the main stems, the plant is usually beyond saving. Cut your losses, take a healthy cutting from any unaffected growth, let it callous over on a windowsill for a couple of hours, then stick it into fresh dry compost to root. Adjust your watering routine before the new cutting gets the same treatment.
Pests
Aphids are the most frequent visitor. You'll usually spot them clustered on new growth tips. A strong blast of water knocks them off, or use an insecticidal soap spray if they keep coming back. Whiteflies tend to appear on plants kept indoors or in a greenhouse, yellow sticky traps catch the adults, and insecticidal soap deals with the larvae on the undersides of leaves. Spider mites show up in hot, dry conditions as a fine webbing on leaves; increasing humidity around the plant (not the compost) and using a miticide spray helps. Before moving any plant indoors for winter, check carefully for all three of these pests or you'll introduce them to your other houseplants.
Seasonal care: moving outdoors and overwintering
Moving plants outside in spring
Wait until the risk of frost has passed before moving pelargoniums outside, in most of the UK that means after mid-May, and in the US it depends on your last frost date. Don't rush it. A single frost will kill them. When you do move them out, acclimatise them gradually over a week or two: put them outside during the day and bring them in at night. This 'hardening off' process stops the leaves from getting scorched by the sudden change in light intensity.
Overwintering pelargoniums in pots
Pelargoniums are frost-tender, so they need to come inside before temperatures drop below about 5°C (40°F). There are a few ways to do it, and the best option depends on what space you have.
- Keep them as potted plants indoors: Move the whole pot to a light, frost-free room — a cool spare bedroom, a conservatory, or a bright windowsill. Before moving them in, check every plant carefully for pests. Once inside, prune stems back by about two-thirds to reduce the demand on the plant over winter. Water sparingly — once every couple of weeks is usually enough. Stop feeding entirely until late winter.
- Take cuttings in late summer: Take 3–4 inch cuttings from healthy non-flowering shoots in August or September, let them dry for a couple of hours, then pot them into small pots of gritty compost. These small plants take up much less space over winter than full-grown plants and are easy to keep on a windowsill.
- Bare-root storage: Dig plants out of their pots, shake off the compost, trim the roots and stems back, then hang them upside down in a cool, dry, frost-free shed or garage. Check monthly and mist occasionally if the stems look shrivelled. Pot them back up in late winter or early spring and they'll often re-shoot. This method is low-maintenance but less reliable than keeping them potted.
Restarting growth in late winter and spring
In late winter (February in the UK, February to March in the US depending on your location), start increasing water and light for overwintered plants. Move them to the brightest spot available, resume feeding at a half-strength dose, and pinch out tips to encourage bushy new growth. By the time you're ready to move them back outside, they should already be producing new shoots and, with any luck, the first flower buds. If the plant has been in the same compost for a year or more, repot it into a slightly larger container with fresh potting mix at this point to give it the best possible start for the season ahead.
FAQ
How do I know I’m watering properly in a pot (and not just wetting the surface)?
Aim to water until you see runoff from the drainage holes, then stop. If you water and no water emerges at the bottom, the compost may be holding water poorly or the holes are partly blocked, so the roots are not getting the full soak.
What happens if I forget to water or let the compost dry out too long?
Yes, but only briefly. Pelargoniums can handle a short dry spell, but repeated long dry-outs followed by heavy watering can cause bud drop and uneven flowering. Try to keep conditions cycling gently, water thoroughly, then let the top 2 inches dry before watering again.
Can I leave potted pelargoniums outside if the weather is turning cold?
If they’re outdoors and nights drop close to frost, move the pots to a sheltered spot or under cover during cold nights. A brief chill may slow growth and trigger leaf damage, while a true frost can kill the plant.
My pelargoniums have leaves but not many flowers, what should I change first?
If you’re getting flowers but growth looks weak or pale, first check light hours and watering method, then adjust feeding. For bloom-focused results, switch to a higher-potassium liquid “flower” feed or tomato feed, and feed on a schedule rather than randomly.
Will a larger pot help pelargoniums grow bigger, or does it cause problems?
A pot that’s too big can keep the root zone wet longer, which reduces flowering and increases rot risk. If your plant is in an oversized container, consider repotting into the recommended pot size (about 6–8 inches for most types) or moving to a smaller pot as soon as active growth starts.
How can I tell if my fertiliser is making my pelargoniums leafy instead of flowering?
Too much nitrogen is a common cause of “leafy but not blooming” plants. If you’re using a general-purpose feed, replace it with a flowering feed higher in potassium, and pause any high-nitrogen lawn or foliage fertilisers during the blooming season.
Why are the leaves turning yellow on my potted pelargoniums, and when is it a real issue?
It depends on what kind of yellowing you see. Yellow leaves at the base can be normal, but if many leaves yellow and the compost stays damp for more than about a week, reduce watering and let the pot dry more thoroughly before the next soak.
What should I do if I think stem rot is starting?
If you suspect root or stem rot (soft, mushy stems near the base), stop saving the whole plant and take cuttings from any unaffected top growth. Root the cuttings in fresh, dry compost and keep them slightly drier than you would for a fully established plant.
How should I harden off pelargoniums when moving them outdoors in spring?
Use a gentle, gradual acclimatisation. Over a week or two, increase outdoor exposure step by step (days outside first, sheltered, then longer exposure) so leaves don’t scorch from sudden sun and wind.
When is the best time to pinch out pelargoniums so they still bloom on schedule?
Yes, especially on young plants and after pruning. Pinching at the start of the growing season encourages multiple shoots, but if you pinch too late into the season, you can delay flowering because the plant needs time to form new buds.
How do I stop drainage holes from getting blocked in potting compost?
To prevent clogged drainage, cover holes with mesh or a piece of broken pot before adding compost. Avoid compacting the compost too much when potting, and use a genuinely free-draining mix so water can flow out quickly each time you water.
My indoor pelargoniums are getting leggy, what’s the fastest fix?
Some indoor plants appear leggy because light is insufficient, not because watering is wrong. Move the pot closer to the brightest window, rotate it regularly, and consider a stronger light source if winters in your location are very dim.