You can absolutely grow citronella in a pot, and it does surprisingly well in containers when you get a few basics right: a pot at least 12 inches wide with drainage holes, a light and airy potting mix, 6 to 8 hours of sun daily, and watering only when the top inch of soil dries out. Nail those four things and you will have a big, healthy, fragrant plant by midsummer.
How to Grow Citronella in a Pot: Step-by-Step Guide

Marcus Whitley
7 May 2026

First, make sure you have the right plant

Before you buy anything, it helps to know that "citronella" is actually used for a few different plants at the garden center. The true citronella grasses are Cymbopogon nardus and Cymbopogon winterianus (also called Java citronella). These are the tall, clumping tropical grasses that produce the citronella oil used in candles and repellents. Then there is the "mosquito plant" or "citronella plant" (Pelargonium citrosum), which is a scented geranium that looks nothing like a grass but gets sold under the citronella name constantly. Both can grow in pots. This guide focuses on the grass types, since they are the true citronella plants, but the container-care advice applies pretty well to both.
Choosing the right pot size
Citronella grass is a fast grower. It wants room to spread its clump, so start with a pot that is at least 12 inches in diameter. If you are starting from a small nursery plug or a 4-inch starter plant, you do not need to jump straight to a giant container. Begin in something appropriately sized for the plant, maybe 4 to 6 inches wider than the root ball, then pot up as it grows. Going too large too fast can cause the excess soil to stay wet for too long, which invites root rot.
The single most important feature of any pot for citronella is drainage holes. No exceptions. I have killed more container plants by letting them sit in standing water than by any other mistake, and citronella is no different. Pick a pot with at least one good drainage hole in the bottom, and if you love the look of a decorative outer pot (called a cachepot), just remember to empty it after watering so the inner pot is never sitting in a puddle.
- Minimum starting size: 12 inches in diameter for an established plant
- Starter plants from the nursery: use a pot 4 to 6 inches wider than the current root ball
- Material: terracotta breathes well and helps prevent overwatering, but plastic works fine too
- Drainage holes are non-negotiable, and one large hole beats several tiny ones
Best potting mix, soil, and drainage setup

Do not use garden soil in a pot. It compacts, drains poorly, and can bring in disease. For citronella, you want something light and fluffy that lets air reach the roots. A standard quality potting mix works, but the best option is either a ready-made mix labeled for tropicals or herbs, or a simple homemade blend of half peat (or coco coir) and half perlite. That half-and-half ratio gives you the moisture retention the plant needs while draining fast enough to prevent soggy roots.
Citronella prefers a slightly acidic soil pH, somewhere between 5.8 and 6.0. Most good potting mixes fall in that range naturally, so you probably do not need to adjust anything unless your tap water is very alkaline or you are mixing your own medium. If white crusty deposits start forming on the rim or surface of your pot, that is mineral and fertilizer salt buildup. Flush it out by pouring several rounds of plain water through the pot from the top and letting it drain completely. Do not bottom-water a pot with visible salt crust, as that only pulls the salts back up into the root zone.
For drainage setup, place the pot on pot feet or a raised surface so water can actually escape from the drainage holes freely. If you use a saucer, check it after every watering and dump out any standing water within an hour. That one habit will save you from root rot more reliably than almost anything else.
Sunlight, watering, and fertilizing schedule
Sunlight
Citronella grass is a full-sun plant. Aim for 6 to 8 hours of direct sunlight daily. A south- or west-facing patio, balcony, or windowsill is ideal. If your plant starts looking leggy, stretching out with long thin stems and sparse leaves, it is telling you it needs more light. Move it to a sunnier spot and it will bounce back within a couple of weeks.
One thing worth knowing: if your citronella has been indoors or in low light for a while (like at the end of winter), do not move it straight into blazing full sun. Introduce it gradually over about a week, starting in a shaded or partially shaded spot, then moving to full sun. Skipping this step can cause leaf scorch, which looks like bleached or brown patches on the leaves. It is not fatal, but it sets the plant back.
Watering

The golden rule for watering citronella in a pot is to let the top inch of soil dry out before you water again during spring and summer. In fall and winter, let the top 2 inches dry out before watering. Stick your finger into the soil to check, not just the surface. The surface can look dry while the root zone is still wet, especially in a deep pot. Water thoroughly when you do water, until it flows out the drainage holes, then stop and do not water again until that top inch has dried.
Overwatering is by far the most common mistake with potted citronella. In my experience, people tend to water on a schedule rather than based on what the plant actually needs, and that causes problems fast. Containers dry out at different rates depending on the weather, pot size, and material, so always check before you water rather than watering on autopilot every X days.
Fertilizing
Feed your potted citronella every two weeks from spring through autumn with a balanced, water-soluble fertilizer that includes micronutrients. Something labeled 10-10-10 or similar works well. Mix it to the recommended strength on the label and apply it when you water. Do not fertilize in winter when the plant is resting or growing slowly, since unused fertilizer just builds up as salt in the soil. If you prefer a more hands-off approach, a slow-release granular fertilizer mixed into the potting medium at planting can work well for containers and reduces the risk of salt spikes. Just do not layer on more fertilizer than the label recommends. Over-fertilizing is almost as damaging as overwatering.
Temperature, overwintering, and bringing it back in spring

Citronella grass (Cymbopogon winterianus and nardus) is a tropical plant. It is perennial in USDA zones 9 to 12, which means it stays outdoors year-round in warm climates like Southern California, Florida, and Hawaii. Penn State Extension notes that roots of above-ground container plants can be about as cold as winter air, which makes container-grown plants more vulnerable to cold than those in the ground [container-grown plants are more vulnerable to cold than in-ground plants](https://extension. psu.
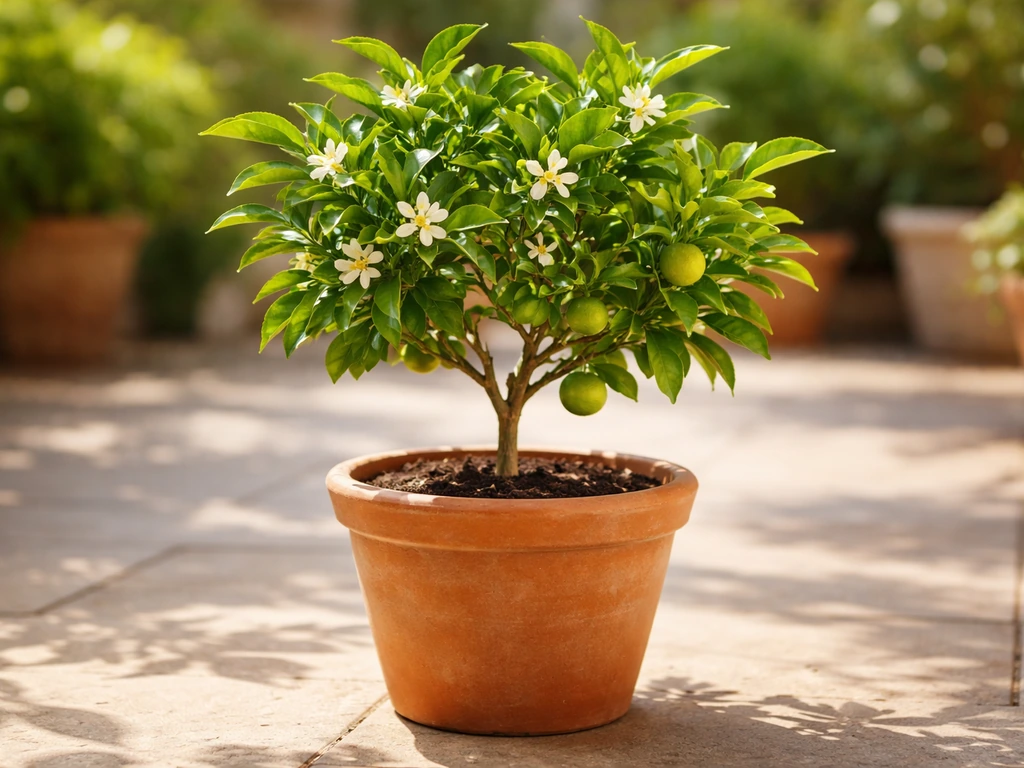
edu/overwintering-plants-in-containers/). In zones 8 and below, it will not survive a frost outdoors, and that is actually where growing it in a pot becomes a huge advantage over planting it in the ground: you can bring it inside. If you want another container plant challenge and a similar pot-and-care approach, you can also look up how to grow citrus trees in pots for guidance on sunlight and watering.
Bring your citronella indoors before nighttime temperatures drop below 50°F (10°C). That is the practical cutoff point for Cymbopogon grasses. Once inside, keep it somewhere that stays between 50 and 60°F if possible, like an unheated garage, a bright cool room, or a sunroom. It does not need to be warm, just frost-free and with some light. It will slow down significantly and may look a bit ragged through the winter. That is normal. Water sparingly, checking that top 2 inches each time. Do not fertilize at all during this period.
In spring, once nighttime temperatures are reliably above 50°F, you can move it back outside. Remember the acclimation step: start it in a shaded spot for a few days before moving it back into full sun. Within a few weeks of getting proper sun and warmth again, it will push out new growth and start looking lush again. That spring transition is one of my favorite moments in container gardening.
| Season | Where to keep it | Watering frequency | Fertilizing |
|---|---|---|---|
| Spring | Outdoors, full sun (acclimate first) | When top 1 inch is dry | Every 2 weeks |
| Summer | Outdoors, full sun | When top 1 inch is dry | Every 2 weeks |
| Fall | Outdoors until temps drop below 50°F, then bring in | When top 2 inches are dry | Stop by late fall |
| Winter | Indoors, bright cool room, 50–60°F | When top 2 inches are dry | None |
Pest and disease watch-outs for container citronella
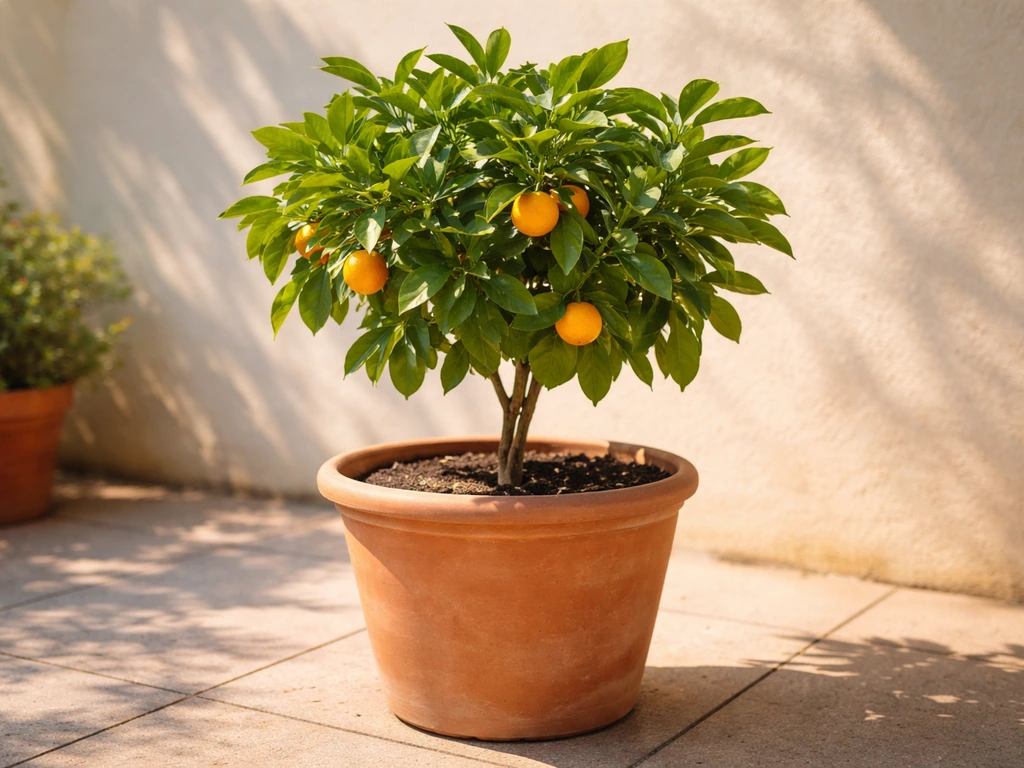
Citronella grown in containers is generally pretty tough, but a few pests do show up, especially when the plant is brought indoors for winter or if airflow around the pot is restricted. If you want the same container-success approach but with fruit, learn how to grow oranges in a pot next Citronella grown in containers.
Common pests
- Aphids: tiny soft-bodied insects that cluster on new growth and stem tips. Knock them off with a strong blast of water or spray with a 1 to 2% insecticidal soap solution.
- Whiteflies: small white flying insects that scatter when you disturb the plant. Insecticidal soap sprays work well applied directly to the undersides of leaves.
- Mealybugs: white fluffy patches in leaf joints or along stems. Dab individual mealybugs with a cotton swab dipped in rubbing alcohol, or spray the whole plant with insecticidal soap solution. Repeat every 5 to 7 days until clear.
- Spider mites: very small, cause stippled yellowing on leaves, and thrive in hot and dry indoor conditions. Increase humidity around the pot and use insecticidal soap.
Disease prevention
Fungal issues like leaf spot are most likely when the plant sits in high humidity with poor airflow. In a container, you can manage this easily: do not crowd your citronella pot up against walls or other pots, water at soil level rather than over the leaves, and make sure the pot drains properly after every watering. If you do see brown or black spots appearing on leaves, remove the affected leaves, improve airflow, and let the soil dry out a bit more between waterings. A copper-based fungicide can help if the problem persists.
Propagation, pruning, and potting up
Cutting it back for fuller growth
Citronella grass can get tall and floppy if left to its own devices in a pot. Cutting it back keeps it compact, encourages fresh new growth from the base, and honestly makes the plant look much better. In spring and through the growing season, trim back any dead or yellowing outer blades and cut the plant down to about 6 inches if it is getting leggy or too large for its space. Do not be timid about this. Citronella is vigorous and will push back quickly.
Propagating by division
The easiest and most reliable way to get more citronella plants is to divide the clump. This is best done in spring or early summer when the plant is actively growing. Tip the pot on its side, slide the root ball out, and use a sharp knife or your hands to pull the clump apart into two or three sections, each with roots and a few stems attached. Pot each section up into its own container with fresh potting mix, water it in well, and keep it in a shaded spot for a few days while it settles. Division also doubles as a way to refresh an older plant that has become root-bound or looks tired.
Softwood cuttings
If you would rather not disturb the main plant, take softwood cuttings in spring when new growth is starting. Snip a stem about 4 to 6 inches long, remove the lower leaves, dip the cut end in rooting hormone powder, and push it into a small pot of sterile seed-starting mix. Keep it moist and in a warm, bright spot out of direct sun until roots form in a few weeks. This method takes a bit more patience than division but is a great way to share plants with friends.
When to pot up to a larger container
You will know it is time to size up when roots start poking out of the drainage holes, the plant dries out very quickly after watering, or the clump looks cramped and is struggling to grow. Move up to a pot that is 2 to 4 inches wider in diameter than the current one. Going too large at once creates the same soggy-soil problem mentioned earlier. Use fresh potting mix to fill the gaps and water it in well. Spring is the best time to repot, giving the plant a whole growing season to fill in its new space.
Your quick-start checklist
- Buy a true citronella grass (Cymbopogon nardus or winterianus) from a reputable nursery or online seller
- Choose a pot at least 12 inches wide with one or more drainage holes
- Fill with a light potting mix, either a quality all-purpose mix or a half peat, half perlite blend
- Place in a spot that gets 6 to 8 hours of direct sun daily
- Water only when the top inch of soil is dry, and always empty the saucer after watering
- Feed every two weeks from spring through fall with a balanced water-soluble fertilizer
- Bring indoors before temperatures hit 50°F, keep at 50 to 60°F through winter, and water sparingly
- Divide or take cuttings in spring to get more plants or refresh an aging clump
- Trim back leggy growth anytime during the growing season to keep the plant full and healthy
Once you have citronella growing confidently in a pot, you start to see just how manageable container gardening can be, even with tropical plants that seem intimidating at first. If you want a citrus-style container plant instead, the care steps for growing kumquat trees in pots are similar: prioritize a well-draining potting mix, steady light, and careful watering grow kumquat trees in pots. The movability of a pot is genuinely a superpower in colder climates.
If you enjoy growing large, architectural plants in containers, the same principles here apply to other bold container choices like citrus trees, kumquats, and papaya, all of which reward the same attention to drainage, light, and seasonal care. If you want the specifics, see the guide on how to grow papaya in a pot for pot size, soil, and watering tips tailored to containers.
FAQ
How can I tell if my potted citronella needs water if the surface looks dry?
For citronella grass in pots, it is usually better to go slightly under water than over water. Wait until the top inch (spring and summer) or top 2 inches (fall and winter) is dry, then water thoroughly until it runs out the drainage holes. If you leave it dry too long and it wilts, give a deep soak, then resume the normal “top layer dry” routine.
What should I do if I accidentally fertilized my citronella in winter?
Yes, but use a light hand. If you fertilize during the winter rest, salts can build up faster in containers. If you notice white crust on the pot rim or soil surface, flush with several rounds of plain water from the top, then resume feeding only in spring at the label rate.
Why is my citronella turning brown after I bring it inside for winter?
Citronella grass often looks rough after an indoor season, but it should still have green bases and new growth. If the entire plant turns brown and mushy at the center, that suggests rot from standing water. In that case, stop watering immediately, check the roots, and repot into fresh mix if rot is present.
Can I repot citronella in a container in the middle of summer?
You can repot whenever you must fix drainage or root issues, but for best growth plan it for spring. If you see roots poking from the drainage holes or the plant dries out in a day or two, pot up to the next size band (2 to 4 inches wider) using fresh potting mix and water it in well.
Does growing citronella in a pot actually repel mosquitoes like the candles do?
If your goal is mosquito-repellent oil, note that “citronella” sold as a mosquito plant (Pelargonium citrosum) is not the same as citronella grass. Both can be grown in pots, but you should not assume the scent or effectiveness will match unless you bought the correct type (Cymbopogon spp.).
How do I avoid overfeeding citronella in a pot?
Start with the correct label rate, and only fertilize every two weeks in active growth (spring through autumn). If you switch to slow-release pellets, do not add extra liquid fertilizer on top, and avoid exceeding label instructions, because salt buildup in containers can harm roots even if the plant “looks hungry.”
My citronella is leggy, but it gets sun, what else should I check?
If the plant gets leggy despite full sun, check for another light-limiting issue like being too far from the window, using a cloudy-day indoor spot, or a pot that is shading itself with tall edges. Rotate the pot every week for even growth, and consider moving to a location that gets true direct sun for the full daily window.
Can I use a decorative saucer under the pot for citronella?
A saucer is okay only if you empty it. Drainage holes are the priority, and the saucer should not hold water for long periods. Dump any standing water within about an hour after watering, and if you see recurring puddling, raise the pot on pot feet or switch to a better-draining cachepot setup.
What causes the white crust on the rim of my citronella pot?
Often it is salt or mineral buildup, especially if tap water is hard or you are watering too lightly. Flush from the top with plain water in several rounds, let it drain fully, and consider watering until it flows out, not just a small amount. If crust keeps coming back quickly, also check that you are using potting mix rather than garden soil.
What is the easiest way to propagate citronella in a pot if I do not want to divide the plant?
Yes, softwood cuttings are easiest in spring when new growth starts. Keep the cutting in sterile seed-starting mix, maintain consistent moisture (not soggy), and place it in bright light without direct hot sun until roots form. Expect it to take weeks, and avoid fertilizing until you see active new growth.
How do I fix potted citronella that is declining but I am not sure if it is overwatering or underheating?
The fastest, simplest “rescue” is checking drainage and moisture first. If leaves look yellow and soil stays wet, stop watering, improve airflow around the pot, and ensure drainage holes are clear. If you find rotten roots when you check, remove the damaged parts and repot into fresh mix so the plant can re-establish.