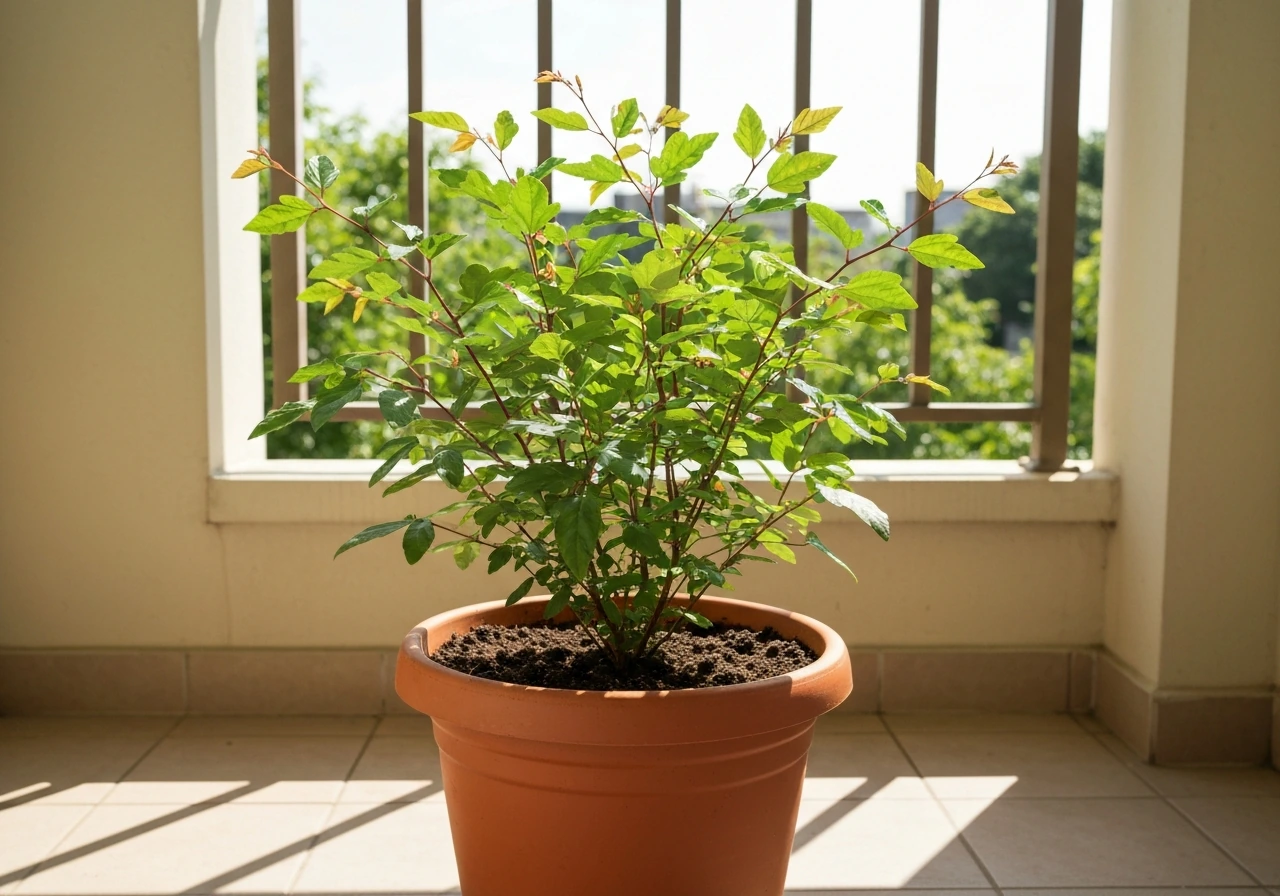
Yes, you can grow gongura in pots, and it does surprisingly well as a container crop when you give it full sun, a big enough pot, and consistent warmth. Start seeds in a pot at least 12–15 inches wide and deep, use a loose potting mix rather than garden soil, water when the top inch dries out, feed every two weeks during active growth, and you can start harvesting leafy tops around six weeks after transplanting. That's the short version. Everything below will walk you through exactly how to make it happen, from seed to steady harvests. If you want a quick, step-by-step guide that specifically focuses on growing gaura in pots, follow the tips in our dedicated article how to grow gaura in pots.
How to Grow Gongura in Pots: A Beginner’s Guide

Marcus Whitley
14 Jun 2026
Is gongura a good container crop (and what you can expect)
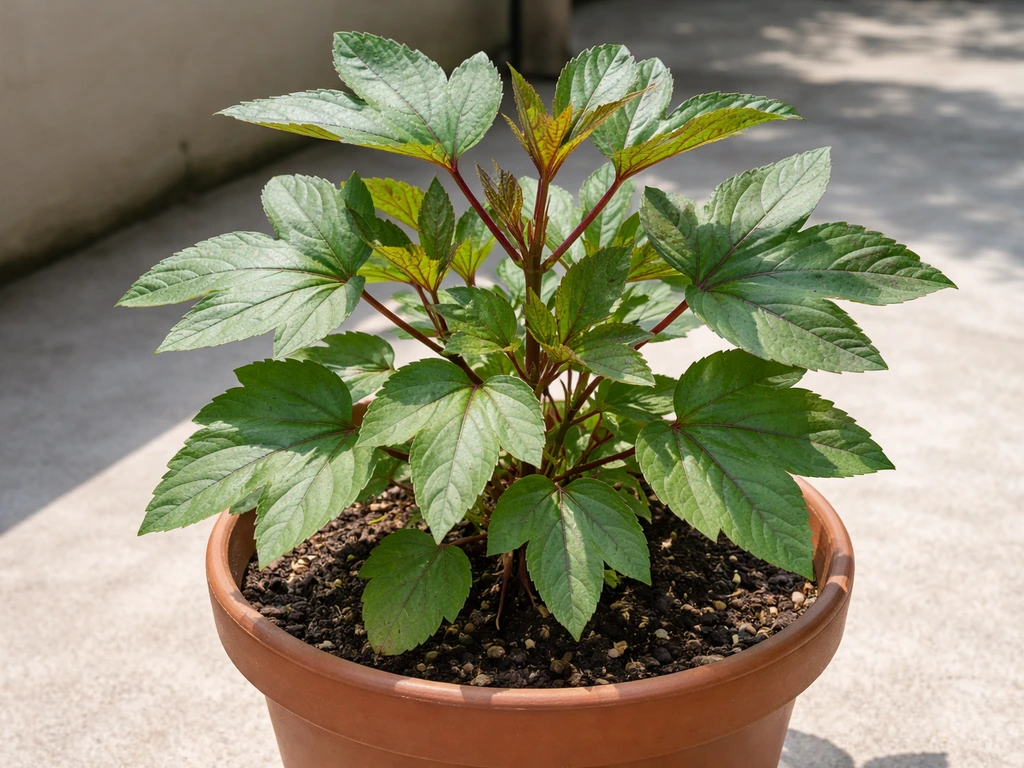
Gongura, also called roselle (Hibiscus sabdariffa), is one of those plants that rewards you quickly if you treat it right. It's a warm-season leafy vegetable, and in a pot it behaves like a fast-growing bush. You're mainly after the tangy, sorrel-like leaves for cooking, and those come in well before you'd ever worry about flowers or calyces. Realistically, expect the plant to become leafy and productive somewhere between 55–90 days from seeding, with the first light harvest of leaf tips possible around six weeks after you transplant seedlings into your final pot.
One thing to know upfront: gongura is a short-day plant, meaning it starts to flower when nights get longer (12+ hours of darkness). In a pot-growing context, this matters because once it shifts into flowering mode it puts less energy into leafy growth. If you're in a temperate region with a shorter warm season, you'll likely be harvesting leaves the whole time anyway, since the plant rarely gets a full shot at producing mature calyces before cold arrives. That's actually fine for most cooks, because the leaves are the main prize. Treat it as a warm-season annual, grow it hard through summer, harvest steadily, and don't stress about the calyces unless you're in a long, warm growing zone.
UF/IFAS and UDC extension resources both confirm roselle works as a container edible, and it has moderate drought tolerance once established, which means it's a bit more forgiving than some other pot crops. That said, containers dry out faster than garden beds, so you can't completely ignore it between waterings.
Choosing the right pot, location, and season
Pot size and drainage
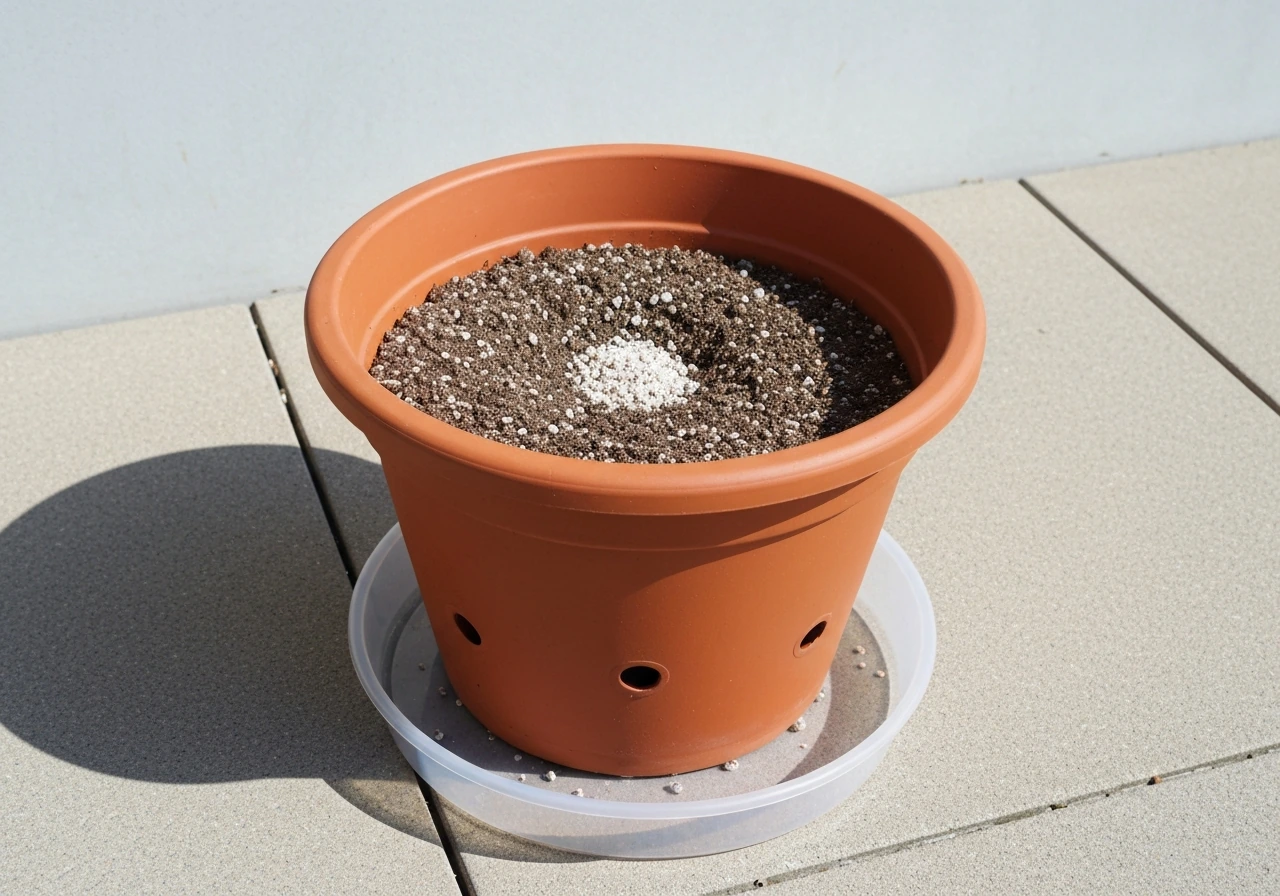
Go bigger than you think you need. Gongura can grow 4–6 feet tall in the ground, and while pots will keep it more compact, the roots still need room to spread. A minimum pot size of 12–15 inches in diameter and depth is a practical starting point for one plant, but an 18-inch or 5-gallon pot gives you more buffer against drying out too fast and gives the roots genuine space to run. If you want two plants in one container, go for at least a 20-inch wide pot. Drainage holes are non-negotiable. If your pot doesn't have them, drill some. After a heavy watering, water should drain through within about an hour. If it's sitting longer than that, your drainage is too slow and root rot becomes a real risk.
Best location
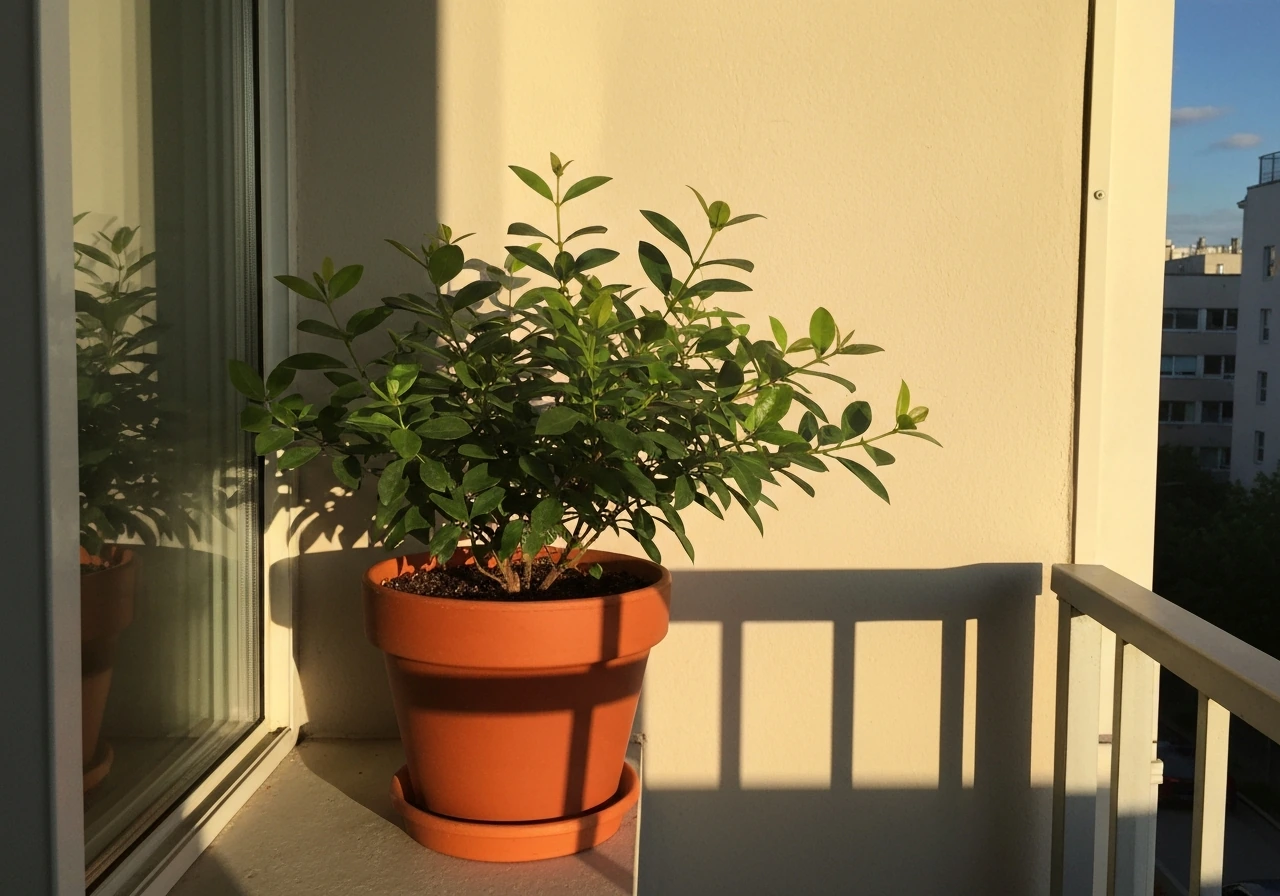
Gongura wants full sun, at least 6 hours of direct sunlight per day, and more is better. Seedy Farm recommends full sun (at least 6 hours per day), sowing depth about 1/2 inch, and testing drainage so water drains within about an hour after heavy watering full sun, at least 6 hours of direct sunlight per day. A south- or west-facing balcony, patio, or windowsill that gets strong afternoon sun is ideal. In hotter climates, a little afternoon shade won't hurt, but in most situations, more sun equals more vigorous leafy growth. Avoid putting the pot in a shady corner and hoping for the best; you'll get leggy, pale stems and poor harvests.
When to start
Time your planting around warmth, not just the calendar date. Gongura needs warm soil to germinate well (75–85°F / 24–29°C is the sweet spot) and won't thrive if temperatures dip consistently below 60°F. In most of the US, that means starting seeds indoors 4–6 weeks before your last frost date, then moving pots outside once nights stay reliably warm. If you're in a warm climate year-round, you can sow directly any time spring through early summer. Starting too late in the season cuts into your harvest window, since the plant needs time to bulk up before short days trigger flowering.
Soil mix and fertilizing for container gongura
The right soil mix
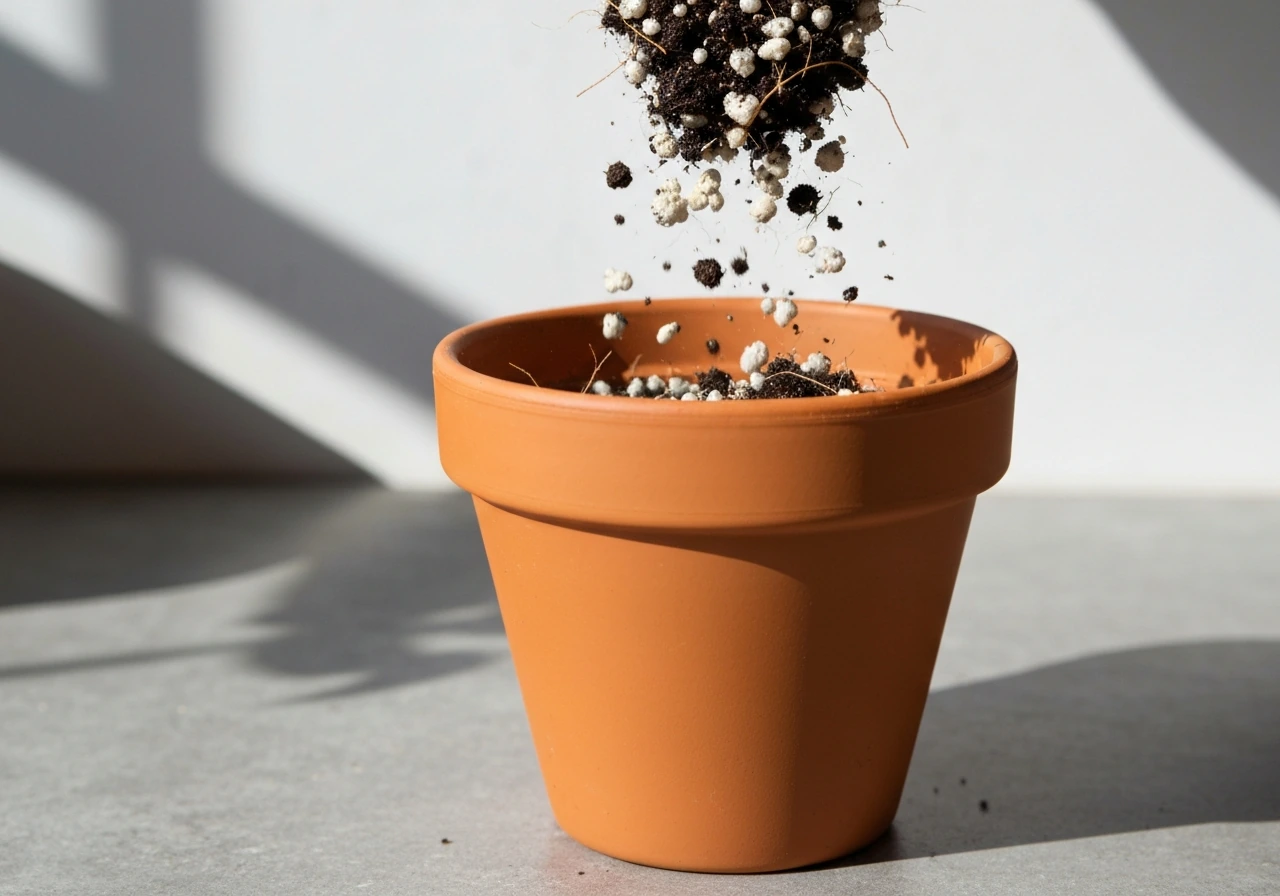
Never fill a gongura pot with straight garden soil. It compacts too easily in a container, suffocates roots, and drains poorly, which sets you up for root rot. Instead, use a quality potting mix as your base and improve it from there. A solid mix for container gongura looks like this: 60% commercial potting mix, 20% perlite or coarse sand for drainage, and 20% compost for nutrients and organic matter. This gives you a loose, airy medium that roots can push through easily and that drains fast without drying out instantly. Gongura tolerates a pretty wide pH range (roughly 6.5–7.5 works well), so standard potting mixes are usually fine without adjusting pH, but if you're diagnosing slow growth later, pH is worth checking.
Fertilizing schedule
In a pot, nutrients flush out with every watering, so you need to replace them regularly. Gongura is a leafy crop, which means it benefits most from nitrogen during the vegetative phase. Here's a practical feeding plan:
- At planting, mix a slow-release balanced granular fertilizer (like a 14-14-14 or similar) into the top few inches of soil. This gives the plant a steady baseline for the first 6–8 weeks.
- Starting at week 3–4 after transplanting, begin liquid feeding every two weeks with a balanced water-soluble fertilizer. Use it at half strength to avoid nutrient burn, especially in the early weeks when roots are still establishing.
- Once the plant is actively growing and large (roughly after the first harvest), you can switch to a slightly higher-nitrogen liquid feed to push leafy regrowth. Apply it around the outer edge of the pot, not just the base, since hibiscus roots spread toward the canopy edge.
- Stop fertilizing about 4–6 weeks before your first expected frost date if you're in a seasonal climate, so you don't push tender new growth that will get killed by cold.
Signs you're overfeeding: leaves that look burned at the tips or edges, or a white crusty buildup on the soil surface. If that happens, flush the pot thoroughly with plain water a couple of times to rinse out excess salts, and ease off on feeding frequency.
Planting methods: seed vs cutting, spacing, and depth
Starting from seed
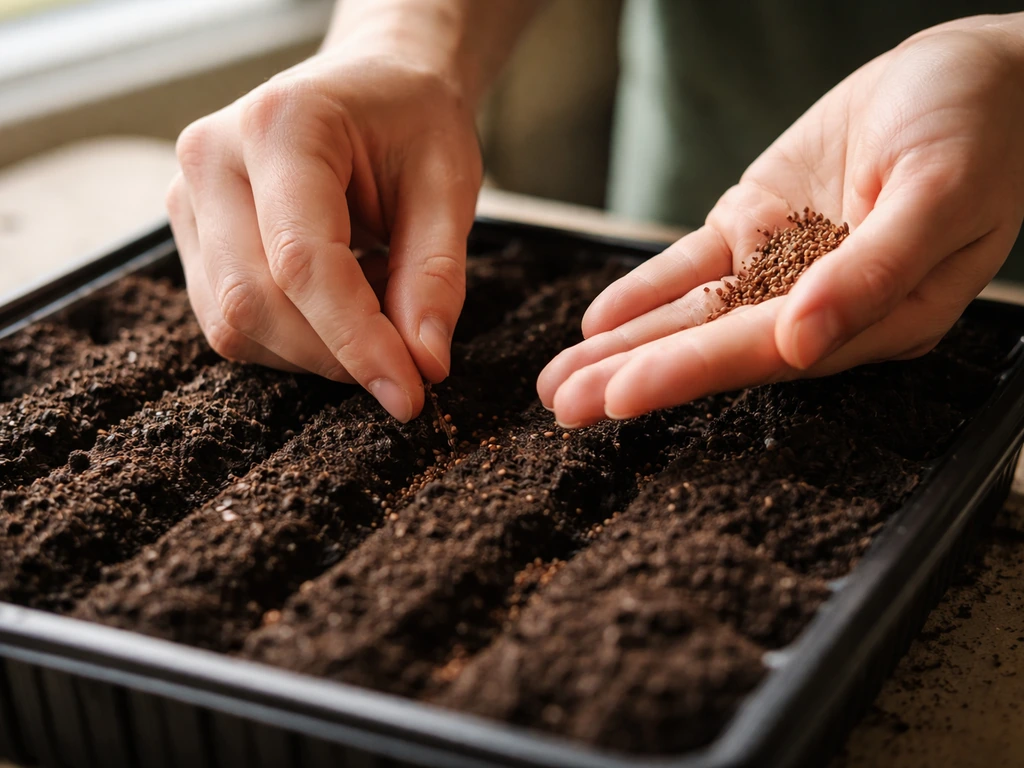
Seeds are the most practical and widely available way to start gongura. Sow seeds about 1/2 inch deep in moist seed-starting mix and keep them somewhere warm (75–85°F). Germination typically takes 7–14 days under good conditions, though it can stretch to 21 days if temperatures are inconsistent. Gongura seeds can germinate a bit sporadically, so don't panic if a few are slow. Plant 2–3 seeds per cell or small pot, then thin to the strongest seedling once they've shown a couple of true leaves. Transplant into your final container when seedlings are 3–4 inches tall and the weather is reliably warm.
Starting from cuttings
Cuttings are less commonly used for gongura than for some other hibiscus family members, but they're worth trying if you already have a healthy plant. Take a 4–6 inch stem cutting, strip the lower leaves, dip the cut end in rooting hormone powder, and insert it into a small pot of moist perlite or a 50/50 perlite and potting mix blend. Keep it humid and warm, and roots should form in 2–4 weeks. This method lets you clone a plant with traits you like, which is useful if you've found a particularly productive or tasty variety.
Spacing and depth in the final pot
One plant per 12–15 inch pot is the safest approach for good airflow and root space. If your pot is 18 inches or larger, you can manage two plants, but keep them at least 10–12 inches apart from center to center. Plant at the same depth the seedling was sitting in its nursery pot. Don't bury the stem, and don't leave the root ball sitting high above the soil line. After planting, press the soil down gently and water thoroughly until it drains from the bottom.
Watering rules and drainage to prevent stress
Container soil dries out faster than in-ground soil, especially during hot weather. The general rule for gongura in pots is to water when the top inch of soil feels dry to the touch. In peak summer heat, that might mean watering every day or every other day. In cooler weather or shadier spots, every 2–3 days may be enough. The finger test is more reliable than a fixed schedule, so check the soil rather than just counting days.
When you water, water deeply and thoroughly. Pour water slowly until it runs freely out of the drainage holes, then stop. This ensures the whole root zone gets moisture and also helps flush any accumulated salts from fertilizing. Shallow, light watering is a mistake a lot of beginners make: it keeps the top of the soil moist but leaves the lower root zone dry, which stresses the plant without you realizing it.
After watering, make sure the water drains within an hour. If your pot is sitting in a saucer, empty the saucer after 30 minutes so roots don't sit in standing water. Root rot (caused by Phytophthora and Pythium fungi) is one of the most common ways container gongura plants die, and it almost always starts with waterlogged soil. Once you see a plant collapsing with brown, mushy roots, it's very hard to save. Prevention through good drainage is the only real answer.
Young seedlings right after transplanting benefit from more frequent, lighter moisture to help them settle in. The SARE roselle guide suggests misting or watering young plants multiple times a day in the early establishment phase if conditions are very dry or hot. Once the plant is established and roots have spread into the new pot, you can shift to a normal deep-watering routine.
Sunlight, temperature, and pest/disease management in pots
Light and temperature
Full sun means at least 6 hours of direct sunlight, and gongura genuinely thrives with 8+ hours. One advantage of growing in pots is that you can chase the sun: move the container to the sunniest spot on your balcony or patio as seasons shift. Keep the plant away from cold drafts and air conditioning vents if it's indoors. Optimal germination and growth happens when temperatures are between 75–95°F (24–35°C). Below 60°F, growth slows noticeably. Below 50°F, the plant starts to struggle. If a cold snap is coming, move the pot indoors or under cover.
Common pests and how to deal with them
Container gongura faces the same pests as any hibiscus family plant. The main ones to watch for are aphids, spider mites, and whiteflies. Here's how to identify and handle each:
| Pest | What you see | First-line fix |
|---|---|---|
| Aphids | Clusters of small soft bugs (green, black, or white) on new growth and leaf undersides; sticky residue on leaves | Blast off with a strong jet of water; apply insecticidal soap spray every 3–5 days until gone |
| Spider mites | Tiny mottled or stippled spots on leaves; fine webbing on undersides in heavy infestations | Increase humidity around the plant; spray leaf undersides with water; neem oil spray works well |
| Whiteflies | Shake the plant and a cloud of tiny white flies lifts off; leaves may yellow and look dusty | Yellow sticky traps; insecticidal soap spray; encourage airflow by not overcrowding pots |
Check your plant at least once a week by flipping a few leaves over and looking at the undersides. Catching pests early means a quick fix. Waiting until you see widespread damage means a much bigger battle. Biological controls like releasing ladybugs or lacewings can help if you have a persistent aphid problem and don't want to spray. For container-grown plants, though, a neem oil spray or diluted insecticidal soap is usually the most practical solution.
Disease and troubleshooting yellowing leaves
Yellowing leaves are the most common distress signal from a pot-grown gongura, and they have several possible causes. Here's how to diagnose them:
- Overwatering or root rot: Leaves yellow all over, plant looks limp even when soil is wet. Check drainage immediately, reduce watering, and check roots for brown, mushy tissue.
- Underwatering: Leaves yellow and feel dry or crispy; soil is bone dry. Water deeply and consistently going forward.
- Nutrient deficiency: Older lower leaves yellow while new growth looks fine, or new leaves are pale. Start or increase your fertilizing schedule.
- Pest damage: Look for physical damage, stippling, or visible insects. Treat with soap spray or neem oil.
- Too little light: Overall pale, weak, leggy growth. Move the pot to a sunnier position.
Harvesting, pruning, and keeping it productive
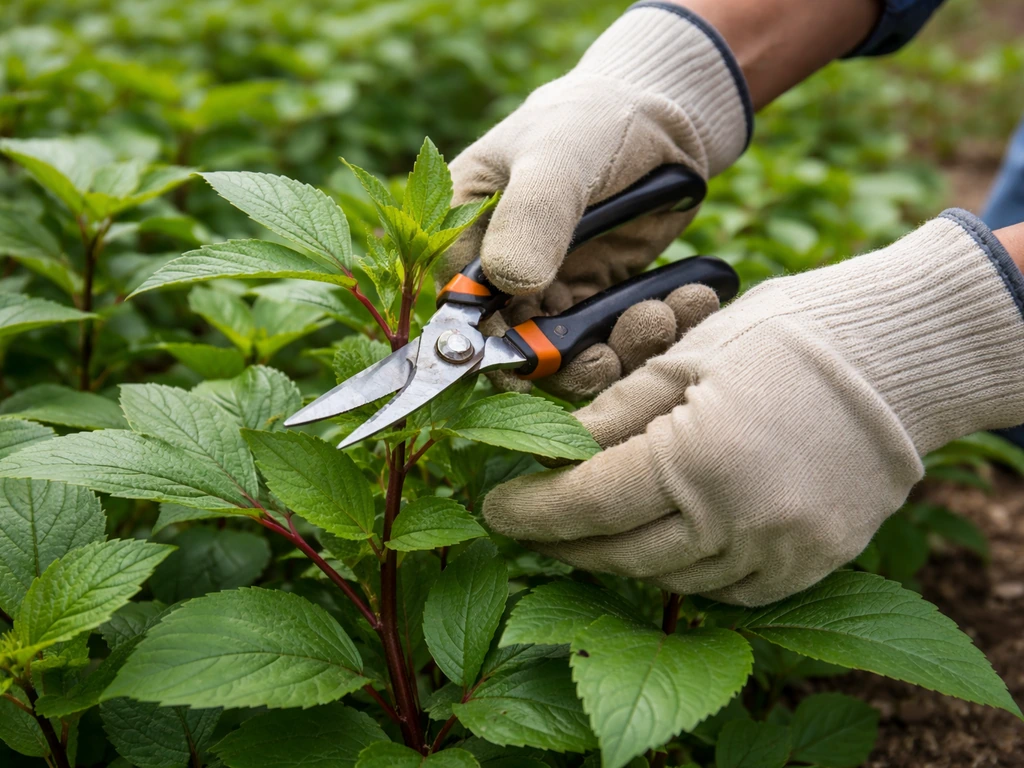
This is the part that makes all the effort worth it. Gongura grown for leaves can give you multiple harvests through the season if you prune it correctly. Around six weeks after transplanting, the plant should be bushy enough to start cutting. Don't wait for the plant to get massive before you harvest; cutting early actually encourages branching and more leaf production.
To harvest, use clean scissors or pruners to snip off the top 3–4 inches of each stem. Always cut just above a leaf node (where a leaf meets the stem). This signals the plant to send out two new shoots from that point, doubling the number of growing tips. The more you do this regularly, the bushier and more productive your plant becomes. Avoid stripping leaves one by one from the stem; whole-stem tip harvesting is much more effective for ongoing production.
Plan to harvest every 2–3 weeks during peak growing season. Young, tender leaves are the tastiest, so don't wait until leaves get large and tough. After each harvest, feed the plant with your liquid fertilizer to replenish nutrients and support the new flush of growth. This cycle of harvest, feed, and regrowth can keep a healthy pot-grown gongura productive for the entire warm season.
If the plant starts looking like it's shifting from leafy growth into flowering mode (you'll notice buds forming), you have two choices: let it flower if you want to try harvesting calyces, or cut the flower buds off to keep the plant in vegetative mode and extend your leaf harvest. In temperate climates, the plant often doesn't get enough warm days to fully mature calyces anyway, so cutting buds and focusing on leaves is usually the smarter call.
At the end of the season, if you want to save seeds, let a few pods mature fully before the first frost. In warm climates where you can overwinter the plant, cut it back hard (by about a third to half) in late season to encourage fresh growth rather than letting it become woody and sparse. Move the pot somewhere frost-free if temperatures are going to drop below 50°F for extended periods.
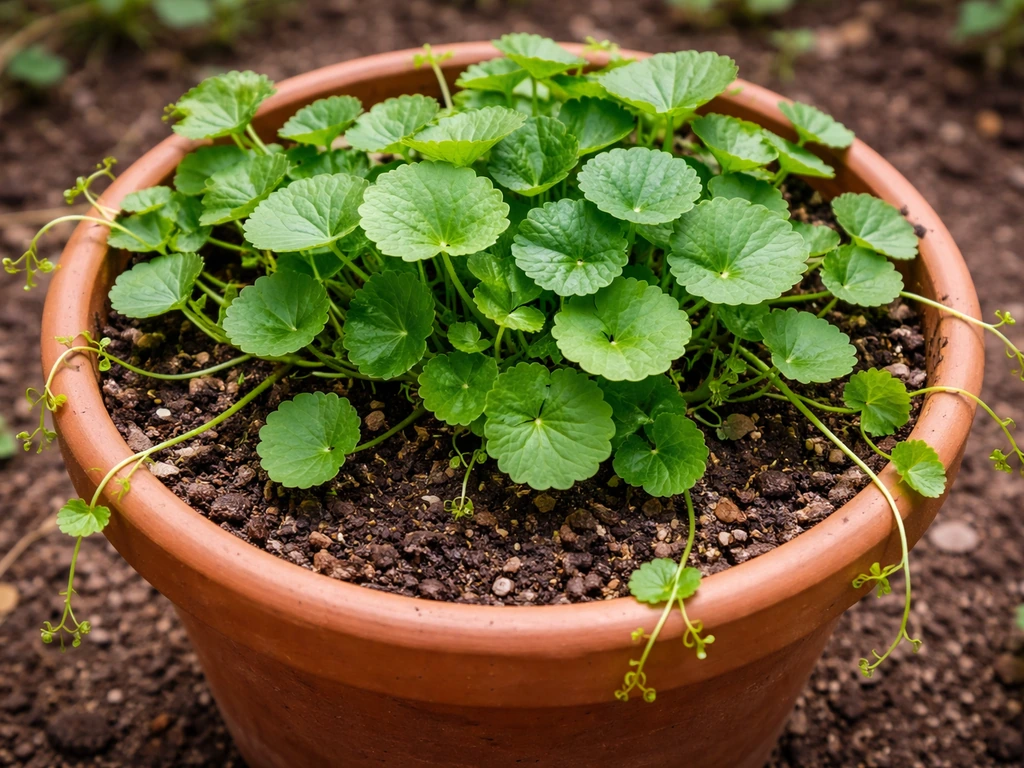
Growing gongura in a pot is genuinely one of the more rewarding container herb-and-leaf projects you can take on, especially if you cook South Asian food and want that distinctive sour leaf flavor on hand. If you enjoy growing similar leafy or medicinal plants in pots, the techniques here overlap well with other bushy, warm-season container crops. If you are also wondering, can you grow godetia in pots, the same container approach to sun and watering will help you get results. If you want something similar, you can also learn how to grow durva grass in pots for a fresh supply of tender green blades leafy or medicinal plants in pots. Once you've got gongura dialed in, it's worth exploring other interesting container leafy plants like gotu kola, which has its own unique care needs but rewards a similar approach of consistent warmth and regular harvesting.
FAQ
What pot size is the safest choice if I live in a hot, dry climate and want steady leaf harvests?
If you tend to miss waterings during summer, choose an 18-inch diameter (or about a 5-gallon) pot for one plant. Larger volume buffers drying out and helps prevent the common flip between wilt and waterlogging. Two plants require extra space, at least a 20-inch wide pot, and 10 to 12 inches between centers.
My gongura leaves are yellowing, but I’m not sure if it’s overwatering or nutrient issues. How can I tell?
Check soil moisture first. If the top inch is still wet, yellowing often points to root stress from poor drainage or too-frequent watering. If the soil dries quickly and the plant looks dull, it often indicates nutrient depletion between feedings. Also look at the pattern, older leaves yellowing first suggests stress, while leaf-tip burn or white crust suggests excess salts from fertilizer.
How do I prevent root rot in pots beyond just having drainage holes?
Use a loose potting mix (not garden soil), water deeply but allow draining within about an hour, and never leave the pot sitting in a saucer after watering. If you want extra insurance, add perlite or coarse sand to your mix and ensure the pot is not too small, because small pots stay waterlogged longer after heavy watering.
Should I prune gongura the same way if I’m growing for leaves versus growing for calyces?
For leaf production, harvest and tip-prune regularly, snip the top 3 to 4 inches just above leaf nodes, every 2 to 3 weeks during peak growth. For calyces, you generally need to allow flowering and bud development, so stop heavy tip harvesting once you see buds forming and follow a lighter prune approach.
Can I grow gongura in a pot indoors near a window?
It can work temporarily, but you need strong direct sun, ideally 8+ hours, and stable warmth. Keep it away from cold drafts and air conditioning vents. If indoor light is weak, expect leggy growth and slower leaf production, and you may need supplemental grow lights to mimic full sun.
What’s the best way to water gongura in pots when I’m traveling or forget schedules?
Rely on the finger test, water deeply when the top inch dries, and avoid partial daily watering that only wets the surface. Before you leave, water thoroughly until it drains, then let it drain completely. Consider a larger pot or a moisture-retentive but still airy mix, because consistent pot volume is the easiest safeguard against missed waterings.
When should I start feeding, and what should I do if the soil has fertilizer salt buildup?
Begin feeding once the plant is actively growing after transplanting into its final pot, then use regular light feeding (every two weeks in the article’s plan). If you notice white crusty fertilizer residue or leaf tip burn, flush the pot with plain water a couple of times to rinse salts, then reduce feeding frequency until the plant recovers.
Can I grow gongura from cuttings instead of seeds, and how reliable is it?
Yes, stem cuttings can work if you keep them humid and warm. Use a 4 to 6 inch cutting, strip lower leaves, dust with rooting hormone, and root in moist perlite or a 50/50 perlite and potting mix blend. Rooting often takes 2 to 4 weeks, reliability improves when you maintain steady warmth and avoid letting the medium dry out.
Do I need to adjust potting mix pH for gongura?
Usually no. Gongura tolerates a fairly wide pH range, roughly 6.5 to 7.5, so standard quality potting mixes are typically fine. If growth is persistently slow despite adequate sun and feeding, then check pH as part of troubleshooting, since poor availability of nutrients can follow major pH drift.
How do I handle gongura when nights get longer and it starts flowering?
Because it’s a short-day plant, flowering can reduce leafy growth. If your goal is leaves, remove flower buds as they appear to keep the plant in a vegetative, leafy mode and extend harvests. If you want calyces, allow flowering, but expect less tender leaf output during the transition.
Is it worth saving seeds from pot-grown gongura, and how should I time it?
Yes, if you want seed for the next season. Let pods mature fully on the plant, but avoid harvest attempts before they are fully developed. In climates with early frost, keep your seed-saving plants indoors or under cover if temperatures drop toward the mid-40s to 50°F range for extended periods.
What pests are most likely on container gongura, and what should I check first?
Aphids, spider mites, and whiteflies are the usual suspects. The most effective early detection is checking weekly by looking at the undersides of leaves, since many infestations start there before visible damage spreads. For containers, neem oil or diluted insecticidal soap is often the practical first response when caught early.