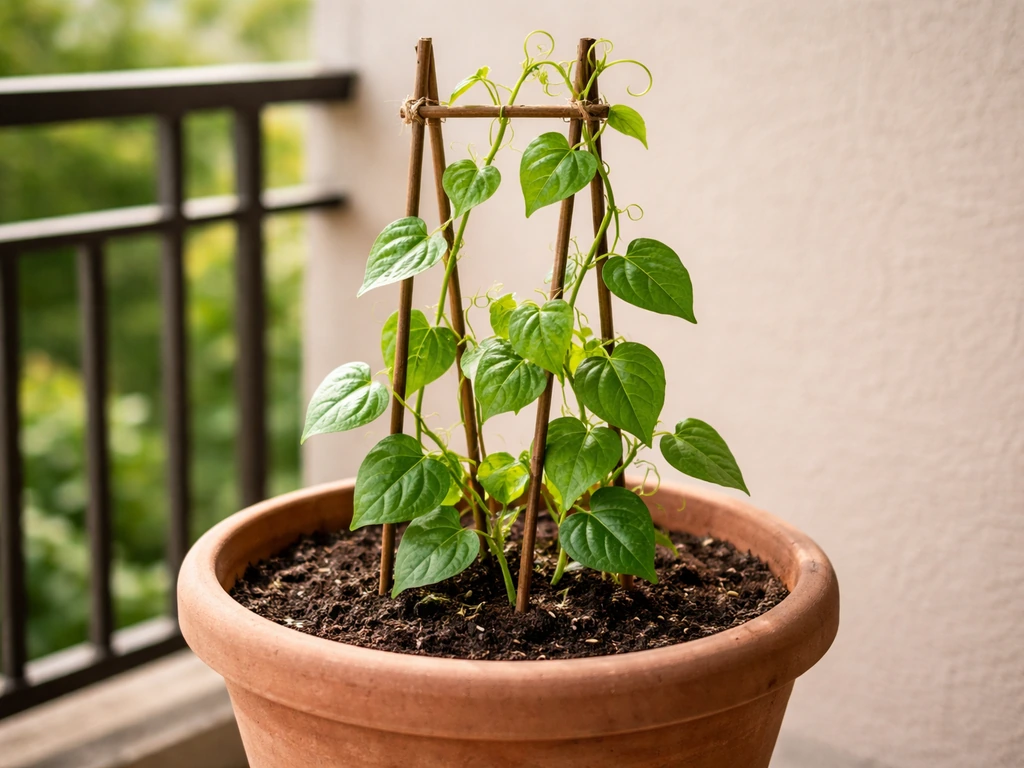
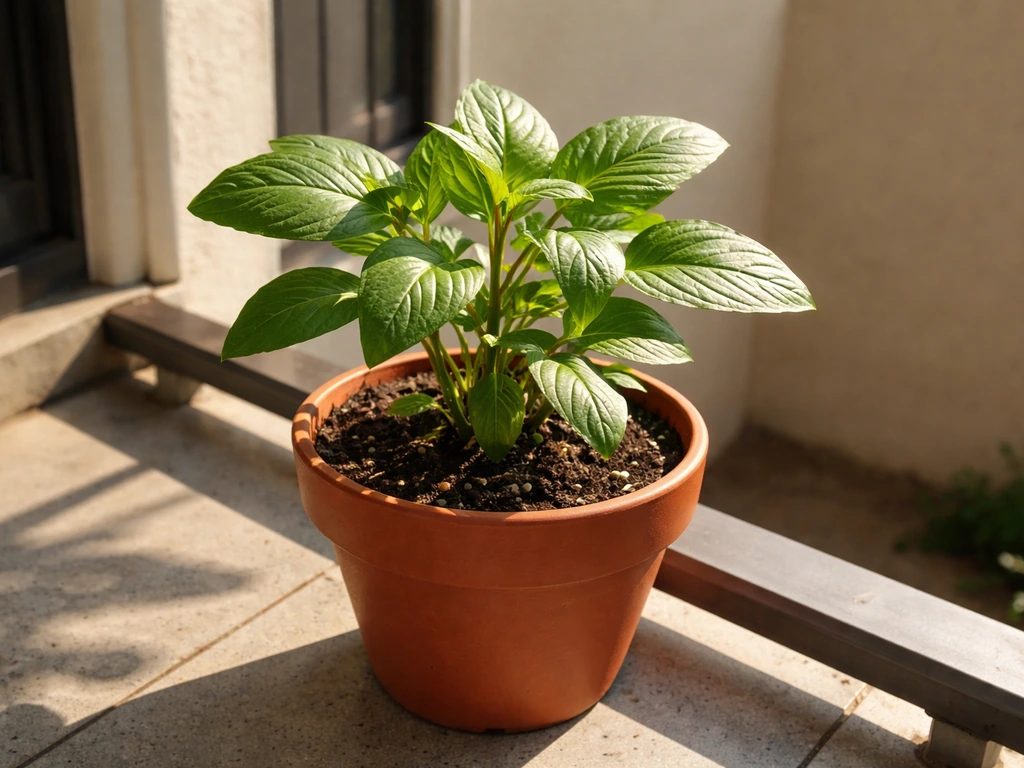
Thotakura grows brilliantly in pots. It's one of the most forgiving leafy greens you can grow in a container, and if you set it up right, you'll be picking fresh leaves within 3 to 4 weeks of sowing. The key is giving it a reasonably sized pot (at least 12 inches wide), full sun, loose well-draining soil, and consistent moisture. Get those four things right and this plant practically takes care of itself.
How to Grow Thotakura in Pots: Step-by-Step Guide

Marcus Whitley
17 Jun 2026

What thotakura actually is (and why pots suit it perfectly)
Thotakura is the Telugu name for edible leafy amaranth, most commonly the species Amaranthus tricolor. Thotakura is commonly the species blank" rel="noopener noreferrer">Amaranthus tricolor, often sold as edible amaranth or tricolor amaranth. It's a warm-season leafy vegetable grown widely across South Asia, Southeast Asia, the Caribbean (where it's called callaloo), and tropical Africa. The tender young leaves are cooked just like spinach: stir-fried with garlic, made into dal, or tossed into soups. The plant itself grows fast, tolerates heat that would wilt spinach in minutes, and keeps producing new leaves as long as you keep harvesting.
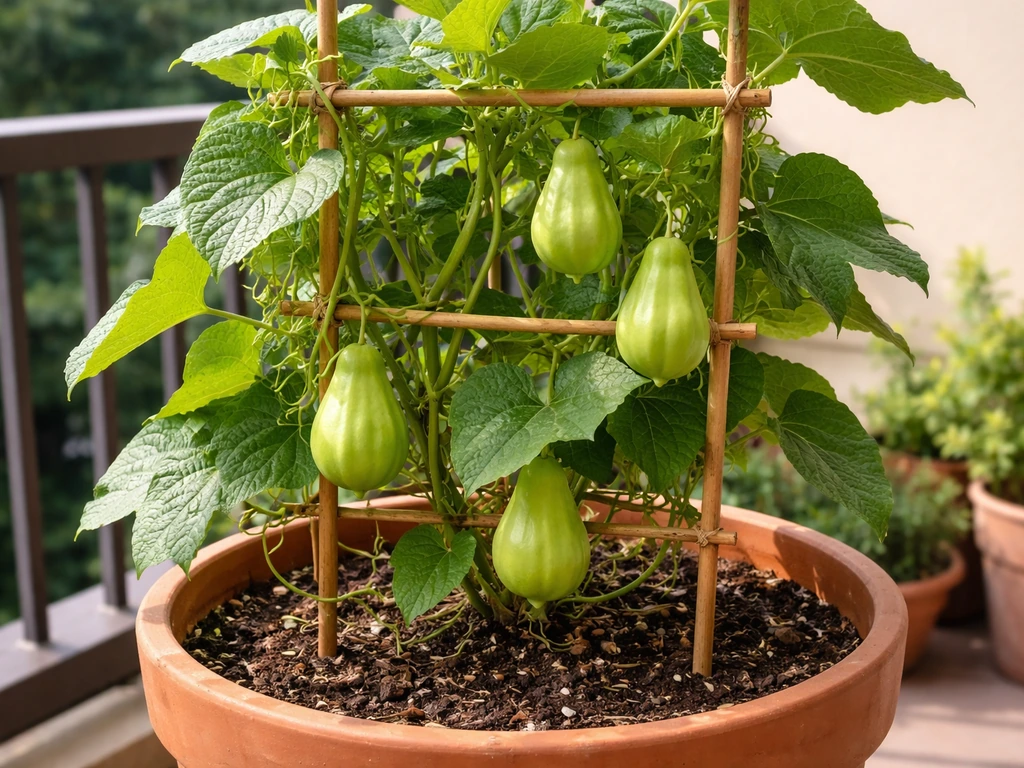
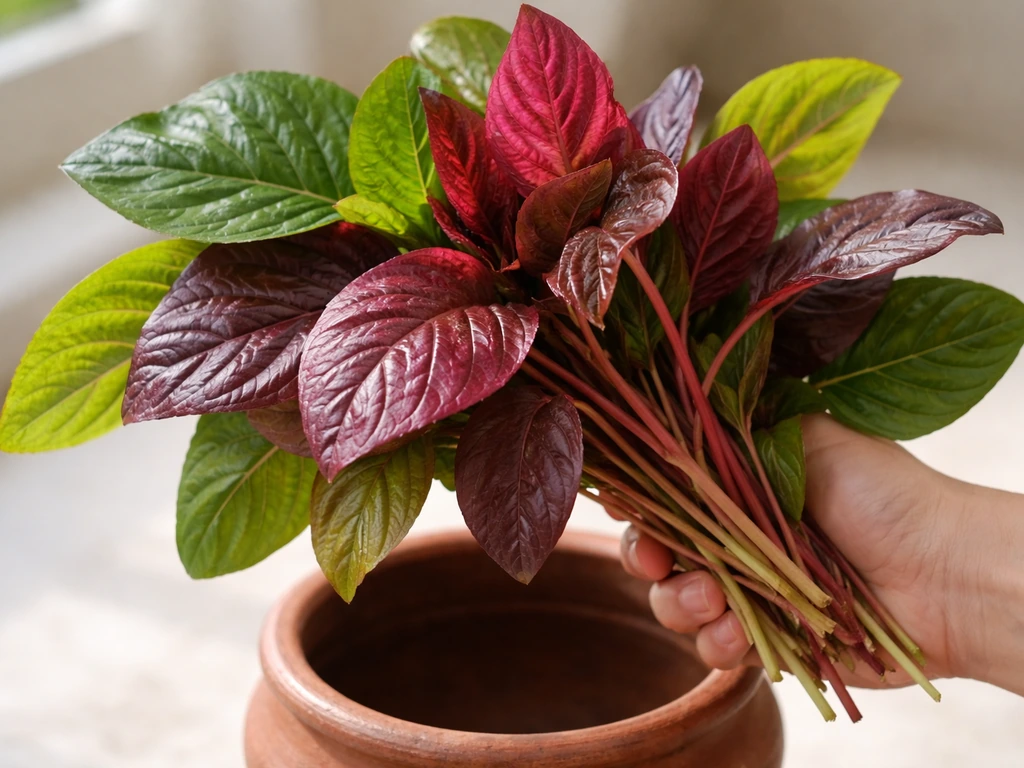
blank" rel="noopener noreferrer">The leaves range from deep green to burgundy red to a stunning tricolor variegation of red, yellow, and green, depending on the variety. All of them taste very similar: mild, slightly earthy, and tender when young. For container growing, this fast growth and compact root system is genuinely good news. Unlike, say, growing chayote in a pot (which needs much more room and support), thotakura stays manageable and rewards small spaces generously. Chayote also grows well in pots if you give it a large container, a trellis for support, and consistent watering how to grow chayote in pots.
Picking the right pot, variety, and spot
Pot size and type

Go with a pot that is at least 12 inches (30 cm) wide and 10 inches (25 cm) deep for a single plant. If you want to grow 3 to 5 plants together for a good harvest, step up to a 16-inch or larger container. A rectangular planter or a wide trough works especially well because you can sow seeds in rows and harvest leaf by leaf across the whole length. Whatever you choose, drainage holes are non-negotiable. Amaranth roots do not tolerate waterlogged soil, and sitting water at the bottom will rot them fast.
Terracotta pots breathe well and help prevent overwatering, which makes them a solid choice for beginners. Plastic pots retain moisture longer, which is useful in hot dry climates where you might struggle to keep up with watering. Grow bags (fabric pots) are another great option for balconies or terraces because they're lightweight, drain well, and air-prune the roots so the plant doesn't get rootbound.
Variety choices
For leafy production in pots, look for varieties specifically sold as vegetable or edible amaranth. The red-leafed types (sometimes labeled 'Red Amaranth' or 'Lal Thotakura') are popular and very productive. Green varieties tend to grow slightly faster. The tricolor ornamental types (Amaranthus tricolor 'Joseph's Coat') are edible too, but their leaves can get a bit tough faster, so harvest them young. Avoid grain amaranth varieties if you specifically want leaf production.
Sunlight and location
Thotakura needs a minimum of 4 to 6 hours of direct sunlight per day, and it genuinely thrives with 6 to 8 hours. A south-facing or west-facing balcony, rooftop, or windowsill is ideal. In partial shade, the plant will still grow but more slowly, and the leaves may be less vibrant. If you're in a very hot climate (above 40°C / 104°F regularly), a spot that gets morning sun and afternoon shade actually helps the leaves stay tender longer without bolting too quickly.
Getting the soil and fertilizer right for leafy growth
Thotakura isn't fussy about soil, but in a container it needs a mix that drains fast while still holding some moisture. A standard potting mix straight from the bag often gets too compacted over time. The blend I use and recommend for most leafy greens in pots is two parts good quality potting mix, one part coarse river sand or perlite (for drainage), and one part compost or well-rotted manure. This keeps the mix airy, nourishing, and forgiving of irregular watering.
For pH, thotakura grows best in slightly acidic to neutral soil, around 6.0 to 7.0. Most standard potting mixes fall in this range, so you usually don't need to fuss with pH unless your leaves start showing symptoms of nutrient deficiency.
Simple fertilizer plan
Because you're growing thotakura for its leaves, nitrogen is what you want. Nitrogen is the nutrient that drives leafy, green growth. Mix a slow-release balanced fertilizer (like a 14-14-14 granular) into your potting mix before planting, following the packet rate for the container size. Then, once the seedlings are 2 to 3 inches tall, start supplementing every 10 to 14 days with a liquid nitrogen-rich fertilizer: fish emulsion, liquid seaweed, or any liquid vegetable fertilizer at half the recommended dose. Don't overdo it. Too much fertilizer in a small container causes salt buildup, which burns roots. Less, more often, is the right approach here.
How to sow and plant thotakura in a pot
Starting from seeds (the most reliable method)
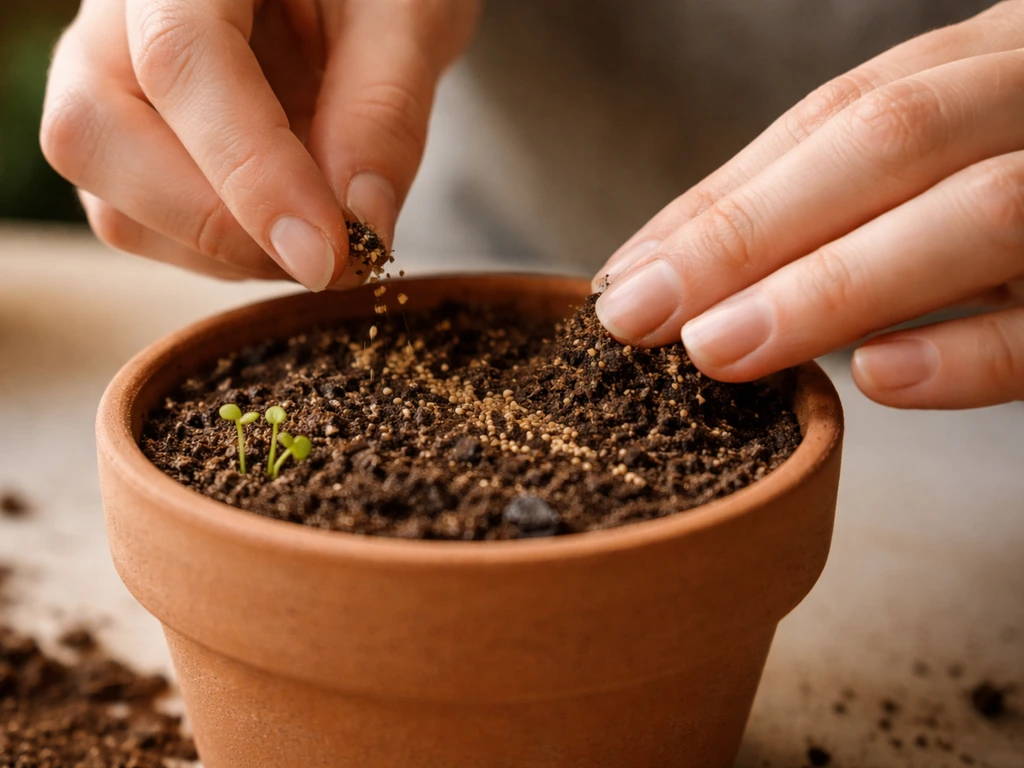
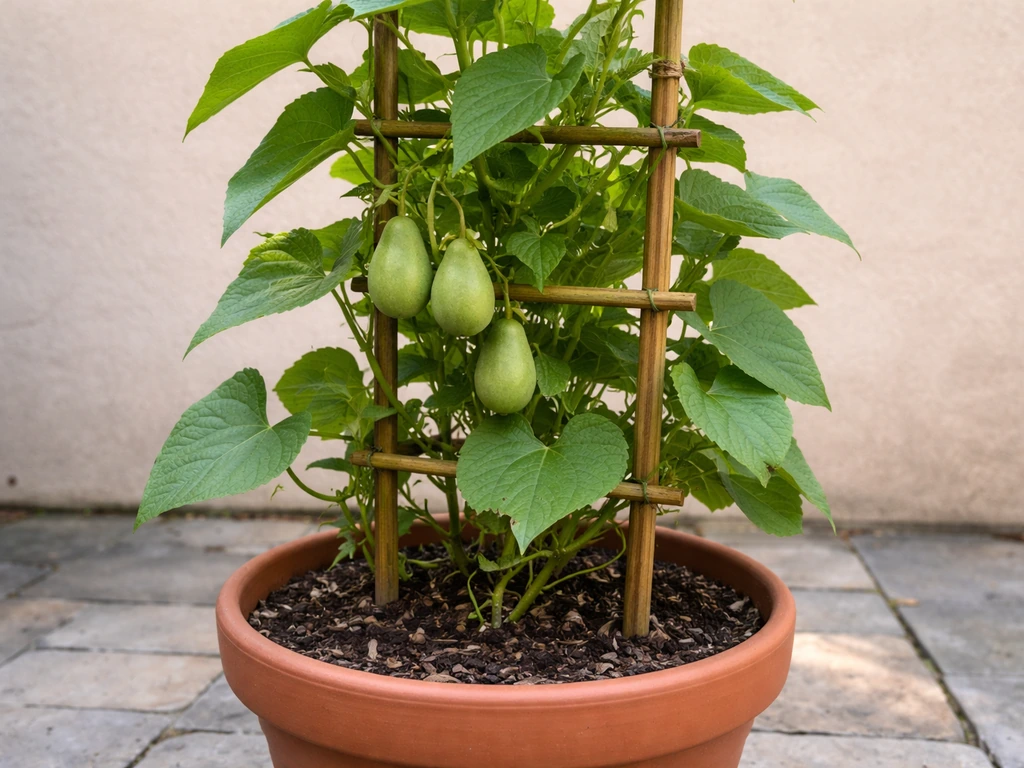
Thotakura seeds are tiny, so sowing them can feel fiddly at first. Here's the method that works consistently: fill your pot with moist (not wet) potting mix up to about an inch below the rim. If you are specifically wondering how to grow chokos in pots, you can use the same basics for container setup and then adjust for the crop’s needs fill your pot with moist (not wet) potting mix. Scatter seeds thinly across the surface, then cover them with a very thin layer of soil, no more than a quarter inch (about 5 mm) deep. Press gently with your palm. Water lightly with a spray bottle or a watering can with a rose head to avoid washing seeds away. Place the pot in a warm spot (between 20°C and 30°C is ideal) and keep the surface moist.
Germination happens fast: expect to see sprouts in 3 to 7 days in warm conditions. Once seedlings are about 2 inches tall and have their first set of true leaves, thin them out so plants are spaced 4 to 6 inches apart. It feels wasteful to pull seedlings, but crowded plants compete for nutrients and produce smaller leaves. You can transplant the thinnings into another pot rather than discarding them.
Using cuttings or transplants
If a neighbor or market vendor has a thotakura plant growing, you can take stem cuttings 4 to 6 inches long, strip the lower leaves, and stick them in moist potting mix. Keep the pot in indirect light for the first week while roots develop, then move it to full sun. This method works reasonably well and gets you a head start. That said, seeds are so cheap and germinate so quickly that cuttings are really only worth the effort if you can't find seeds locally.
Best time to sow
Thotakura is a warm-season crop. The best time to sow is when temperatures are consistently above 20°C (68°F). In tropical and subtropical regions, this means almost year-round growing is possible. In temperate climates, aim for late spring through summer. Avoid sowing in cold weather: below 15°C (59°F), germination slows dramatically and seedlings sulk.
Watering, mulching, and temperature in containers
Container soil dries out much faster than garden beds, especially during summer heat. Check the top inch of soil daily: if it feels dry to the touch, water thoroughly until it drains out the bottom. In peak summer, this might mean watering once or even twice a day for smaller pots. In cooler or overcast conditions, every 2 to 3 days is usually enough. Consistency matters more than volume: irregular watering (soaking, then letting the pot dry out completely) stresses the plant and encourages premature flowering.
Mulching the surface of your pot is a trick many container gardeners overlook. Adding a thin layer (about an inch) of dry leaves, coconut coir, or straw on top of the soil significantly slows evaporation, which is a big deal in hot weather. It also keeps the soil temperature more stable. Avoid piling mulch right against the plant stem.
Temperature-wise, thotakura is a heat lover. It grows vigorously between 25°C and 35°C (77°F to 95°F). Below 15°C growth slows noticeably, and frost will kill it outright. If you're in a climate with cold winters, grow it as a summer annual or move the pot indoors near a bright window when temperatures drop. In extreme heat above 38°C to 40°C, provide some afternoon shade and increase watering to prevent wilting and bolting.
Keeping it producing: light, pruning, and harvesting
The single most important thing you can do to keep thotakura producing leaves for weeks or months is to harvest regularly and pinch off any flower buds the moment you see them. Once the plant flowers and sets seed, leaf production drops sharply and the leaves that remain turn tough and bitter. So stay ahead of it.
How to harvest correctly
Start harvesting when the plant is 6 to 8 inches tall, roughly 3 to 4 weeks after sowing. Always cut or pinch the top 3 to 4 inches of each stem, just above a leaf node (the point where a leaf meets the stem). This triggers two or more new side shoots to grow from that point, branching the plant and doubling your future harvest. Avoid stripping all the leaves from a stem at once, and never remove more than one-third of the plant at a single harvest. If you do this consistently every 7 to 10 days, one pot of thotakura will keep feeding you for 6 to 10 weeks.
Managing light and preventing bolting
Long days (more than 12 to 14 hours of light) combined with heat trigger amaranth to bolt, meaning it puts its energy into flowering and seeding rather than leaves. If you're growing in midsummer, partial afternoon shade can delay this and extend your harvest window. Rotate the pot periodically if it's getting uneven light so all sides of the plant develop evenly. Plants grown in shade-heavy conditions produce larger, softer leaves but grow more slowly overall.
Pests, diseases, and container-specific problems
Thotakura is generally quite tough, but containers do concentrate pest problems because the roots can't escape and the plant has nowhere to spread. Here are the most common issues and what to do about each:
| Problem | Likely Cause | Fix |
|---|---|---|
| Aphids (tiny green/black clusters on stems) | Common in warm weather, especially on new growth | Blast off with water, then spray with diluted neem oil or insecticidal soap every 3 days for 2 weeks |
| Leaf miners (squiggly pale lines on leaves) | Fly larvae tunneling inside leaves | Remove and discard affected leaves; neem oil spray as a deterrent; avoid overhead watering |
| Caterpillars or loopers (irregular holes in leaves) | Moth or butterfly larvae feeding at night | Hand-pick in the evening; use Bt (Bacillus thuringiensis) spray, which is safe for edible plants |
| Root rot (wilting despite wet soil) | Overwatering or poor drainage | Let soil dry out, improve drainage, check that drainage holes are not blocked |
| Damping off in seedlings (seedlings collapse at base) | Fungal disease from overwatering or poor air circulation | Water only when needed, don't crowd seedlings, use a fresh sterile potting mix |
| Whiteflies (tiny white insects on leaf undersides) | Common in hot dry conditions | Yellow sticky traps, neem oil spray, increase air circulation around the pot |
A word on neem oil: it's one of the most useful things to have if you're growing edible plants in containers. It handles a wide range of both insect and fungal problems, it's safe to use on food crops, and it doesn't leave a harsh residue. Mix about 2 ml of neem oil with a small amount of dish soap (as an emulsifier) into a liter of water and spray in the evening, never in direct sun, as it can burn leaves.
Troubleshooting common problems and what to do next
Even with everything set up correctly, things can go sideways. Here's a quick guide to the most common thotakura problems in containers and the specific action to take today: If you want a similar climbing flowering vine in a pot, follow these tips for how to grow Thunbergia in pots.
- Slow or no germination: Check soil temperature. If it's below 20°C, move the pot somewhere warmer (a warm windowsill indoors works). Also check that seeds weren't buried too deep. Re-sow at the surface with only a light dusting of soil on top.
- Yellowing leaves on young plants: Most likely a nitrogen deficiency in the potting mix. Apply a liquid nitrogen fertilizer (fish emulsion or any liquid vegetable feed) immediately and repeat every 10 days. If the yellowing starts from the edges, it could be overwatering: check that drainage holes are clear.
- Wilting despite regular watering: In summer heat, wilting during the hottest part of the day is normal and the plant usually recovers by evening. If it wilts in the morning too, check for root rot (soggy soil, dark slimy roots) or pot-boundness. If rootbound, move to a larger pot.
- Bolting (plant growing tall, producing flowers early): This is triggered by heat and long days. Pinch off all flower heads immediately and move the pot to a spot with afternoon shade. Increase watering. If it's a very mature plant (8 to 10 weeks old), it's probably near the end of its productive life: start a new batch of seeds now.
- Leggy, spindly growth with small leaves: Almost always a light problem. Move the pot to a spot with more direct sun. If you're already at maximum sun, the pot may be overcrowded: thin plants to 4 to 6 inches apart.
- Leaves turning tough and bitter: The plant is maturing or has already started to bolt. Harvest only the very youngest top leaves and pinch off any flower buds. Start a new sowing alongside the old plant so you have continuous supply.
- Poor growth after weeks in the pot: The potting mix may be exhausted of nutrients, especially nitrogen, which depletes quickly in containers. Top-dress the soil surface with a thin layer of compost and start a regular liquid feeding schedule every 10 to 14 days.
The best mindset for growing thotakura in pots is to treat each sowing as a 6 to 8 week crop, not a permanent plant. Sow a new batch every 4 weeks during the growing season and you'll have continuous fresh leaves without ever stressing about a single plant bolting or slowing down. It takes very little space, very little money, and once you get the rhythm right, it becomes one of the easiest and most rewarding things you can grow on a balcony or rooftop. If you enjoy growing fast leafy greens in containers, chukkakura (sorrel greens) is another great candidate to try alongside thotakura using the same container setup. Chukkakura in pots does best when you give it enough light and keep the soil evenly moist, similar to the routine for thotakura chukkakura (sorrel greens).
FAQ
Can I grow thotakura in pots all year, or is it only a summer crop?
Yes. If you keep temperatures above about 20°C and the plant is getting at least 4 to 6 hours of sun, you can grow it year-round in many regions. In cooler winters, keep it as a summer crop, or move the pot indoors near a bright window (and supplement light if days are short) so it does not sit in cold, slow growth conditions.
What should I do if my thotakura starts bolting or flowering early?
If bolting starts, reduce stress immediately by switching to morning sun with afternoon shade (especially during very hot spells), water more consistently (keep the top inch from drying out fully), and start harvesting more aggressively from the top shoots and side growth. Bolting in amaranth is often triggered by heat plus long days.
Should I succession-sow thotakura in containers, and how often?
For pots, yes, and it often improves reliability. You can sow in small batches (for example, every 2 to 4 weeks) rather than planting everything at once, then thin and harvest. This staggered approach keeps you ahead of the plant’s natural cycle where leaf quality drops after flowering.
How do I know if pH is causing leaf problems in my pot?
Thotakura can tolerate slightly acidic to neutral soil, around pH 6.0 to 7.0. If your potting mix is much higher (alkaline) and leaves show pale growth, you can correct with a gentle acidifying amendment or switch mixes, but avoid heavy pH products, they can overshoot in containers. Most of the time, a quality potting mix is enough.
My thotakura leaves look pale. Is it a nitrogen issue or something else?
If you see pale or yellowing leaves, first check nitrogen because leafy amaranth is a heavy feeder. Then confirm watering consistency and ensure the plant is in adequate sun. Nutrient deficiencies in pots are common because nutrients are limited and watering leaches them faster than in beds.
How can I tell when to water thotakura in a pot without overwatering?
Water deeply but avoid waterlogging. A practical test is to lift the pot after watering, then check again 12 to 24 hours later, if it feels very light and the top inch is dry, water again. Always water until it drains out the bottom, and never let the pot sit in a saucer with runoff for long.
What are signs of root rot or waterlogging, and what should I do?
If the soil stays soggy, root rot risk increases quickly. Act by letting the pot dry down slightly (top inch drying), improving drainage if needed, and removing any obviously unhealthy, mushy roots at the next repot opportunity. Using a breathable pot material and ensuring drainage holes are clear helps prevent repeat problems.
Can I transplant thotakura thinnings or seedlings into another pot?
Yes, and you can do it by planting cut seedlings or transplanting the thinned ones into another pot. Keep the soil evenly moist for the first several days, place in bright but indirect light for about a week, then return to full sun. Transplant shock is more likely if the roots dry out, so handle gently.
How hard can I prune or harvest thotakura without reducing future leaf growth?
Don’t remove all leaves from one stem at once. Aim to pinch or cut the top 3 to 4 inches above a leaf node, taking at most about one third of the plant per harvest. If you harvest too hard, growth slows and the plant may bolt sooner because it is stressed.
When is the best time of day to harvest thotakura from a container?
Harvest timing is usually best in the early morning or late afternoon because leaves are less wilted and more crisp. Also, if you harvest just before a hot period and then water thoroughly, the plant often rebounds faster. If you harvest during peak sun and the pot is dry, the plant may droop and slow regrowth.
How do I prevent fertilizer burn or salt buildup in container thotakura?
Try mixing compost with the potting mix as described, then feed lightly and regularly rather than heavy doses. Containers can develop salt buildup when fertilizer is over-applied, the fix is to flush the pot with plain water occasionally (so water drains fully out the bottom) and then resume half doses on schedule.
Does mulching help thotakura in pots, and how should I apply it?
Yes. In very hot weather, a thin mulch layer helps keep the top layer cooler and reduces evaporation. Keep mulch away from the stem base, and if you use organic mulch, make sure it is dry and not constantly wet against the soil surface to avoid fungus.