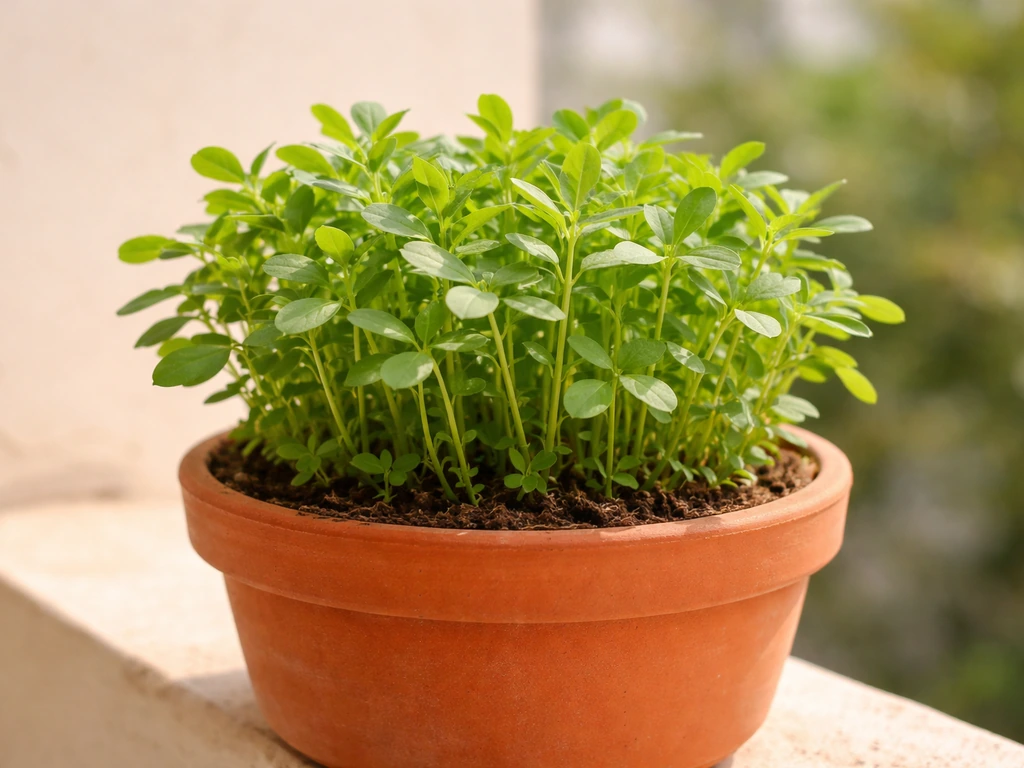
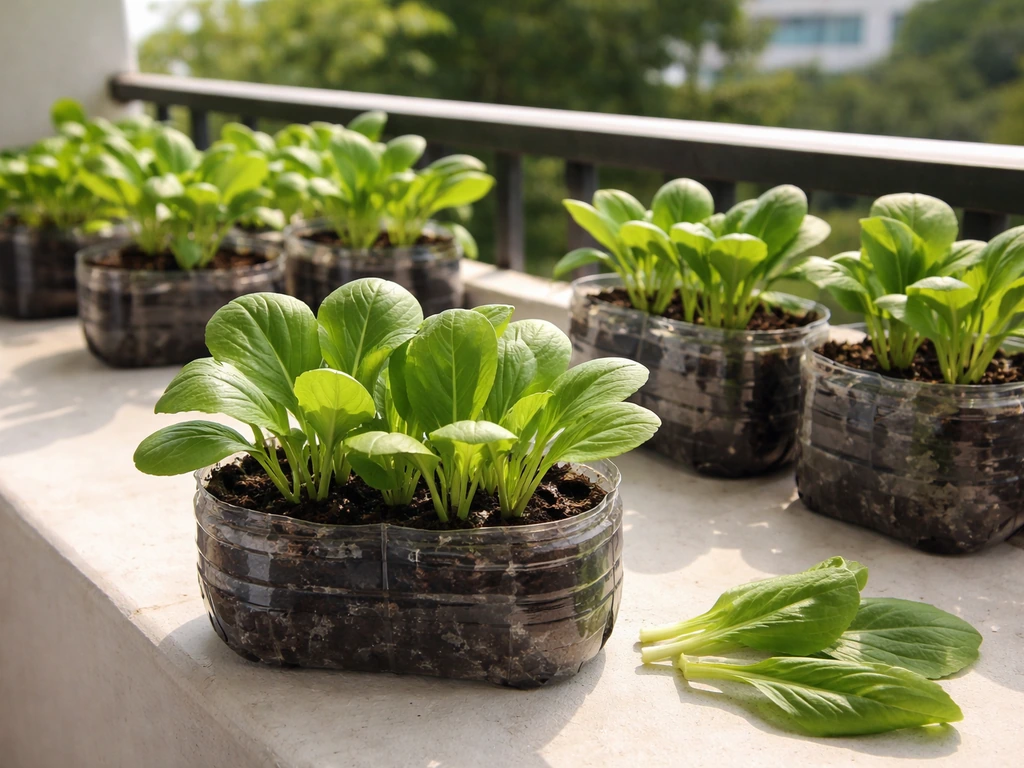
Methi grows surprisingly well in pots, and you can go from sowing seeds to cutting your first handful of tender leaves in as little as 30 days. Soak the seeds overnight, fill a wide, shallow pot with a loose, well-draining soil mix, scatter the seeds thickly, cover lightly, water gently, and set the pot somewhere it gets at least 4 to 5 hours of direct sun. The same basic container-friendly approach applies to pechay too, so you can use this as a starting point for how to grow pechay in pots. That's the whole picture. Everything below is just the detail that makes it work reliably.
How to Grow Methi in Pots: Step-by-Step Guide

Marcus Whitley
19 May 2026
Choosing the right pot and location for methi
Methi has a shallow root system, which is great news for container gardeners. You don't need a deep pot. A wide, shallow container works far better than a tall, narrow one because it gives you more surface area to sow seeds densely, which is exactly how methi produces those soft, leafy clumps. A pot around 25 to 30 cm (10 to 12 inches) wide and at least 15 cm (6 inches) deep is a solid starting point. If you have a rectangular trough or a repurposed plastic crate, even better.
Drainage is non-negotiable. Make sure your container has holes in the bottom so water doesn't sit and rot the roots. A rough guide is one drainage hole per 15 to 20 cm of pot diameter. If you're using a container without holes, drilling or punching a few in is worth the five minutes it takes. Standing water is the fastest way to kill methi in a pot.
For location, put the pot somewhere that gets at least 4 to 5 hours of direct sunlight a day. A sunny balcony, a south or west-facing windowsill, or a rooftop spot all work well. Methi can handle some afternoon shade, which is actually useful in hot climates where full afternoon sun scorches the leaves. That said, avoid deeply shaded spots entirely.
Too little light slows growth and makes the plants leggy, and it also raises the risk of fungal problems like powdery mildew, which you really don't want. Fenugreek prefers full sun, but in overly shady conditions it can get fungal pathogen problems, which is a useful tradeoff to consider when deciding how much afternoon shade to give your pot overly shaded conditions can increase fungal pathogen problems.
Seeds, timing, and sprouting methi in containers
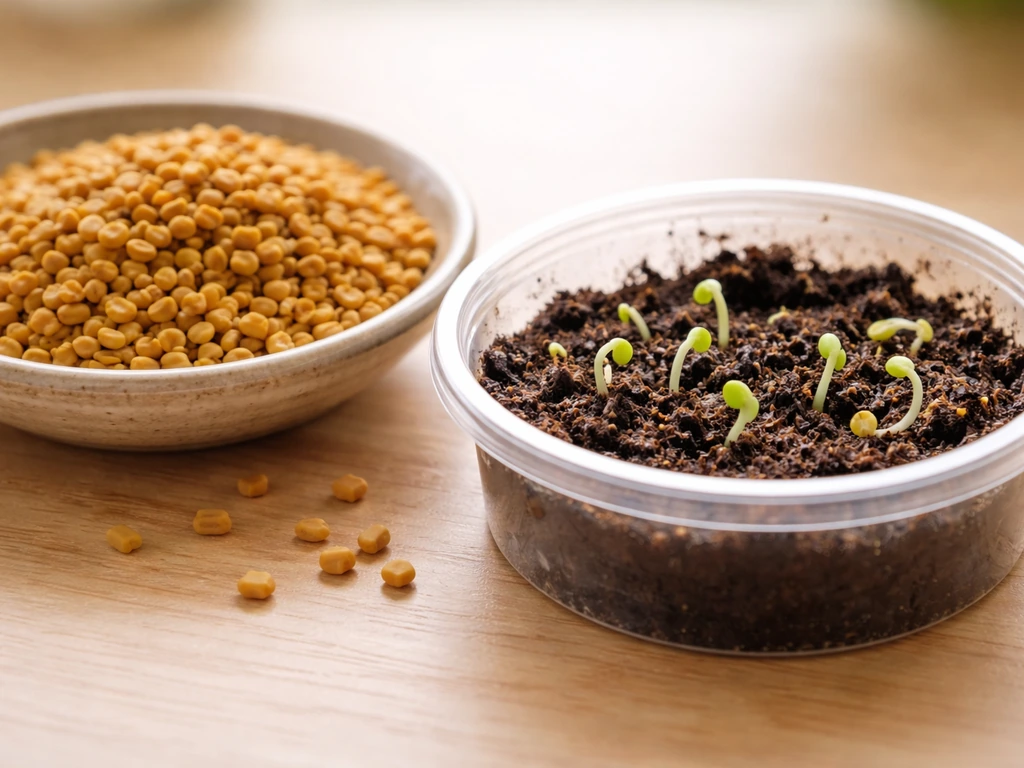
Use whole fenugreek seeds from a spice shop or garden supplier. If you want the step-by-step for container growing from seed to harvest, follow this guide on how to grow fenugreek in pots. Both work fine, but seeds sold specifically for sprouting or growing tend to have better germination rates. If you're in a tropical or subtropical climate, the sweet spots for sowing are late summer through early autumn, or the cooler winter months. In temperate climates, late summer and early autumn are your best windows. Methi genuinely does not love intense summer heat, it bolts quickly, and the leaves turn bitter. Cooler weather means slower, more leafy growth, which is what you want.
Before sowing, soak the seeds in water for anywhere between 4 and 24 hours. I usually do an overnight soak, about 12 hours, and it makes a noticeable difference. Soaked seeds typically sprout in 1 to 3 days, while dry seeds can take 7 to 10 days and germinate unevenly. This single step is the easiest upgrade for beginners and it costs nothing.
Soil mix and setup for pot-grown methi
Methi needs soil that drains well but still holds a little moisture. A heavy, dense potting mix will waterlog easily and cause root issues. My go-to mix for methi is two parts regular potting soil, one part coarse sand or perlite, and one part compost. This keeps things loose, feeds the plant gently, and drains without drying out too fast.
Fill your container to about 2 to 3 cm below the rim so water doesn't immediately overflow when you irrigate. If you have access to it, a thin layer of compost or leaf mold at the bottom of the pot before adding the mix is a nice touch. It gives a slow release of nutrients as roots grow down. You don't need fertilizer pellets or anything fancy for methi. It's a fast crop and the compost in your mix usually gets it through the whole growth cycle just fine.
Sowing method and watering schedule
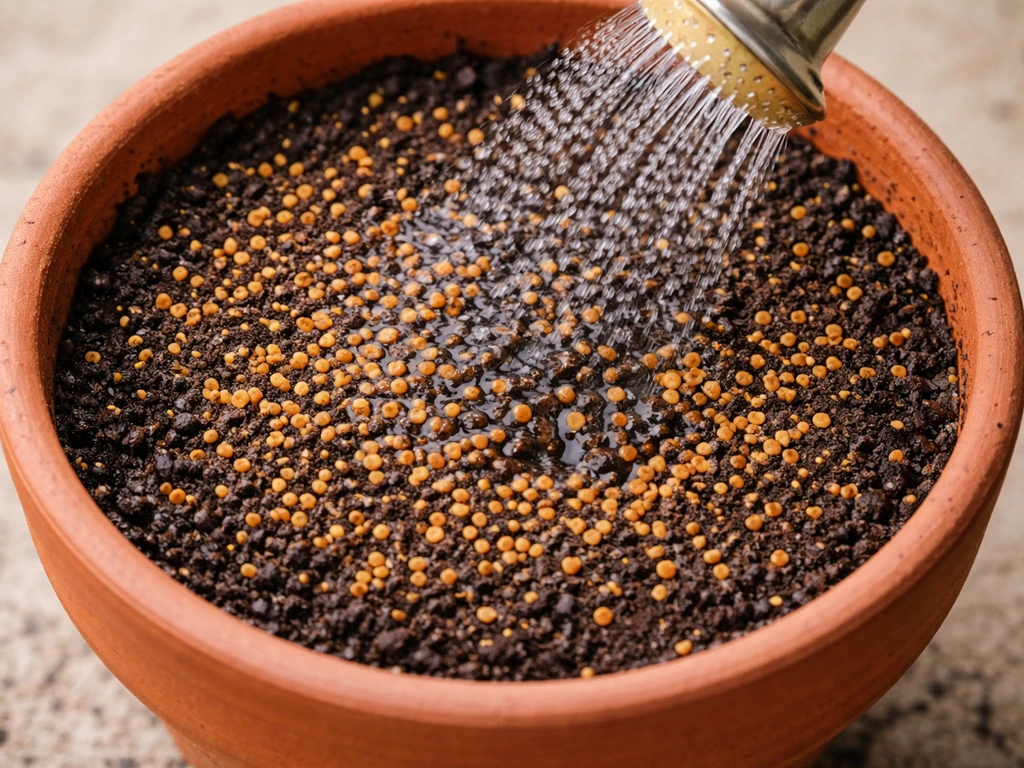
Methi is broadcast-sown, meaning you scatter seeds across the whole surface of the pot rather than planting in individual holes. This gives you that dense, lush look and maximizes your harvest. After soaking your seeds, spread them fairly thickly across the moist soil surface, then press them in gently with your palm. Cover with a very thin layer of soil, about 1 to 1.5 cm deep. That's all the covering they need. Burying them deeper slows germination.
Water immediately after sowing, using a gentle spray or a watering can with a fine rose head. You don't want to blast the seeds out of position or create puddles. The goal is to moisten the entire soil depth without waterlogging it.
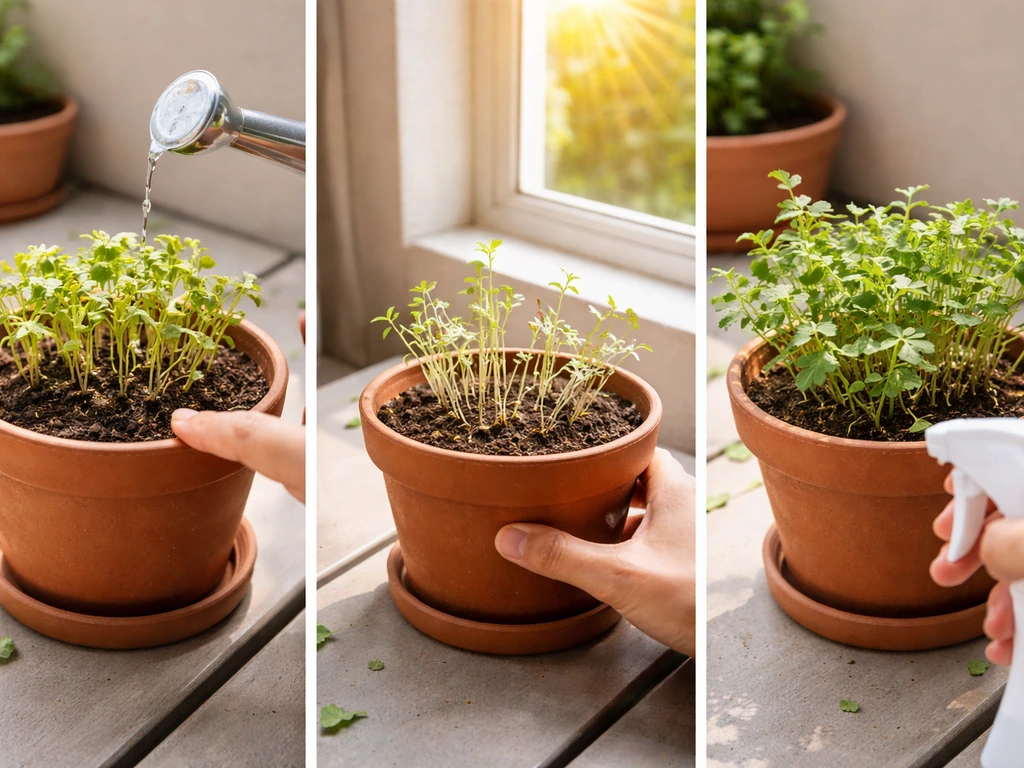
For the watering schedule going forward, check the soil every day by pressing a finger about 2 cm into the mix. If it feels dry at that depth, water. If it's still damp, leave it. In warm weather, this usually means watering every day or every other day. In cooler weather, every two to three days is often enough. Pots dry out faster than garden beds, especially small ones in full sun, so don't skip the daily check. Letting methi dry out completely even once will stress the plants, toughen the leaves, and trigger early bolting.
Light, temperature, and daily care to keep it tender
Methi grows best in temperatures between roughly 15°C and 25°C (60°F to 77°F). Below that it slows down but keeps growing. Above 30°C (86°F), it starts bolting, which means it pushes up flower stalks quickly and the leaves become smaller and more bitter. If you're growing in hot weather, afternoon shade is your friend. Moving the pot so it only catches morning sun can extend your harvest window by a week or two.
Daily care is simple. Check moisture levels, look the plants over for any signs of pests or yellowing, and make sure the pot isn't sitting in a saucer full of stagnant water. Rotate the pot every few days if it's only getting light from one direction so all the plants grow evenly. If the pot is indoors near a window, this matters more than you'd think. Methi leans hard toward light, and uneven exposure gives you a lopsided patch.
You don't need to feed methi with liquid fertilizer unless your soil looked genuinely depleted before you started. If growth seems very slow after two weeks and the leaves are pale, a diluted, balanced liquid feed once is usually enough to get things moving again. Overdoing fertilizer pushes too much leafy growth too fast, which can actually weaken the stems.
Harvesting leaves and managing regrowth (cut-and-come-again)
You can start harvesting once plants are about 15 to 20 cm (6 to 8 inches) tall, which typically happens around 30 to 40 days after sowing. Don't wait too long past this point, especially in warm weather, as the plants move toward flowering fast and the leaves get tougher.
To harvest, use clean scissors and snip the top third of the stems. Leave the lower portion of the plant with its nodes intact. Those nodes are where new growth comes from. Don't pull the whole plant up, and don't cut all the way down to the soil. If you do it right, you'll see fresh tender leaves regrowing within about 15 days, and you can harvest a second time. Some pots will give you a third cut before the plant bolts.
Once you see the plants pushing up thin, upright flower stalks, the cut-and-come-again window is closing. You can pick the last leaves at this point or, if you want seeds (which are fenugreek spice seeds), let the plants flower and dry out. Once plants start to bolt, the flavor of the leaves changes, so it's worth harvesting everything edible before that happens rather than waiting.
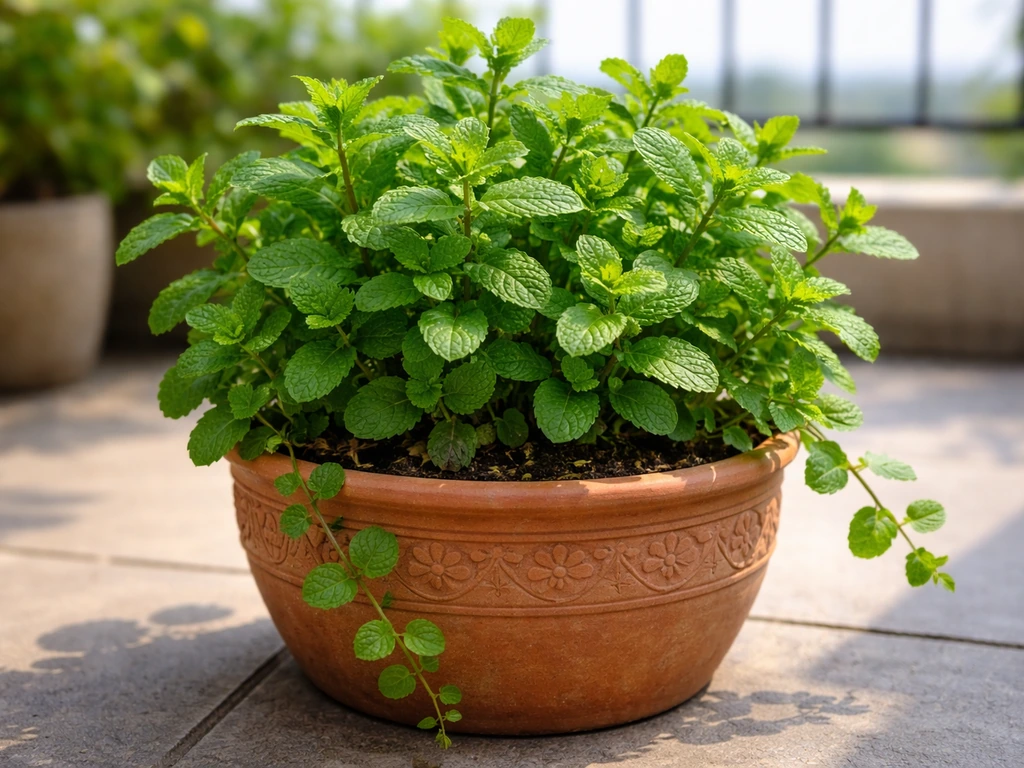
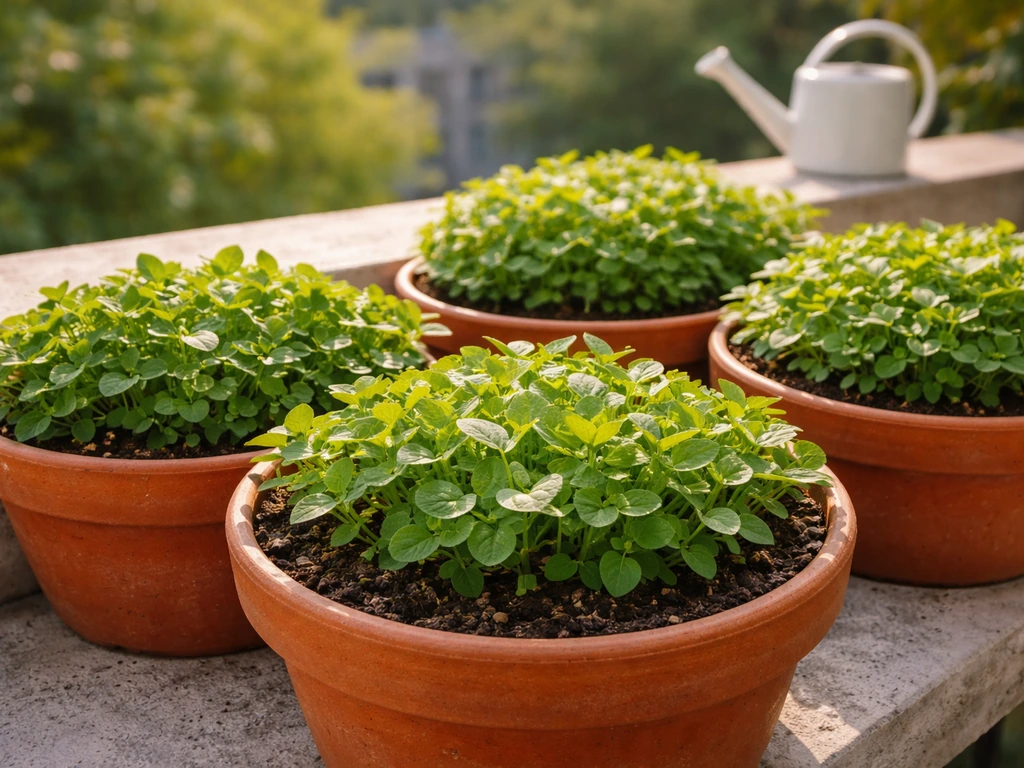
If you want a continuous supply, the classic trick is to have two or three pots going at staggered two-week intervals. By the time you've harvested the first pot twice, the second one is ready for its first cut. This works beautifully on a balcony or small outdoor space, and it's how I keep methi on the kitchen counter through a whole season. If you also grow pudina (mint) in pots, the same staggered-sowing approach works there too. For a deeper guide on how to grow pudina in pots, follow the same pot, sun, and watering principles but adjust for mint's preferences pudina (mint) in pots.
Common problems in pot-grown methi and quick fixes
Most methi problems in containers are caused by one of three things: too much water, too little light, or pests that move in when the plant is stressed. Here's a quick rundown of what you might see and what to do about it.
| Problem | Likely Cause | Quick Fix |
|---|---|---|
| Slow germination or no sprouts | Seeds too dry before sowing, or buried too deep | Soak seeds 12 hours before next sowing; don't bury more than 1.5 cm deep |
| Yellow leaves on young plants | Overwatering or waterlogged soil | Check drainage holes are clear; let soil dry slightly between waterings |
| Leggy, pale, stretched stems | Not enough light | Move pot to a sunnier spot with at least 4-5 hours of direct sun |
| Leaves drying out and crisping | Underwatering or heat stress | Water more frequently; move pot to a spot with afternoon shade |
| Aphids on stems and new leaves | Common pest, especially in cool/humid periods | Spray off with water first; follow with neem oil spray every 5-7 days (spray in evening, not in direct sun) |
| White powdery coating on leaves | Powdery mildew from poor airflow or too much shade | Improve airflow around pot; reduce watering slightly; apply diluted neem oil |
| Plants bolting quickly | Heat, drought stress, or sowing in the wrong season | Harvest immediately; sow next batch in cooler conditions or afternoon shade |
| Webbing under leaves, leaf drop | Spider mites, common in hot, dry weather | Neem oil solution at 5 ml per litre of water; spray every 5-7 days |
One thing worth knowing about neem oil: it's effective, but apply it in the evening or early morning rather than in strong direct sunlight. Spraying in full sun can burn the leaves, which is the opposite of what you want. A simple neem oil spray every 5 to 7 days handles most pest situations without any harsh chemicals, which matters when you're growing something you're about to eat.
For fenugreek, aphids are described as the most common pest, especially during early growth or in cool and humid conditions, and control suggestions include neem oil or insecticidal soap applied at intervals such as every 5 to 7 days for heavier populations neem oil spray every 5 to 7 days handles most pest situations.
If you can prevent problems before they start, keep the pot in a spot with good airflow, don't overwater, and check the undersides of leaves every few days. Pots that sit in stagnant, humid corners are almost always the ones that attract pests and mildew. Good placement does more than any spray ever will.
Methi is genuinely one of the most beginner-friendly container herbs you can grow. If you want a fun space-saving twist, you can also learn how to grow pechay in plastic bottles and harvest crisp leaves from a simple setup plant herbs you can grow. It sprouts fast, grows quickly, tolerates a bit of neglect, and gives you multiple harvests from a single sowing. If your first pot doesn't go perfectly, sow another batch two weeks later and apply what you learned. It's that forgiving. Get a pot ready, soak some seeds tonight, and you'll have fresh methi leaves on your counter before the month is out.
FAQ
How many methi seeds should I sow in one pot to avoid overcrowding problems?
Since methi is broadcast-sown, you want a dense look, but not a solid mat that stays soggy. As a practical guide, fill the surface with seeds spaced about 1 to 2 cm apart (thicker for very wide pots, slightly thinner for smaller ones). If seedlings come up extremely packed and growth looks weak after 10 to 14 days, thin gently so plants still have room for airflow.
Can I grow methi in a pot indoors, near a window, and will it still taste good?
Yes, but you need strong light. If you cannot get at least 4 to 5 hours of direct sun, use a grow light and keep it close enough that plants do not stretch. Indoor methi often bolts earlier if it is warm and low-light, so prioritize cooler conditions and regular turning of the pot for even growth.
What’s the best way to prevent powdery mildew in potted methi?
Focus on airflow and leaf wetness. Avoid watering in a way that splashes soil onto leaves, and water at the soil level. Also don’t keep the pot in a humid corner or next to other plants that block circulation. If you notice white coating early, remove the worst-affected leaves and improve airflow immediately before it spreads.
Should I fertilize methi if I’m growing it in compost-rich potting soil?
Usually no. Compost-based mixes typically feed methi enough for the first cut. Fertilize only if plants stay pale or growth is clearly slow after about two weeks, and use a diluted balanced liquid once. More feed often causes softer growth that can be more prone to pests and stem weakness.
Why did my methi bolt quickly, and how can I slow it down?
Bolting is usually triggered by heat, stress, or lack of consistent moisture. Keep temperatures closer to the 15°C to 25°C range, provide afternoon shade in hot weather, and never let the soil dry out completely. If it’s getting very hot on your balcony, move the pot so it only gets morning sun or use light shade cloth during peak afternoon hours.
Is it okay to harvest methi leaves multiple times from the same pot?
Yes, and it’s best done with cut-and-come-again harvesting. Snip only the top third of stems with clean scissors and leave the lower nodes intact. Most pots produce a second flush about 15 days later. After the plant starts pushing up thin flower stalks, the leafy harvest window closes, and quality drops faster.
How do I know when my methi is ready to harvest the first time?
Harvest when plants are roughly 15 to 20 cm tall and leaves look tender, not tough. If you wait until flowering starts, the leaves become smaller and more bitter. In warmer weather, check earlier (closer to 30 days after sowing) rather than relying on the upper end of the timeline.
Can I re-sow in the same pot after harvesting, or do I need a fresh pot?
You can get more harvests from the same pot if the plant is still actively growing. However, once you’ve done the main cut-and-come-again cycle and the plants are declining, re-sowing into the same container often gives better results if you refresh the top 3 to 5 cm of mix and remove old, spent plant material. Compact old soil can also reduce drainage, so check that the pot still drains well.
What should I do if my methi seeds take too long to germinate or don’t sprout evenly?
Uneven germination is commonly from dry soil or seeds not soaked long enough. Keep the top layer consistently moist (do not waterlog), and ensure seeds are covered lightly, about 1 to 1.5 cm. If some patches lag after a week, you can sprinkle a few more soaked seeds over the bare spots and press them in gently.
Can I use methi seed for cooking after growing it in pots, or am I only growing for leaves?
You can do both. For spice seeds, let plants flower, then allow the pods to dry on the plant. Only collect seeds once pods are crisp and dry. Note that eating quality changes earlier when flowering begins, so plan to harvest leaves first if you want tender cooking greens, then let a few plants go to seed.
What pest issues are most common for potted methi, and how should I respond first?
The most common problems happen when plants are stressed by heat, dryness, or low light. Check leaf undersides every few days and act early. Start with mechanical steps like removing heavily infested leaves, then consider neem oil in the evening or early morning to reduce leaf burn risk. Avoid broad, frequent spraying that can harm beneficial insects.