You can absolutely grow potol in a pot. It takes the right container size (bigger than you'd think), a sturdy trellis, consistent watering, and a bit of patience, but the plant will reward you with a steady stream of tender gourds starting around 50–55 days after sowing. Potol is a vining plant, so the setup is key, but once it's climbing and flowering, it pretty much takes care of itself as long as you keep the water and nutrients coming.
How to Grow Potol in Pots: A Beginner Guide

Marcus Whitley
13 Jun 2026
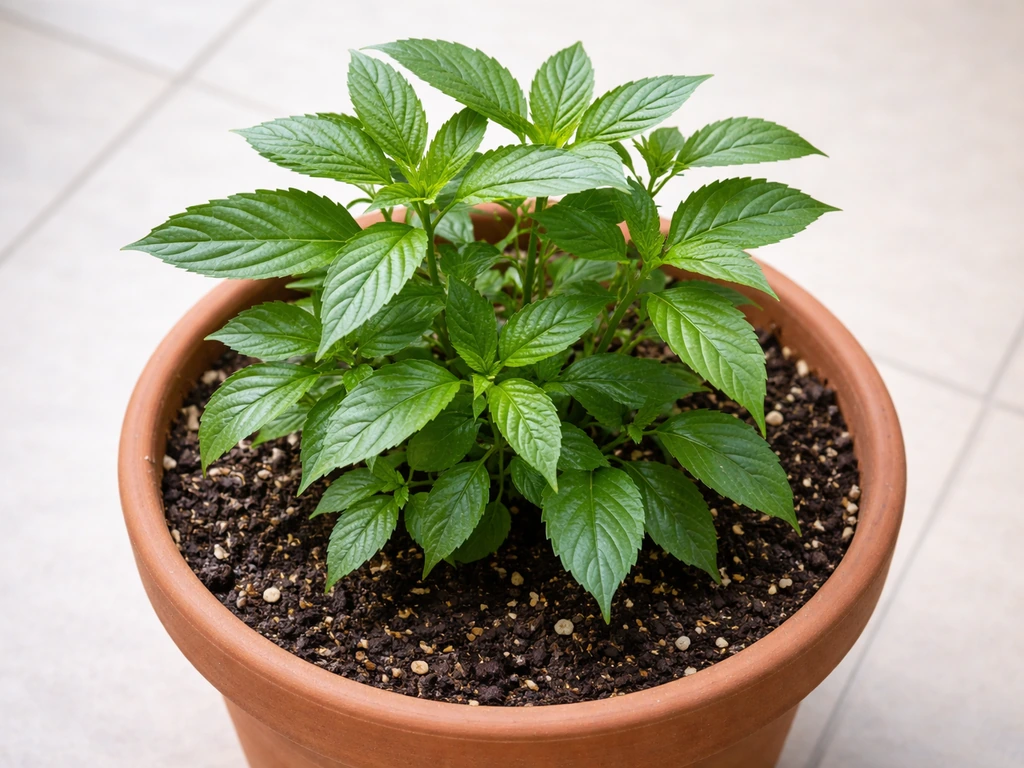
What potol actually is, and which type works best in containers
Potol goes by a few names depending on where you are. In Bengali cuisine it's called potol, in Hindi it's parwal, and botanically the pointed gourd version is Trichosanthes dioica, a vine that produces small, striped, ridged gourds typically 5–15 cm long at maturity. It's related to the cucurbit family (same broad group as bottle gourd and luffa), so a lot of the growing advice for those vegetables applies here too.
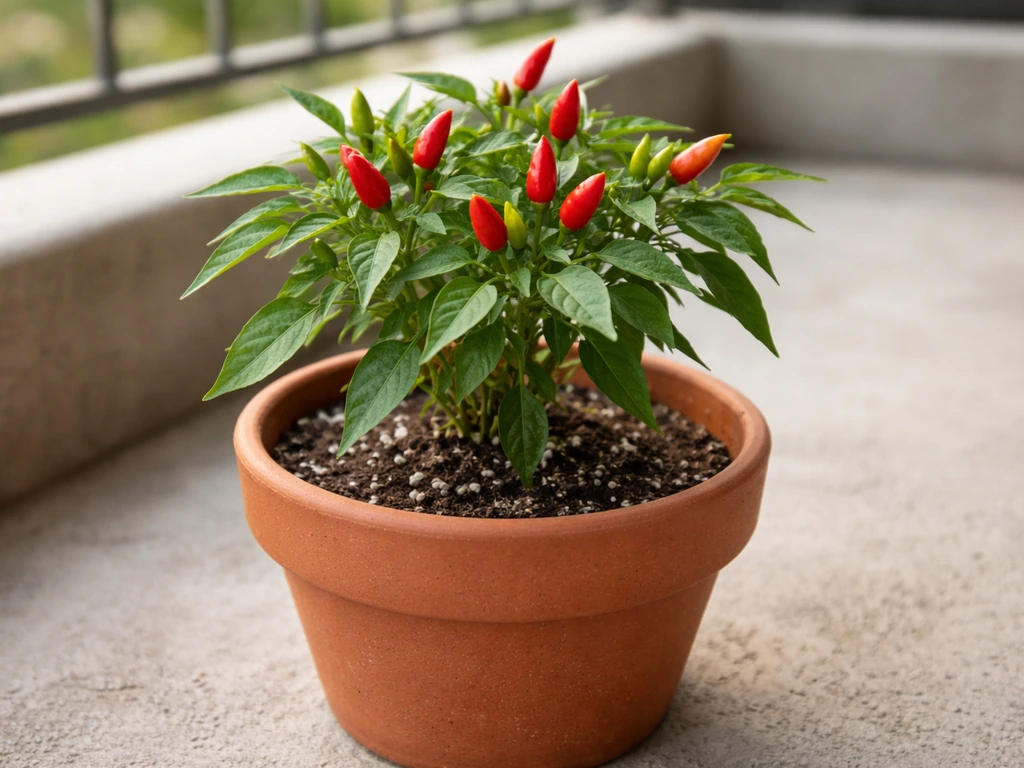
For container growing, you want to focus on compact or bush-type varieties if you can find them, or any variety labeled as suitable for small-space or terrace gardening. Smaller-fruited types, like those producing gourds around 8–12 cm, are ideal because the plant diverts less energy into each fruit and sets more of them. If you're sourcing locally and don't have variety labels to go by, just pick up whatever the nursery or seed shop has and focus on giving it the right conditions. The growing method matters more than the exact variety when you're in a pot.
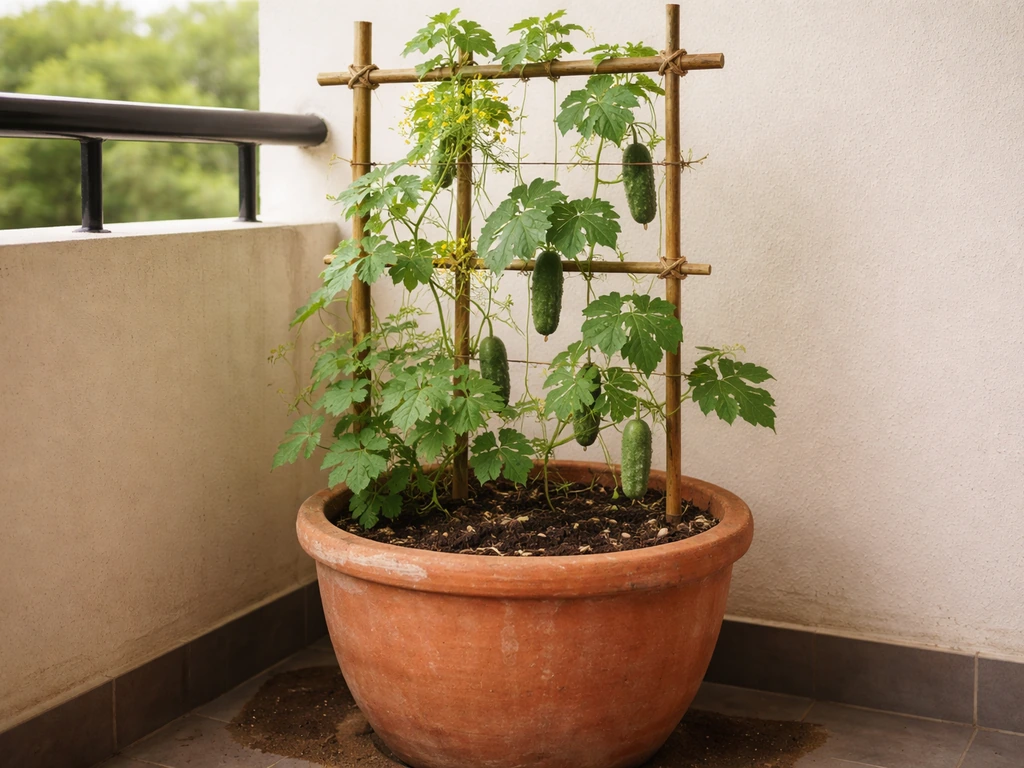
Picking the right pot, trellis, and support

This is where most beginners go wrong. Potol is a vine that can stretch several meters and it has a big root system to match. If you plant it in a small pot, you'll get a sad, struggling vine that barely produces. Go for at least a 15–20 gallon container if you want real harvests. The sweet spot for most home growers is around 20–25 gallons, which is roughly a 50–60 cm wide bucket or grow bag. Depth matters just as much as width, so aim for at least 30–38 cm deep. More depth means more root space and better water retention between waterings.
Drainage holes are non-negotiable. Waterlogged roots will kill this plant. If you're repurposing a container, drill at least 4–6 holes in the bottom. Grow bags are actually great for potol because they're breathable and drain naturally.
For the trellis, think ahead before you plant. Potol vines are fast growers and they'll grab onto anything nearby, so give them somewhere to go from day one. A simple bamboo or wooden trellis, a wire mesh panel, or a rope ladder tied to a wall or balcony railing all work. The structure needs to be sturdy, not flimsy, because a fully loaded vine in the middle of the season can get quite heavy. Position the pot right next to the support before you fill it with soil, because moving a heavy planted container later is miserable.
Building the right soil mix and filling your pot
Regular garden soil alone is too dense and compacted for container growing. It drains poorly, gets waterlogged, and doesn't let roots breathe. You need a mix that drains well but also holds enough moisture and nutrients to keep a hungry vine going.
Here's a straightforward mix that works well for potol in containers:
- 50% good quality compost or aged vermicompost (this is your main nutrition source)
- 30% coco peat (holds moisture and keeps the mix light and airy)
- 10–15% perlite or coarse sand (improves drainage and prevents compaction)
- 5–10% garden soil if you have it (optional, adds some mineral content)
Mix everything together thoroughly before filling the pot. Add a handful of slow-release organic fertilizer or neem cake to the mix if you have it. Fill the pot to about 5 cm below the rim so water doesn't overflow every time you irrigate. Water the mix well before planting so it settles and you can see if there are any dry pockets.
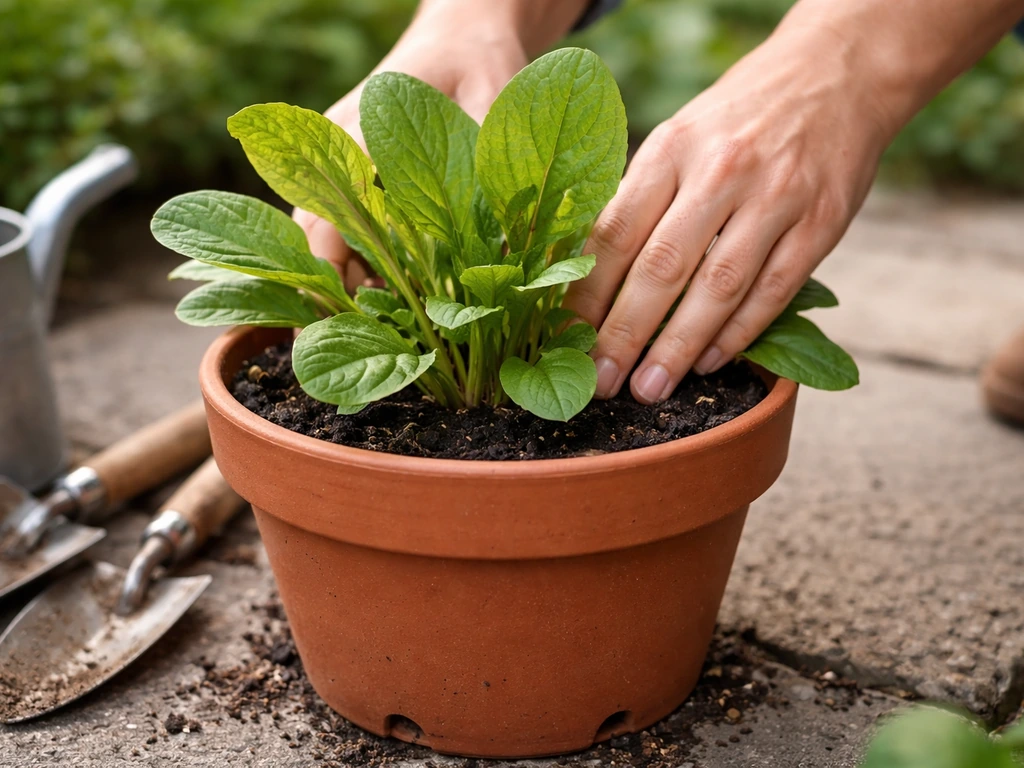
Starting seeds and knowing when to transplant
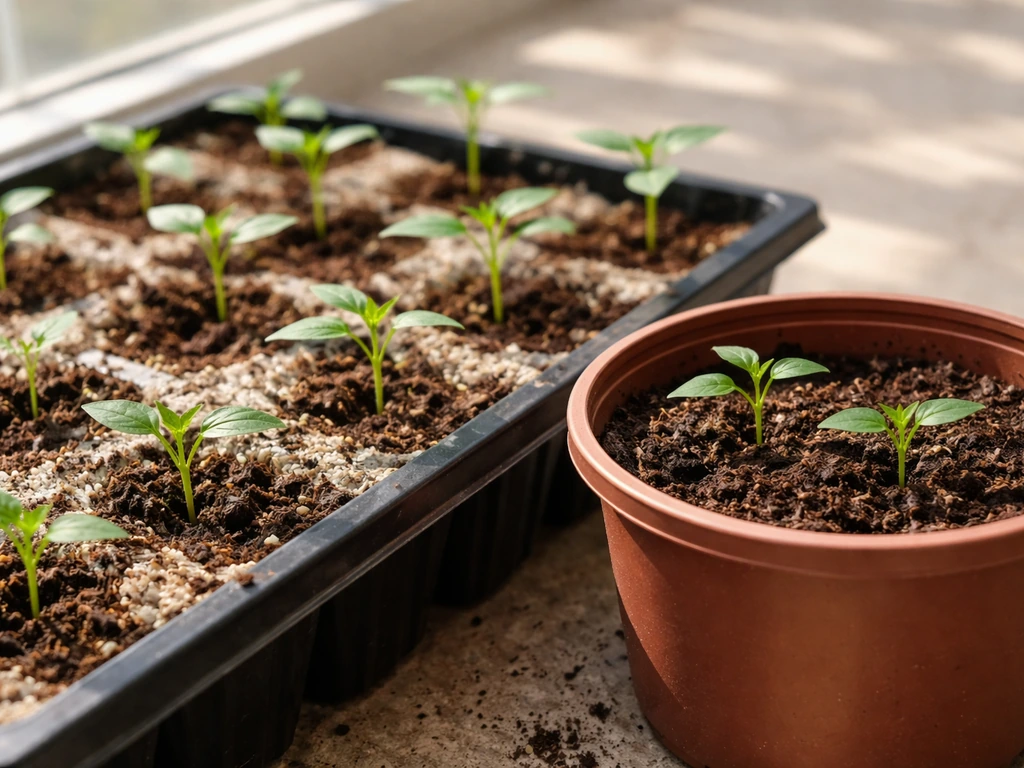
Potol seeds can go directly into the pot or be started in small seedling trays first. If you're in a warm climate with temperatures reliably above 25°C, direct sowing works fine. Push 2–3 seeds about 2 cm deep into the moist potting mix, keep them somewhere warm and bright, and thin to one plant per pot once they germinate (usually within 7–10 days). If you want to start indoors or on a balcony in slightly cooler weather, start seeds in small pots or cells 4–6 weeks before you plan to move them to their permanent container.
For seedling starting mix, use a lighter blend: roughly equal parts coco peat, vermiculite, and perlite. This gives gentle drainage without the weight and nutrients of the full potting mix, which can sometimes burn delicate seedlings. Keep the seedling soil moist but not wet, and maintain a temperature of around 22–25°C for best germination.
Transplant seedlings when they're about 15–20 days old and have 2–3 true leaves. Handle roots carefully since cucurbit-family plants don't love root disturbance. Water well immediately after transplanting and keep the plant in partial shade for the first 2–3 days while it settles in. Potol is a warm-season crop, so in most parts of South and Southeast Asia, the best sowing windows are February to March and again in June to July. Avoid transplanting into extreme heat (above 40°C) or cold (below 15°C).
Watering and feeding your potol in a pot
Container plants dry out faster than plants in the ground, and potol in a pot during warm months can need water every single day. The rule of thumb: stick your finger about 2.5 cm (1 inch) into the soil. If it feels dry at that depth, water thoroughly until it runs out of the drainage holes. Never let the pot dry out completely, especially when the plant is flowering or setting fruit. Drought stress at that stage causes flowers and young fruits to drop, and that's the most frustrating thing that can happen after weeks of waiting.
At the same time, avoid overwatering. Constantly soggy soil starves the roots of oxygen and leads to poor growth or root rot. If your soil drains well and you have drainage holes, it's hard to overwater by frequency alone as long as excess water can actually escape. Early morning watering is best because it lets the foliage dry during the day, which helps prevent fungal issues.
For feeding, potol is a moderate feeder but it's in a container, so nutrients get used up and washed out faster than in-ground plants. UF/IFAS notes that nitrogen, phosphorus, and potassium (N-P-K) deficiencies in luffa can be prevented and treated with proper fertilizer management, including splitting N fertilizer into four stages moderate feeder. Here's a simple feeding schedule:
- At planting: incorporate compost and slow-release organic fertilizer into the potting mix
- 3–4 weeks after planting: apply a balanced fertilizer like 10-10-10 at the recommended label rate, or a liquid compost tea
- At first flowering: switch to a lower-nitrogen, higher-potassium and phosphorus fertilizer (something like 5-10-10) to encourage fruit set rather than leafy growth
- At first harvest: feed again with the same lower-nitrogen mix to keep the plant productive
If you prefer organic, liquid fish emulsion or seaweed extract every 2 weeks works well. The key is consistency. A plant that misses feedings will slow down noticeably, and yellowing older leaves are often the first sign it needs a nutrient boost.
Light, temperature, and spacing for a productive vine
Potol loves full sun. Give it at least 6–8 hours of direct sunlight a day and you'll see much faster growth and better fruit set compared to a shaded spot. If you're on a balcony, position the container where it gets the most unobstructed light, even if that means moving it seasonally. Insufficient light is one of the most common reasons container potol grows lots of leaves but barely fruits.
Temperature-wise, this plant thrives between 25–35°C. Below 15°C, growth slows significantly and the plant can stall. Above 40°C, you may see flower drop and heat stress even with regular watering. In extreme heat, a light afternoon shade cloth can help. Night temperatures staying above 20°C generally help flowers set into fruit more reliably.
If you're growing more than one plant, keep pots at least 60–90 cm apart. Vines will still mingle at the top of the trellis, but root competition in separate containers is less of an issue than crowding in a single pot. One well-cared-for plant in a big container will almost always outperform two cramped plants sharing a small one.
Dealing with pests, diseases, and common container problems
The good news is that container-grown potol tends to have fewer pest and disease issues than in-ground plants, mostly because you have better control over the environment. But there are still a handful of things to watch for. UAEX’s Arkansas common cucurbit problem guide lists multiple pest control options for cucurbits, including insecticidal soap for pests such as aphids and mites.
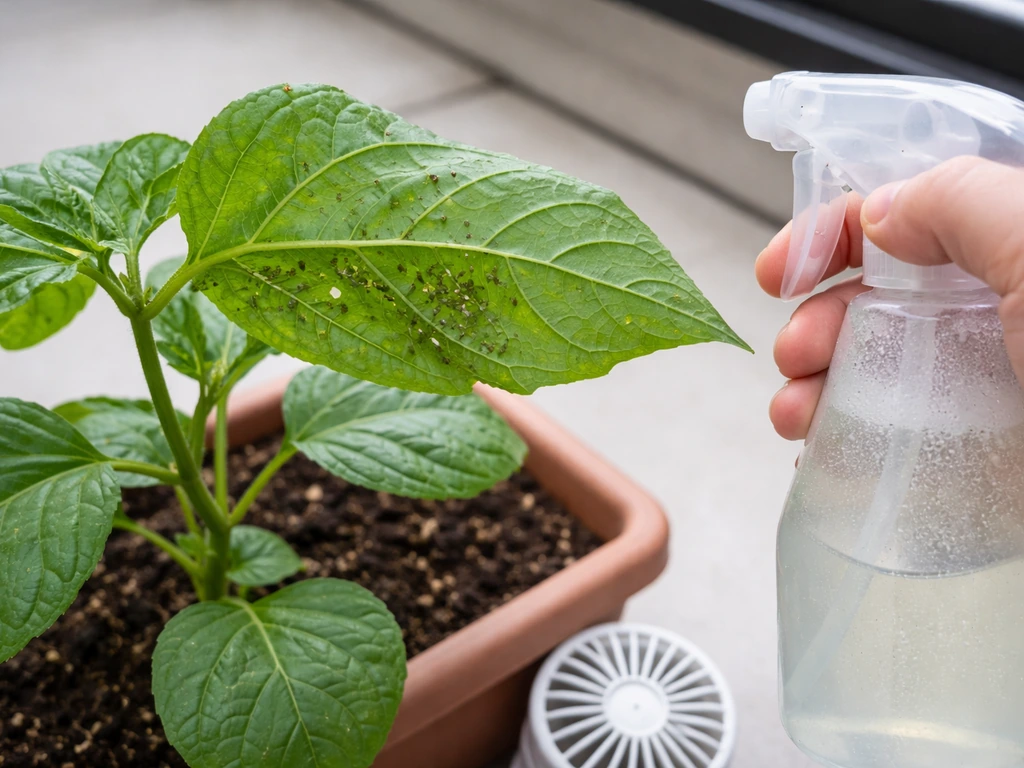
Pests to watch for
- Aphids: small clusters of soft-bodied insects under leaves or on new growth. Knock them off with a strong water spray or apply insecticidal soap every 3–5 days until gone.
- Spider mites: tiny reddish or yellowish mites that cause stippled, pale leaves and fine webbing. They can defoliate a plant in under a week if left unchecked. Spray the undersides of leaves with water or neem oil solution.
- Fruit flies / cucumber beetles: can damage fruit and spread disease. Use yellow sticky traps and remove any damaged fruits promptly.
- Whiteflies: similar to aphids in control, insecticidal soap works well.
Diseases to watch for
- Powdery mildew: white powdery coating on leaves, usually when airflow is poor or humidity is high. Improve air circulation by thinning dense foliage and avoid wetting leaves when watering. Spray with a diluted neem oil or baking soda solution as early as you spot it.
- Downy mildew: yellow patches on top of leaves with a grey or purple fuzzy growth underneath. Remove affected leaves and improve ventilation. Avoid overhead watering.
- Damping off (seedlings): seedlings rot at the base and collapse. Caused by soggy, cool soil. Use a well-draining seedling mix and keep soil temperature around 22–24°C.
Common container-specific problems
| Problem | Likely cause | What to do |
|---|---|---|
| Wilting even after watering | Root rot from waterlogged soil or rootbound plant | Check drainage holes; repot into larger container if roots are circling |
| Flower drop with no fruit | Heat stress, drought, or lack of pollination | Water consistently, provide afternoon shade in peak heat, hand-pollinate flowers |
| Yellow older leaves | Nitrogen deficiency | Feed with balanced fertilizer or liquid compost |
| Pale leaves with no yellowing | Iron deficiency or pH problem | Use a chelated iron supplement or refresh potting mix |
| Slow growth, leggy vines | Insufficient light | Move pot to a sunnier spot or use a grow light supplement |
Hand pollination is worth mentioning if you're in a spot without many bees. Potol flowers are either male or female. Male flowers appear first and have a thin straight stem, while female flowers have a tiny proto-fruit at the base. Use a small paintbrush or just pull a male flower off, peel back the petals, and dab it gently against the center of an open female flower. Do this in the morning when flowers are open and fresh. Missing this step is a common reason for flower-heavy but fruit-light plants.
Harvesting potol and keeping the plant producing
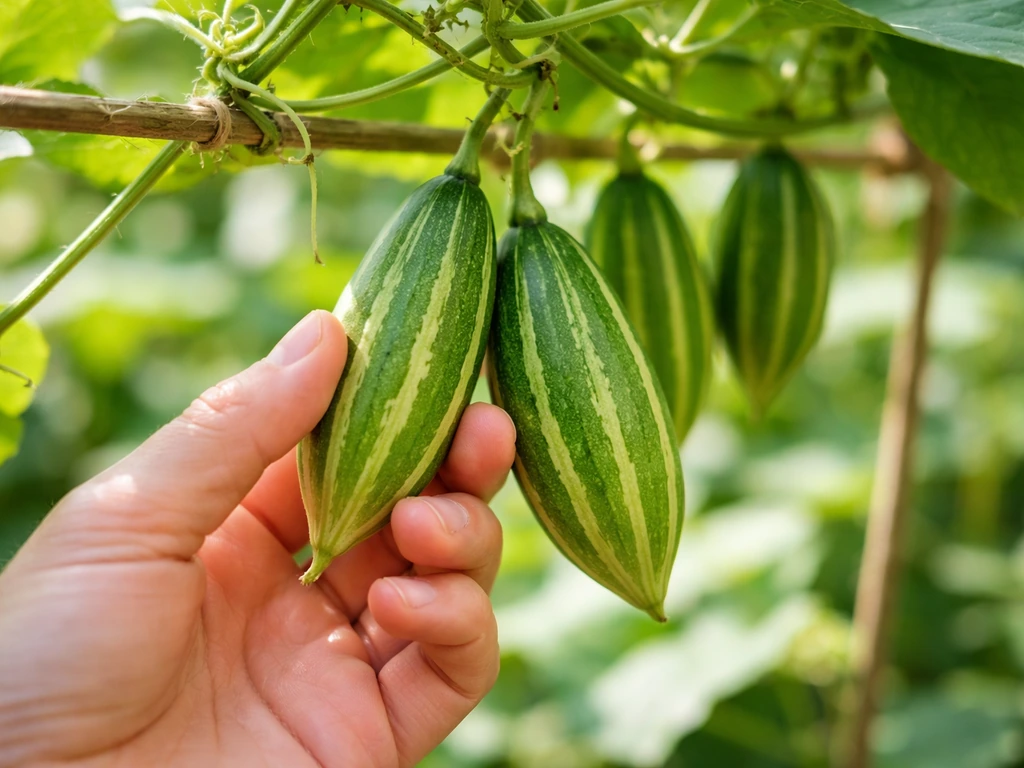
Timing the harvest right makes a huge difference in taste and plant productivity. For pointed gourd types, pick fruits when they're tender and about 8–12 cm long, before the seeds inside start to harden. At this stage, the skin is soft enough to pierce with a fingernail and the flesh is at its sweetest and most tender. If you let fruits grow too large or the skin toughens, the eating quality drops fast.
If you're growing a bottle gourd type and harvesting young for vegetables, look for gourds around 15–30 cm long with soft, scratch-able skin. The general principle is the same: harvest young and tender rather than waiting for full size. A fully mature gourd that's past eating stage is just energy the plant wasted that could have gone into new fruit.
The most important harvesting rule for keeping your plant productive: harvest every 3–4 days during peak season. Don't let any gourds hang on too long. Every time you pick a fruit, the plant is signaled to produce more flowers and set new fruits. Letting one gourd go to full maturity and seed can slow or even stop production on the whole plant. Check the vine every other day once it starts setting fruit.
Depending on your variety and conditions, you should see first harvest around 50–55 days after sowing and the plant can continue producing for several months with good care. Once the vine starts to look tired, yellowed, and production drops off significantly, it's usually time to start fresh with a new plant.
Your next steps this week
If you haven't started yet, this is what to do in the next 7 days. Source a container that's at least 15–20 gallons and has drainage holes, or order grow bags online if that's easier. Pick up coco peat, compost, and perlite to build your soil mix. Get seeds from a nursery or seed supplier and start them in small cells now. Set up your trellis or identify the wall or railing where it will go before the plant is in the pot.
In the first two weeks after planting, the main things to monitor are soil moisture (check daily with the finger test), whether seedlings are getting enough direct sun, and any early pest activity on the underside of leaves. Once you see the first true leaves and the vine starts to climb, you'll know it's settling in well. Adjust watering frequency based on how fast your specific pot dries out in your climate. A plant that's thriving will grow visibly day by day, and that progress is genuinely satisfying to watch.
If something goes wrong early, don't be discouraged. Most issues with container gourds come down to either not enough water, not enough light, or not enough root space, and all three are fixable. Growing vegetables like potol, sitaw, or siling labuyo in pots is a real skill that gets easier every season you do it, and every small failure teaches you something useful for the next round.
You can apply the same container approach and care tips to grow sorrel in a pot, especially around watering and light potol, sitaw, or siling labuyo. If you want a step-by-step refresher on growing saluyot in a container, follow the same pot, soil, and daily-care principles outlined for leafy vining greens in pots. If you also want to try siling labuyo in pots, use a similarly roomy container with good drainage and give it lots of sun.
If you also want to try sitaw in pots, you’ll find similar container tricks, especially around pot size, trellis support, and consistent watering.
FAQ
Can I grow potol in a smaller container than 15–20 gallons if I only want a few gourds?
You can try, but expect a tradeoff. With less than about 15 gallons, vines often become thin and produce fewer fruits, even if watering is perfect. If your space is limited, use the largest container you can manage, keep one strong plant per pot, and harvest early every 2–3 days to encourage continued set.
What’s the best way to prevent potol from drying out in hot weather when I can’t water daily?
Use moisture retention supports that still drain well. Add a thick mulch layer on top (about 3–5 cm), check finger depth at 1 inch daily, and consider a breathable grow bag plus a self-watering style saucer outside the bag (not inside the pot) to reduce short dry spells. Avoid letting the pot sit in runoff water, it can still suffocate roots.
How can I tell whether my potol problem is too little water or too much water?
If it dries out, the soil at 1 inch will feel dry, leaves may wilt during midday, and flower or tiny fruits drop. If it’s overwatered, the top can feel damp while the plant looks weak, leaves may yellow, and the pot may smell sour or stay wet for long periods. Fix by letting the mix dry slightly between waterings only if drainage is good, and ensure your container has multiple bottom holes.
Why does my potol grow lots of leaves but few or no fruits even though it flowers?
Two common causes are light and pollination. If it gets less than 6–8 hours of direct sun, it may stay vegetative and flower without reliable fruit set. If you don’t have pollinators, hand pollination usually makes the biggest difference, and it’s best done in the morning on freshly opened blooms.
When should I start hand pollination, and how often?
Start as soon as you see the first female flowers appear, not when only male flowers are present. Pollinate once per open female bloom in the morning. If temperatures are very hot or the vine seems stressed, you may need to check and pollinate every day for a few days to avoid losing potential fruit set.
Do I need to pinch or prune potol vines in a pot?
Usually not, but light management helps. If the vine becomes extremely dense on the trellis, remove only the worst-hanging leaves that block airflow and keep the main growth supported. Avoid heavy pruning, because potol already produces best when it keeps a healthy leaf canopy to fuel continuous fruiting.
Should I use chemical fertilizer or will organic feeds be enough in containers?
Organic liquid feeds like fish emulsion or seaweed can work well, as long as you keep a consistent schedule. In containers, nutrients wash out faster, so the biggest success factor is regular feeding. If leaves yellow broadly despite feeding, increase feeding frequency slightly rather than only increasing the dose, and confirm you have good drainage and sun.
Can I grow potol successfully on a balcony if the trellis is tied to a railing?
Yes, as long as the support can handle weight and the pot stays stable. Tie the trellis securely to the structure, and position the pot right beside the support before filling so you do not disturb roots later. If the railing is flexible, switch to a sturdier mesh panel or wooden frame to prevent the vine from toppling.
What time of day should I water, and does watering method matter?
Water early morning so the foliage has time to dry. Pour directly onto the soil so roots get moisture, then let excess drain out completely. In very humid weather, keep the water at the soil level and avoid wetting leaves to reduce fungal risk.
How often should I check for pests in container potol, and what should I look for first?
Check at least 2–3 times per week, especially on the underside of leaves where early feeding starts. Look for stippling, tiny webs, or clusters of small insects. Early intervention is easier in containers, because you can isolate and treat a single plant quickly without it spreading through a large bed.
Is it better to harvest potol every 3–4 days or can I wait longer?
Harvest every 3–4 days during peak season to keep productivity high. If you wait too long, the fruit toughens and the plant shifts energy toward seed development, often causing a noticeable slowdown in new flowering. For the best eating quality, pick when the skin is still tender enough to pierce easily.
What should I do if night temperatures drop below 15°C?
Growth will stall, and flower drop becomes more likely. If you can, move the container to the warmest protected spot (near a wall, under cover) at night. If it’s regularly below 15°C for multiple nights, plan on slower harvests and consider starting the next batch in a warmer window.
Can I replant from the potol seeds I harvested last season?
You can only do this if the variety reliably produces true seed you want, and if fruits were allowed to mature fully on the vine. However, seed-maturing takes time and reduces your harvest of edible gourds, and many home plots do not let fruits stay long enough for consistent seed quality. For dependable results, buy seed or start new seedlings instead.
How do I know when it’s time to start a new potol plant?
When production drops sharply and the vine looks exhausted, yellowed, and less vigorous despite adequate sun, watering, and feeding, it’s usually time. In containers, nutrient depletion and root crowding happen sooner than outdoors, so a fresh plant with a new soil mix often outperforms struggling older vines.