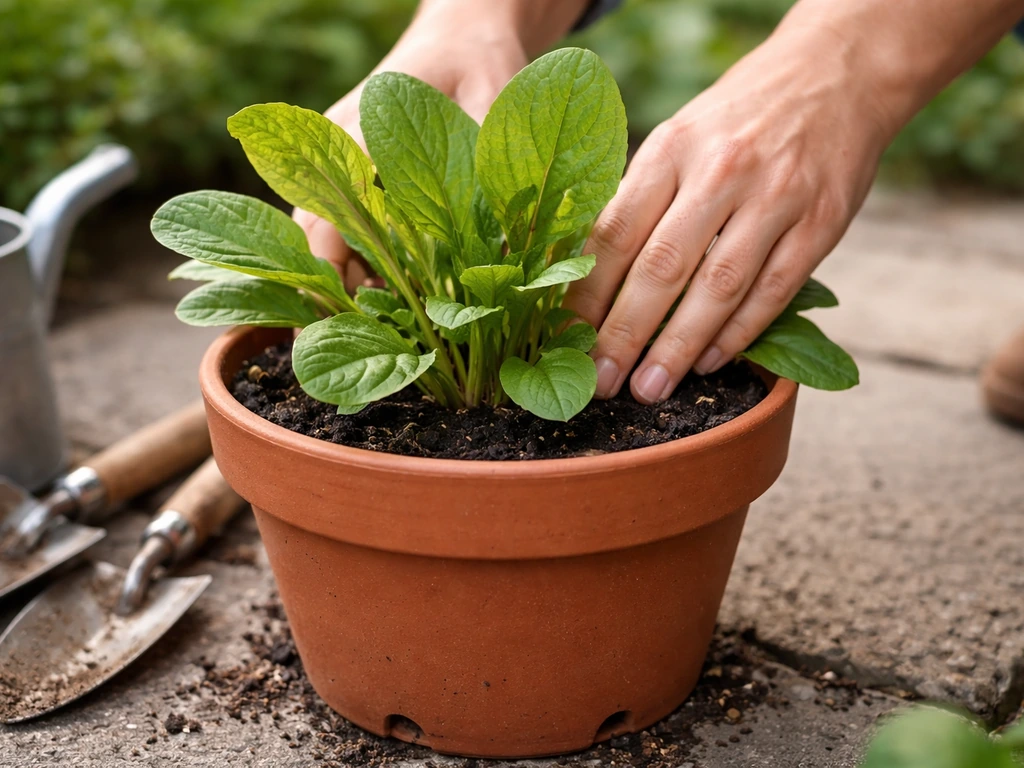
You can absolutely grow saluyot in a pot, and it actually does quite well in containers as long as you give it enough sun, warmth, and consistent water. Pick a pot that's at least 12 inches deep and 12 inches wide (bigger is better), fill it with a rich, well-draining mix, direct-sow seeds about 1/4 to 1/2 inch deep, and put it somewhere that gets full sun for most of the day. Within 60 to 70 days you'll be cutting your first harvest, and if you trim it right, the plant keeps pushing new growth for weeks after that.
How to Grow Saluyot in a Pot: Step-by-Step Guide

Marcus Whitley
12 Jun 2026
What saluyot is and why it actually thrives in a pot
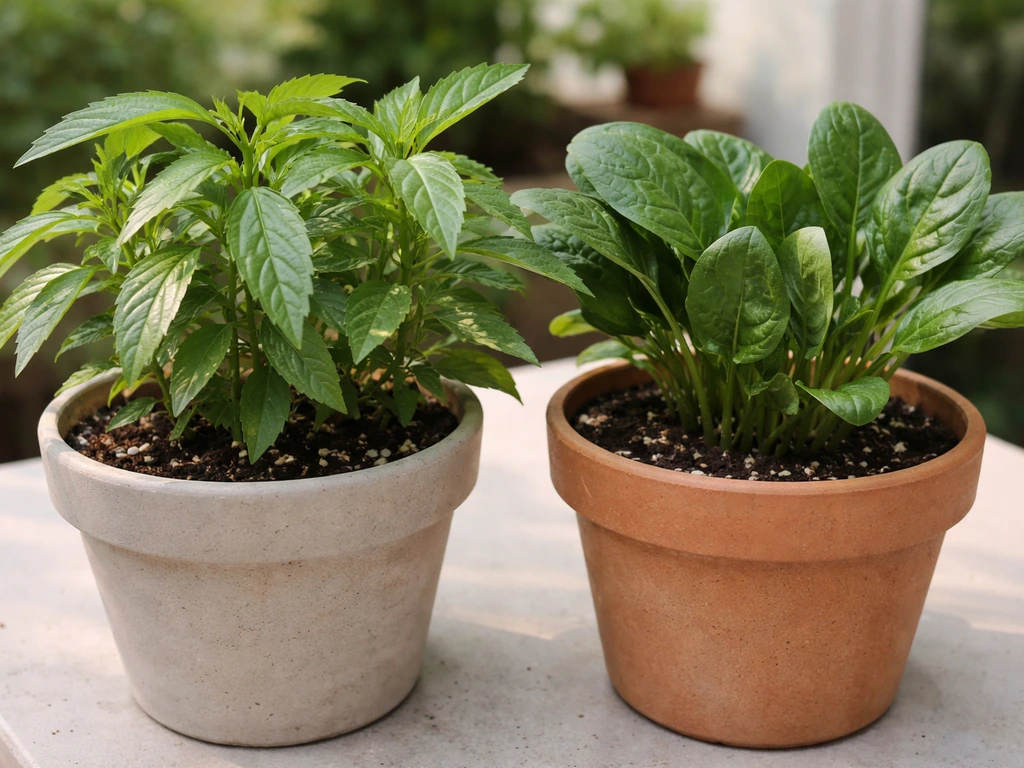
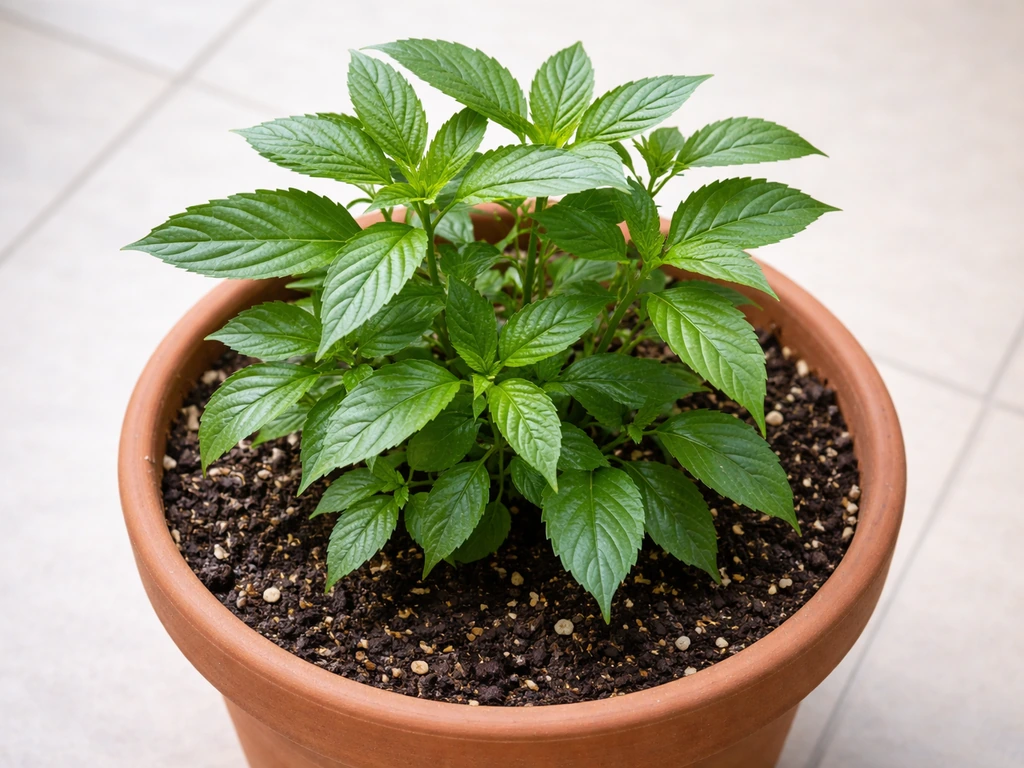
Saluyot (Corchorus olitorius) is the leafy vegetable Filipinos use in sinigang and other soups, and it's the same plant known in other parts of the world as jute mallow or Egyptian spinach. It's an upright, fast-branching annual that loves heat and humidity, which makes it one of the better leafy greens for tropical and subtropical home gardens. In the ground it can get tall, but in a container it stays more compact and manageable, and because you're growing it purely for leaves rather than letting it go to seed, you can keep harvesting and cutting it back repeatedly during its 60 to 90 day growing cycle.
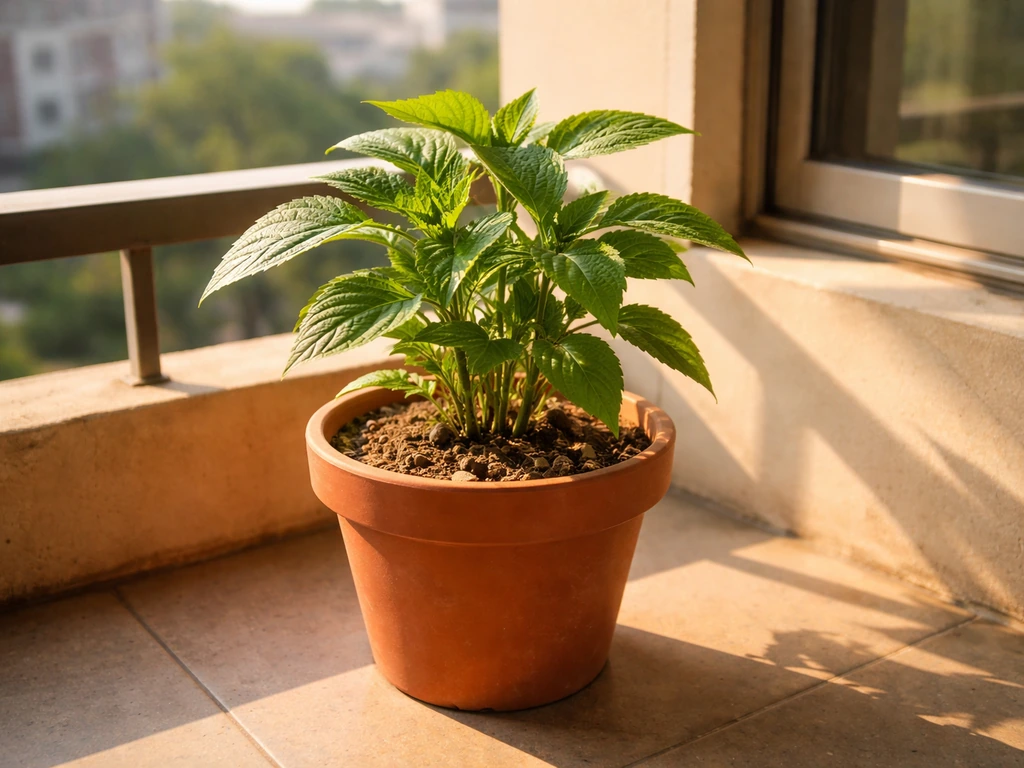
The reason it works well in pots is pretty practical: saluyot wants warm, moist, fertile soil, and a container lets you control exactly that. You're not dealing with the variable drainage or soil quality of a garden bed. You choose the mix, you control the watering, and you can move it into a sunnier or more sheltered spot if needed. For urban gardeners or anyone with a balcony or small yard, that kind of control is a real advantage. It grows best between roughly 24 and 37°C, so if you're in a warm, humid climate, your outdoor conditions are already close to ideal.
Choosing the right pot, location, and plant setup
Pot size and drainage
The minimum I'd recommend is a pot that's 12 inches deep and 12 inches wide. That gives the roots enough room to establish and supports the kind of vigorous leafy growth you want. If you have a slightly larger pot, say 14 to 16 inches, use it. More root volume means more consistent moisture and more nutrients available to the plant, which translates directly to bigger, more frequent harvests. Anything smaller than 10 inches tends to dry out too fast and stresses the plant during the hottest parts of the day.
Drainage holes at the bottom are non-negotiable. Saluyot likes moist soil but it will rot quickly in waterlogged conditions. Make sure your pot has at least two or three holes at the base. One thing worth knowing: skip the layer of gravel or stones at the bottom that some older guides recommend. Research from University of Illinois Extension confirms it doesn't actually improve drainage and can create a perched water table right where your roots are. Just use a good draining mix (more on that below) and make sure nothing is blocking those holes.
Where to put it
Saluyot needs full sun, ideally 6 to 8 hours of direct sunlight per day. A south-facing balcony, a sunny rooftop, or a window ledge that gets direct afternoon light are all good options. In the Philippines and other tropical climates, even an east-facing spot that catches strong morning sun can work, but try to avoid positions where the plant is in shade for most of the day. Insufficient light is the number one reason saluyot in containers gets leggy and unproductive. If you only have a partially shaded spot, it'll still grow, but the stems will stretch out and the leaves will be smaller and less flavorful.
Soil mix and fertilizer plan
The right potting mix
Saluyot wants fertile, well-drained soil with a pH somewhere between 6. 0 and 7. 0. That's a fairly forgiving range, but staying closer to 6.
0 to 6. 5 tends to give the best nutrient availability and keeps leaf color healthy. Soil pH that is too high can make nutrients unavailable, and the Morton Arboretum notes that a soil pH around 6. 0, 6.
5 is generally optimal for nutrient availability soil pH around 6. 0–6. 5 is generally optimal for nutrient availability.
For a container mix, I'd go with something like this: two parts good quality potting soil, one part compost or vermicast, and one part perlite or coarse sand for drainage. That ratio gives you the fertility saluyot needs without the waterlogging risk. If you can find a commercial mix labeled for vegetables or tropical plants, that works as a base too, just amend it with a generous handful of compost per pot.
Avoid garden soil straight from the ground in a container. It compacts badly in pots, drains poorly, and often carries pests or diseases. The small investment in a decent potting mix genuinely makes a difference with this plant.
Feeding your plant
Because you're growing saluyot for leaves, nitrogen is your priority nutrient. Start with a compost-rich mix so there's already slow-release fertility in the soil, then feed every two to three weeks with a balanced liquid fertilizer or one that's slightly higher in nitrogen, like a 10-5-5 or 14-14-14 diluted to half strength. Alternatively, if you have access to organic options like fish emulsion or liquid vermicast tea, those work beautifully and are gentler on the plant. Avoid over-fertilizing with synthetic feeds because saluyot in a pot can burn easily if you go too heavy. Watch the leaves: deep green color means the plant is well fed; pale or yellowing new leaves often signal a nitrogen shortage.
Starting from seed and getting transplanting right
Seeds vs. cuttings
Most home gardeners start saluyot from seed, and it's the easiest approach. Seeds are cheap, widely available in the Philippines and in Filipino grocery stores or online seed shops internationally, and they germinate reliably in warm conditions. If you happen to know someone who already grows saluyot, stem cuttings from a healthy plant also root well, especially in warm, humid weather. Either method works fine in a container setup.
Direct sowing in the pot
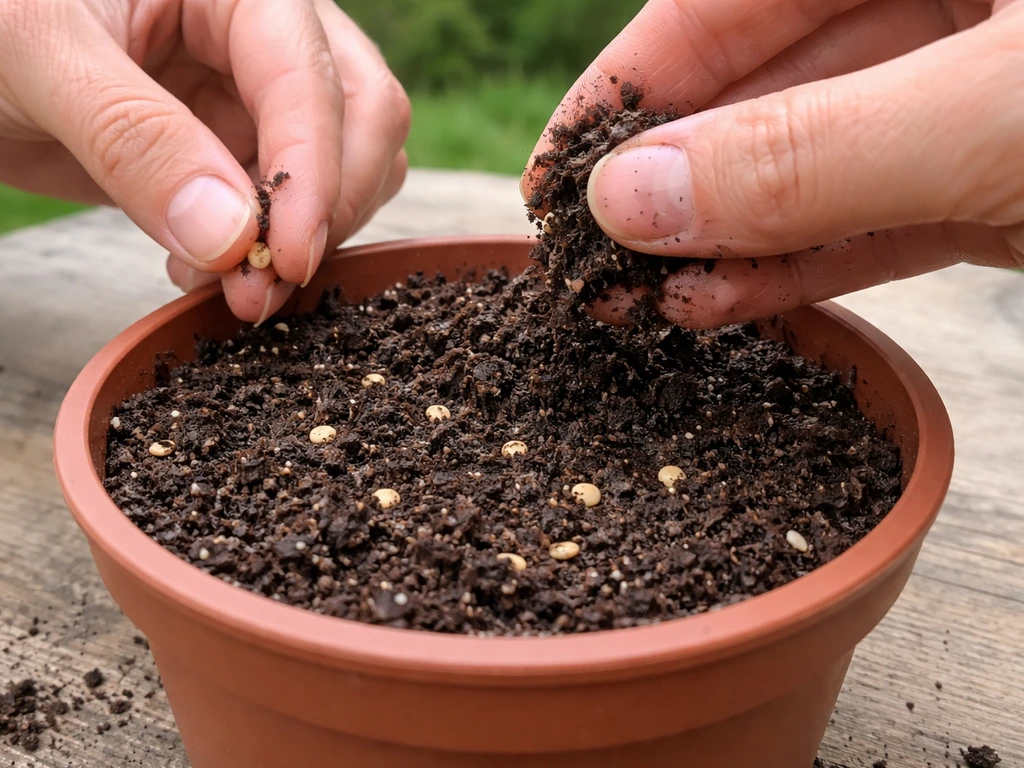
For a container, I prefer direct sowing rather than starting in a seedling tray and transplanting, because saluyot seedlings are delicate and don't love having their roots disturbed. Sow your seeds directly into the final pot at a depth of about 1/4 to 1/2 inch (6 to 12 mm). Scatter three or four seeds per pot if you're using a 12-inch container, then thin to the two strongest seedlings once they're about 2 to 3 inches tall. Just snip the weaker ones at the base with scissors rather than pulling them out, since pulling risks disturbing the roots of the seedlings you want to keep.
If you want to start in seedling trays first, use small cells or peat pots so you can transplant the whole thing without disturbing roots. Move them to their final container when they're about 4 inches tall. Water gently after transplanting and keep the pot in a shadier spot for two to three days while they adjust, then move to full sun.
Spacing for leaf production
If you're using a larger container, say 16 inches or bigger, you can keep two to three plants spaced about 6 inches apart. Crowding plants too close together reduces airflow and leads to more disease problems, so resist the urge to pack the pot. Fewer plants with more space almost always outperforms a crowded pot when you're chasing repeated leaf harvests.
Watering schedule and managing heat, pests, and common problems
How often to water
Saluyot needs consistently moist soil, not wet, not dry. In hot weather (above 35°C), a container can dry out in a single day, so check the soil daily by pushing your finger about an inch into the mix. If it feels dry at that depth, water thoroughly until it runs out the drainage holes. During cooler or cloudier periods, you might only need to water every two to three days. The key is to water deeply when you do water, not just a light sprinkle on the surface. Light watering encourages shallow roots and a plant that wilts every afternoon.
Overwatering is just as common a mistake as underwatering in containers. If the soil feels consistently wet or soggy and the plant looks droopy or yellowing, back off on water and make sure drainage isn't blocked. A pot sitting in a saucer full of standing water is a slow death for saluyot roots.
Heat management
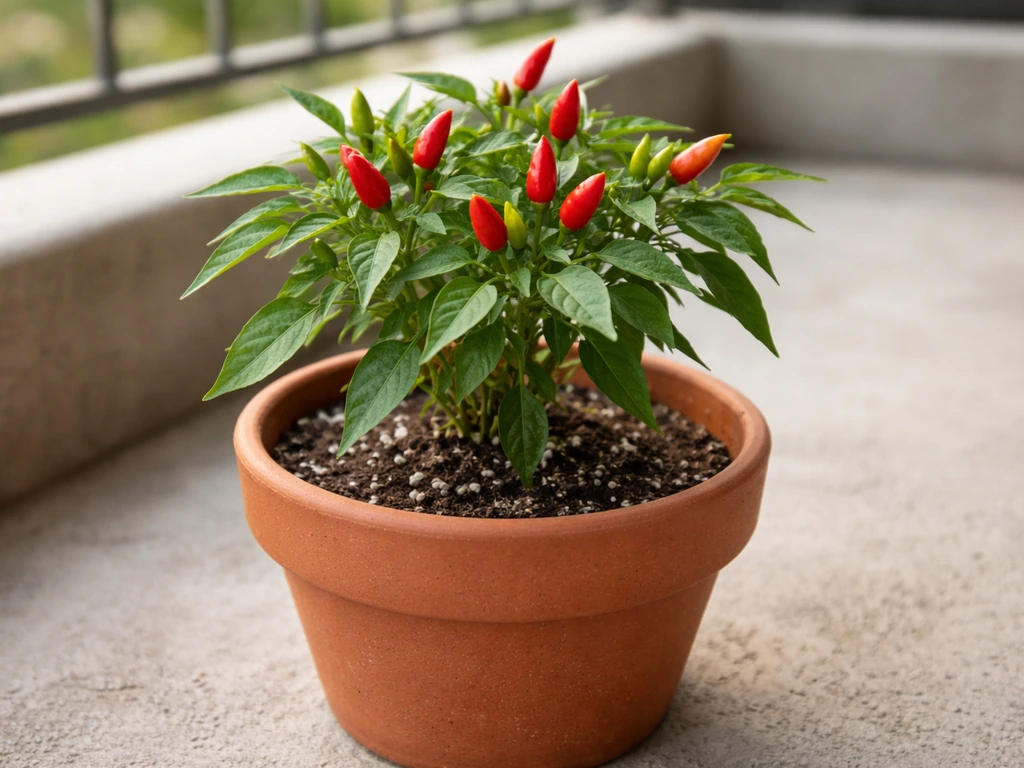
Saluyot genuinely loves heat, so don't worry too much about high temperatures as long as moisture is consistent. One practical tip for very hot days: if your pot is sitting on concrete or a dark surface, it absorbs extra heat through the base and sides, which can cook the roots. Sitting the pot on a wooden board or elevating it slightly on pot feet helps. Alternatively, grouping containers together creates a small humid microclimate that benefits tropical leafy greens like saluyot, sitaw, and siling labuyo. If you want to grow sitaw in pots too, the same ideas about warmth, consistent moisture, and giving climbing plants stable support can help you succeed how to grow sitaw in pots.
Pests and diseases to watch for
In my experience, saluyot is relatively tough compared to more delicate leafy greens, but it's not pest-free. The most common issues in containers are aphids, whiteflies, and caterpillars from leaf-feeding moths. Check the undersides of leaves regularly. For aphids and whiteflies, a diluted neem oil spray (2 to 3 ml per liter of water with a drop of dish soap) applied in the early morning works well and won't harm the plant. For caterpillars, manual removal is the fastest fix on a small container plant. Fungal leaf spots can show up if the pot is too crowded or if you're watering the leaves rather than the base, so aim water at the soil not the foliage.
When and how to harvest saluyot for ongoing regrowth
Your first harvest comes at around 60 to 70 days from sowing. By that point the plant should be well-branched and producing plenty of tender shoot tips. Don't wait for it to flower before harvesting; once saluyot starts flowering it shifts energy away from leaf production. Saluyot is a short-day plant, meaning when day length drops below about 12 hours, it naturally pushes toward flowering. In tropical latitudes this can happen relatively quickly, so harvesting regularly keeps the plant in vegetative mode longer.
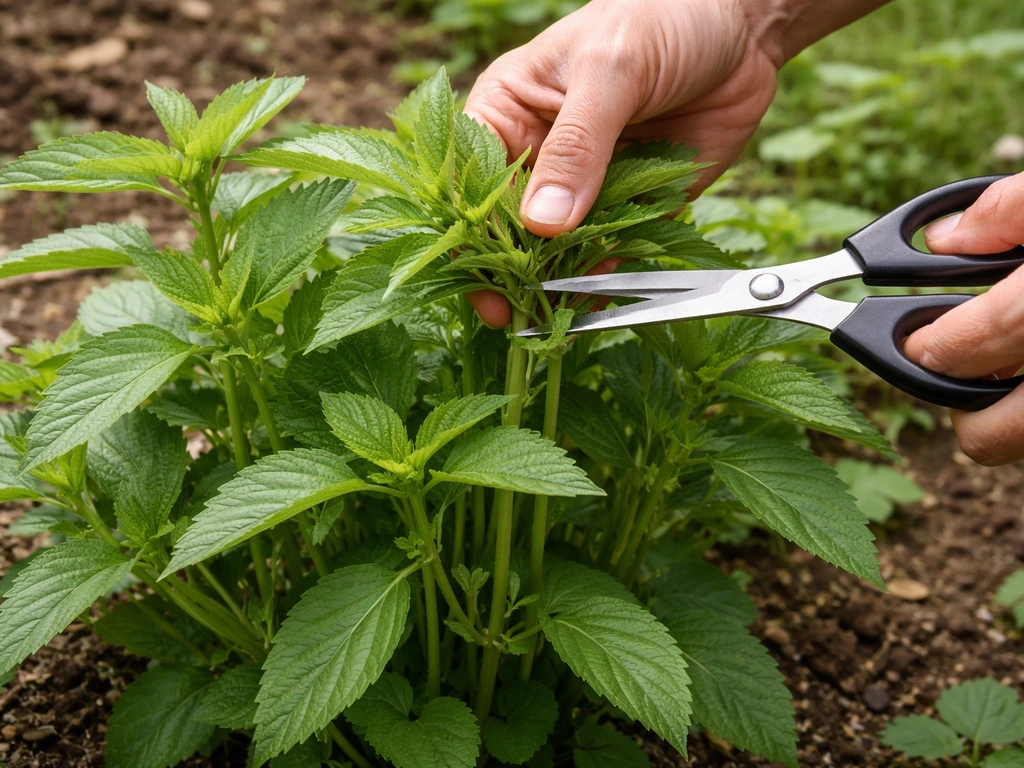
The right way to harvest is to cut the top 4 to 6 inches of each shoot, just above a leaf node (the point where a leaf or branch meets the stem). This is the same approach you'd use with basil or sorrel: cutting above a node signals the plant to push two new shoots from that point, doubling your harvest points over time.
If you’re also looking for the basics of growing sorrel in a pot, the same container principles like consistent moisture and good drainage apply. Don't strip the whole plant bare in one go; leave at least half the foliage so the plant can keep photosynthesizing and recovering. A good rule is to harvest no more than a third of the plant at any one time.
After cutting, give the plant a light feed of liquid fertilizer to fuel the regrowth. You can usually get three to five harvests from a single container planting before the plant becomes too woody or bolts. At that point, start fresh seeds in the same (refreshed) pot.
Troubleshooting the most common container problems
| Problem | Likely Cause | What to Do |
|---|---|---|
| Leggy, stretched stems with small leaves | Not enough direct sunlight | Move the pot to a spot with at least 6 hours of full sun. Pinch back leggy stems to encourage bushier regrowth. |
| Yellowing leaves (older leaves first) | Nitrogen deficiency or overwatering | Check drainage first. If soil isn't waterlogged, feed with a nitrogen-rich liquid fertilizer and recheck in 5 to 7 days. |
| Yellowing leaves (new growth pale) | High soil pH blocking nutrient uptake | Test pH if possible. Amend with a small amount of sulfur or use an acidifying fertilizer to bring pH toward 6.0 to 6.5. |
| Slow, stunted growth | Poor soil, underfeeding, or root-bound conditions | Feed immediately with liquid fertilizer. If roots are circling the bottom of the pot, move to a larger container. |
| Wilting despite watering | Root rot from poor drainage or blocked holes | Check drainage holes. If roots smell musty or look dark and mushy, replant into fresh dry mix and reduce watering. |
| Leaves being eaten with holes | Caterpillars or beetles | Inspect undersides of leaves and remove pests by hand. Apply neem oil spray as a follow-up deterrent. |
Most problems with container saluyot trace back to two things: not enough light and inconsistent watering. If you fix those two, you'll solve 80 percent of the issues beginners run into. Don't be discouraged if your first pot doesn't perform perfectly. Saluyot is a forgiving plant and a fast grower, so even if one batch struggles, you can start a fresh pot within the same season and apply what you learned.
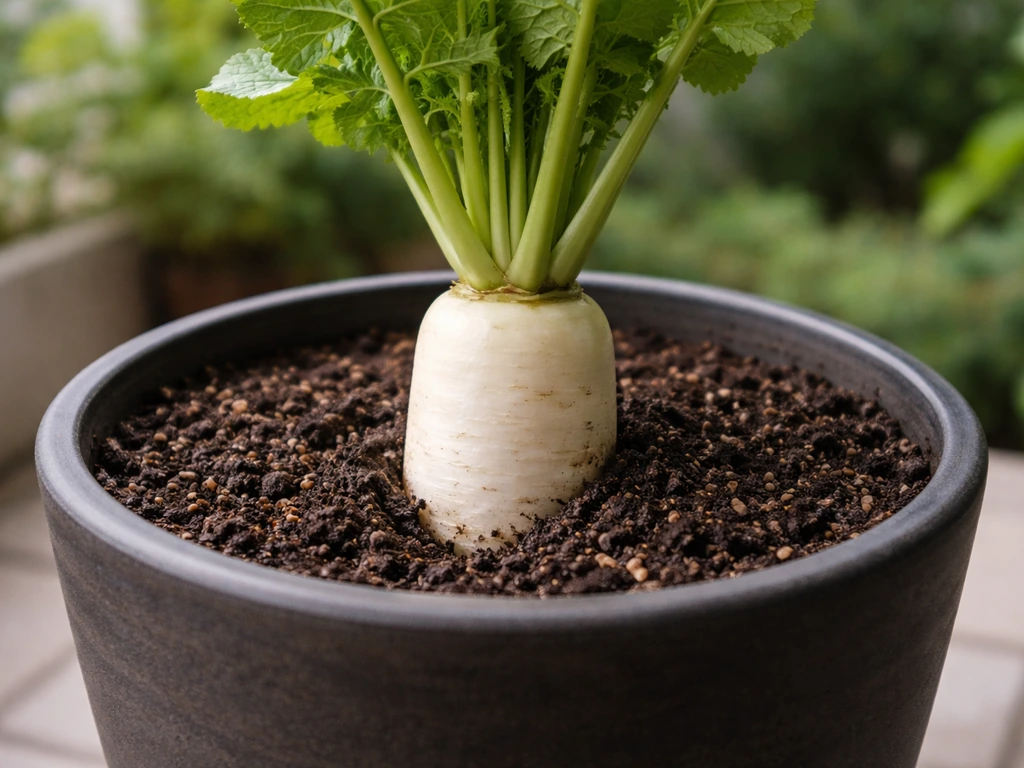
That kind of trial-and-error is genuinely how you get good at container gardening, not just with saluyot but with any crop you decide to grow in a limited space. If you want to specifically nail labanos in pots, the same container setup tips for saluyot can help you start strong. If you are also looking for a similar leafy vine, learn how to grow potol with the right soil, support, and consistent watering Saluyot.
FAQ
What’s the best potting mix to use if my saluyot keeps turning yellow at the tips despite regular watering?
Yellowing can be nutrient imbalance, but in containers it often means the mix is staying too wet and limiting root uptake. Switch to a mix with more drainage (increase perlite or coarse sand), then feed with a slightly nitrogen-leaning fertilizer at half strength every 2 to 3 weeks. Also check that the pot is not sitting in a saucer of water.
How do I know if my saluyot is getting enough light versus not enough warmth?
Low light usually causes leggy, stretched stems and smaller leaves, while cool conditions slow growth and make the plant look sluggish overall. If daytime temperatures are fine but stems are tall and thin, move the pot to the sunniest spot available (aim for 6 to 8 hours of direct sun).
Should I remove flowers if they start forming, or will harvesting alone solve the problem?
Harvesting regularly usually prevents heavy flowering because the plant stays focused on leaf growth. If you see early buds, continue cutting the top shoots back to just above leaf nodes, that repeated tip cutting will typically stop the shift long enough for more harvests.
Can I grow saluyot in a pot indoors near a window?
It can work only if you get strong direct sun for most of the day (not just bright light). If your window provides limited direct rays, plan on using a grow light for daily hours, otherwise you’ll likely get leggy growth and slower leaf production.
How often should I water saluyot in pot during rainy or very humid weather?
Humidity reduces evaporation, so watering frequency usually drops, but soil moisture control still matters. Check soil 1 inch down, water deeply only when that depth feels dry, and ensure drainage holes are clear so the pot never stays soggy.
What’s the safest way to thin seedlings without damaging the strongest ones?
Snip weak seedlings at the base with scissors instead of pulling, this avoids disturbing roots of the remaining plants. Thin once seedlings are about 2 to 3 inches tall so the two strongest have enough space and airflow.
Why do my saluyot leaves have spots after watering?
Leaf spots often happen when water lands on the foliage or when the pot is crowded. Water at the soil line, not the leaves, and space plants so air can circulate. Remove the worst affected leaves to reduce spread.
How can I prevent aphids and whiteflies in a container without heavy insecticides?
Inspect leaf undersides every few days. Start with a neem oil spray early in the morning on a dry, calm day, and repeat as needed. Also avoid over-fertilizing nitrogen too frequently, because very lush growth attracts more sap-feeding pests.
Can I keep the same pot and plants for the next cycle, or should I restart each time?
You can usually continue for multiple harvests, but once growth slows, stems become woody, or plants start bolting, it’s time to restart from fresh seeds. Refreshing the potting mix and cutting back hard may extend the cycle, but complete replacement is more reliable for consistent quality.
Is it okay to harvest more than a third of the plant if I need a lot of greens at once?
It’s risky in containers. Removing more than about one third at a time reduces the plant’s ability to regrow and can trigger stress, slower regrowth, and earlier flowering. If you need a larger batch, harvest from different shoots gradually over a couple of days.