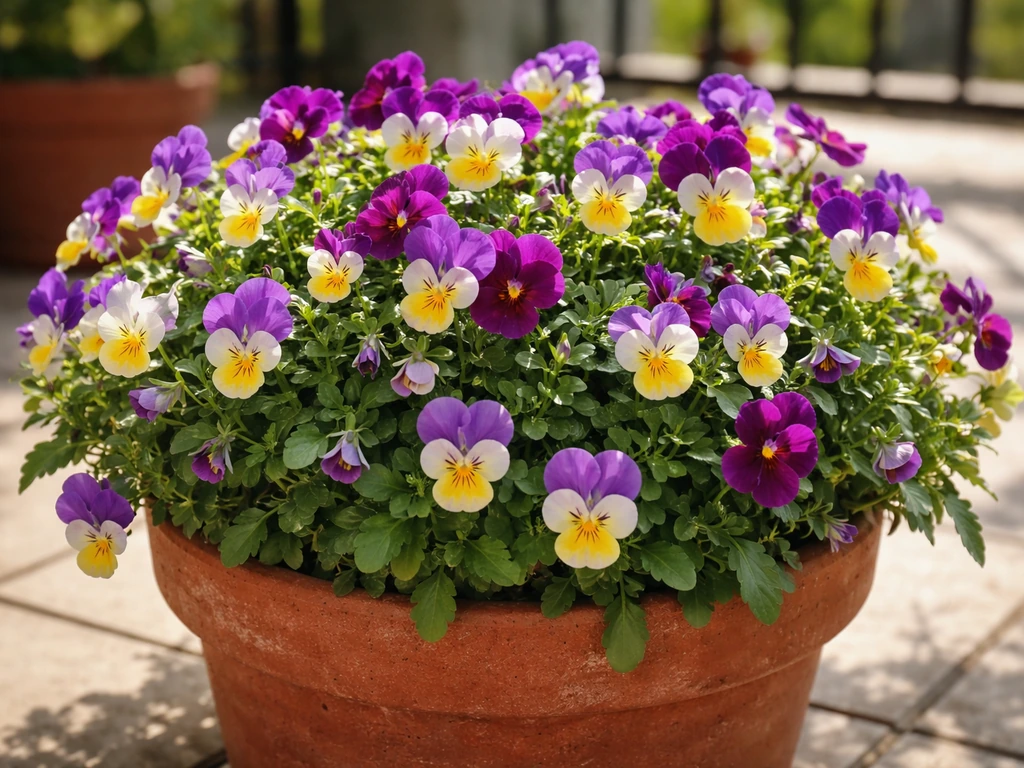
Violas are one of the best flowers you can grow in pots. They're compact, they bloom their hearts out in cool weather, they tolerate light frost, and they look fantastic spilling over the edges of a container on a doorstep or balcony. The trick is understanding that violas are cool-season plants, they thrive in spring and fall, slow down in summer heat, and need a little help from you to keep going strong. Get that rhythm right and a single pot of violas can give you months of color. This guide is focused on violas, but the same pot-growing basics also apply when you learn how to grow ivy in a pot.
How to Grow Violas in Pots: Step-by-Step Container Care

Marcus Whitley
8 Jun 2026
Best viola varieties for containers
Not all violas behave the same way in a pot, and picking the right variety makes a real difference. These are the ones I'd point a beginner toward first.
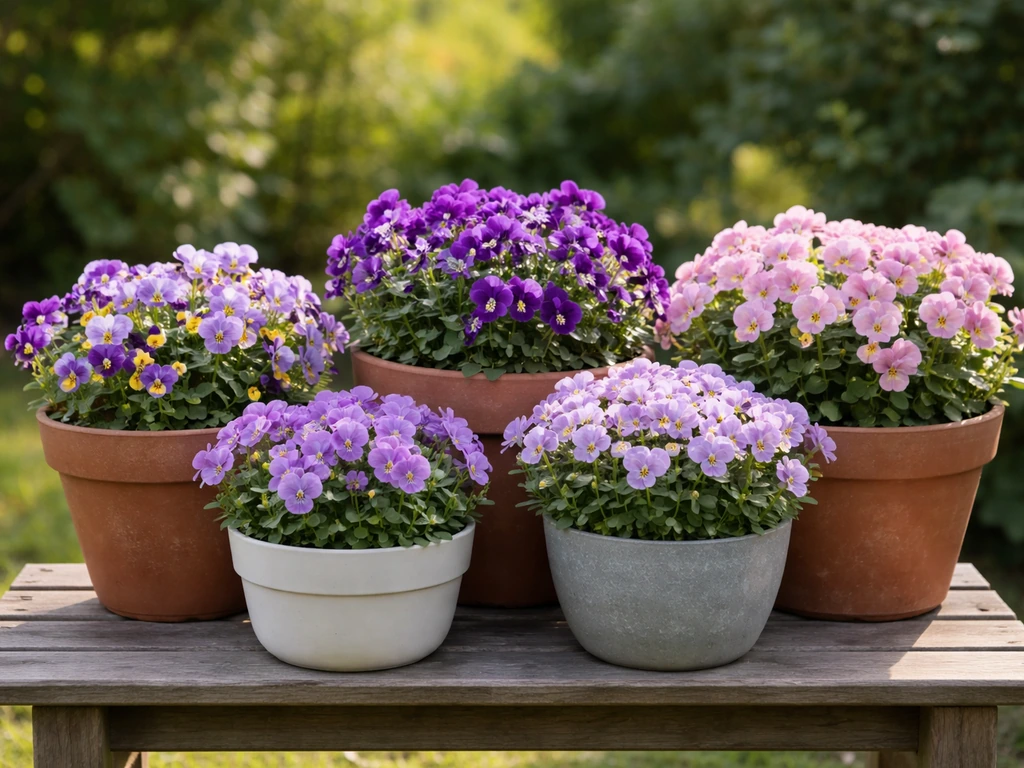
- Sorbet Series: This is probably the most container-friendly viola you can find. Plants stay compact and mound-shaped at around 6 inches tall, produce masses of 1-inch blooms, and the series is specifically noted for excellent heat tolerance compared to most violas. If you're in a warmer climate or want a variety that pushes into late spring without immediately collapsing, Sorbet is the one.
- Cool Wave Series: A viola/pansy hybrid that spreads and trails rather than mounding up—perfect if you want a pot that cascades. It's listed as frost tolerant and can overwinter in USDA Zone 5 and above, which makes it a great pick for a container you want to keep going through a mild winter with just a bit of mulch for protection.
- Matrix Series: Positioned as having superior heat tolerance and vigorous growth, Matrix varieties are explicitly suited for containers. Good choice if you live somewhere that warms up fast in spring and you want a little extra runway before the heat shuts things down.
- Classic small-flowered violas (Viola cornuta types): These tend to be more cold-hardy and are often more floriferous than the big-faced pansies. They're a fantastic choice for autumn and early spring containers.
A word on pansies: pansies and violas are closely related, and most of this guide applies to both. Pansies have larger flowers but violas generally have better cold tolerance and bloom more freely. If you're choosing between them for a pot, violas usually give you more bang for your buck across a longer season.
Choosing the right pot and where to put it
Pot size and material
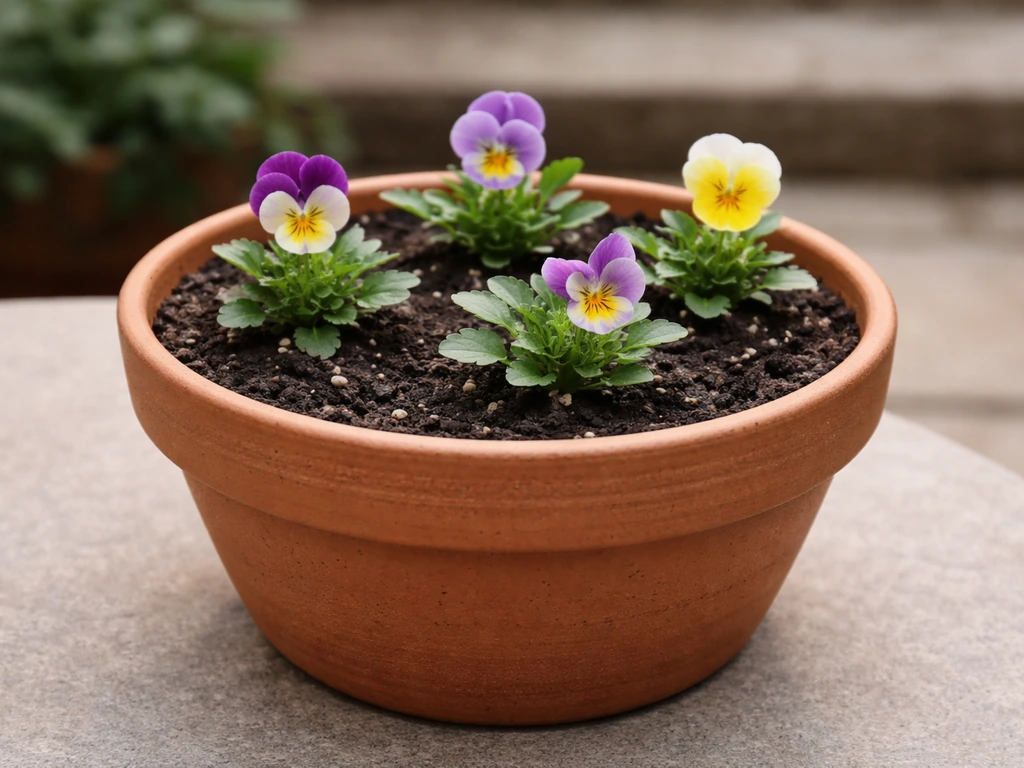
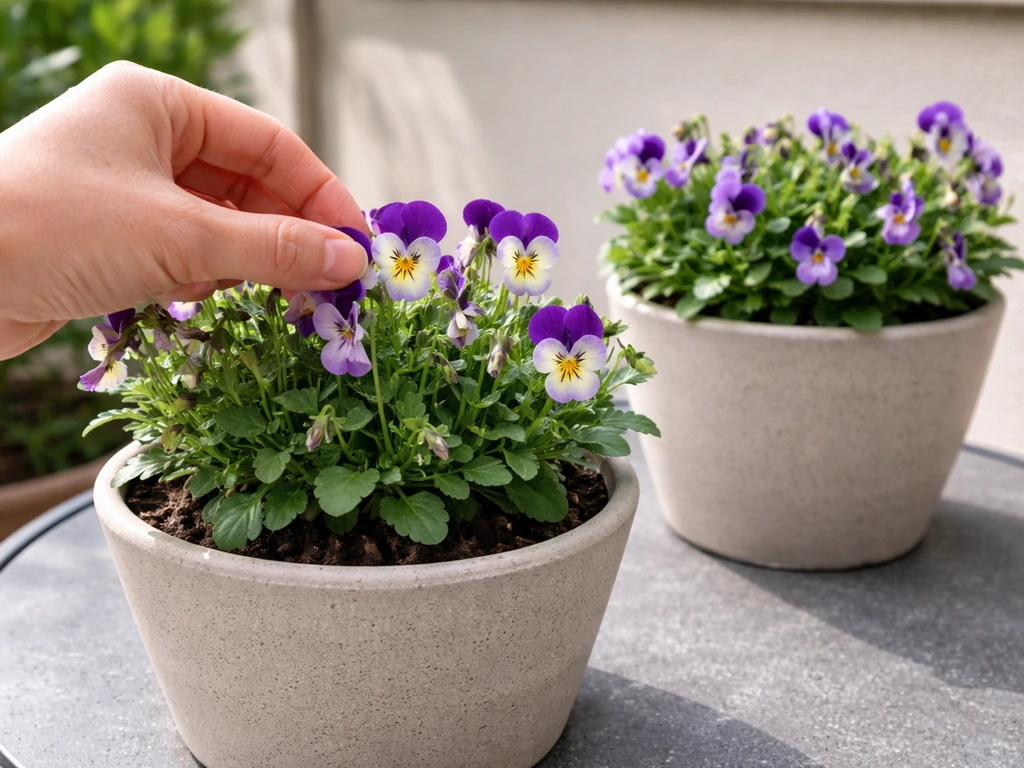
A pot that's at least 6 to 8 inches deep and 8 to 12 inches wide is the sweet spot for a small planting of three to five violas. If you want a fuller, showier display, go wider, a 12 to 16 inch pot lets you plant more densely and still leave room for roots to breathe. Drainage holes are non-negotiable. Violas sitting in waterlogged soil will rot at the crown and roots, and no amount of care will save them once that starts. Terracotta pots are great because they breathe and dry out more evenly, but any material works as long as water can escape freely.
Sun, shade, and seasonal placement
In spring and fall, violas want as much sun as you can give them, ideally 6 to 8 hours of direct sunlight per day for the strongest bloom. Full sun in cool weather is where they absolutely shine. As temperatures start climbing toward summer, that changes. Hot afternoon sun will stress violas quickly and can cause them to 'melt away,' stopping blooming and wilting even when the soil is moist.
One of the best things about growing violas in pots is that you can actually move them. Vinca can be grown in pots too, as long as you provide well-draining soil and consistent moisture how to grow vinca in pots. When daytime temperatures push above 75-80°F consistently, shift the pot to a spot that gets morning sun but is shaded from hot afternoon rays. This simple move can extend your flowering season by weeks. In winter, the opposite applies, tuck the pot somewhere it still gets light but is sheltered from hard frost and driving wind.
Getting the soil mix right
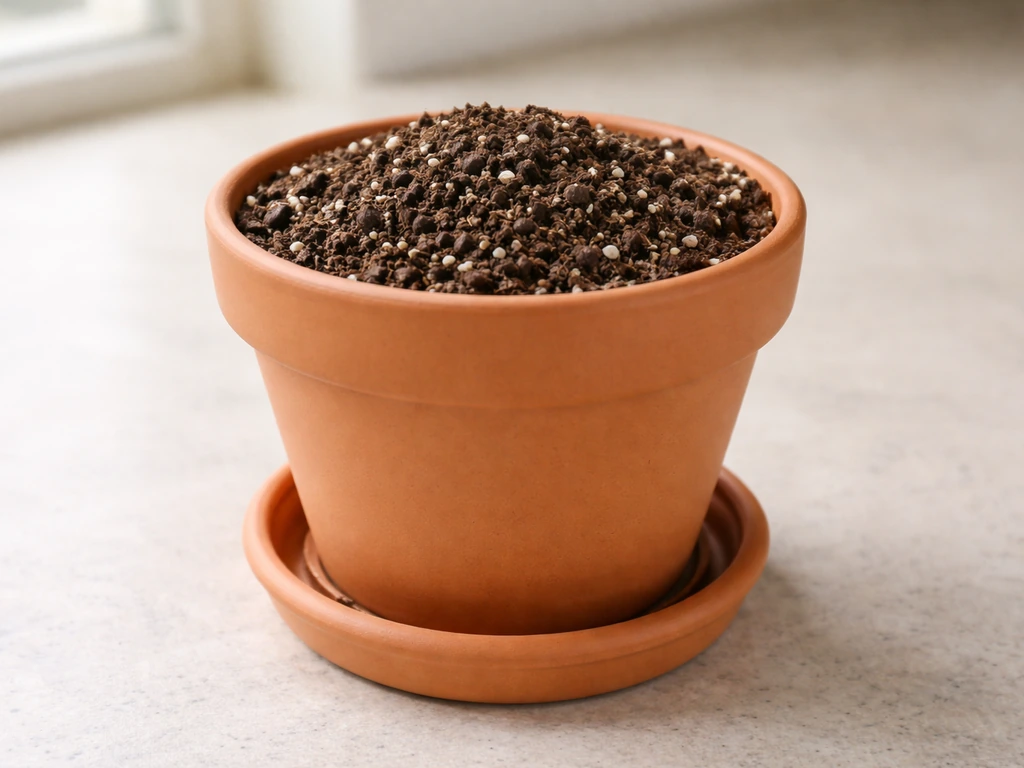
Regular garden soil doesn't belong in a pot. It compacts, drains poorly, and will cause exactly the kind of soggy conditions that kill violas. Use a quality commercial potting mix as your base, and then improve it a little. A good starting blend for violas looks like this: about 60-70% quality potting mix (peat or coir-based), 20-30% perlite for drainage and air pockets, and up to 15-20% compost for nutrients. Don't go overboard on compost, more than about 40% of your mix can introduce pH and drainage problems you don't need.
Soil pH matters more than most beginners realize. Violas prefer a slightly acidic to neutral pH. Most sources point to somewhere in the 5.5 to 7.0 range, with 6.0 to 6.5 being a reliable middle ground for healthy growth and good nutrient uptake. Most quality potting mixes fall in this range already, so if you're buying a decent branded mix and using it fresh, you're probably fine without testing.
When setting up your container, add a layer of potting mix before placing plants so roots sit at the right depth, the crown of each plant (where the stem meets the roots) should sit at roughly the same level as the soil surface, not buried. Fill in around plants firmly but gently, water thoroughly to settle the mix, and top up with more mix if it sinks significantly.
Starting from seed vs. buying transplants
Both work, and the right choice depends on your time and patience. Starting from seed is cheaper and gives you more variety options, but it takes planning. Sow seeds indoors 7 to 9 weeks before your intended planting-out date. For a spring display, that means starting seeds in late winter. Seeds need cool, moist conditions to germinate well, a temperature around 65-70°F works. Once seedlings are established and the risk of hard frost has passed (or if you're planting in fall), they're ready to go into pots.
For most beginners, buying transplants from a nursery is genuinely easier and totally worth it. You skip the germination stage and get plants that are already a few weeks ahead. In cooler climates, transplant violas into pots in early spring as soon as the ground isn't frozen. In warmer climates (like the Gulf South), the transplant window is typically October through February, you're essentially growing them as a cool-season annual that does its thing over winter and early spring.
In the LSU AgCenter Sorbet-series culture sheet, transplanting is recommended “October through February,” preferably where plants receive “at least four to six hours of sunlight for ideal bloom,” and it notes that “6. 5-7. 0 is considered ideal” for soil pH [transplant window is typically October through February](https://www. lsuagcenter.
com/~/media/system/4/8/b/2/48b293e9bec00cfc8ae8c4fa9cc1d9af/p3707ccsuperplantsorbetviolasrh323pdf. pdf).
For spacing, plant violas 6 to 9 inches apart. In containers, you can push the tighter end of that range (6 inches) for a fuller, lusher look, just make sure the pot is big enough that roots aren't completely crammed. Three plants in a 10-inch pot, or five to six in a 14-inch pot, works well.
Watering and feeding your potted violas
Watering routine
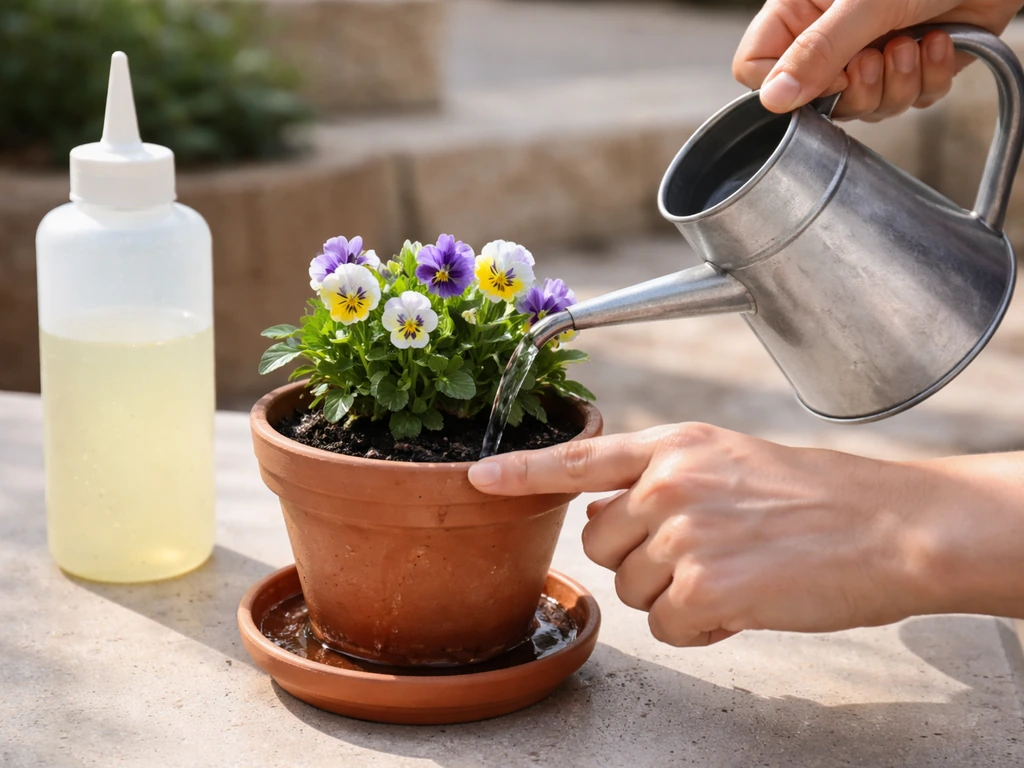
The number one mistake with violas in pots is inconsistent watering, either letting them dry out completely or keeping them waterlogged. Aim for moderate, consistent moisture. Check the top inch of soil: if it's dry, water. If it's still damp, wait. In cool spring weather you might water every 2 to 3 days; in warmer or windier conditions, daily watering may be needed because pots dry out fast. Always water at the base of the plant rather than over the foliage, which helps prevent the gray mold (Botrytis) that loves wet leaves. And always let excess water drain freely, never let your pot sit in a saucer full of water.
If your viola looks wilted and droopy, don't automatically reach for the watering can. Check the soil first. Wilting can be a sign of overwatering just as much as underwatering, and if roots are already rotting from being too wet, adding more water makes things dramatically worse.
Fertilizing schedule
Potted violas need regular feeding because watering constantly flushes nutrients out of the container. Use a balanced, water-soluble fertilizer (something like a 10-10-10 or 20-20-20 mix) and apply it every one to two weeks during the active growing and blooming season. Some growers prefer applying at half strength every week rather than full strength every two weeks, both approaches work and the more frequent, lighter feeding can actually be gentler and more consistent. Skip or reduce feeding during the hottest weeks when violas aren't actively growing, and pick it back up when temperatures cool and blooming resumes.
Light, temperature, and protecting violas from stress
Violas are genuinely cold-tolerant, most varieties handle light frost and some, like Cool Wave, can overwinter with minimal protection through Zone 5. But they draw the line at sustained hard freezes. If a serious cold snap is coming, move your pot to a sheltered spot, up against a wall or inside an unheated garage overnight. A layer of horticultural fleece over the pot works too.
Heat is the bigger enemy for most gardeners. Violas stop blooming and can die back quickly when temperatures consistently exceed the mid-70s Fahrenheit. This isn't a failure on your part, it's just their nature. The strategies that help most: move pots to afternoon shade as temperatures rise, water more frequently to keep the root zone from baking, and consider whether it's worth trying to carry plants through summer at all. In many climates, the honest advice is to treat violas as a two-season plant (spring and fall), remove them in summer when they're struggling, and replant fresh in early fall. Heat-tolerant varieties like Sorbet and Matrix buy you extra time, but no viola loves a hot summer.
Wind matters more in containers than in the ground because pots dry out so much faster when it's breezy. A wind-exposed balcony or rooftop can stress violas quickly. Either choose a more sheltered spot or plan to water more often and check soil moisture daily.
Keeping violas blooming: deadheading, pruning, and troubleshooting
Deadheading and pruning
Deadheading, removing spent flowers before they set seed, is the single most effective thing you can do to keep violas blooming. Once a plant puts energy into making seeds, it slows down flower production. Get into the habit of pinching or snipping off faded blooms every few days. It takes about two minutes and makes a noticeable difference in how long and how heavily your plants flower.
If your violas get leggy (long, floppy stems with fewer flowers), don't be afraid to cut them back by about a third. This is especially useful in mid-spring when plants have been growing for a while. A hard-ish trim, followed by a good watering and feed, will usually push a fresh flush of compact growth and new blooms within a couple of weeks.
Common pests and diseases in containers
Aphids are probably the most common pest you'll encounter on potted violas. They cluster on new growth and under leaves, and you'll often notice a sticky residue (called honeydew) on the foliage or a sooty black mold growing on it. A strong spray of water knocks them off, or use insecticidal soap if they keep coming back. Because containers are isolated from the ground, aphid problems are usually easier to manage in pots than in garden beds.
Gray mold (Botrytis) shows up as fuzzy gray patches on leaves and flowers, usually in cool, damp, still conditions. Prevent it by watering at the base, ensuring good airflow around your pot, and removing dead or dying plant material promptly. Powdery mildew appears as a white powdery coating on leaves and is also linked to poor air circulation. Both improve with better air movement and drier foliage.
Root and crown rot is the disease that kills the most potted violas, and it almost always comes down to drainage and overwatering. Symptoms include wilting that doesn't respond to watering, yellowing leaves, and blackened or mushy stems at the base. By the time you see these symptoms clearly, the damage is often severe. The fix is almost always the same: better drainage from the start, pots with good holes, and a lighter hand with the watering can. If a plant is already badly affected, it's usually better to pull it, clean the pot thoroughly, and start fresh with new mix.
Quick troubleshooting guide
| Problem | Likely Cause | What to Do |
|---|---|---|
| Violas stop blooming in late spring | Heat stress | Move pot to afternoon shade, water more frequently, consider replacing with heat-tolerant variety |
| Leggy, floppy stems with few flowers | Age or insufficient light | Cut back by a third, feed with balanced fertilizer, move to a sunnier spot |
| Wilting despite moist soil | Root or crown rot from overwatering | Check drainage, reduce watering, inspect roots—remove and repot if rot is present |
| Sticky residue or sooty mold on leaves | Aphid infestation | Spray off with water or treat with insecticidal soap |
| Fuzzy gray patches on flowers or leaves | Botrytis (gray mold) | Improve airflow, water at soil level, remove affected material |
| Yellow leaves, slow growth | Nutrient deficiency or pH issue | Feed with balanced water-soluble fertilizer; check potting mix is fresh and appropriate |
Your next steps
If it's currently spring or early fall where you are, you're in the ideal window to get violas into pots right now. Pick up a few transplants of a compact variety like Sorbet, grab a bag of quality potting mix and some perlite, choose a pot with good drainage holes, and plant them up in a sunny spot. Water them in well and deadhead every few days. That's genuinely all it takes to get started. If you want step-by-step guidance beyond getting started, this is where you can learn how to grow violets in a pot.
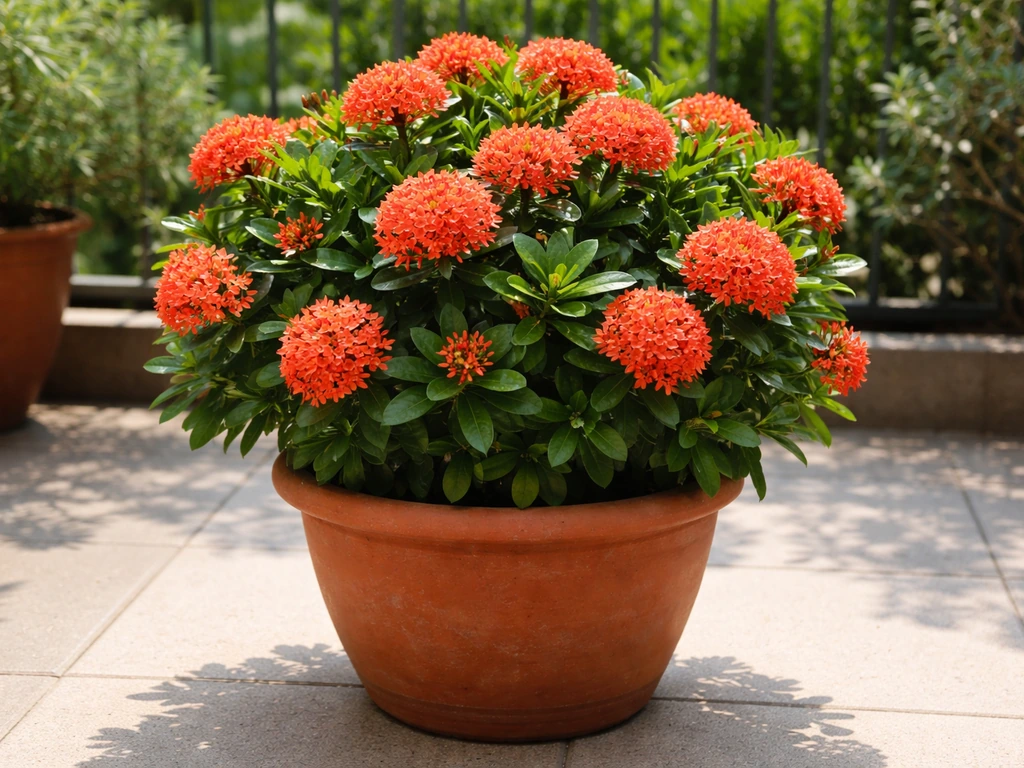
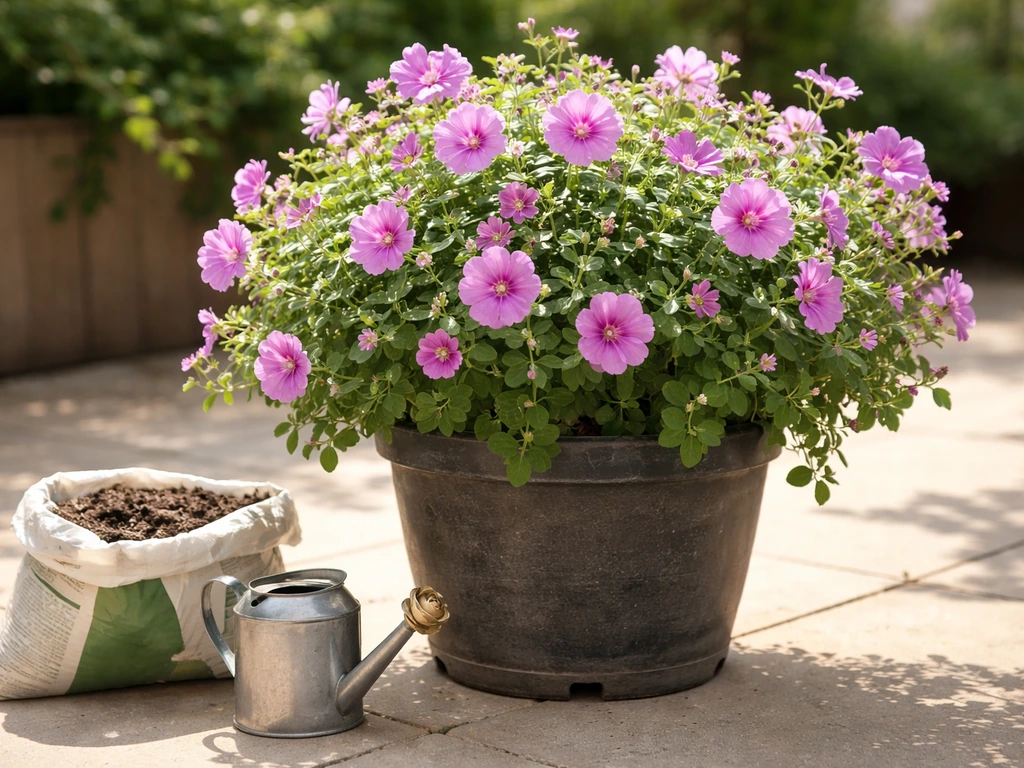
Ixora is a great option for container growing too, but you’ll need warmer temperatures and consistent feeding to keep it flowering grow ixora in pots. You can use the same general container approach for lavatera, including choosing a pot with great drainage and giving it the right amount of sun. If you're also curious how to grow vinca in pots, the key is giving it bright light, well-draining soil, and watering only when the top layer dries.
If you want a step-by-step refresher, follow our full guide on how to grow violets in a pot. Mandevilla can also thrive in containers if you provide a warm, sunny spot, fast-draining potting mix, and regular watering and feeding throughout the growing season how to grow mandevilla in pots.
Once you've got a season under your belt, you'll have a good feel for how your specific setup and climate affect them, and you'll know exactly when to move them, trim them back, or push them harder with fertilizer. Violas are forgiving enough for beginners but rewarding enough to keep growing once you know what you're doing.
FAQ
How many viola plants can I fit in one pot without them getting too crowded?
Use the spacing you want as a guide, 6 to 9 inches between plants. If you want a tighter, fuller look, fill toward the 6-inch end, but keep the pot wide enough for at least three plants in about a 10-inch container and five to six plants in about a 14-inch container, also make sure roots have room so the soil dries evenly.
Should I deadhead violas in pots even if they keep flowering on their own?
Yes. Even if you still see blooms, removing faded flowers before seed forms usually keeps the plant in flower mode longer. A quick snip every few days is more effective than waiting until the plant looks messy, because seed-setting can slow new bud production.
What’s the best way to water violas in a pot during windy weather?
Check the top inch daily in wind, and water thoroughly when it feels dry at that depth. Wind accelerates drying, so a pot can look slightly dry on top while staying wet deeper down, aim for consistent moisture rather than frequent light splashes, and always let runoff escape.
Why do my violas wilt but the soil still looks moist?
That pattern often points to crown or root rot, not thirst. If stems at the base look blackened or leaves turn yellow while the medium stays wet, hold off on watering, improve drainage, and consider repotting into fresh mix if the plant is already clearly deteriorating.
Can I use compost or garden soil in my viola pot mix?
You can add compost, but keep it modest. Garden soil should be avoided because it compacts and holds water too long in containers. If you mix compost into potting mix, don’t exceed roughly 40% of the total mix, and prioritize perlite for air pockets and drainage.
Do violas need to be fertilized year-round in pots?
No. Feed during active growth and bloom in cool seasons, then ease off when temperatures spike and flowering slows. A practical approach is to continue every 1 to 2 weeks (or half-strength weekly) while you see new growth, then pause or reduce during the hottest stretches and restart when growth picks back up.
What fertilizer should I choose for violas in containers, and how do I apply it safely?
Use a balanced water-soluble fertilizer and dilute it according to the label. Because pots hold limited nutrients and also don’t buffer salts well, avoid overfeeding, water the plant first if the pot is very dry, then apply fertilizer solution, and flush with plain water occasionally if you see crusting on the soil surface.
How can I prevent gray mold and mildew in my viola pot?
Keep foliage drier by watering at the base, and improve airflow by not crowding plants. Remove spent blooms and any dead or damaged leaves promptly, and avoid leaving the pot in a consistently damp spot where water lingers on leaves.
My violas are getting leggy. Should I just pinch tips, or cut them back?
Pinching helps, but a cutback works better when growth is clearly stretched. If stems are long and you have fewer flowers, trim back by about a third, then water and feed afterward to encourage a compact flush within a couple of weeks.
Can I overwinter violas in pots if I’m in a colder zone?
Often yes with protection. Move the pot to a sheltered location, use horticultural fleece over the pot for severe cold snaps, and avoid waterlogging by keeping drainage unobstructed. If winters are very wet as well as cold, prioritize insulating while still preventing the medium from staying soggy.
Should I bring my viola pot inside during winter storms?
Only if it stays cold and dry enough to avoid constant dampness and low light stress. In many cases, sheltering outdoors (against a wall, under an overhang, or in an unheated garage) is better than bringing plants into a warm interior where growth slows, stretching increases, and watering needs change.
What’s the fastest way to rescue aphids on potted violas?
Start with a strong water spray to dislodge clusters, especially on new growth. If they return, use insecticidal soap and repeat as needed, and check underneath leaves, sticky honeydew can attract sooty mold, so quick action reduces secondary problems.
If one plant in a viola pot dies of rot, should I throw everything out?
If rot is confirmed or you see crown/base mushiness, it’s safer to remove affected plants promptly. Clean the pot thoroughly, discard old mix, and replant with fresh potting mix and perlite, since pathogens can persist in reused soil and the problem often spreads through consistently wet conditions.