Growing a flower in a pot is genuinely one of the easiest ways to start gardening, and you do not need a yard, a greenhouse, or any prior experience. Pick the right container, use decent potting mix, choose a flower that suits your light conditions, water consistently, and you will have blooms. That is the whole game. Everything below is just the detail that makes each of those steps go smoothly.
How to Grow a Flower in a Pot: Step-by-Step Care

Marcus Whitley
17 Apr 2026
Choosing the right pot and location
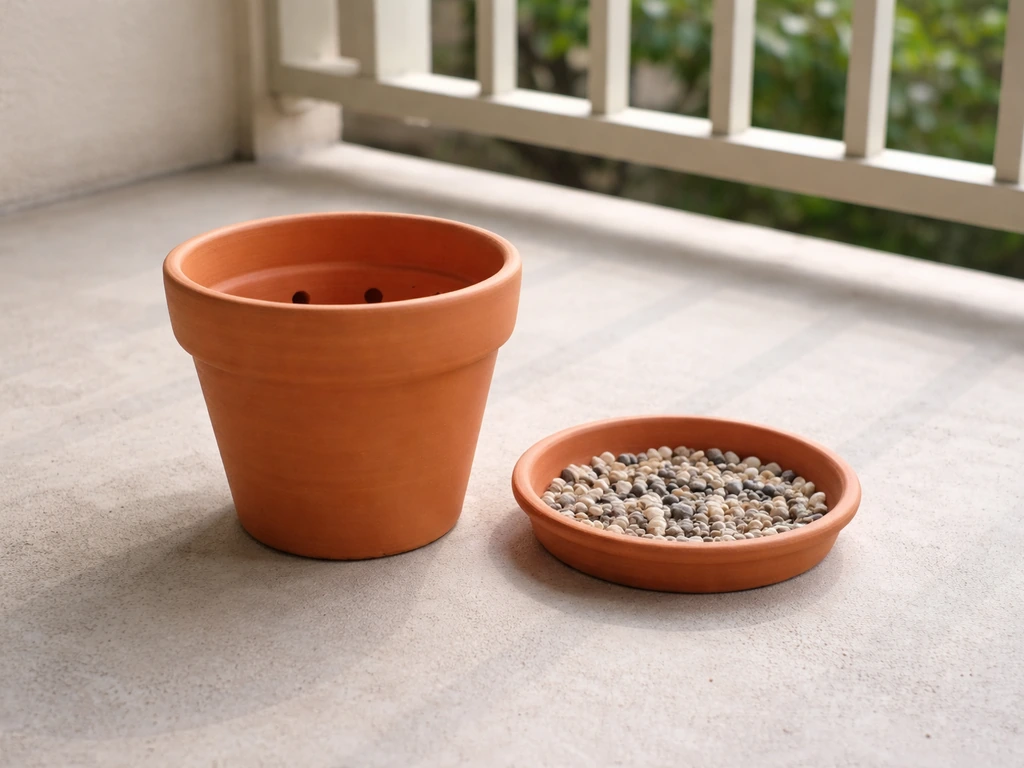
The single most important thing a pot must do is drain. If water sits at the bottom of your container, roots rot and the plant dies, full stop. Every pot you use needs drainage holes, and those holes need to be large enough that soil does not completely clog them over time. If you have fallen in love with a decorative pot that has no holes, do not drill it and hope for the best. Instead, plant into a practical pot with drainage holes and simply slip it inside the decorative one. You get the look without sacrificing drainage.
Size matters more than most beginners expect. A container that is too small restricts root growth, dries out in hours on a warm day, and limits how big your plant can get. As a general rule, choose a container that is slightly larger than the combined root ball of all the plants going into it, giving roots a bit of breathing room without leaving so much empty soil that it stays waterlogged. Anything 8 inches in diameter or smaller is really only suitable for dwarf or compact varieties. For most garden flowers, a 10 to 14 inch pot is a solid starting point.
Material affects how often you water. Terracotta and unglazed ceramic pots are porous, which means they breathe well but dry out faster, so you will water more often. Plastic and glazed ceramic hold moisture longer, which can be helpful in hot weather but risky if you tend to overwater. If you are in a colder climate and want to leave pots outside through winter, be aware that unglazed ceramic can crack with freeze-thaw cycles, so plan to bring those indoors once temperatures drop. For year-round outdoor containers in Zones 1 through 7, aim for pots that are at least 12 inches in diameter, and preferably over 16 inches, so the soil mass insulates roots against hard freezes.
Fabric grow bags are another option worth considering, especially if root health is a concern. Getting the right container size and type is a decision that pays off the entire season, and grow bags in particular allow water to escape from the sides as well as the bottom, which dramatically reduces the risk of waterlogging and root rot compared to standard pots.
Location is the other half of this decision. Before you buy a single pot, observe where you actually have space and how much direct sun that spot gets. Most flowering plants need at least 6 hours of direct sunlight per day to bloom well. A balcony that faces south or west is usually ideal. A north-facing windowsill will struggle with most traditional flowers. Be honest with yourself about this upfront, because it shapes every plant choice you make next.
Picking flowers that suit containers
Not every flower thrives in a pot, but a large number of them do beautifully. The key is matching the plant to your light, pot size, and how much attention you can realistically give. If you are new to this, start with flowers that are forgiving and have a long bloom season rather than something finicky that needs perfect conditions.
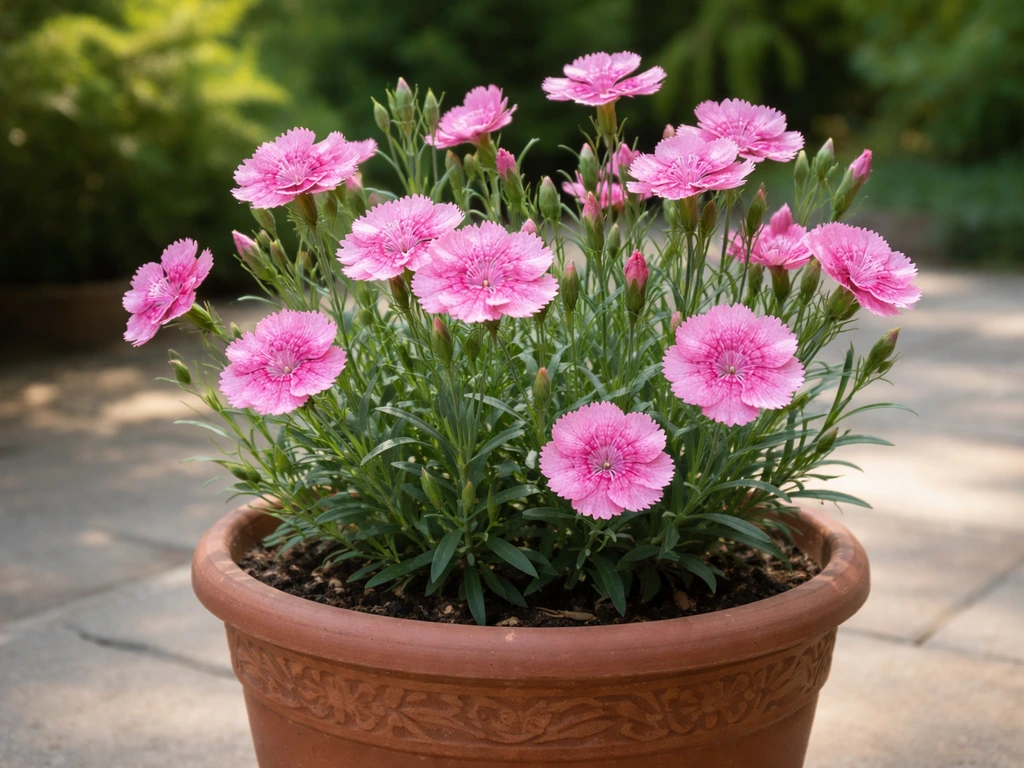
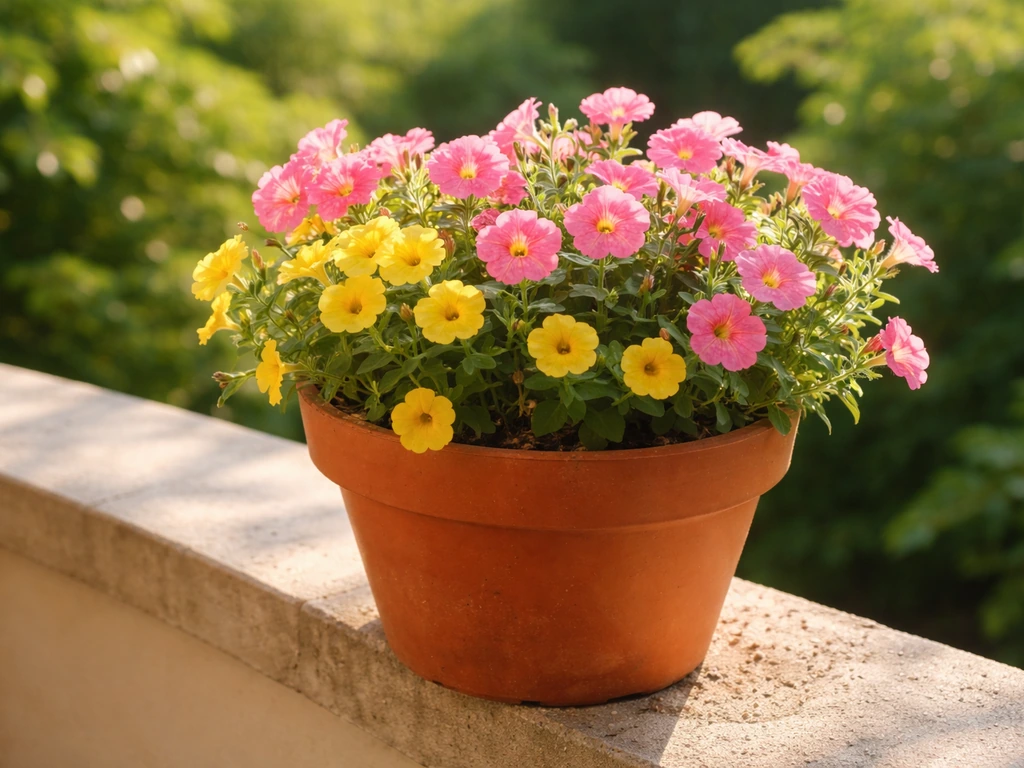
For sunny spots, marigolds, petunias, geraniums, calibrachoa, and zinnias are about as reliable as it gets in containers. They are heat tolerant, bloom prolifically, and bounce back from a missed watering or two. For part shade, impatiens, begonias, fuchsias, and pansies are excellent choices. If you want something with a bit more personality, carnations are surprisingly well-suited to pot growing and produce fragrant blooms over a long season when given full sun and good drainage.
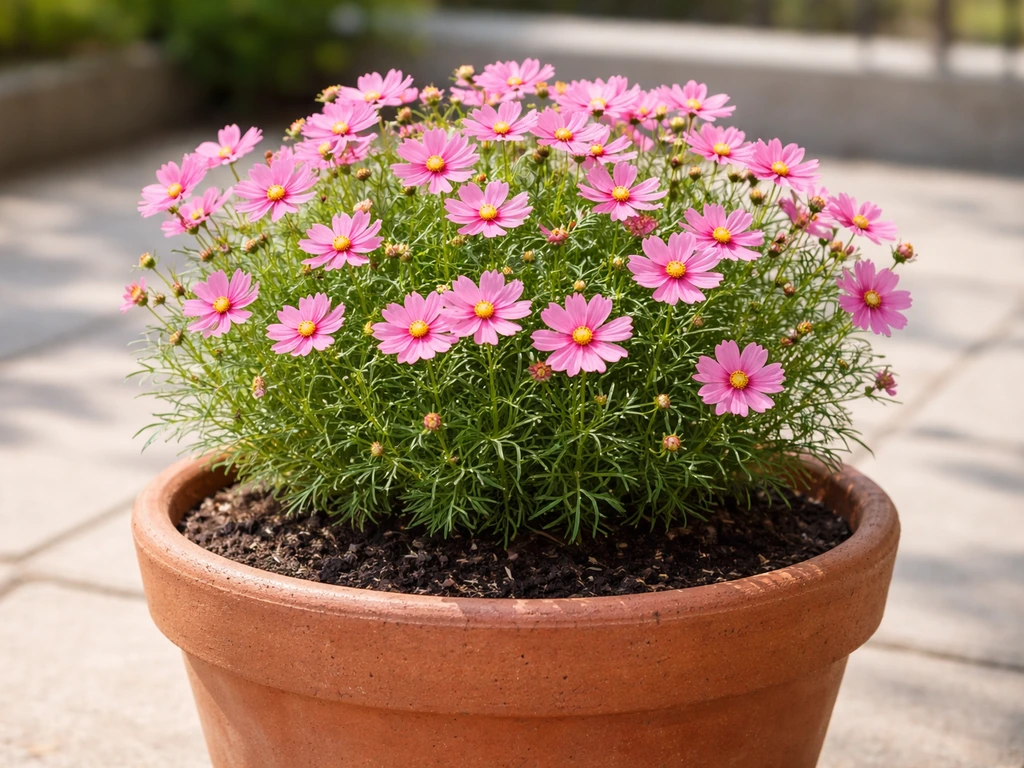
If you want to grow from seed rather than buying transplants, some flowers are much easier to direct sow into pots than others. Nasturtiums, sunflowers (dwarf varieties), cosmos, and sweet alyssum all germinate reliably and grow quickly. For a broader look at which varieties perform best when started from seed in containers, the best flowers to grow from seed in pots is a great place to dig deeper into your options before you shop.
When mixing multiple flowers in one pot, combine plants with similar light and water needs. A drought-tolerant succulent-type flower paired with a thirsty impatiens will always leave one of them unhappy. Stick to compatible companions and you will save yourself a lot of frustration.
Soil, potting mix, and drainage setup
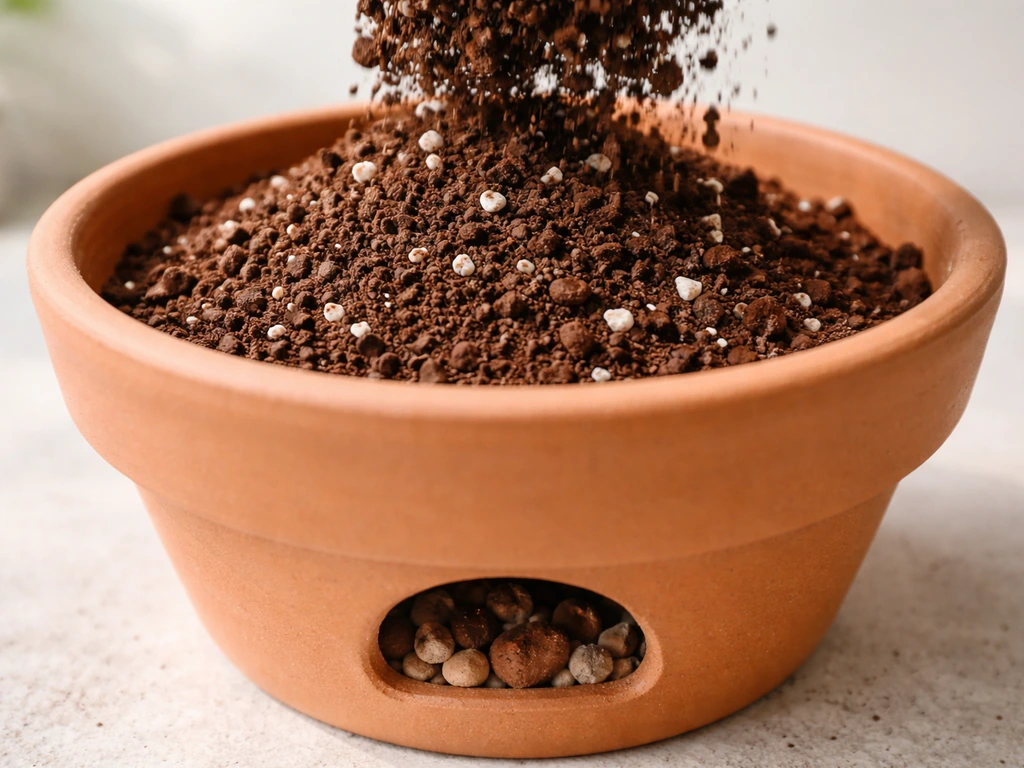
Do not use garden soil in pots. I know it seems wasteful to buy soil when you have perfectly good dirt outside, but garden soil compacts in containers, drains poorly, and often introduces pests and diseases. A quality potting mix is formulated specifically to stay loose and airy in confined spaces, allowing roots to breathe and water to move through properly.
Look for a potting mix that contains perlite or vermiculite, which are those little white bits that improve drainage and aeration. For drainage, Oregon State University Extension advises using a potting soil that contains perlite or vermiculite, and it also recommends watering thoroughly so water comes out the bottom potting mix that contains perlite or vermiculite. For most flowering plants, a general-purpose potting mix works well. If you are growing Mediterranean-style flowers like lavender or carnations that prefer drier conditions, mix in some extra perlite or coarse sand at about a 20 to 30 percent ratio. For moisture-loving flowers like impatiens, a standard mix without amendment is fine.
Before you fill the pot, place a piece of mesh, a coffee filter, or a broken pot shard over the drainage holes. This keeps soil from washing out while still letting water escape freely. Then fill the pot to about an inch or two below the rim so water does not run off the surface before it soaks in. That gap also gives you room to water without splashing soil everywhere.
Some gardeners add a layer of gravel at the bottom of the pot thinking it improves drainage, but research actually shows this creates a perched water table that can keep the lower soil zone wetter than you want. Skip the gravel layer and just use a well-draining potting mix throughout.
Step-by-step planting in containers
Whether you are planting transplants (seedlings you bought at a garden center) or starting from seed, the process is straightforward. Here is how to do both.
Planting transplants

- Water your transplants thoroughly a few hours before planting. Dry root balls are harder to work with and more prone to transplant shock.
- Fill your pot about halfway with potting mix, then gently remove each plant from its nursery container by squeezing the sides and tipping it out.
- Loosen any tightly wound roots with your fingers. This encourages them to grow outward into the new soil rather than continuing to circle.
- Place the plant in the pot so the top of its root ball sits about an inch below the rim of the container.
- Fill in around the root ball with more potting mix, pressing lightly to eliminate large air pockets. Do not pack it down hard.
- Water thoroughly until water flows freely from the drainage holes. This settles the soil around the roots and removes any remaining air gaps.
- Place the pot in its intended spot and check on it daily for the first week while it establishes.
Starting from seed
Starting flowers from seed in pots is very satisfying and usually much cheaper than buying transplants. The key rules are: do not plant too deep, keep the soil consistently moist (not soggy) until germination, and give seedlings plenty of light once they sprout. For planting depth, a reliable rule of thumb is to plant a seed to a depth of about twice its own diameter. A tiny petunia seed barely gets covered with a dusting of soil, while a larger nasturtium seed goes in about half an inch deep. For a full walkthrough of the seed-starting process in containers, check out this detailed guide on how to grow seeds in a pot.
Once seedlings have two to three sets of true leaves, thin them so the strongest plants have enough space. It feels brutal to pull out seedlings you just grew, but overcrowding leads to weak, spindly plants that compete for light, water, and nutrients. Give each plant the room it needs and you will end up with fewer but much healthier flowers.
Watering and feeding schedule
Watering is where most beginners go wrong, and understandably so. The instinct is to water on a schedule (every Monday and Thursday, say), but what your plant actually needs depends on the weather, the pot material, the plant type, and the time of year. The right method is to check the soil before you water. Stick your finger about an inch into the soil. If it feels dry at that depth, water. If it still feels damp, wait. This simple test will serve you better than any calendar schedule.
When you do water, water deeply. Pour water slowly until it runs out the drainage holes, then stop. This encourages roots to grow downward toward moisture rather than staying near the surface. Shallow, frequent watering produces shallow roots and plants that wilt the moment conditions get tough. In hot summer weather, most flowering container plants need watering every one to two days. In spring and autumn, every three to four days is often enough.
Feeding matters because potting mix does not contain much nutrition on its own, and every time you water you flush some of what is there out through the drainage holes. For most flowering plants, a balanced slow-release granular fertilizer mixed into the potting mix at planting time is a great foundation. Then supplement with a liquid fertilizer every one to two weeks during the active growing season (roughly April through September in most temperate climates). Look for a fertilizer with a higher middle number (phosphorus) on the label, like a 10-30-10 formula, because phosphorus promotes flowering. Once you see buds forming, a weekly liquid feed really pushes bloom production.
For anyone growing plants in outdoor pots through different seasons, it is worth pulling back on feeding as growth naturally slows in late summer and autumn. Feeding a plant that is winding down for the season encourages soft, tender growth that is then vulnerable to cold snaps.
Light, temperature, and seasonal care
Most flowering plants want 6 or more hours of direct sun per day, and a container gives you one big advantage over in-ground gardening: you can move things around. If a spot is not working, pick up the pot and try somewhere else. This is something in-ground gardeners can only dream about.
In spring, start pots outside after your last frost date, or a week or two earlier if you can bring them in overnight when a frost threatens. Most annual flowers are frost-sensitive and one cold night can set them back significantly. Perennial flowers in pots need a bit more planning for winter, especially if you live in a colder climate. The pot itself insulates roots less effectively than ground soil does, which is why size matters so much for overwintering: a larger soil mass holds heat better.
During peak summer, watch for heat stress. Terracotta pots sitting in full afternoon sun on a reflective surface like concrete can get extremely hot, cooking roots from the sides. Moving pots off hard surfaces onto grass, wood, or a plant stand makes a noticeable difference. Light-colored or double-walled containers also stay cooler in intense sun.
Deadheading (removing spent flowers before they set seed) keeps most annuals blooming far longer into the season. It takes five minutes every few days and the difference in bloom production is dramatic. Snip or pinch off faded flowers just above a leaf node or bud and the plant will keep pushing out new blooms instead of diverting energy into seed production.
As autumn arrives, start winding down your care routine gradually. Reduce watering frequency, stop fertilizing by early autumn, and plan what you want to overwinter versus compost and replace next spring. Some plants, like geraniums, can be brought indoors and kept alive through winter with minimal effort, giving you a head start next season.
Common problems and troubleshooting
Even with everything done right, things go sideways sometimes. Here is how to read what your plant is telling you and fix it fast.
| Symptom | Likely Cause | What to Do |
|---|---|---|
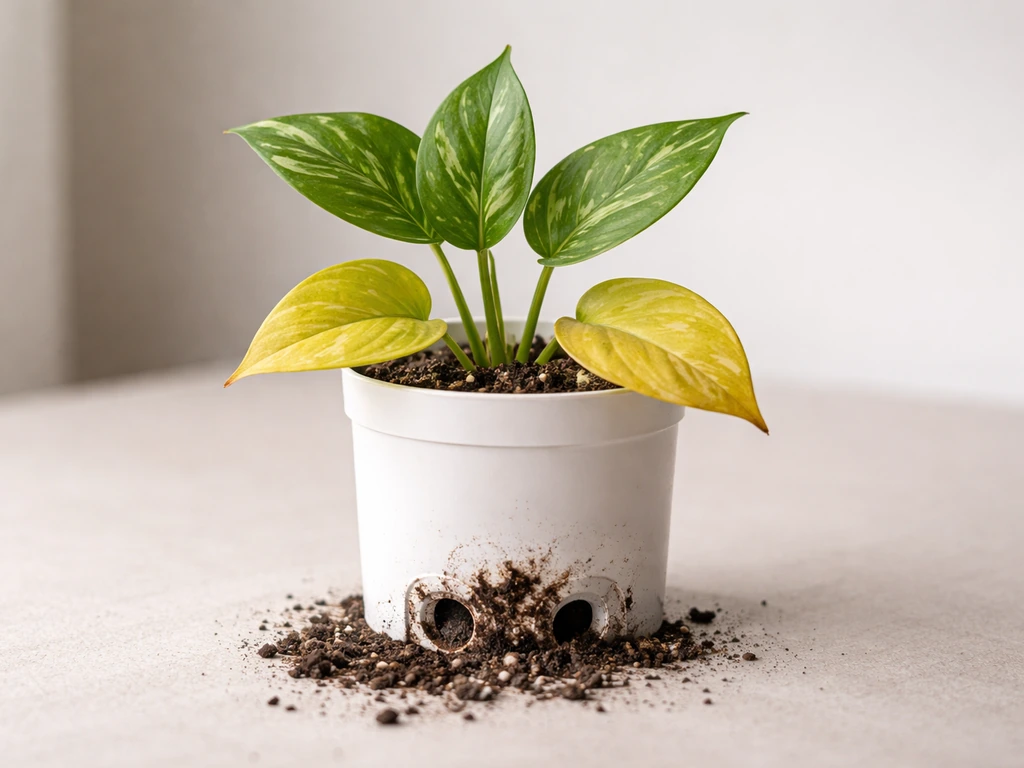
| Yellowing lower leaves | Overwatering or poor drainage | Let soil dry out; check drainage holes are clear; improve mix with perlite |
| Wilting despite moist soil | Root rot from waterlogging | Repot into fresh mix; trim any black mushy roots; improve drainage |
| Wilting with dry soil | Underwatering | Water deeply and immediately; shade plant while it recovers |
| Leggy, stretched stems with few flowers | Insufficient light | Move pot to a sunnier location; trim back stems to encourage bushier growth |
| Pale or yellowing leaves across the whole plant | Nutrient deficiency | Feed with a balanced liquid fertilizer; consider repotting into fresh potting mix |
| White crusty deposits on pot or soil surface | Mineral salt build-up from fertilizer or hard water | Flush soil thoroughly with water; reduce fertilizer frequency |
| Sticky residue, distorted leaves, or tiny insects | Aphids, spider mites, or whitefly | Spray with insecticidal soap or neem oil solution; treat weekly until clear |
| Brown leaf edges or tips | Low humidity, heat stress, or underwatering | Move away from direct afternoon sun; water more consistently; mist occasionally |
Root rot is the problem I see most often and it is almost always caused by a combination of overwatering and inadequate drainage. If you catch it early (plant is wilting but leaves are still mostly green), you can often save the plant by removing it from its pot, trimming off any blackened roots with clean scissors, letting the root ball air out for an hour, and repotting into fresh, dry potting mix. It sounds dramatic but plants are often more resilient than you expect.
Leggy growth (long, weak stems with leaves spaced far apart) is almost always a light problem. Plants stretch toward whatever light they can find. Moving the pot to a brighter spot and cutting the stems back by about a third will usually produce a much bushier, more compact plant within a few weeks.
Pests are a normal part of gardening, not a sign you have failed. Check the undersides of leaves regularly because that is where aphids and spider mites hide. Catching an infestation early, when there are just a handful of insects, is far easier than dealing with a full colony. A simple spray of diluted dish soap and water knocks back most soft-bodied pests effectively.
Where to go from here
Once you have one pot of flowers thriving, it is genuinely hard not to add another. The skills transfer directly: what you learn about drainage, watering, and feeding with your first pot applies to every plant you grow after that. If you want to go deeper on the specifics of growing a wider variety of flower plants in pots, there is a lot more to explore in terms of which species perform particularly well in containers and how to set up more elaborate arrangements.
If you are hooked on starting from seed, spending a bit of time understanding how to grow flower seeds in pots from germination through to transplanting will save you a lot of guesswork and lost seedlings. And if you want to branch out into a broader container gardening practice, the full world of growing potted flowers covers everything from balcony arrangements to indoor flowering plants in real depth.
Start with one pot, one flower you actually like the look of, and the basics covered in this guide. Get that working first, then expand. That approach has never failed me.
FAQ
Should I water potted flowers in the morning or at night? Also, what do I do with water that collects in a saucer?
Most potted flowers do better with morning watering because the soil has time to dry slightly before night. Water the base slowly until it runs from the drainage holes, then empty any saucer that collects excess water, especially for plants like impatiens or begonias that dislike water sitting at the roots.
How do I acclimate a potted flower to a sunnier location without shocking it?
If you move a pot to brighter sun, do it gradually (over 5 to 10 days). Sudden full-afternoon sun can scorch leaves and cause bud drop, even if the plant is otherwise healthy.
How can I tell when my flower in a pot needs to be repotted into a bigger container?
Pick a pot that is wide enough for the root system, not just tall enough for the plant. As a quick check, if the plant dries out in a day or two, stops flowering, or roots are circling the pot, it likely needs a larger container and fresh potting mix rather than more fertilizer.
Can I modify potting mix to make it drier or more moisture-retentive for different flowers?
Yes, but only for plants that truly prefer drier conditions. If you use coarse sand or extra perlite, mix it through the whole potting mix, not just on top, and reduce watering slightly afterward. Too much “dry” amendment can leave moisture-hungry flowers like impatiens stressed even with frequent checking.
Is it okay to add extra soil on top of my potted flower to refresh it mid-season?
Avoid “top dressing” with garden soil. Instead, remove the top 1 inch, replace with fresh potting mix, and then do your regular feeding schedule. Garden soil can compact and create a dense layer that traps water and air near the surface.
My potted flower has lots of leaves but few blooms. What should I check first?
If the plant looks healthy but blooms are sparse, check these in order: at least 6 hours of direct sun, pot size not too small, fertilizer not too low in phosphorus (or not flushed out by heavy watering), and deadheading. For bud-forming plants, consistent watering is critical, even if the plant is drought tolerant.
How do I tell if my potted flower problem is overwatering versus underwatering?
Overwatering can mimic heat stress. Confirm by checking soil 1 inch down, if it is wet or smells sour, pause watering and increase airflow or move to brighter light with better drying. For early root-rot prevention, make sure the pot drains freely and the mix stays loose, then adjust your watering frequency based on soil moisture, not a calendar.
Should I stake flowers in pots, and when is the best time to do it?
For plants that get tall, use support early (before stems flop). Insert a small stake or ring at planting time, then tie loosely with plant ties. Waiting until stems are already bent can damage vascular tissue and slow recovery.
Can I direct sow flower seeds into outdoor pots, and what’s the biggest mistake to avoid?
If you want to start seeds in containers outdoors, use temperatures appropriate for the specific flower and protect from birds and heavy rain. Cover seeds lightly, keep the surface from drying out until germination, and consider using a clear dome or plastic bag for humidity, then remove it as soon as seedlings emerge to prevent damping-off.
What should I do if I keep finding aphids or spider mites in my potted flowers even after spraying?
If pests keep coming back, change the routine to break the life cycle. Inspect leaf undersides, rinse with water first for light infestations, then use the mild soap spray and recheck every few days. Also avoid overcrowding and remove heavily infested leaves so treatments can reach the affected areas.