You can grow beautiful, blooming flowers in pots by picking compact varieties suited to containers, planting them in well-draining potting mix in a pot with drainage holes, giving them the right amount of light, and watering consistently without letting the roots sit in standing water. That covers the core of it. Everything else is just fine-tuning those basics, and this guide walks you through every step from picking your first plant to troubleshooting why your flowers might not be blooming yet. Follow these same steps when you’re learning how to grow a flower in a pot, and you’ll have an easier time troubleshooting issues as they come up.
How to Grow Potted Flowers: Step by Step Guide

Marcus Whitley
22 May 2026
Choose the right potted flowers
Not all flowers thrive in pots, so starting with varieties that actually like container life makes a huge difference. The best potted flowers are compact growers, have a long blooming season, and don't develop root systems so massive they outgrow a pot within weeks. Annuals are the easiest starting point because they bloom all season, they're forgiving, and they're cheap to replace if something goes wrong.
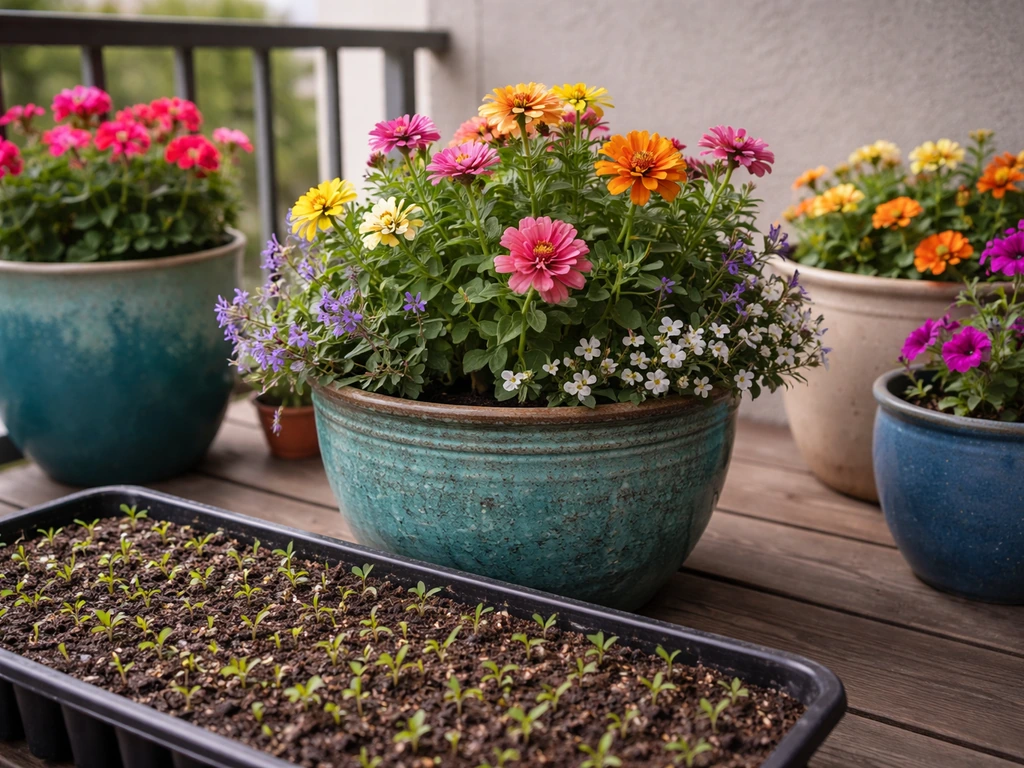
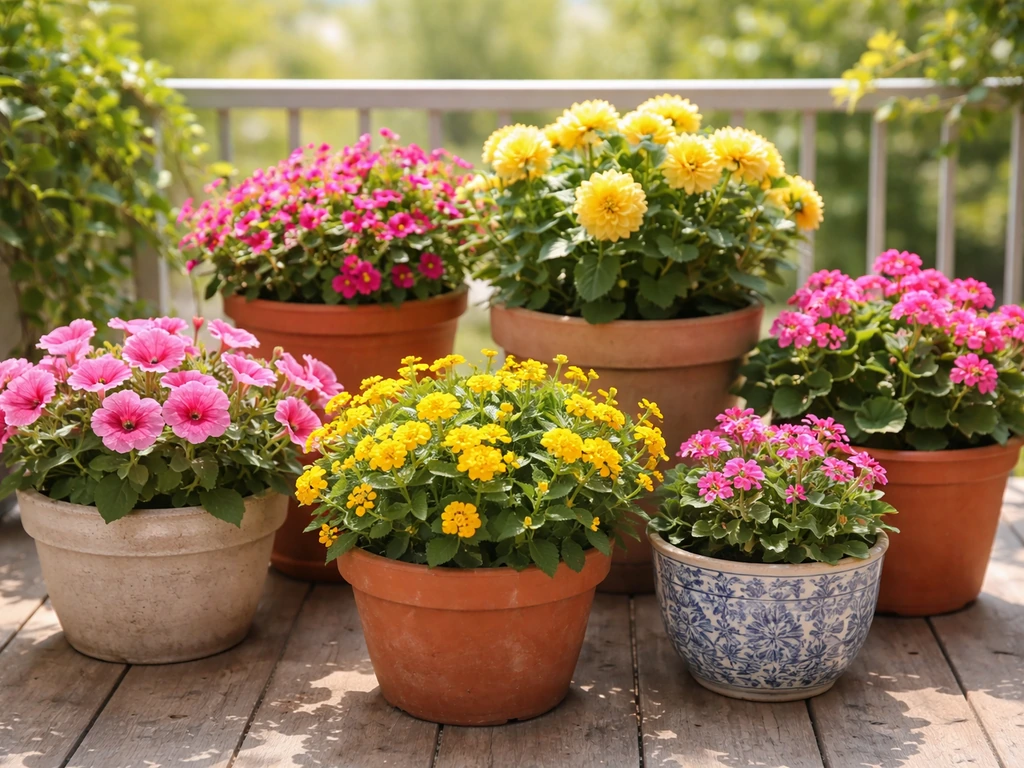
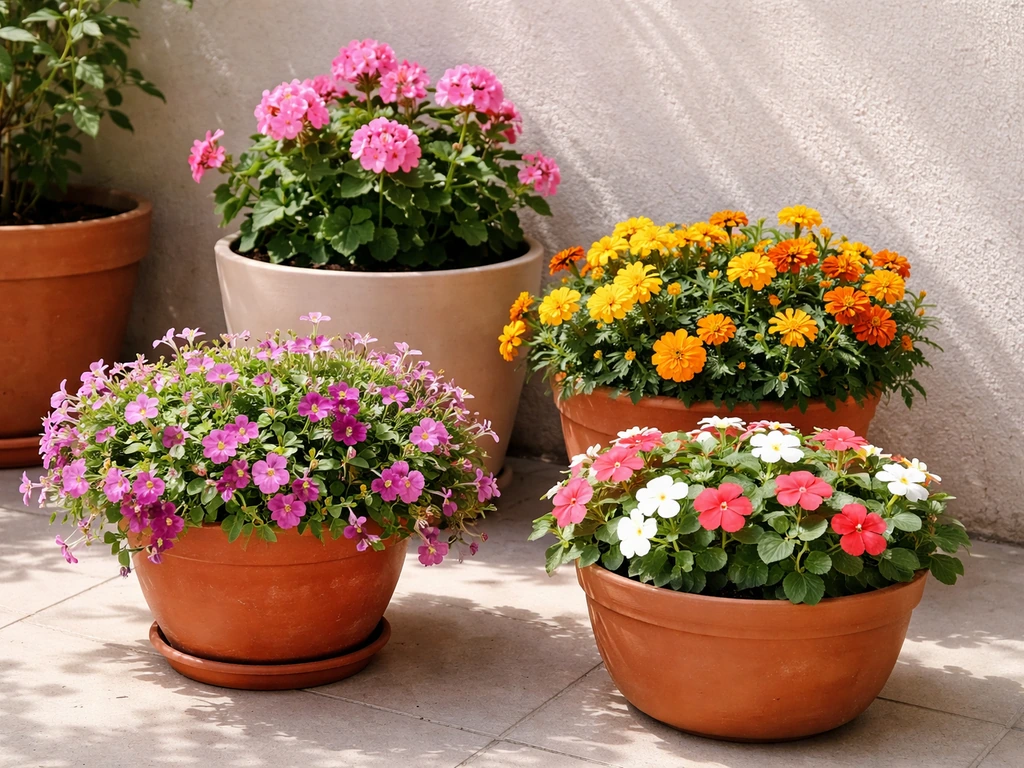
Some reliable container flowers for beginners include petunias, marigolds, geraniums, impatiens (for shady spots), calibrachoa, zinnias, begonias, and pansies. If you want to try growing from seed, marigolds and zinnias are among the fastest and most satisfying options. If you want to focus specifically on the best flowers to grow from seed in pots, marigolds and zinnias are a great place to start. If you want to learn how to grow flower seeds in pots, make sure you start them at the right time and keep the soil evenly moist until they sprout try growing from seed. Carnations also do surprisingly well in pots if you want something with a bit more structure and fragrance.
When you're choosing, match the flower to your light conditions before anything else. Most flowering plants need at least 6 hours of direct sun daily to bloom well. If your balcony or patio is shaded for most of the day, stick to impatiens, begonias, or fuchsia. Trying to grow sun-lovers in shade is one of the most common reasons containers end up with leggy, sparse, non-blooming plants.
Also think about your climate and what season you're in. In late spring and summer, warm-season annuals like petunias and marigolds are the right call. In cooler spring or fall weather, pansies and snapdragons are excellent. If you're gardening in a colder region and want flowers that come back year after year, perennials can work in containers too, but they need extra winter protection since the roots are more exposed in a pot than in the ground.
Pick containers with proper drainage
The single most important feature of any container for flowers is drainage holes. Without them, water pools at the bottom, oxygen gets cut off from the roots, and root rot sets in fast. I've killed more than a few plants by using a decorative pot with no drainage hole because it looked nice. Don't make that mistake. If you love a particular pot that has no holes, use it as an outer sleeve and put your actual plant in a plain plastic nursery pot inside it. Just make sure to pull out the inner pot and dump any standing water from the outer one after it rains or after you water heavily.
For most seasonal annuals, a pot at least 12 inches deep gives roots enough room to establish well. As a general sizing rule, the container should be slightly larger than the combined root balls of all the plants you're putting in it. If you're potting up a plant that's already growing in a smaller container, move it into something roughly one size larger in diameter rather than jumping straight to a giant pot. An oversized pot holds too much moisture around the roots and dramatically increases the risk of root rot.
Material matters too, especially if you're dealing with heat or wind. Terracotta pots breathe well and dry out faster, which suits plants that prefer drier conditions. Plastic and glazed ceramic pots retain moisture longer, which is helpful in hot climates where you're watering constantly. Self-watering containers can be useful for moisture-loving flowers, but they're not ideal for plants that need to dry out a bit between waterings.
| Container Type | Drainage | Moisture Retention | Best For | Watch Out For |
|---|---|---|---|---|
| Terracotta | Excellent (porous walls) | Low (dries fast) | Drought-tolerant flowers, good airflow | Needs more frequent watering in heat |
| Plastic nursery pot | Good (holes built in) | Moderate | All-purpose, lightweight for balconies | Less attractive, can overheat in direct sun |
| Glazed ceramic | Good (if holes drilled) | High | Moisture-loving flowers in hot climates | Heavy, can crack in frost |
| Self-watering container | Built-in reservoir | Very high | Petunias, impatiens, thirsty annuals | Not suited for plants needing dry periods |
| Decorative outer pot (no holes) | None on its own | Very high | Sleeve only, never plant directly in it | Must drain inner liner manually |
Use the best potting soil and fertilizing plan
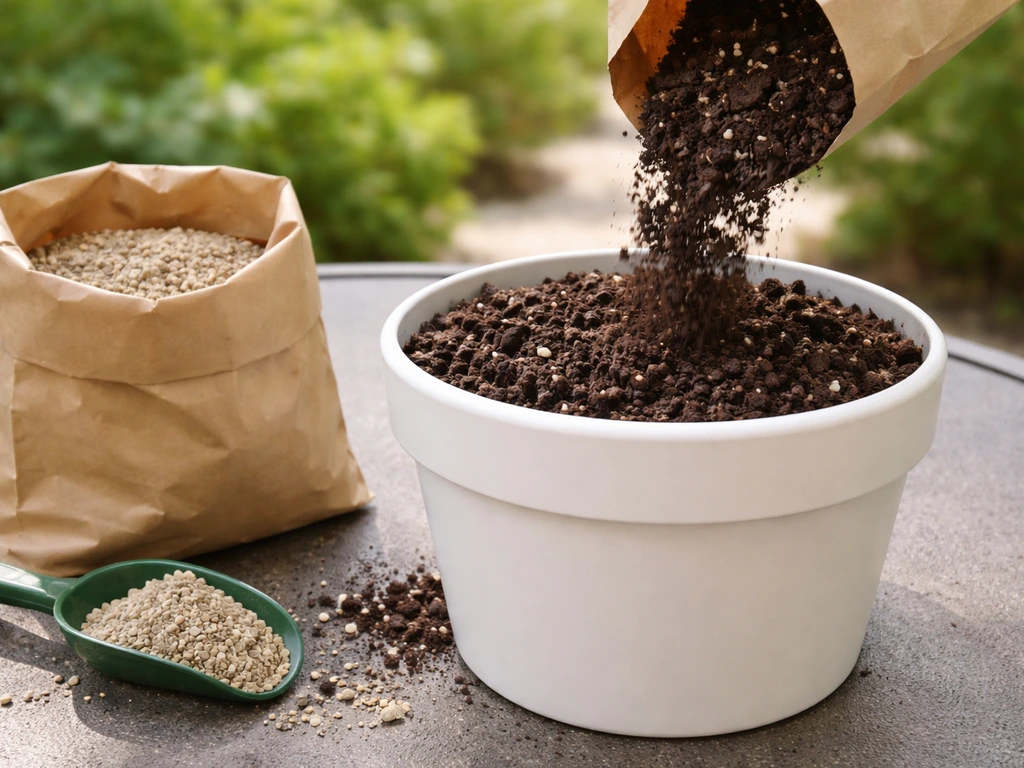
Never use garden soil or topsoil in a container. It compacts, drains poorly, and suffocates roots. What you need is a dedicated potting mix formulated for containers. Good potting mixes typically contain a combination of sphagnum peat moss or coconut coir (for moisture retention), perlite or vermiculite (for drainage and aeration), and composted bark or compost (for nutrients and structure). Compost content is a strong sign of a quality mix. When you're at the garden center, squeeze the bag. A good mix feels light and slightly springy, not dense and heavy.
Coconut coir is increasingly popular as a more sustainable alternative to peat moss, and it performs very well in container mixes. Either option works fine for flowers. What you want to avoid is anything labeled simply as 'topsoil' or 'garden soil,' even if it seems cheaper. The cost savings aren't worth the drainage problems.
Fertilizing is non-negotiable for container flowers. Unlike plants in the ground, your potted flowers can't reach nutrients beyond what's in the pot, and every time you water, you're flushing some of those nutrients out. The most practical approach is to mix a slow-release granular fertilizer into the potting mix when you plant. This gives a steady background supply of nutrients for weeks. Then supplement every one to two weeks during the active growing season with a water-soluble liquid fertilizer, following the label instructions. Flowering plants generally do well with a balanced fertilizer or one slightly higher in phosphorus, which supports blooming.
Planting steps and when to start
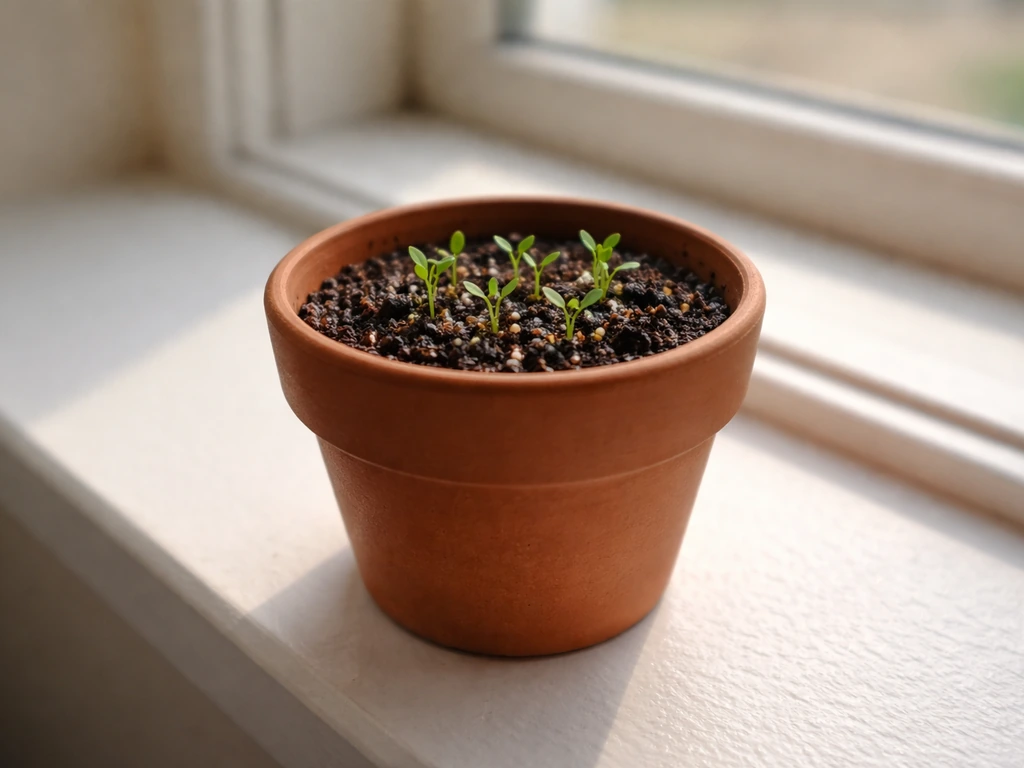
Timing depends on whether you're starting from seed or transplanting nursery starts. For most warm-season flowers, the right time to move containers outdoors is after your last frost date. If you're in late May in a temperate climate, you're right in the ideal planting window for most summer annuals.
If you're growing from seed indoors first, start seeds 6 to 8 weeks before you plan to move them outside. Before you do move them, you need to harden them off. This means gradually introducing the seedlings to outdoor conditions over about two weeks rather than just plonking them outside.
Penn State Extension explains that hardening-off is an acclimation process where seedlings are gradually exposed to full sun, wind, and cool nights when transitioning from protected environments gradually introducing the seedlings to outdoor conditions over about two weeks. Start by putting them outside in a sheltered spot for a couple of hours a day, then increase the time and sun exposure each day.
This prevents transplant shock, which can set plants back by weeks or kill them entirely. Even cold-hardy varieties need this process because they can be damaged by freezing temperatures before they've adjusted.
For transplanting nursery starts into containers, the process is straightforward:
- Add a layer of fresh potting mix to the bottom of your pot, enough so the top of the root ball will sit about an inch below the rim of the pot.
- Remove the plant gently from its nursery container by squeezing the sides and tipping it out. Don't yank it by the stem.
- Loosen the roots slightly if they're tightly wound or circling at the bottom.
- Set the plant in the pot and fill in around the root ball with potting mix, firming it gently to remove air pockets.
- Water thoroughly until water runs freely from the drainage holes.
- If you're mixing slow-release fertilizer, blend it into the potting mix before planting rather than sprinkling it on top afterward.
If you're planting multiple flowers in one large container, give each plant enough space to fill out without immediately crowding its neighbors. Tight planting looks lush right away but can restrict airflow and invite disease later in the season.
Light, placement, and temperature basics
One of the best advantages of container gardening is that you can move your pots to chase better conditions. Most flowering annuals want 6 or more hours of direct sun each day. If your only outdoor space gets partial sun, choose shade-tolerant flowers and position your containers in the brightest spot available, even if that means moving them around during the day.
Temperature matters more in containers than in the ground because the soil in a pot heats up and cools down much faster. In summer heat above 90°F (32°C), even sun-loving flowers can struggle if the pot is sitting on a hot concrete surface all day. Elevate containers slightly or move them to a spot with afternoon shade during heat waves. In spring and fall, watch for surprise frosts. A single freezing night can wipe out tender annuals, so keep an eye on the forecast and be ready to bring pots inside or cover them with frost cloth.
Wind is an underrated factor, especially for balcony or rooftop gardeners. Strong wind dries out containers very quickly and can damage tall or delicate flowers. Taller plants like tall zinnias or snapdragons may need staking in windy spots. Positioning pots near a wall or railing can provide a windbreak while still letting in light.
Watering and moisture management

This is where most beginners go wrong, and it goes both ways. Both overwatering and underwatering will kill your flowers, and the symptoms can look similar at first. The golden rule for container flowers is to water deeply until water runs out of the drainage holes, then let the top inch or so of soil dry out before watering again. Never let the pot sit in a saucer full of standing water for more than an hour or two. Roots sitting in water run out of oxygen and rot.
How often you water depends on the pot size, material, plant type, and weather. In hot summer weather, small terracotta pots may need daily watering. Larger pots and plastic containers in moderate weather might only need water every two to three days. Rather than following a rigid schedule, check the soil before you water. Push your finger about an inch into the mix. If it feels moist, wait. If it feels dry, water thoroughly.
Overwatering signs include yellowing lower leaves, soggy soil that never seems to dry out, and a plant that looks wilted even though the soil is wet. Underwatering shows up as dry, light-feeling soil, crispy leaf edges, and wilting that recovers quickly after a good drink. If you're genuinely unsure which problem you have, lift the pot. An overwatered pot will feel much heavier than expected. An underwatered pot will feel surprisingly light.
Ongoing care: pruning, deadheading, and supporting growth
Once your flowers are established, two simple practices will keep them blooming longer and looking better: pinching and deadheading. Pinching means removing the growing tip of a stem, usually when plants are young, to force them to branch out instead of growing tall and spindly. Pinch back petunias, basil-flowered plants, and similar species early in the season, and you'll get a fuller, bushier plant with far more blooms. Just use your thumb and forefinger to nip off the top inch or two of new growth.
Deadheading means removing spent or faded flowers before they go to seed. When a flower forms seeds, the plant thinks its job is done and slows down blooming. Removing those old flowers signals the plant to keep producing more. For most annuals, do this every few days during peak season. Some modern varieties like self-cleaning petunias drop their own spent blooms, so they need less deadheading, but most flowers benefit from it.
As the season progresses, some plants get leggy (long, stretched stems with sparse foliage and fewer blooms). A harder trim, cutting stems back by about a third, can rejuvenate them and trigger a fresh flush of growth and flowers. This works well for petunias in mid-summer when they tend to sprawl and thin out. It feels drastic the first time you do it, but they usually come back stronger within a couple of weeks.
For taller flowers in containers, like certain dahlias or snapdragons, you may need to stake them. A simple bamboo cane tied loosely with soft twine is usually enough. Secure the stem without cinching it tight, which can damage the plant.
Troubleshooting common problems in container flowers
Problems happen even when you're doing most things right. Here are the most common issues and what to do about them:
Yellow leaves
Yellow leaves are usually either overwatering, underwatering, or nutrient deficiency. Check the soil moisture first. If the soil is soggy, ease off watering and make sure drainage is working. If the soil is bone dry, water more consistently. If moisture seems fine but leaves are still yellow, the plant is probably hungry. Feed it with a liquid fertilizer and see if new growth comes in green.
Drooping or wilting
Wilting in the heat of the afternoon is common and usually not a crisis. If the plant perks back up in the evening, it was just heat stress. If it stays wilted even in cool morning hours, check the soil. Dry soil means it needs water. Wet soil when the plant is wilting points to root rot from overwatering, which is a more serious problem. If root rot is suspected, take the plant out of the pot, trim off any black, mushy roots, let them air out briefly, and replant in fresh, dry potting mix in a clean pot with good drainage.
No blooms or very few flowers
The most common cause is insufficient light. If you want to try a specific container flower like carnations, use a dedicated guide for how to grow carnations in a pot so your light and soil needs are covered. Even flowers labeled 'full sun' that get only 4 hours will produce sparse blooms. Move the pot to a sunnier spot. If light is adequate, check your fertilizer: too much nitrogen (the first number on the fertilizer label) pushes leafy growth at the expense of flowers. Switch to a fertilizer with a higher middle or last number (phosphorus and potassium) to encourage blooming. Also make sure you're deadheading regularly.
Leggy, stretched growth
Leggy growth, where stems get long and thin with wide gaps between leaves, is almost always a light problem. The plant is stretching toward whatever light it can find. Move the container to a brighter location and cut the stems back by a third to encourage compact regrowth. Pinching the tips regularly earlier in the season helps prevent legginess from developing in the first place.
Pests (aphids, spider mites, whiteflies)
Check the undersides of leaves regularly. Aphids cluster on new growth and look like tiny green, black, or white dots. Spider mites leave fine webbing and cause stippled, dull-looking leaves. Whiteflies scatter in a cloud when you disturb the plant. For all of these, insecticidal soap spray is the most accessible first-line treatment for home gardeners. Spray directly on the pests, covering both sides of leaves, and repeat every few days for two weeks. Neem oil is another effective option and also has some preventative effect against fungal diseases. Follow label instructions carefully and avoid spraying in direct sun or when temperatures are above 90°F, which can cause leaf burn.
Powdery mildew and fungal issues
Powdery mildew looks like a white or grayish dusty coating on leaves and stems. It tends to show up when there's poor airflow, high humidity, or crowded planting. Remove affected leaves as soon as you spot them, improve air circulation by spacing pots apart, and treat early with neem oil or a baking soda solution. Avoid wetting the foliage when watering, as moisture sitting on leaves overnight encourages fungal growth.
Your starter shopping list for potted flowers
If you're starting from scratch, here's everything you realistically need to get going: If you meant fluxweed, focus on the specific fluxweed pot setup and growth conditions needed for it to thrive.
- Containers with drainage holes (at least 12 inches deep for most annuals)
- Quality potting mix with perlite and compost (not garden soil or topsoil)
- Slow-release granular fertilizer to mix in at planting time
- Water-soluble liquid fertilizer for weekly or biweekly feeding
- Nursery transplants or seeds of your chosen flowers, matched to your light conditions
- Watering can or hose with a gentle spray nozzle
- Insecticidal soap spray (for pest prevention and early treatment)
- Neem oil (optional but useful for both pests and fungal issues)
- Bamboo stakes and soft plant ties for tall varieties
- Saucers or trays under pots (remembering to empty them after watering)
Growing flowers in pots is genuinely one of the most forgiving ways to start gardening. You control nearly every variable, you can move things around when conditions aren't right, and even a small balcony or patio can support a surprisingly lush display. Start with two or three containers, pick easy varieties like petunias or marigolds, and get the basics of watering and light right.
Once those feel natural, you can branch into growing from seed, trying more demanding species like carnations, or experimenting with mixed plantings. If you decide to go that route, use a light potting mix and keep the seeds consistently moist until they sprout, then thin and transplant as needed growing from seed.
If you want to grow autoflower seeds outside in pots, you’ll need to start with the right timing, sun exposure, and container setup for seedlings growing from seed. The learning curve is real but short, and the payoff of a pot full of blooms you grew yourself is worth every wilted leaf along the way.
FAQ
Can I grow potted flowers in a pot with drainage holes but still use a saucer under it?
Yes, but treat the saucer like a temporary catch. Empty it after watering so water is not left in contact with the pot for hours, especially overnight. If you notice persistent pooling, switch to a lighter potting mix or repot into a container that drains faster.
How do I know if my pot size is too small for potted flowers?
Watch for rapid drying, root circling, and plants that wilt soon after watering even though the soil is moist. If you need to water daily (and that is unusual for your flower and weather) or roots are visibly tight around the bottom, move up one pot size in diameter rather than jumping to a huge container.
What should I do if my balcony only gets a few hours of sun?
First choose shade-tolerant flowering plants rather than trying to force sun-lovers. Then place pots where they get the brightest light available, including moving them during the day if possible. If the plant still stretches and blooms sparsely, you may need to reduce plant number per pot to improve airflow and light reach.
Is it better to water more often with small amounts or less often with thorough watering?
Thorough watering is usually better. Water deeply until excess runs out of the drainage holes, then wait until the top inch dries. Frequent shallow watering keeps roots near the surface, which dries out fast and increases stress and blossom drop.
What’s the safest way to fertilize container flowers without burning them?
Use slow-release fertilizer mixed into the potting mix at planting, then use diluted water-soluble fertilizer in small doses during the growing season. Always follow the label rate and avoid fertilizing when the plant is severely stressed (wilting, dry potting mix, or cold damage), because stressed plants are more likely to burn.
My flowers are growing leaves but not blooming. What’s the most common cause in pots?
Overly high nitrogen. If the fertilizer label has a very large first number (N), switch to one with a higher middle or last number that supports blooming, and make sure you are deadheading regularly and giving at least 6 hours of light.
How often should I deadhead if my flowers are in mixed pots?
Deadhead based on each plant’s blooming cycle, not by a single calendar date. Remove spent blooms as they appear, and take care not to cut off new buds at the same time. In mixed planters, use a quick sweep for one species at a time so you don’t accidentally overlook flowers hiding behind foliage.
Can I combine multiple flowers in one container?
Yes, but match plants by light needs and watering tolerance. Avoid mixing a plant that prefers evenly moist soil with one that needs drying between waterings. Also space them so foliage does not stay constantly wet, which reduces disease risk.
Why do my potted flowers droop even after I watered?
Two common possibilities are underwatering that soaked too slowly, or overwatering leading to root oxygen problems. Lift the pot to assess weight, check the top inch of soil, and if the mix stays wet, reduce watering and confirm drainage holes are clear before the roots develop rot.
How do I treat root rot in containers when I notice wilting?
Stop watering immediately, remove the plant, and inspect roots. Trim black, mushy roots, discard any rotten sections, and replant in fresh dry potting mix in a clean pot with unobstructed drainage. After repotting, keep the plant slightly sheltered and out of harsh sun for a few days.
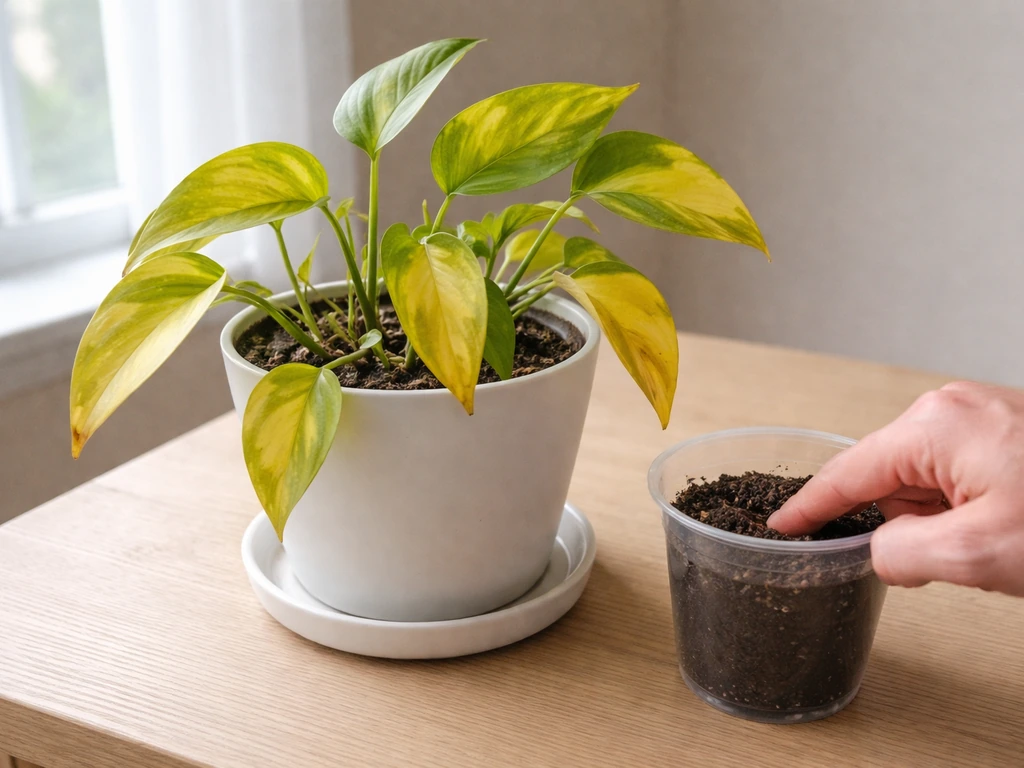
Should I repot potted flowers from nursery pots right away?
Often it helps, but it depends on root crowding. If the plant is tight in the nursery container, drains poorly, or roots are filling the bottom, repot into the next size up with quality potting mix. If the plant is already in a well-draining pot and looks healthy, you can wait until after it finishes a growth flush to reduce stress.
Are self-watering planters good for all potted flowering plants?
Not for all. Self-watering systems are best for flowers that tolerate more consistent moisture. If your chosen variety needs a drying period, use standard pots and follow the soil check method, or you risk chronic sogginess and reduced blooming.
How can I prevent powdery mildew on potted flowers?
Improve airflow by spacing pots and avoiding overcrowded arrangements, and water at the soil level instead of wetting leaves. Remove visibly affected leaves early, and consider preventive spraying with neem oil only when conditions are mild (avoid hot, sunny periods to reduce leaf stress).
What’s the best way to protect container flowers from frost?
Bring tender pots indoors before a freeze or cover them with frost cloth only if the cloth fully protects the plant and pot. For long-lasting protection, insulate the pot itself (for example, by wrapping it) because roots are more exposed in containers than in ground soil.
Can I grow potted flowers outdoors year-round in mild climates?
Sometimes, but you still need to account for pot temperature swings and drainage performance in cool weather. In regions with occasional cold snaps, choose hardy varieties, keep pots on a protected surface, and pause feeding during cooler periods so plants do not remain tender when temperatures drop.