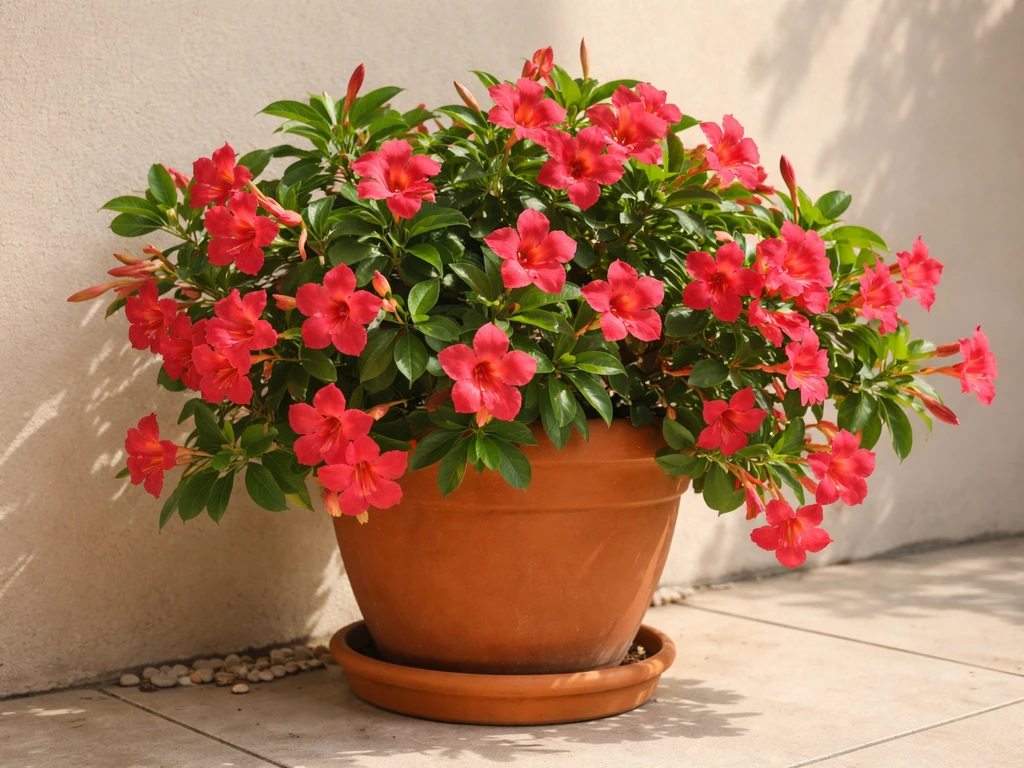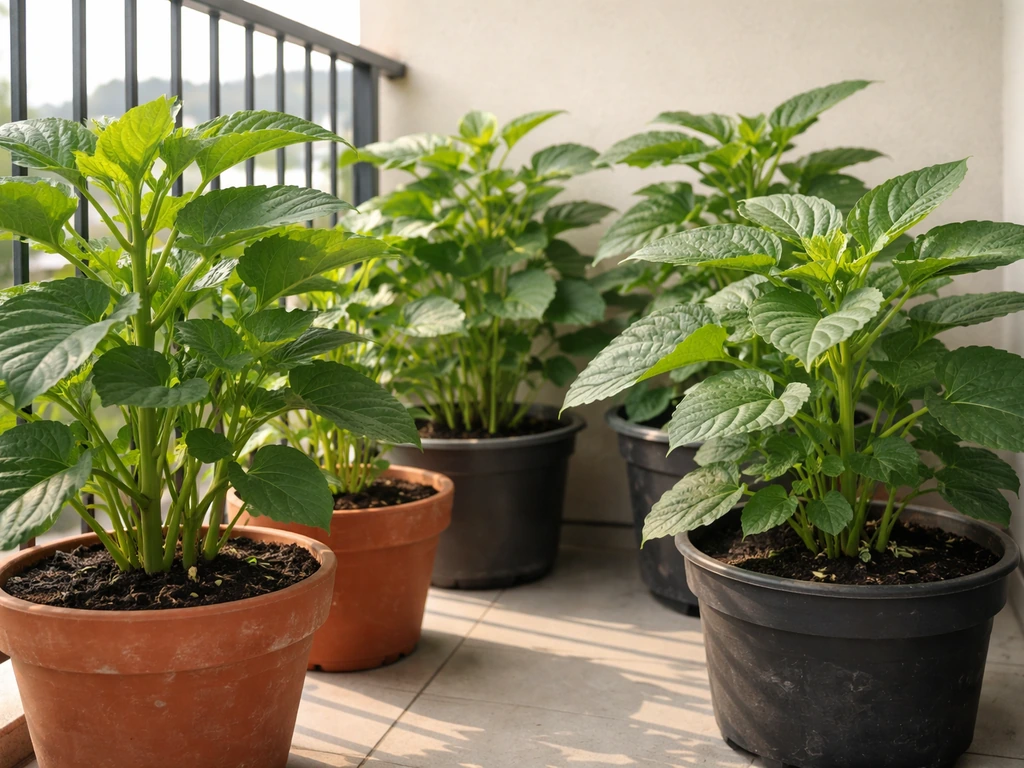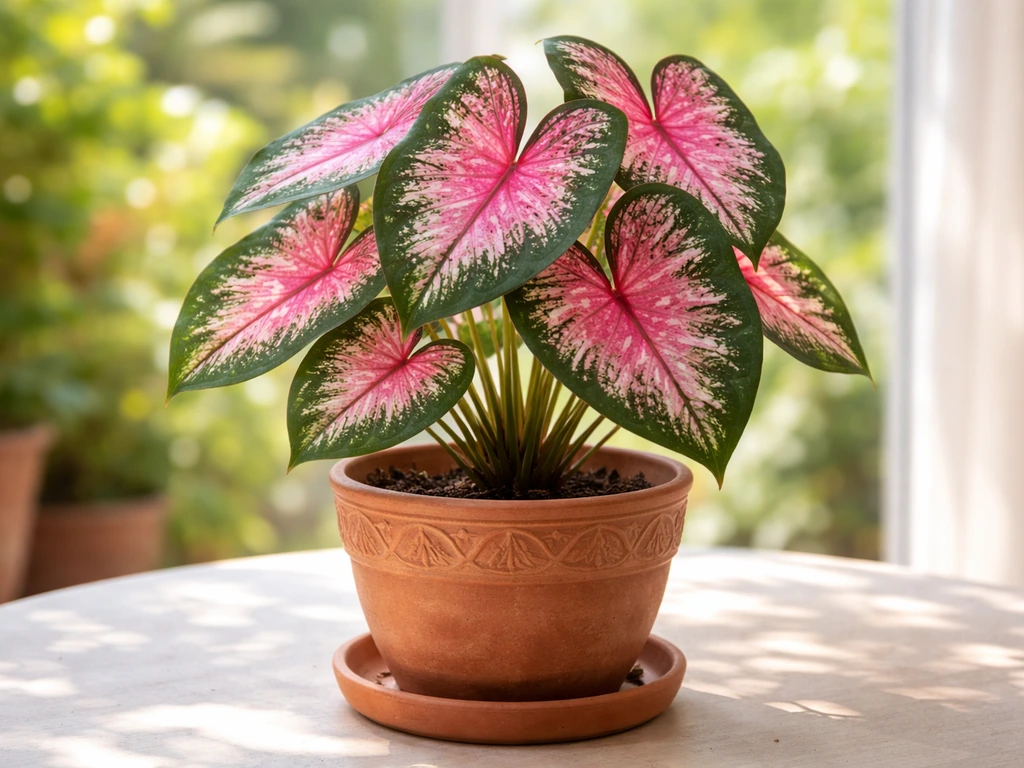
Calibrachoa thrives in pots and containers, and once you get the basics right, it blooms almost nonstop from late spring through fall without much fuss. If you want the same kind of container success with caladiums, focus on choosing the right pot size, using a well-draining mix, and keeping the soil consistently warm and lightly moist how to grow caladiums in pots. The keys are a roomy pot with excellent drainage, a fast-draining potting mix, full sun for at least 6 hours a day, and a consistent feeding routine because these plants are heavy feeders. If you want to grow callaloo in containers, apply the same container-growing basics like drainage, consistent moisture, and regular feeding how to grow callaloo in pots. Get those four things dialed in and you'll have a trailing, flower-packed pot that looks incredible all season.
How to Grow Calibrachoa in Pots: Complete Step Guide
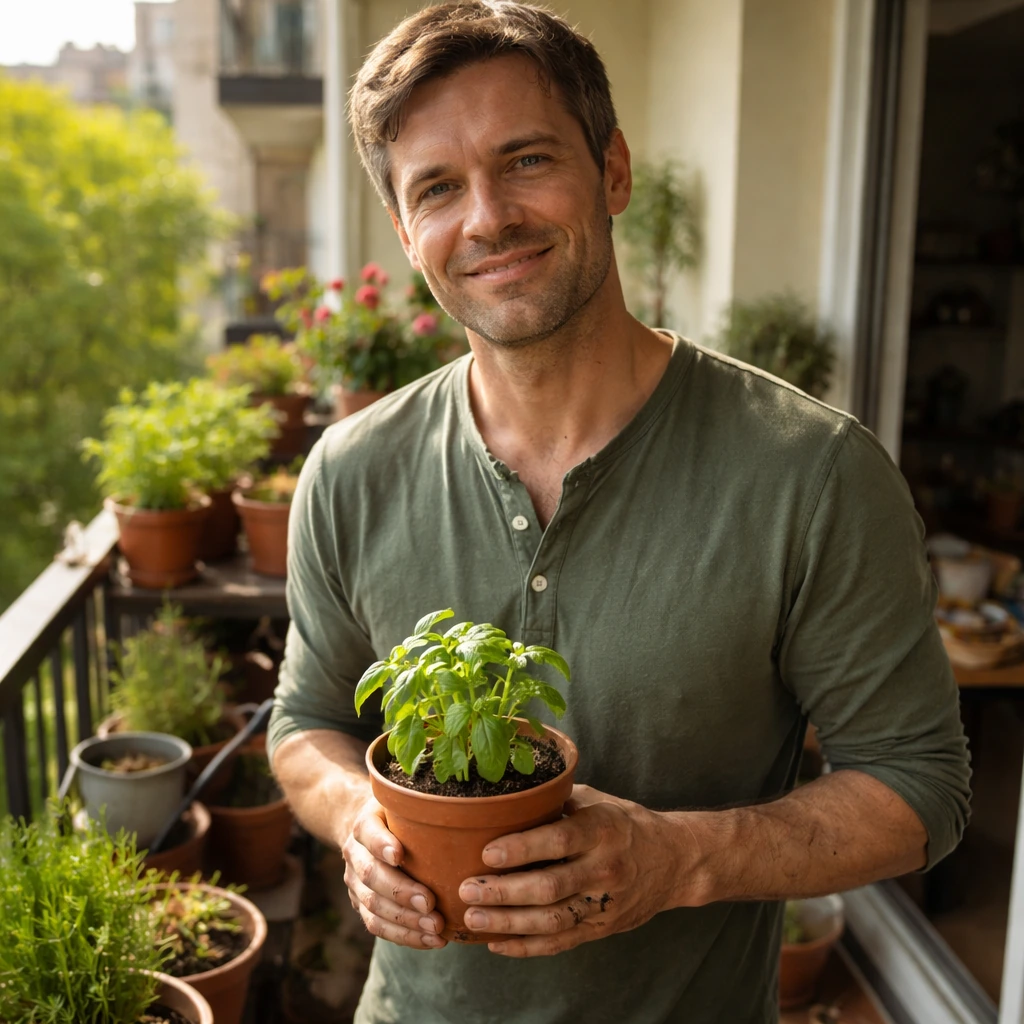
Choosing the right pot size and drainage
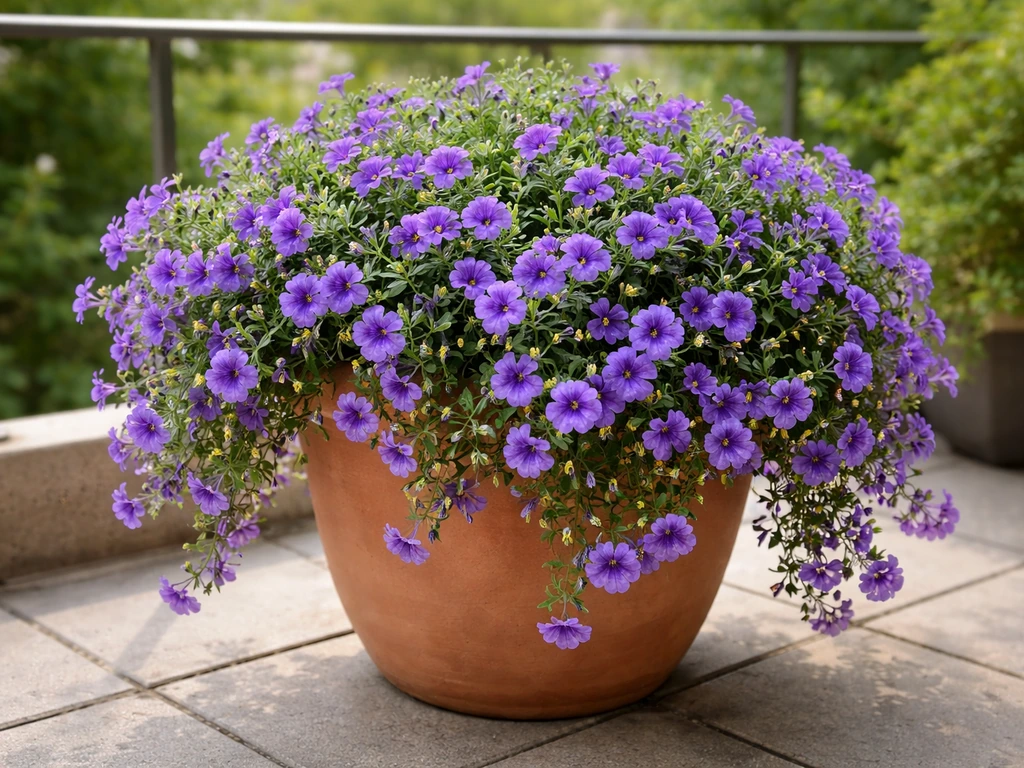
Go bigger than you think you need. A single calibrachoa plant can spread and trail impressively, so a pot smaller than 8 inches across is going to limit it. For one plant, a 10-inch pot works well. Proven Winners also recommends using hanging baskets and pots larger than 6 inches when growing calibrachoa for pinch and branching guidance a 10-inch pot works well. For a mixed planting with two or three calibrachoa together, aim for a 12- to 16-inch pot or a hanging basket in that same size range. The extra root space means more consistent moisture and more room for roots to grow without competing too aggressively.
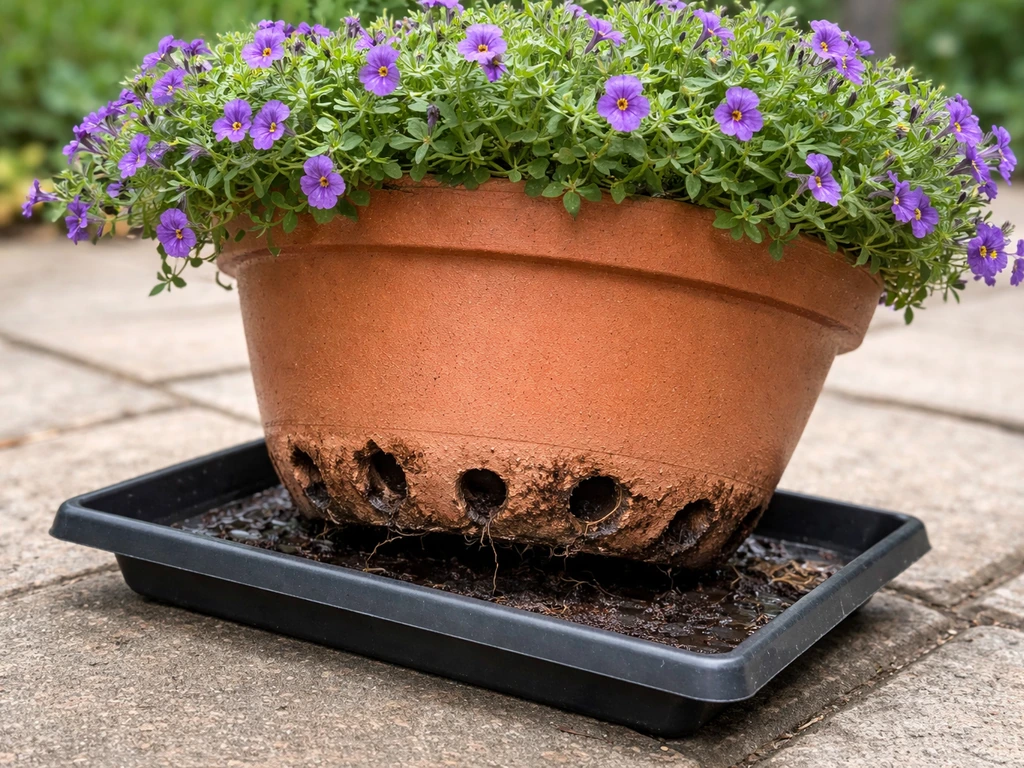
Drainage is non-negotiable with calibrachoa. These plants are highly susceptible to root rot, so the pot must have drainage holes at the bottom, not just one small hole. If you're using a decorative pot that doesn't drain, plant into a slightly smaller nursery pot with holes and drop it inside the decorative one. Whatever you do, avoid letting the pot sit in a saucer filled with standing water. Use pot feet or small rubber risers to lift the container slightly off the surface so air can circulate underneath and water can escape freely after you irrigate.
Best soil mix and pot setup
Do not use garden soil or any potting mix marketed as moisture-retentive or "water-saving." Those mixes are great for vegetables but they hold too much water for calibrachoa and create exactly the soggy conditions that cause root rot. What you want is a light, airy, fast-draining soilless potting mix. Most quality bagged potting mixes (not potting soil) work fine as a base, but calibrachoa benefits from extra grit.
A DIY mix that works really well is 2 parts peat moss, 2 parts perlite, and 1 part composted bark. If you're mixing your own, add a small pinch of agricultural lime to balance the pH of the peat, since calibrachoa likes a slightly acidic environment. The ideal pH range for calibrachoa in containers sits between 5.4 and 5.8. That might sound technical, but it's important because calibrachoa is iron-inefficient, meaning it struggles to absorb iron when the soil pH creeps too high. Iron deficiency shows up as yellowing leaves with green veins, and getting the pH right from the start prevents a lot of headaches later.
Before you add any soil, cover the drainage holes loosely with a piece of mesh or a coffee filter to stop mix from washing out. Then fill the pot to about 2 inches from the rim so you have room to water without it spilling over every time.
When to plant and how to do it
Plant calibrachoa after your last frost date has passed and nighttime temperatures are consistently staying above 50°F. In most temperate climates, that puts you in late spring, typically May through early June. Planting too early when nights are still cold slows growth and can cause stress that sets the plant back for weeks. It's worth waiting.
When you're selecting plants at the nursery, look for compact, bushy specimens with healthy green foliage. A few open blooms are fine, but avoid plants that already look stretched or leggy, since that can be a sign of stress or poor light conditions during production. Once you're home, here's how to plant:
- Water the nursery pot thoroughly about an hour before transplanting so the root ball holds together.
- Dig a hole in your prepared potting mix that is just as deep and wide as the root ball.
- Slip the plant out gently, loosen any circling roots at the base with your fingers, and set it in the hole so the top of the root ball is level with the surrounding mix surface. Don't bury the crown.
- Fill in around the root ball, firm the mix gently, and leave about an inch of space at the top of the pot.
- Water thoroughly right away until water drains freely from the bottom.
- Give the plant a soft pinch at planting: nip off the growing tips to encourage branching from the start.
If you're planting multiple calibrachoa in one larger container, space them about 3 to 6 inches apart. They'll fill in fast, and tighter spacing gives you that lush, overflowing look more quickly.
Sunlight, heat, and where to put your pot
Calibrachoa blooms best with at least 6 hours of direct sun every day. More sun equals more flowers, so this is not the plant for a shady balcony or a north-facing window ledge. A south- or west-facing spot that gets full sun most of the day is ideal. It can tolerate partial shade, but you'll notice fewer blooms and more leafy, stretched growth in lower light.
In terms of temperature, calibrachoa loves warm conditions in the 60 to 80°F range. It handles summer heat reasonably well, especially when it has consistent moisture and airflow. If you're in a very hot climate where summer afternoons regularly exceed 90°F, a spot with bright morning sun and some afternoon shade can actually extend the blooming season. The plant may slow down at peak summer heat and then rebound with a flush of new blooms as temperatures ease in late summer.
One practical tip for balcony and urban gardeners: pots on concrete or dark-painted surfaces absorb extra heat from below. In that situation, raise the pot on feet or a wooden slat to reduce heat stress on the roots, and consider lighter-colored containers that reflect rather than absorb heat.
Watering routine that keeps roots healthy
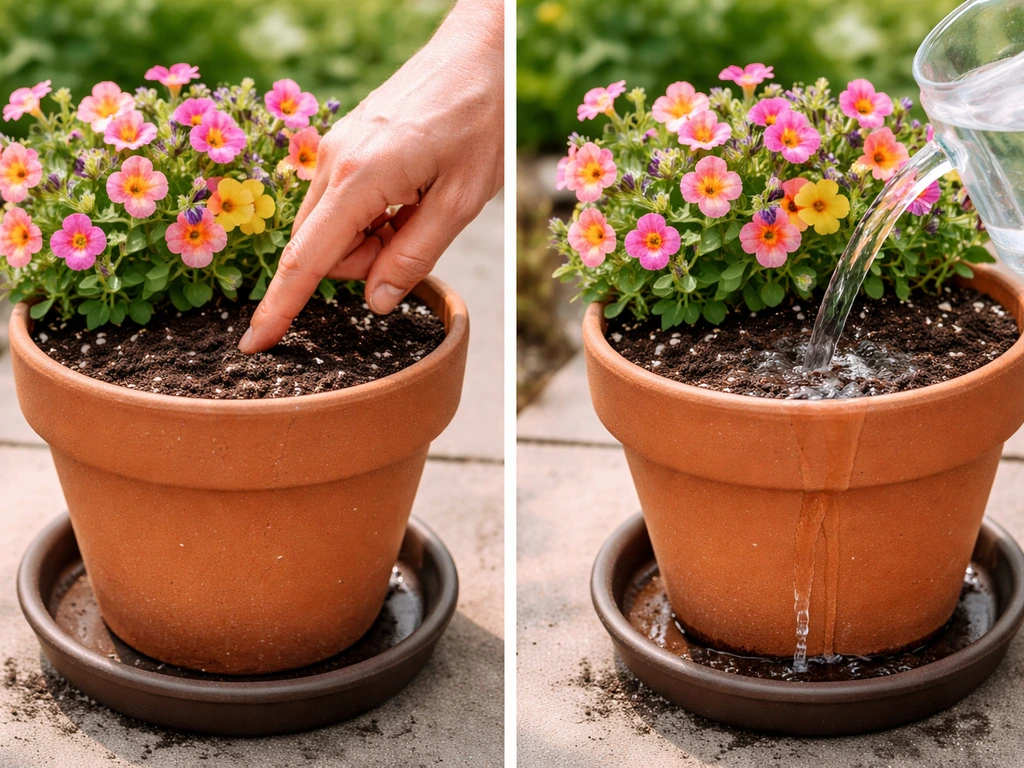
Calibrachoa is one of those plants that will droop when it needs water but will also droop when it has too much water, which is frustrating until you know what to look for. The difference is in the soil: stick your finger about an inch into the mix. If it feels dry at that depth, water. If it still feels moist, wait another day and check again.
For the first week after planting, check the soil daily. Containers can dry out faster than you expect, especially in warm weather or windy spots. After that initial week, most gardeners end up watering every one to two days in summer, but always let the soil guide you rather than the calendar.
When you water, do it slowly and deliberately. Pour water at the base of the plant and let it absorb into the mix rather than rushing through and running out the sides without reaching the root zone. Water until you see it draining clearly from the bottom holes, then stop. That confirms the entire root zone got moisture. And remember: never let the pot sit in collected water in a saucer for more than 30 minutes.
Feeding calibrachoa: this part really matters
Calibrachoa is a heavy feeder, and this is one area where skimping shows up fast. In a container, nutrients wash out every time you water, so you have to replenish them regularly. A slow-release granular fertilizer mixed into the potting soil at planting gives a good baseline, but you'll still need to supplement with liquid fertilizer throughout the season.
Use a balanced water-soluble fertilizer with a ratio around 24-12-17 or similar (that's nitrogen, phosphorus, and potassium) applied every 7 to 14 days during the growing season. The most important thing to look for is a formula that contains chelated iron, or to use a separate chelated iron supplement periodically. Because calibrachoa struggles to absorb iron when soil pH drifts above 6.0, and because an iron deficiency causes that tell-tale yellowing between leaf veins, keeping iron available is the single biggest nutrition priority with this plant. If you see yellowing new growth while older leaves stay green, that's your cue to treat with a chelated iron product.
Don't over-fertilize with nitrogen alone chasing greener leaves, since that promotes leafy growth at the expense of flowers. A balanced feed with the chelated iron component is the right approach.
Pinching, trimming, and keeping plants full
The good news is that calibrachoa is largely self-cleaning, meaning the spent flowers drop off on their own without you having to deadhead each one individually. Unlike some annuals that need constant deadheading to rebloom, calibrachoa just keeps going. That said, you should still be doing some light maintenance throughout the season.
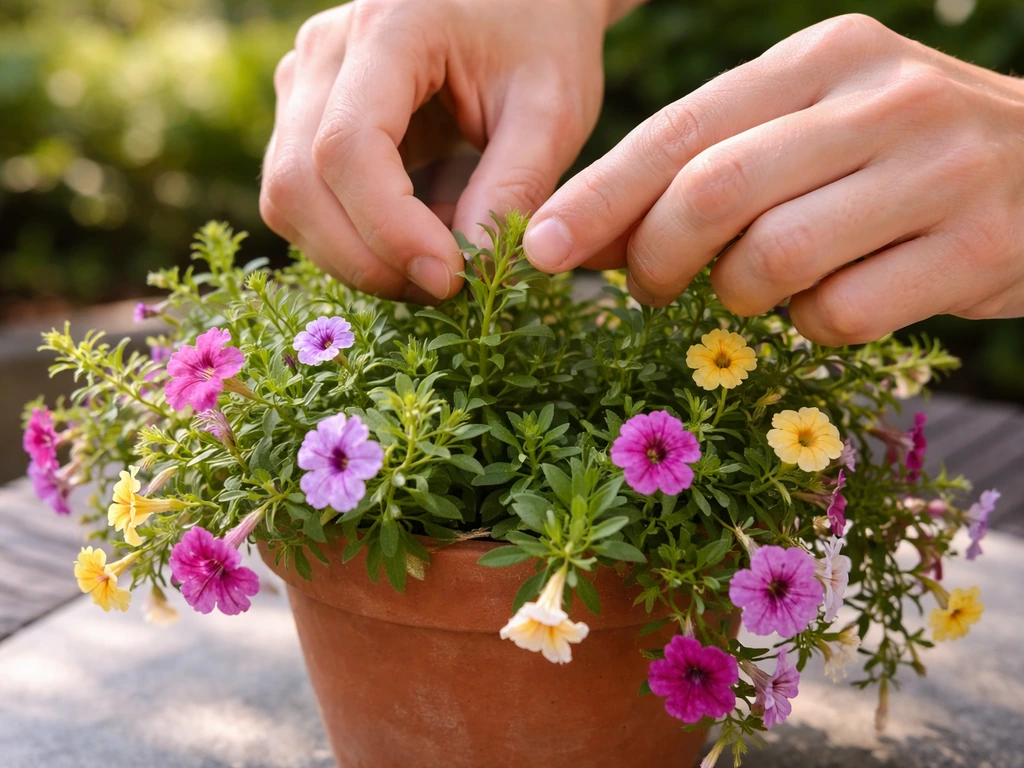
Pinching is the most important thing you can do at the start. At planting time, pinch back the growing tips by about a quarter of the plant's height. This signals the plant to branch rather than grow in long, single stems. About six weeks into the season, if some stems are getting leggy or trailing further than you'd like, trim them back by about a third with a clean pair of scissors or pruners. This refreshes the plant, encourages a new flush of blooms, and keeps the overall shape full and bushy rather than straggly.
If by midsummer the plant looks exhausted or has slowed significantly, cut it back by up to half its size. Water it well, give it a good liquid feed, and within a couple of weeks you'll typically see new growth and a fresh wave of flowers. This is a normal part of the growing season, not a sign that you've failed.
Troubleshooting common pot problems
Drooping and wilting
Drooping is almost always either underwatering or overwatering. Check the soil immediately. If it's bone dry, water thoroughly and the plant should perk up within a few hours. If the soil is wet and the plant is wilting, that's a more serious situation suggesting possible root rot. In that case, reduce watering immediately, make sure drainage is working, and if the problem persists, carefully remove the plant, check the roots (healthy roots are white and firm, rotted roots are brown and mushy), trim off any rotted sections, and repot into fresh dry mix. Once you master pot drainage and root care like this, you can apply the same thinking to how to grow chrysanthemums in pots.
Yellow leaves
Yellowing new growth with green veins almost always points to iron deficiency, which is usually caused by soil pH being too high. Check your potting mix and consider flushing the container with slightly acidified water (a few drops of white vinegar per gallon can lower pH marginally) and applying chelated iron. If older leaves are yellowing uniformly, it can be a general nutrient deficiency, in which case a balanced fertilizer application should help within a week or two.
Powdery mildew
Powdery mildew shows up as white, dusty-looking patches on leaves and sometimes flowers. It often starts inside the canopy where you can't see it at first, so get in the habit of lifting leaves and checking underneath. Good airflow around the pot reduces risk significantly. If you catch it early, a diluted neem oil spray or a fungicide labeled for powdery mildew applied every 7 to 10 days can stop its spread.
Pests: aphids, spider mites, and whiteflies
The three most common pests on calibrachoa in containers are aphids, spider mites, and whiteflies. Aphids cluster on new growth and leave behind sticky residue. Spider mites create fine webbing on the undersides of leaves, especially in hot, dry conditions. Whiteflies look like tiny white moths that scatter when you disturb the plant, and they also leave behind sticky honeydew that can lead to sooty mold on the leaves. For all three, inspect your plant regularly, especially the undersides of leaves. A strong spray of water can knock off aphids and mites. For whiteflies, insecticidal soap or neem oil applied in the evening works well. Treat at the first sign of infestation before populations build.
Quick-reference troubleshooting
| Symptom | Likely Cause | Quick Fix |
|---|---|---|
| Drooping, dry soil | Underwatering | Water thoroughly, check daily going forward |
| Drooping, wet soil | Overwatering or root rot | Improve drainage, reduce watering, repot if needed |
| Yellow new growth, green veins | Iron deficiency / pH too high | Apply chelated iron, check/adjust soil pH |
| Uniform yellowing of older leaves | General nutrient deficiency | Apply balanced liquid fertilizer |
| White powder on leaves | Powdery mildew | Improve airflow, apply neem oil or fungicide |
| Sticky leaves, tiny insects | Aphids or whiteflies | Spray with water, apply insecticidal soap |
| Fine webbing under leaves | Spider mites | Strong water spray, neem oil treatment |
| Leggy, sparse blooms | Not enough sun or needs trimming | Move to sunnier spot, cut back by a third |
Overwintering expectations in pots
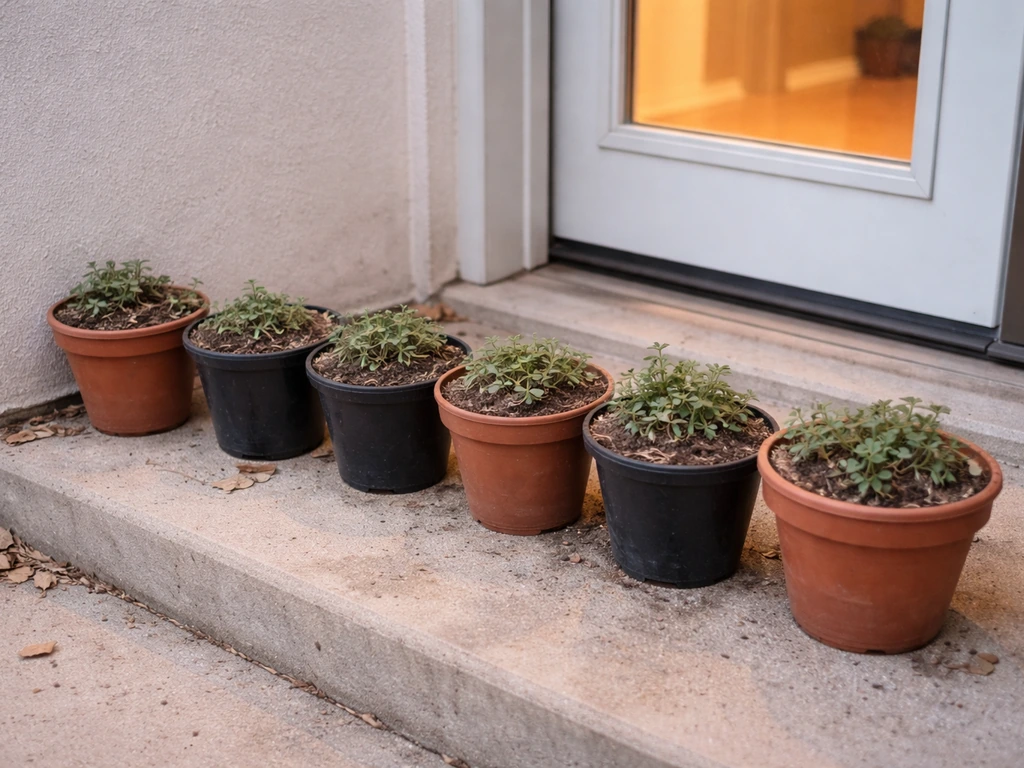
Calibrachoa is a tender perennial, meaning it can survive mild winters in warmer climates (roughly USDA zones 9 and above) but will not survive a hard frost. In most temperate gardens, treat it as an annual and expect one great season from it. If you're in a frost-free or very mild climate, you can try overwintering it by moving the pot to a sheltered, frost-free spot like a garage or a covered porch. Keep watering minimally through winter and resume regular care in spring. The plant may look tired and sparse after winter, but a hard prune and fresh fertilizer can often revive it. Most container gardeners find it easier and more rewarding to buy fresh plants each spring rather than overwinter, and there's no shame in that.
Your ongoing maintenance checklist
Stick to this routine and your calibrachoa will reward you with flowers from spring through the first frost.
- Check soil moisture daily in hot weather, every other day when cooler, and water when the top inch feels dry.
- Feed with a balanced liquid fertilizer containing chelated iron every 7 to 14 days throughout the growing season.
- Pinch growing tips at planting and trim leggy stems back by a third every 4 to 6 weeks as needed.
- Inspect the undersides of leaves weekly for pests and catch problems early.
- Make sure the pot never sits in standing water and that drainage holes are clear.
- Perform a midsummer cutback if blooming slows dramatically, then follow with watering and feeding.
- Move pots to a sheltered spot if temperatures are forecast to drop below 32°F.
Calibrachoa is genuinely one of the most rewarding plants you can grow in a container. It blooms prolifically, trails beautifully over the sides of pots and hanging baskets, and responds almost immediately to good care. If you also enjoy growing other trailing or compact annuals in pots, plants like portulaca and coleus make excellent companions or alternatives depending on your light conditions and aesthetic. The skills you build caring for calibrachoa, especially around drainage, feeding frequency, and reading your plant's signals, will translate directly to success with many other container plants. If you're branching out from calibrachoa, the same pot-care skills can help you figure out how to grow colocasia in pots successfully.
FAQ
My calibrachoa in a pot has fewer blooms than expected, what should I check first?
If your calibrachoa is blooming less, first confirm the pot is getting at least 6 hours of direct sun. Next, check the soil moisture at the 1-inch depth, then inspect the roots by looking for drainage behavior (water should exit the bottom within a short time). Finally, verify you are using a balanced feed with chelated iron, because iron shortage often looks like “slow flowering” before it looks like leaf yellowing.
Can I grow calibrachoa in a self-watering pot or planter?
Yes, but only if the pot drains freely. Aim for a pot that is wide enough for trailing growth, and make sure the soil stays lightly moist, not wet. If you keep fertilizing on schedule, consider slightly reducing fertilizer strength during the hottest weeks (for example, half strength every 7 to 14 days) rather than stopping completely, since complete pauses can trigger another flush delay once temperatures cool.
How early can I plant calibrachoa in pots, and how do I avoid cold-stress?
Wait to plant until nighttime temperatures are reliably above 50°F and the container mix is warming up (cool, wet mix slows root growth). If you must start early indoors or under cover, transition gradually by increasing outdoor sun exposure over several days, and avoid overwatering during the acclimation period.
What’s the safest way to correct iron deficiency if I want to adjust pH rather than just fertilize?
You can, but keep the pH target in mind and choose the right product. Watering alone rarely fixes an iron-availability problem if the potting mix is already drifting high, so pair any pH adjustment with chelated iron. Also, avoid adding lime repeatedly, because overshooting can worsen iron uptake.
My plant droops right after watering, is that underwatering or overwatering?
Most wilting that happens the same day you watered is actually a drainage or oxygen issue. Confirm the pot has working drainage holes and that water runs through, then check soil moisture at 1 inch. If it stays wet, reduce watering immediately and inspect roots if the plant does not recover within 24 hours.
When should I repot my calibrachoa, and how can I do it without setting it back?
Repotting is worth it when drainage problems are suspected, roots are brown and mushy, or the mix has compacted and no longer drains quickly. Use fresh fast-draining soilless mix, and keep the plant at the same depth it was growing. After repotting, wait a couple of days before resuming full feeding, and water thoroughly so the new mix settles around the roots.
Are hanging baskets better than standard pots for calibrachoa, and what changes in care?
A hanging basket is excellent if it is in the 12 to 16 inch range and has true drainage. The main caution is that baskets dry out faster, so check the 1-inch depth daily in hot or windy weather. Use a slightly more generous watering pace (slow, thorough watering until it drains) rather than frequent small sips, which encourage uneven moisture.
How do I prune calibrachoa if it’s already stressed from heat or inconsistent watering?
Use container-friendly pruning tools (clean, sharp scissors or pruners) and remove only a portion at a time if the plant is under stress. After a major cutback, water well and use a liquid feed at reduced strength if growth was already struggling. Avoid pruning in the middle of a heat wave if the plant is already moisture-stressed.
Can I grow calibrachoa from seed in pots, or is it better to buy transplants?
Yes, but do it carefully. Start seeds only if you can maintain consistent warmth and strong light, because seedlings are slower to establish than nursery plants. If you do start from seed, use a sterile soilless mix, keep moisture even (never soggy), and plan on transplanting into your final pot once you have sturdy roots and several true leaves.
What’s the best way to stop powdery mildew in container calibrachoa without repeatedly restarting the problem?
Powdery mildew control is easier when you act early. Increase airflow around the container, water at the base, and avoid wetting foliage. If you treat, apply according to the product label and repeat on schedule, because missing one interval often lets the fungus rebound, especially in dense, shaded canopies.