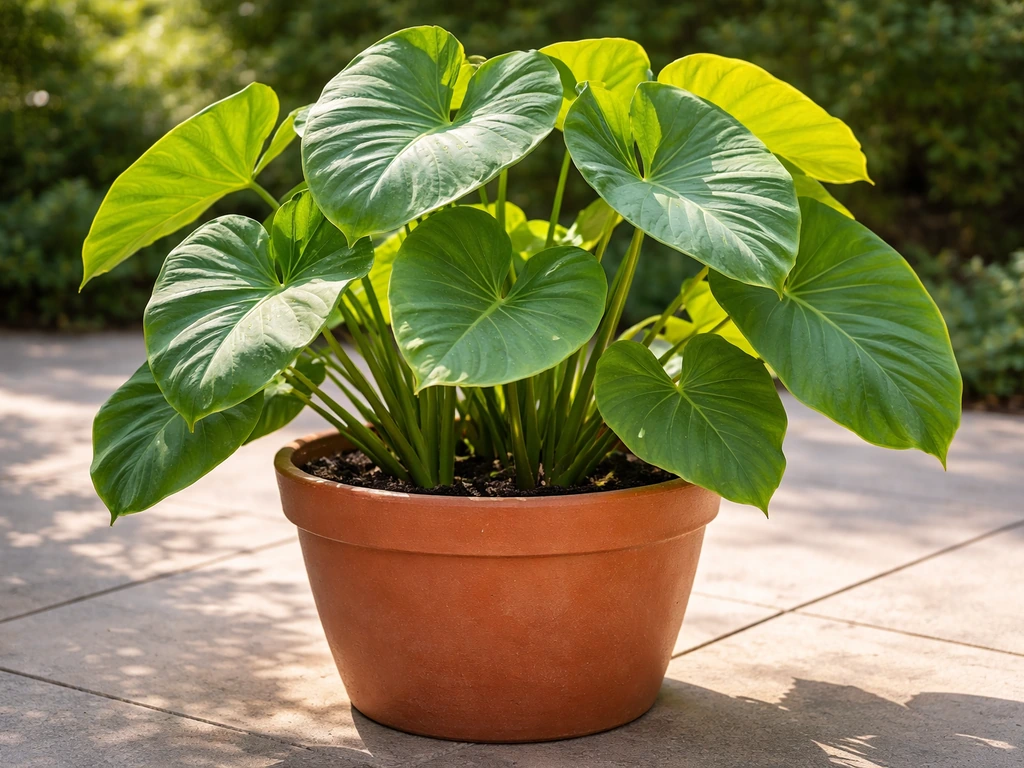
You can absolutely grow colocasia (elephant ear) in a pot, and it can look stunning doing it. If you're instead looking for how to grow chrysanthemums in pots, the container, soil mix, and watering schedule are the main things to dial in. Pick a pot that holds at least 15–20 gallons, fill it with a loose, fast-draining tropical mix, plant the corm about 2–3 inches deep, keep it consistently moist but never waterlogged, and give it as much warmth and indirect-to-full sun as you can. That's the core of it. The rest is just managing the details so those giant leaves stay lush and upright instead of yellowing or flopping over.
How to Grow Colocasia in Pots: Step-by-Step Care

Marcus Whitley
20 Jun 2026
Choosing the right pot and drainage for colocasia
Colocasia grows fast and gets big, so container size matters more here than with almost any other potted plant. A single corm needs a minimum of a 15-gallon pot, and honestly, a 20-gallon or larger gives you much better results. If you want a full, multi-stem look or you're growing one of the larger varieties like 'Jack's Giant,' go up to a 25–30 gallon container. Cramped roots slow everything down and make the plant more prone to stress.
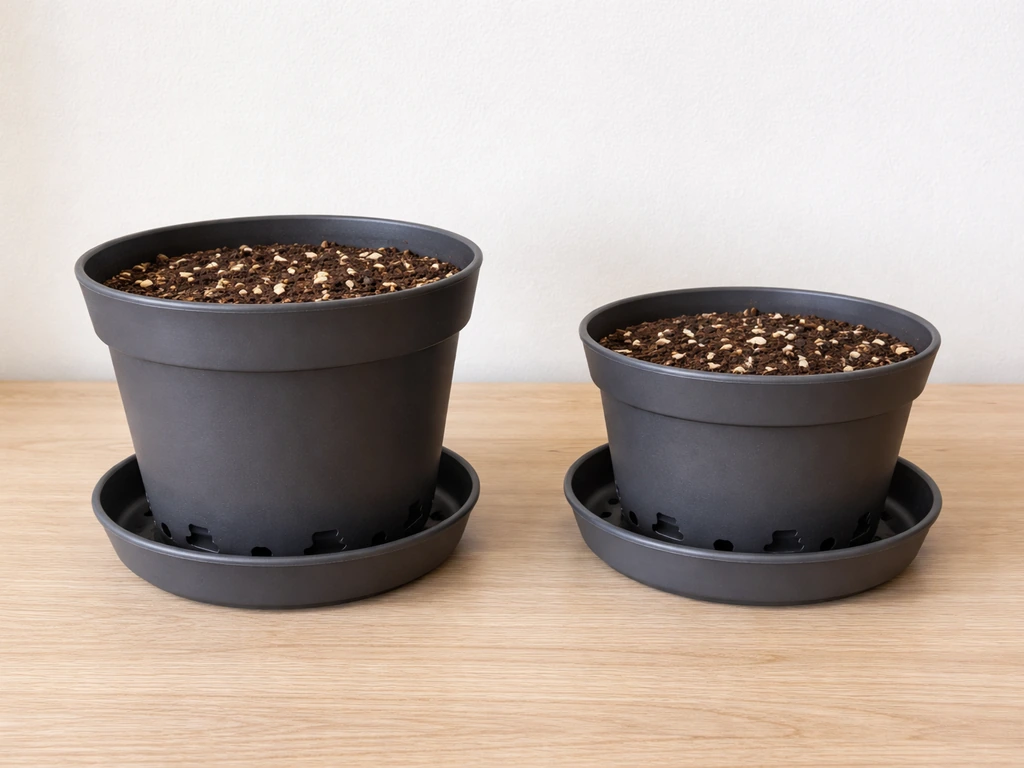
Material matters too. Plastic and resin pots hold moisture longer, which colocasia appreciates. Terracotta dries out faster and can work, but you'll be watering more often in summer heat. Fabric grow bags in the 20-gallon range are a surprisingly good option because they promote air pruning of roots and prevent waterlogging, as long as you keep up with watering. Whatever you choose, drainage holes are non-negotiable. I've seen more colocasia rot from sitting in stagnant water than from any other cause.
Don't put a saucer under an outdoor pot unless you're actively watering through it and dumping the excess. Standing water in a saucer is an invitation for root rot. If you're bringing the pot indoors (more on that later), use a saucer but check and empty it after every watering. Elevating the pot slightly on pot feet also helps air circulate under the drainage holes and prevents the holes from getting blocked.
Best potting mix and fertilizing plan
Never use straight garden soil in a pot. It compacts, suffocates roots, and drains poorly. What you want is a mix that holds moisture but still lets excess water escape quickly. Penn State Extension describes potting media as blends that provide water-holding capacity, aeration, and nutrients, such as peat moss mixed with vermiculite or perlite and compost or organic fertilizers [potting media blends that provide water-holding capacity, aeration, and nutrients](https://extension.
psu. edu/potting-media-and-plant-propagation). A UNH Extension fact sheet notes that [potting media are engineered blends](https://extension. unh.
edu/resource/growing-vegetables-containers-fact-sheet), such as mixtures of peat moss plus sand, or peat moss plus perlite/vermiculite, and it also describes a practical organic alternative using vermiculite, peat, and compost plus additional amendments. A solid DIY blend for colocasia is: 50% quality potting mix (peat or coir-based), 30% perlite, and 20% composted bark or aged compost. This gives you the water retention colocasia loves along with the aeration its roots need.
If you're using bagged compost as part of the mix, keep it under 40% of the total volume because many composts run alkaline (above pH 7), and that can cause nutrient lockout over time.
If you'd rather not mix your own, grab a quality tropical or aroid potting mix and stir in a generous handful of perlite per gallon of mix. That simple addition dramatically improves drainage and prevents the compaction that kills roots in a pot over a season. Colocasia likes a slightly acidic soil, around pH 5.5–7, so most commercial mixes land in a safe range right out of the bag.
Feeding is where a lot of pot growers underdeliver. Those massive leaves need a steady supply of nutrients, and because you're watering frequently, nutrients flush out of containers faster than in-ground plants lose them. During the active growing season (late spring through early fall), I use a balanced slow-release granular fertilizer incorporated into the top few inches of soil at planting, then supplement with a liquid balanced fertilizer (like a 10-10-10 or similar NPK) every two to three weeks.
A slow-release fertilizer applied at label rate at the start of the season does a lot of the heavy lifting and often only needs one application per season. If your leaves are smaller than expected or pale green, bump up feeding frequency. Once growth slows in fall, stop fertilizing entirely.
Planting and setup: corms, depth, spacing, and timing
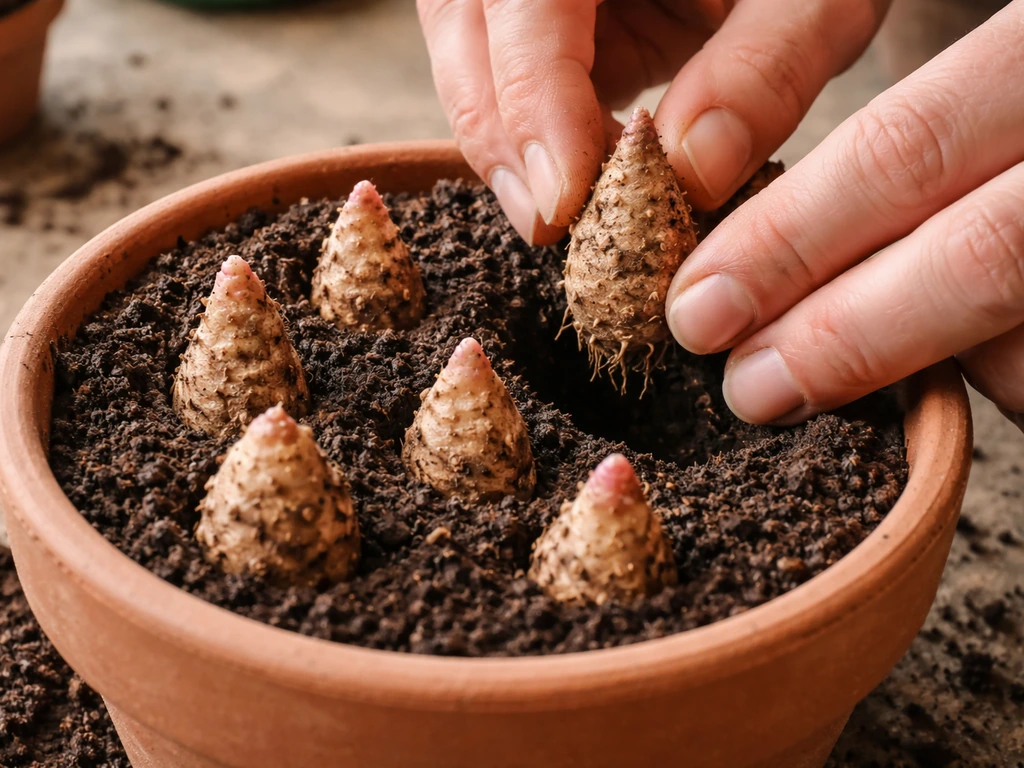
Colocasia is typically started from corms (sometimes called bulbs, though technically they're corms). They look like knobby, rough-skinned tubers. Before planting, inspect the corm and cut away any mushy or obviously dead sections with a clean knife. Let cut surfaces dry for a day before putting them in soil to reduce rot risk.
Plant the corm with the pointed end up (if you can identify it) or sideways if you're unsure, about 2–3 inches below the soil surface. In a single large pot, plant one corm centrally. If you're planting in a very large container (30+ gallons), two corms planted 12–14 inches apart can work, but colocasia also naturally produces offsets (baby corms) around the parent, so the pot fills in on its own over a season. If you want bigger, healthier callaloo in pots, start with the right pot size and keep the soil consistently moist so the plant can establish quickly Fill it in on its own over a season.
Timing is critical. Don't rush colocasia into cold soil. The ideal soil temperature for planting is 60°F or warmer. Outdoors in most of the US and UK, that means waiting until late April through May. If you want a head start, pot the corms up indoors 4–6 weeks before your last frost date and move them outside once nighttime temperatures stay consistently above 50°F. You can also use this same pot-starting approach for portulaca to get faster, fuller growth in containers pot the corms up indoors 4–6 weeks before your last frost date. That early indoor start can give you impressive leaf production several weeks ahead of neighbors who planted directly outside.
Light, temperature, and watering routine in containers
Colocasia is a tropical plant from Southeast Asia and it behaves like one. It wants warmth, humidity, and consistent moisture. In container growing, that means you're essentially recreating swampy, warm conditions in a pot on your patio. Caladiums in pots need similarly consistent moisture, bright filtered light, and careful drainage to prevent rot grow caladiums in pots.
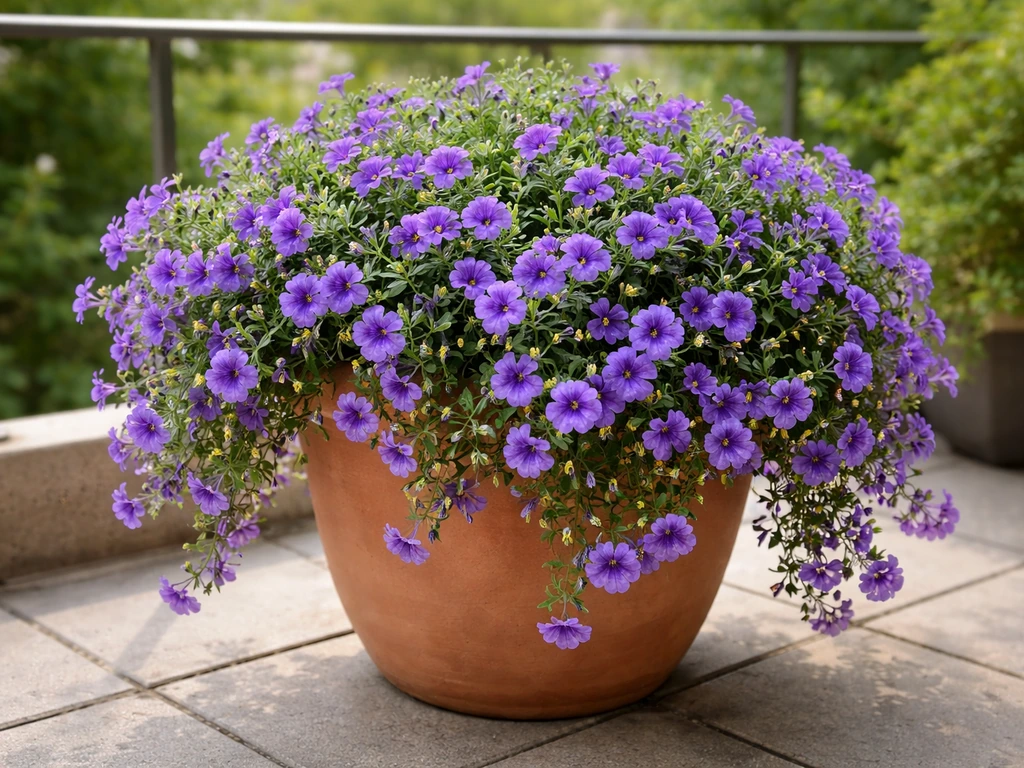
Light: Full sun to partial shade depending on your climate. If you are also deciding on light for calibrachoa in pots, plan for the brightest conditions you can manage since bloom power depends on it Full sun to partial shade. In hot, dry climates (think Texas, Arizona, Southern California), colocasia actually prefers afternoon shade to prevent leaf scorch. In cooler, cloudier regions (UK, Pacific Northwest), give it the sunniest spot you have. Indoors, place it directly in front of a south or west-facing window, or supplement with a grow light if leaves start reaching and going pale.
Temperature: The sweet spot is 65–85°F. Growth really accelerates above 70°F. Below 50°F, growth stalls. Below 45°F, the plant starts to suffer. Below freezing, unprotected potted colocasia will die back to the corm, and if the corm itself freezes, it's done.
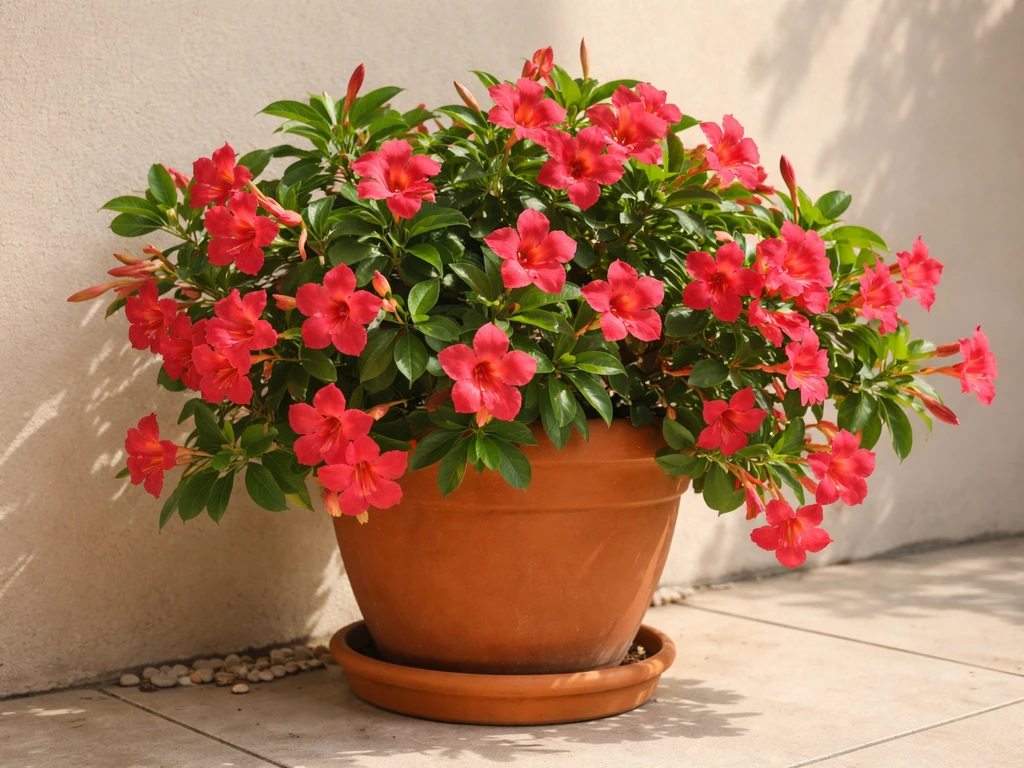
Watering: This is where container growing gets specific. Colocasia in pots dries out much faster than in-ground plants, especially in summer. If you are trying to grow dipladenia in pots, aim for bright light and water only when the top inch of soil dries out Colocasia in pots. During peak growing season, check the soil every one to two days.
Stick your finger about an inch into the soil. If it feels barely moist or dry, water thoroughly until it drains from the bottom. In hot summer weather, large containers often need watering every day or every other day. Consistency matters more than perfection.
The classic mistake is swinging between soggy and bone dry, which stresses the plant and causes drooping and yellowing. Keep it evenly moist.
Outdoors vs indoors: where to put your pot and when to move it
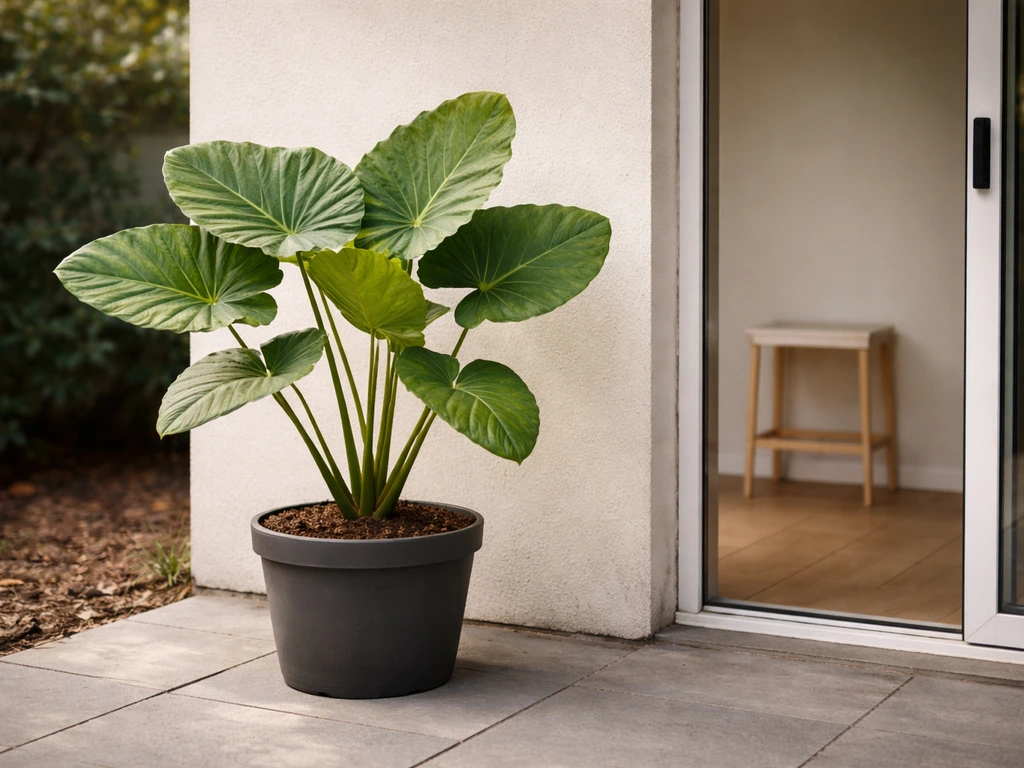
Outdoors is always the first choice when the weather cooperates. Colocasia thrives outside in full tropical-style conditions: warmth, humidity, rain, and sun. A sheltered spot on a patio or deck, away from strong drying winds, is ideal. Wind desiccates those big leaves quickly, especially in containers where the root zone is smaller and can't compensate as fast.
If you're growing colocasia indoors year-round, the biggest challenge is light and humidity. Most homes are too dim and too dry for truly lush growth. Supplement with a grow light on a timer (14 hours of light per day) and run a humidifier nearby or group the plant with other tropicals to raise ambient humidity. A pebble tray with water under the pot also helps.
Seasonally, move the pot outside after your last frost date when nighttime temps are reliably above 50°F, and bring it back inside before the first frost in fall. Don't wait for frost warnings to scramble. When nighttime temps start dipping toward 45–50°F consistently, that's your cue to start the transition back indoors. Sudden cold snaps on a tropical plant in a pot can set it back weeks.
Troubleshooting common pot problems
Yellow leaves
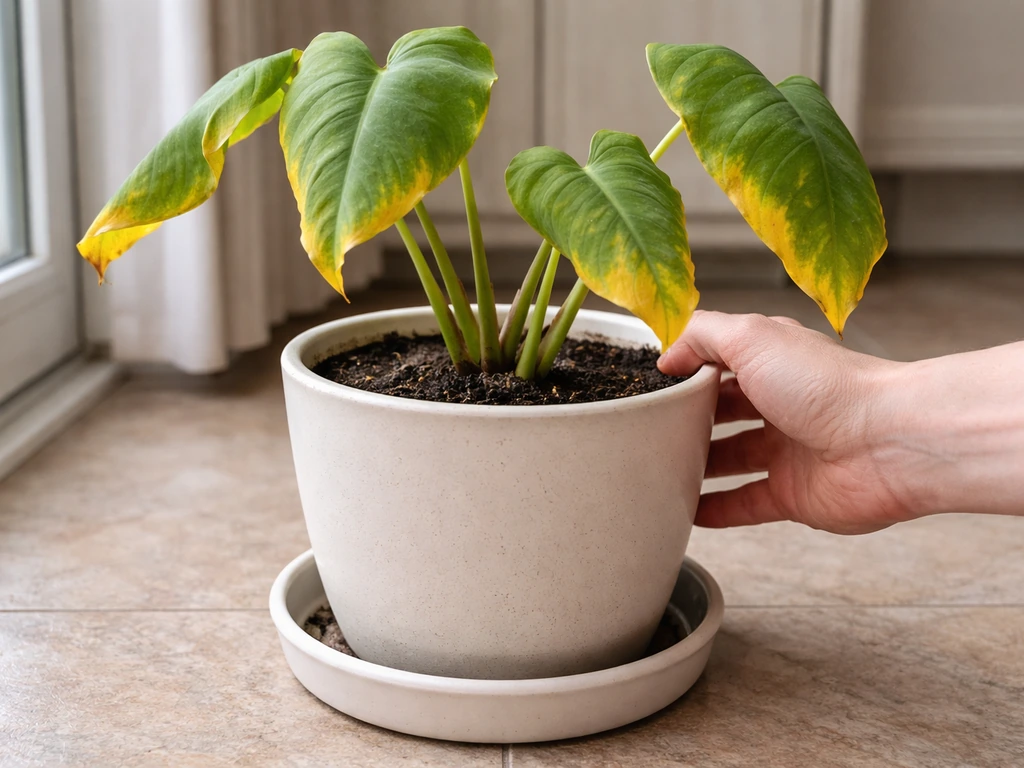
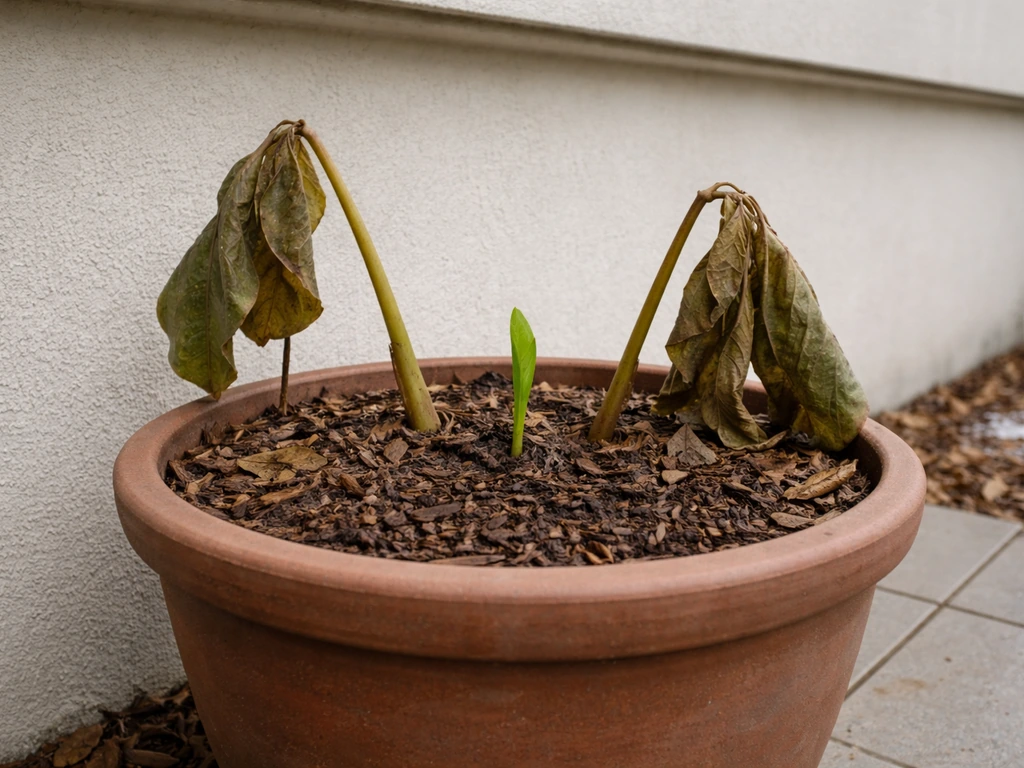
Yellow leaves are the most common complaint with potted colocasia and they have three main causes. First, overwatering or poor drainage: if the soil stays soggy and doesn't drain freely, roots suffocate and leaves yellow from the bottom up. Fix your drainage situation immediately. Second, underwatering: if the soil dried out completely, leaves yellow and then crisp at the edges. Water thoroughly and consistently going forward. Third, nutrient deficiency: container plants flush nutrients out with every watering. If you haven't fed in a month or more during the growing season, the pale or yellowing leaves are probably just hungry. Start a regular fertilizing routine.
Drooping leaves
A colocasia that droops dramatically is usually thirsty. Check the soil first. If it's dry even an inch or two down, water it deeply and the plant will often perk back up within a few hours. Drooping can also happen when the pot is moved from shade to full sun too quickly or when the plant sits in a very windy spot, both of which cause the leaves to lose water faster than the roots can deliver it. If the soil is wet and the plant is still drooping, that's a root rot situation and you need to check the roots immediately.
Root rot
Root rot shows up as mushy, dark, bad-smelling roots. Unpot the plant, cut away all the rotted material with clean scissors or a knife, dust cut surfaces with sulfur powder or cinnamon (both have antifungal properties), let dry for a day, and repot into fresh, well-draining mix. This is also a good time to reassess whether your pot has adequate drainage holes and whether your watering habits need adjusting.
Pests and diseases to watch for in elephant ear pots
Container colocasia is susceptible to several common pests. Spider mites are the biggest threat, especially when the plant is indoors or in hot, dry conditions. They show up as fine webbing and a dusty, stippled look on leaves. Treat with neem oil spray or insecticidal soap, coating the undersides of leaves where they hide. Repeat every 5–7 days for three treatments.
Aphids cluster on new growth and leaf undersides, sucking sap and leaving behind sticky residue. A strong jet of water knocks them off, followed by neem oil or soap spray. Mealybugs look like white cottony clumps in stem joints. Remove them with a cotton swab dipped in rubbing alcohol, then follow up with neem. Fungus gnats are common in containers with consistently moist soil. Their larvae damage roots. Let the top inch of soil dry out between waterings and use yellow sticky traps to catch adults.
On the disease side, Pythium and Phytophthora root rots are the main threats, both caused by overwatering and poor drainage. Taro leaf blight (Phytophthora colocasiae) can occur in humid conditions, showing as dark, water-soaked spots on leaves that spread quickly. Remove affected leaves, improve air circulation, and avoid overhead watering. If it spreads, a copper-based fungicide can help slow it down.
Overwintering your potted colocasia and getting it going again in spring
If you're in USDA zones 8–11, colocasia in pots can often overwinter outdoors with minimal protection. Move the pot to a sheltered spot against a wall, mulch the top of the soil heavily, and the corm usually survives mild winters. In zones 7 and below, you have two solid options.
Option one is to bring the whole pot indoors. Move it to a cool but frost-free space like a garage, basement, or enclosed porch. It doesn't need to stay warm, just above freezing. Water it sparingly (maybe once a month) while it's dormant. It will die back to the soil, and that's fine. The corm is alive underground. In early spring when temps warm back up, start watering more regularly and move it to a bright spot to wake it up.
Option two is to dig out the corms, cure them, and store them bare. After the first frost kills back the foliage, unpot the plant, brush off the soil, and let the corms air dry for a few days. Store them in a paper bag or box with slightly damp peat or vermiculite in a cool, dark place (45–55°F is ideal). Check them monthly and remove any that show signs of rot. In spring, pot them up fresh about 4–6 weeks before your last frost date, either indoors or in a warm greenhouse, and you'll have a head start on the season.
Either method works reliably. I personally prefer leaving the corms in the pot (option one) because it requires less handling and the corms seem to suffer less stress from not being disturbed. But if storage space is tight, digging them is a perfectly good choice. Come spring, give the restarted corms a dose of balanced slow-release fertilizer as new growth emerges and watch them take off again.
If you enjoy growing bold tropical foliage in containers, colocasia pairs beautifully with similarly dramatic plants. Caladiums make excellent companion pots with their patterned leaves, and if you're already growing coleus in pots for color, the contrast with colocasia's larger, plainer leaves is striking. The key across all of them is the same: good drainage, consistent moisture, and enough warmth to keep tropical roots happy.
FAQ
How can I tell if my pot colocasia is getting too much water versus just needing more frequent watering?
Lift the pot a few inches after watering and again right before watering, if it feels extremely light and the top inch is dry, it is under-watered. If it feels heavy all the time, the soil stays wet below the surface, or the leaves yellow from the bottom, suspect poor drainage or staying waterlogged. Also check for a sour smell from the soil, that is a strong sign of rot risk.
Should I leave the leaves on during winter, or cut them back when growth slows?
You can cut back only after the foliage is clearly dying back naturally. If you cut while the plant still looks healthy, it can take longer to re-sprout. For indoor overwintering, stop fertilizing and reduce watering when growth stops, then wait for die-back to complete before removing leaves.
Do I need to repot my colocasia each year if it keeps producing new offsets?
Not necessarily, but watch root fill. If the plant slows down, drains too fast, or roots push up or circle heavily, move up one pot size. When upgrading, disturb the root ball as little as possible and replant at the same soil depth so the corm does not sit too shallow.
What’s the right soil depth for corm planting in pots, and what happens if I plant it too shallow?
Plant about 2 to 3 inches deep. If it is too shallow, the corm can dry out or chill more easily, leading to weak sprouting or rot. If it is too deep, it can delay emergence, and you may see slower early growth until the corm establishes.
Can I grow colocasia in a self-watering planter or with a reservoir?
Yes only if the reservoir cannot keep the entire root zone constantly wet. Use a planter design that wicks up moisture without flooding, and monitor closely during peak growth since pots can still over-saturate. Even with a reservoir, you must ensure excess does not remain stagnant near the corm.
My colocasia leaves are yellowing, but the soil looks moist. Could it still be a watering problem?
Yes. Moist can still mean stagnant if drainage is poor or the mix is too fine. Check whether water actually drains from the bottom within a reasonable time after watering. If not, repot into a looser mix with added perlite and improve the pot feet or saucer routine.
How much light can I give indoors, and is a south window enough without grow lights?
A south or west window helps, but many homes are too dim in winter for big leaves. If new growth is smaller, pale, or stems get leggy, add a grow light on a timer (about 12 to 14 hours). Aim the light close enough to prevent stretching, and rotate the pot weekly for even leaf posture.
What should I do if pests keep coming back even after neem or soap treatments?
Switch tactics based on pest pressure and timing. Spider mites often rebound if humidity is too low, so increase humidity and spray undersides thoroughly. For persistent issues, separate the plant from others, treat on a schedule for several rounds, and check after 3 to 5 days for new stippling or webbing before deciding to escalate.
Are fungus gnats always a sign that I’m overwatering?
Usually, yes, but sometimes the potting mix or organic top layer is staying wet longer than you think. Let the top inch dry between waterings and avoid adding composty mulch on the surface. Use sticky traps to reduce adults, and if larvae persist, you may need to refresh the top few inches of the mix.
How can I prevent drooping that is caused by heat or wind after I move the pot outdoors?
Acclimate gradually over several days, starting with morning sun and shelter from afternoon heat. Keep the first outdoor spot protected from strong drying winds, and water right after placement so the root zone catches up. If drooping happens within hours of moving, it is often water loss from the leaves outpacing root uptake.