Dipladenia grows beautifully in pots as long as you give it good drainage, plenty of direct sun (at least 6 to 8 hours a day), and a consistent watering and feeding routine. Dipladenia grows beautifully in pots as long as you give it good drainage, plenty of direct sun (at least 6 to 8 hours a day), and a consistent watering and feeding routine. Pick a compact variety, use a free-draining bark-based mix, and keep it in the warmest spot you have. Do those three things right and you'll have trumpets of red, pink, or white blooms from late spring through fall, with the plant happily overwintering indoors when the cold hits.
How to Grow Dipladenia in Pots: Full Container Guide
Marcus Whitley
18 May 2026
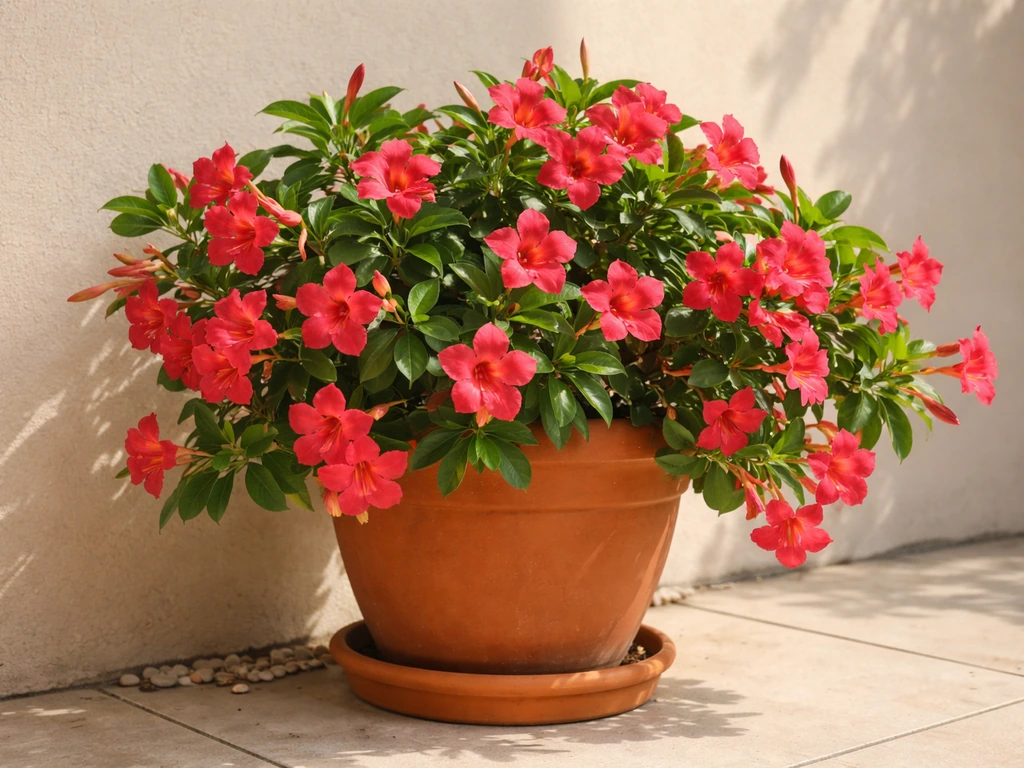
Choosing the right dipladenia variety and pot size
Not all dipladenias behave the same way in a pot, so variety choice matters more than people think. The classic vining mandevillas can push 6 feet or more and want a big container and a serious trellis. For most home gardeners growing in pots on a patio or balcony, the compact bush-type varieties are the better call. Plants like the Sundaville 'Fashion' or 'Compact White' types stay between 12 and 14 inches tall with a spread of around 10 to 12 inches, need little to no trellis, and start flowering early. If you do want a taller, showier plant, something like Sundaville Red can reach around 2 metres but stays manageable at about 50 cm wide. It just needs a bit more pot real estate and something to climb.
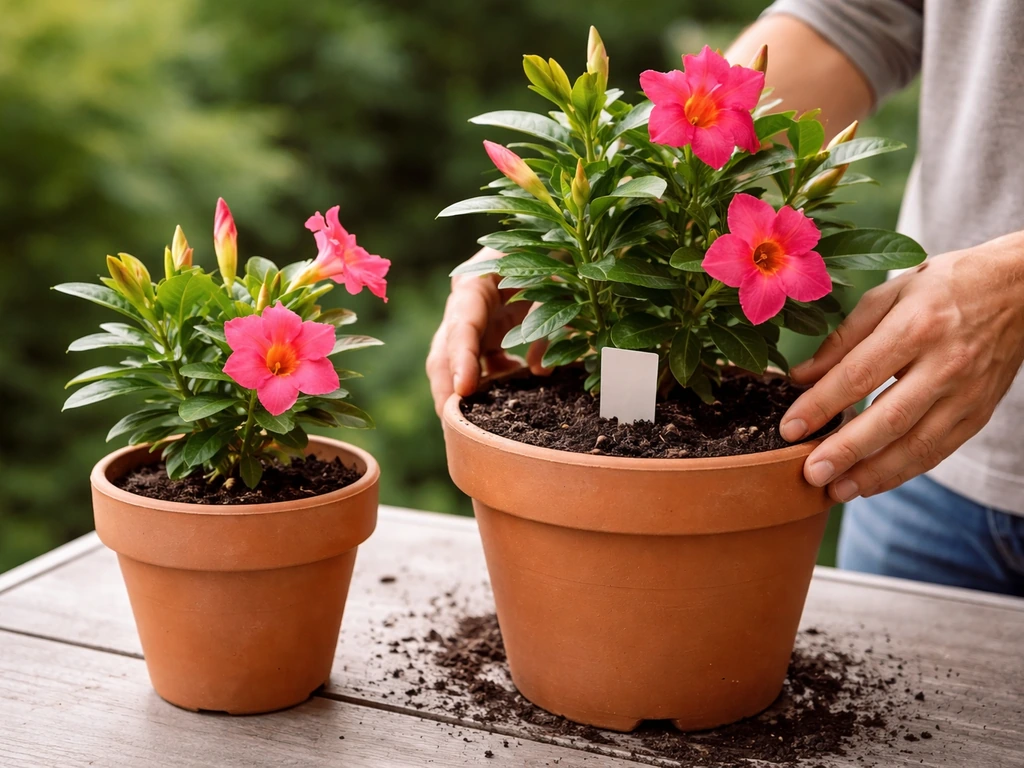
For pot size, start with whatever size the plant comes in, then move up. A compact variety can start happily in a 9 to 12 cm pot when young, but it will outgrow that quickly once the growing season kicks in. A good working size for a single compact dipladenia is a 25 to 30 cm (10 to 12 inch) pot. If you want to grow a larger vining variety or mix it with other plants, aim for a 40 to 50 cm (16 to 20 inch) container. The rule of thumb is simple: go up one pot size at a time, and don't jump to a massive pot all at once or the excess wet soil around the roots can cause problems.
Best potting mix and container setup
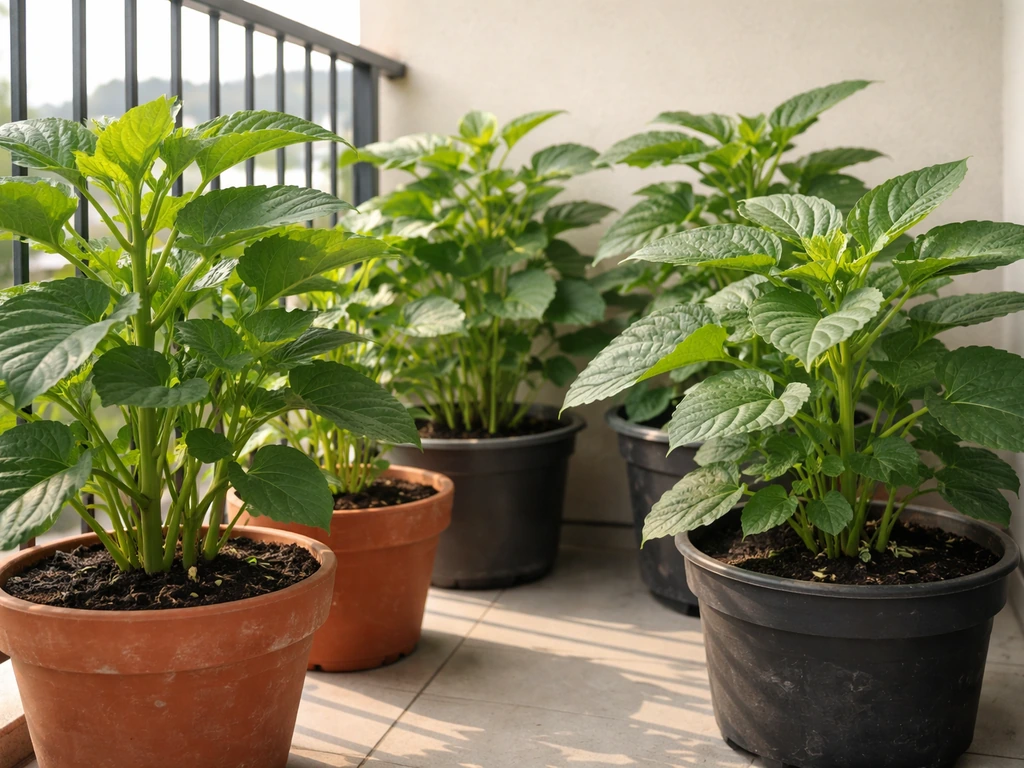
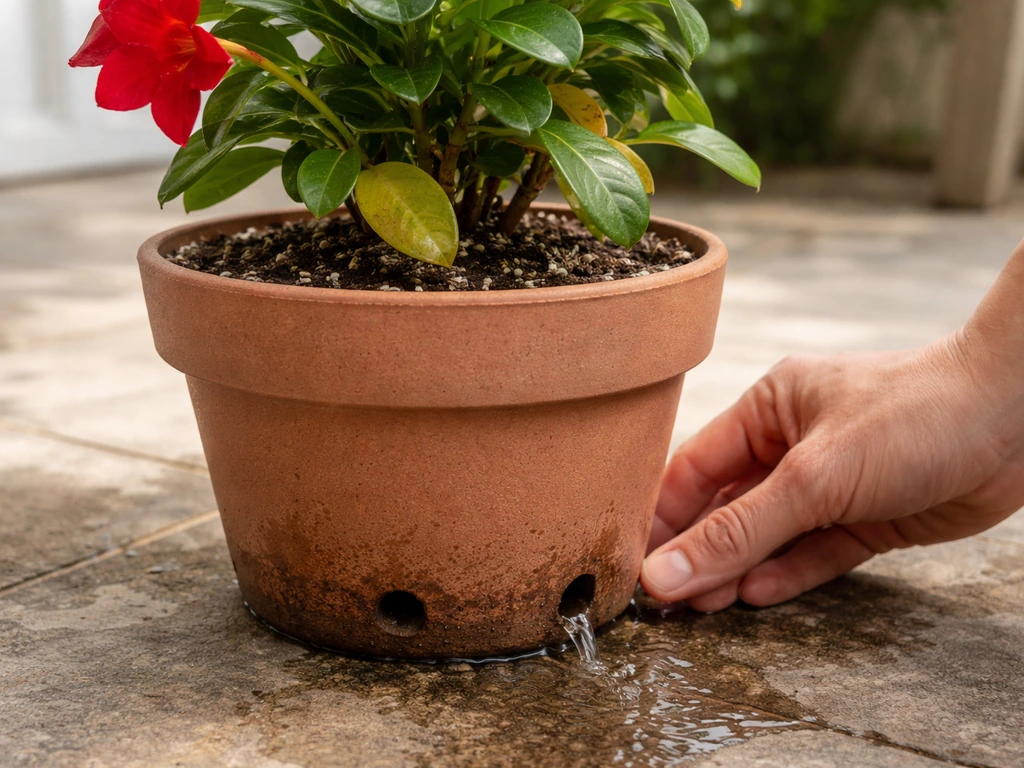
Drainage is the single biggest thing standing between a thriving dipladenia and a dead one. If you are looking for how to grow coleus in pots, the key is a pot with drainage plus consistent watering and bright light so the foliage stays full. These plants hate sitting in soggy soil. Always use a pot with drainage holes at the bottom, and don't bother with a layer of gravel at the base, which actually does more harm than good by raising the water table inside the pot.
For the mix itself, dipladenia wants something airy and free-draining rather than a heavy all-purpose compost. A reliable recipe used by commercial growers is around 55% pine bark, 15% Canadian peat, 15% peat, and 15% coarse perlite. At home, a practical version of this is to take a peat-based potting mix and blend in about 30% pine bark and 15 to 20% perlite or coarse sand. The result should feel light and crumbly, not dense and sticky. If you squeeze a handful and water drains straight through, you've got the texture right. Avoid mixes that compact tightly or hold water for a long time. That kind of soil restricts roots and is the fastest route to root rot.
Planting and propagation basics
Transplanting a nursery-bought plant
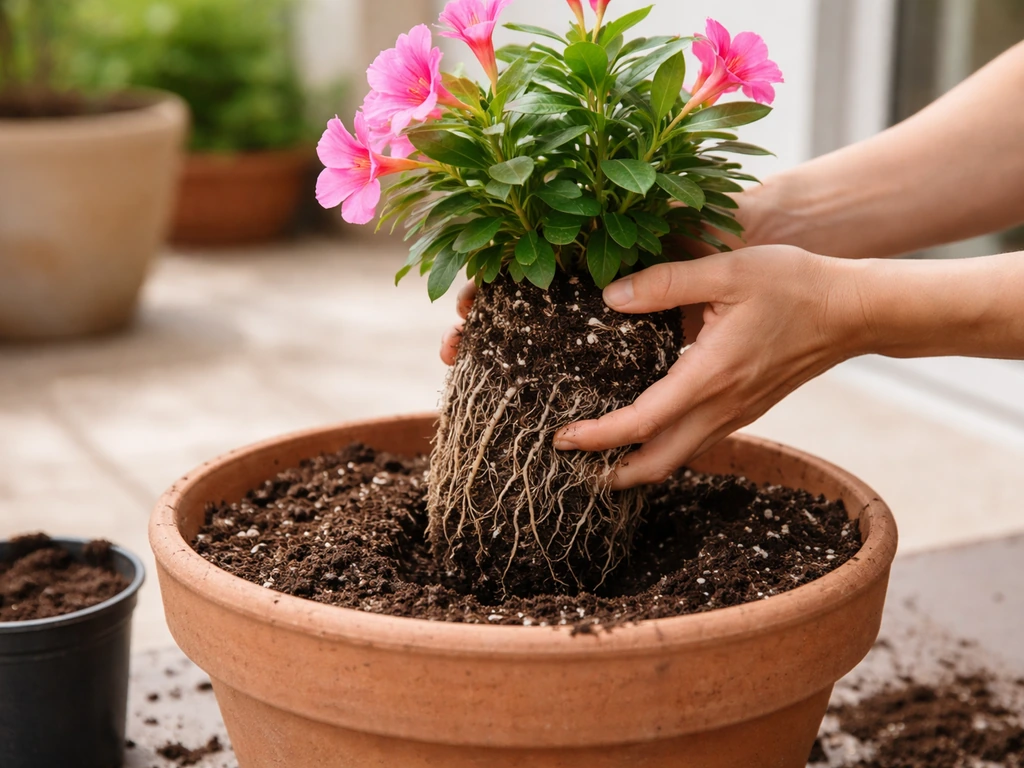
If you've bought a dipladenia from a garden centre, the pot it came in is almost certainly too small for long-term growth. Repot it into the next size up before it starts flowering heavily, using your prepared bark-based mix. Set it at the same depth it was growing before, firm the mix gently around the roots, and water it in well. Place it in its permanent spot rather than moving it around too much once it's settled.
Growing from cuttings
Propagating dipladenia from cuttings is doable at home, but it requires a bit of patience. Take 3 to 4 inch stem tip cuttings in late spring or early summer, cutting just below a leaf node. Dip the cut end in rooting hormone powder, then stick it into a small pot filled with a sandy peat mix. The key to success here is bottom heat: aim for a soil temperature of around 72 to 74°F (22 to 23°C) at the base. A propagation heat mat under the pot works well for this. Cover the pot loosely with a plastic bag or place it in a small humidity dome to keep moisture levels up, and mist lightly if it dries out. Expect roots in three to four weeks. Fair warning: it can be a bit hit or miss at home, especially without a heat mat, so don't be discouraged if your first batch doesn't take. Try a few cuttings at once to improve your odds.
Light, temperature, and seasonal care
Outdoors in the warm season
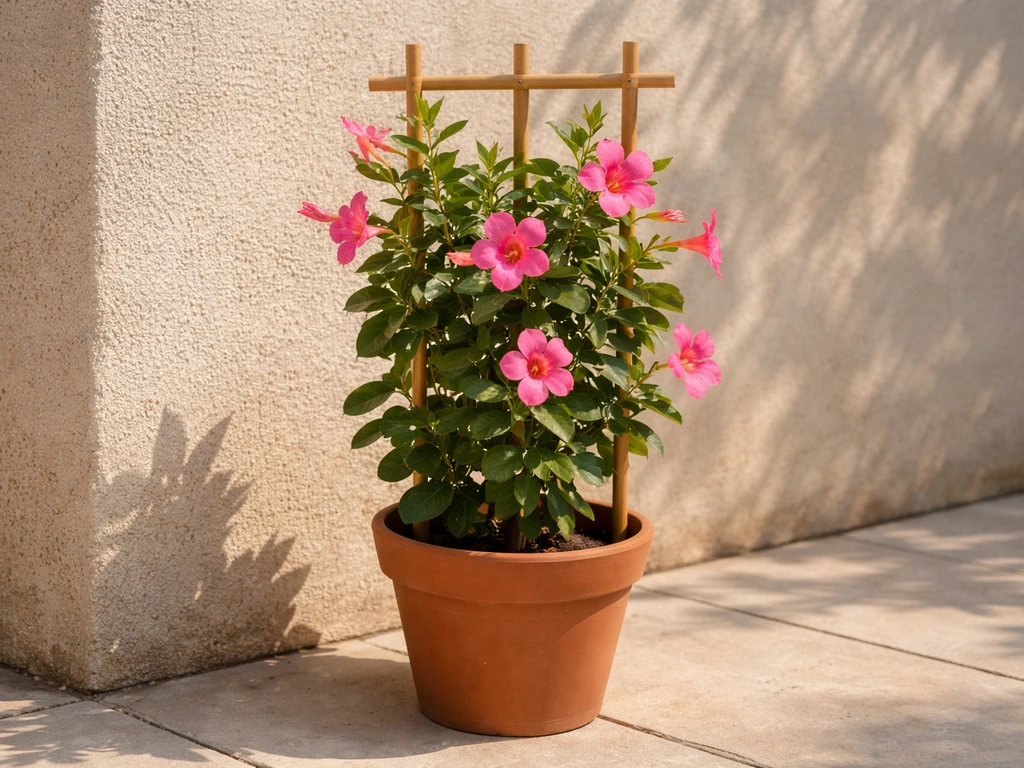
Dipladenia is a sun lover. Outdoors, it needs a minimum of 6 to 8 hours of direct sunlight daily to flower reliably all season. A south or west-facing spot is ideal. In very hot climates where temperatures regularly push above 95°F (35°C), a spot with morning sun and afternoon shade helps prevent the foliage from scorching, but everywhere else, full sun is the goal. More sun genuinely equals more flowers here.
Bringing it indoors for winter
Once outdoor temperatures drop below 50°F (10°C), it's time to bring the pot inside. Don't wait for frost. Dipladenia is tropical and even a light frost can damage or kill it. Before moving it in, check carefully for pests, especially spider mites and aphids, since indoor conditions can cause an infestation to explode. Indoors, the brightest window you have is the right spot, ideally a south-facing window that gets several hours of direct light. The plant will slow down significantly, and that's normal. Reduce watering and stop fertilizing until spring.
Transitioning back outdoors in spring
Don't rush the plant back outside. Wait until nighttime temperatures are consistently above 60°F (16°C), which in most UK and northern US climates means late May to early June. When you do move it out, don't go straight from a dim indoor window to blazing full sun. Spend about a week in a shaded outdoor spot first to let the plant adjust, then gradually move it into its full-sun position. Skipping this step can cause leaf scorch and stress.
Watering routine and fertilizing schedule
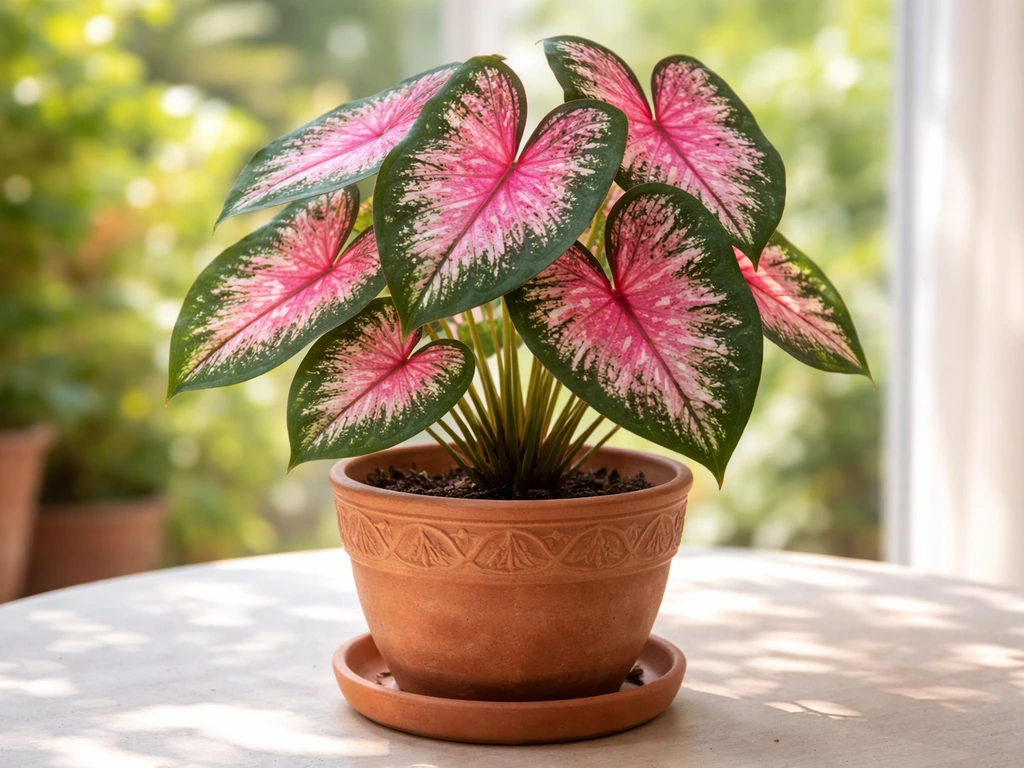
Dipladenia likes consistent moisture but hates sitting in wet soil. Colocasia in pots needs similarly consistent moisture and a free-draining mix so the roots do not stay waterlogged. The practical rule is to let the top 1 to 2 inches of the mix dry out between waterings, then water thoroughly so it drains freely from the bottom of the pot. In a warm sunny spot in summer, that might mean watering every 2 to 3 days. In cooler or cloudy weather, stretch it out. Stick your finger into the mix to check rather than watering on a fixed calendar schedule. If you’re also wondering how to grow caladiums in pots, the big takeaway is to match the watering to the mix and light so the roots never sit in soggy soil. If the top inch is still damp, wait another day.
For fertilizing, dipladenia in containers needs regular feeding because nutrients wash out with every watering. Start the season in spring with a balanced slow-release granular fertilizer (something like a 10-10-10 or 20-20-20 NPK works well) worked into the top of the mix. Once the plant starts actively blooming, switch to a water-soluble fertilizer that's higher in phosphorus and feed every 2 to 3 weeks through the flowering season. Phosphorus is the nutrient that drives flower production, so the shift matters. Stop feeding entirely once you bring the plant indoors for winter.
Training, pruning, and managing flowering
Dipladenia flowers on new growth, which means the more new stems you encourage, the more flowers you get. This is why pruning and pinching actually increase blooming rather than reducing it. In early spring, before the plant starts growing again after winter, you can cut stems back to around 6 to 8 inches from the base. The plant will push out vigorous new growth and still bloom well that same summer.
Once growth is underway, pinch out the tips of new shoots every few weeks to encourage branching. More branches means more flowering tips. For compact varieties, this keeps the plant tidy and bushy. For vining types, give them a small trellis or bamboo frame in the pot to climb and train stems as they grow. Even compact forms benefit from a small trellis for airflow and shape, especially when grown indoors where air circulation is reduced.
One important safety note: dipladenia produces a milky sap that can irritate skin. Always wear gloves when pruning or handling cut stems, and wash your hands afterwards. This is especially worth remembering if you're doing a hard cutback in spring.
Deadheading spent flowers regularly also makes a genuine difference. Pinch or snip off faded blooms along with their stalks to stop the plant putting energy into seed production and redirect it into making new flowers. It takes a few minutes every week but noticeably extends and intensifies the display.
Common problems in pots and how to fix them
| Problem | Likely Cause | Fix |
|---|---|---|
| Yellow leaves | Overwatering or waterlogged roots | Check drainage holes are clear, let the top 1–2 inches dry before watering again, improve mix aeration |
| Yellow leaves (lower only) | Natural leaf drop or low light indoors | Move to a brighter spot; some lower leaf drop in winter is normal |
| Wilting despite wet soil | Root rot from poor drainage | Unpot, trim any black/mushy roots, repot into fresh well-draining mix, reduce watering |
| Wilting in dry mix | Underwatering or heat stress | Water thoroughly, move out of scorching afternoon sun in very hot climates |
| Few or no flowers | Insufficient light or lack of phosphorus | Move to a sunnier spot (6–8 hours minimum), switch to a high-phosphorus fertilizer |
| Leggy, sparse growth | Low light or overcrowding | Move outdoors into full sun, prune and pinch to encourage bushier growth |
| Spider mites | Hot, dry indoor conditions | Wipe leaves with a damp cloth, use insecticidal soap spray, improve humidity |
| Aphids | Common on new growth | Blast off with a hose, or use insecticidal soap; check before bringing indoors in autumn |
| Mealybugs | Often brought in on plant | Remove with a cotton bud dipped in rubbing alcohol, follow up with neem oil spray |
The most common issue I see with dipladenia in containers is overwatering combined with a mix that holds too much moisture. If leaves are yellowing and the soil feels consistently damp, that's the first thing to address. A free-draining mix and a pot with good drainage holes solves most of these problems before they even start.
Repotting and long-term care to keep it blooming
Plan to repot your dipladenia once a year, ideally in late spring (late May to early June) just before it goes back outside after winter. Move it up one pot size at a time rather than jumping to a much larger container. The maximum useful pot size for most home-grown dipladenias is around 40 to 50 cm (16 to 20 inches) in diameter. Going bigger than that doesn't help flowering and just means more wet soil around the roots.
When repotting, shake off as much of the old mix as you can without damaging the roots, refresh with your bark-perlite blend, and firm gently. This is also a good time to do any significant pruning and to check for root rot before the growing season kicks off. A plant that's been in the same pot and same mix for several years will always underperform compared to one that gets a fresh start each spring.
Long-term, the pattern that keeps dipladenia blooming reliably year after year is: bring it indoors before frost, let it rest with minimal water and no feed over winter, cut it back in early spring, repot into fresh mix, move it back outside once nights are reliably above 60°F, and then feed and water consistently through the blooming season. Each summer it should come back stronger than the last. If you're already growing other flowering container plants like calibrachoa or portulaca alongside it, dipladenia fits nicely into the same sunny spot and similar feeding schedule, which makes managing a mixed container display a lot more straightforward. If you want to include calibrachoa in your container too, the same kind of sunny, well-drained setup helps them thrive.
FAQ
My dipladenia gets lots of buds indoors but drops them before flowering. Why, and what should I do?
Bud drop indoors is usually stress from low light or inconsistent watering. Move the pot to the brightest window you have, water only when the top 1 to 2 inches of mix dry out, and avoid moving it around during the weeks the buds form. If you recently brought it indoors, expect a slow-down, then resume stronger flowering once new outdoor growth begins.
Should I let water drain freely every time, or is it okay to leave some water sitting in the saucer?
Always empty the saucer or cachepot after watering. Even if your pot has drainage holes, letting the pot sit in runoff can keep the root zone wet and trigger root rot. If you use a decorative outer pot, water the inner pot thoroughly, then remove the inner pot and let excess drain before returning it.
What if my dipladenia is tall and leggy, even though it’s in sun?
Legginess often comes from not pinching enough early growth or from insufficient light before the outdoor season. In spring, prune back to encourage new stems, then pinch the tips every few weeks during active growth. If it still stretches indoors, prioritize a south-facing window or supplement light, because “bright” room light is usually not enough.
How do I tell root rot from simple overwatering, and what’s the quickest fix?
If the soil is persistently damp and leaves yellow while stems feel soft or the base smells unpleasant, that points to rot. The fastest fix is to unpot, remove any black or mushy roots, repot into fresh bark-based mix, and adjust watering to only after the top 1 to 2 inches dry. After repotting, keep it in warm light but avoid heavy feeding until you see new growth.
Can I grow dipladenia from seed, or is it only cuttings?
While seed propagation is possible, it is far less reliable and slower than cuttings for consistent results, especially with named compact varieties. For home gardeners who want the same look and blooming habit, stem-tip cuttings with bottom heat are the practical choice.
When should I fertilize if my dipladenia is already flowering when I bring it home?
If it’s actively blooming after purchase, wait until you have it settled in its new pot and you see normal, steady growth. Then switch to a phosphorus-forward water-soluble feed during the flowering season. Avoid fertilizing while you are still repotting, adjusting light, or dealing with leaf drop from stress.
Is it safe to move dipladenia from shade to full sun quickly?
A sudden jump often causes leaf scorch, especially when moving from indoor windows or a cloudy stretch outdoors. Use a gradual acclimation period, about a week, starting with several hours of gentle light in shade and then increasing exposure step by step until it reaches full sun.
Do I need to deadhead, or will it flower again without it?
It will keep flowering, but deadheading improves the flush because the plant stops investing energy into seed. Pinch or snip faded blooms along with their stalks regularly, especially in warm seasons when it would otherwise shift into seed production.
Why do my leaves develop yellow spots or look dusty, and could it be pests?
Spider mites commonly show up as stippled or dusty-looking leaves, and aphids cluster on new shoots. Indoors these pests can escalate quickly, so inspect the undersides of leaves regularly. If you see signs, isolate the plant and treat promptly rather than just adjusting watering.
What’s the best way to handle pruning and the milky sap?
Wear gloves and protect your skin, especially during hard cutbacks in early spring. Use clean shears to reduce damage, and wash hands immediately afterward. If sap gets on furniture or floors, wipe quickly because it can be harder to remove after it dries.
Can I keep dipladenia outdoors year-round in mild climates?
Only if winter temperatures never dip near frost. Dipladenia is tropical, even light frost can damage it, so in marginal climates you may need a frost cover or an indoor overwinter plan. If you rely on protection outdoors, still monitor overnight temperatures closely, because a single cold snap can set the plant back for months.
Citations
Sundaville® markets mandevilla (dipladenia) as “compact and early flowering” for “the smallest pot sizes,” and notes these ranges are generally compact/branching rather than sprawling vining forms.
https://sundaville.com/collection/
Sundaville® “Fashion” is described as “super early flowering and compact growth,” and it’s stated to be suitable for small pots such as 9/10.5/12 cm, with or without support (trellis).
https://sundaville.com/nl/collectie/
Mandevilla ‘Sundaville Red’ is listed with Height: 2m and Spread: 50cm, and described as a compact plant with large, trumpet-shaped flowers.
https://www.gardenersworld.com/plants/mandevilla-sundaville-red/
“Divina Compact White Mandevilla” is specified as a compact bush-type mandevilla with no trellis needed; its listed general size is Height: 12–14 in (30–36 cm) and Spread: 10–12 in (25–30 cm).
https://www.selectanorthamerica.com/utility/CultureSheetPDF.aspx?pagename=printerfriendlyplantinfo.aspx&txtphid=040510572005863
The article advises that after purchase, the pot provided is quickly too small and implies a need for timely repotting “juste avant sa floraison” (quick repotting right before flowering).
https://www.promessedefleurs.com/conseil-plantes-jardin/ficheconseil/cultiver-dipladenia-pot/
It states container success depends on (1) a freely draining, aerated potting mix, (2) at least ~6–8 hours of direct sun daily for flowering, and (3) consistent moisture without saturation with the top 1–2 inches drying between waterings.
https://lifetips.alibaba.com/plant-care/growing-dipladenia-or-mandevilla-in-containers
Leafy Zen recommends, for larger shared planters, a container in the ~16–20 inch range and notes compact forms still benefit from a small trellis for shape/airflow.
https://leafyzen.com/mandevilla-and-dipladenia-care/
Oglesby Plants notes recommended potting mix guidance: “Peat based mixes with 30% pine bark and 15 to 20% of inert components (saw dust, sand, airlite, perlite, etc.) are recommended,” and warns that tight/compressed soil can restrict roots and reduce drainage, increasing root rot risk.
https://www.oglesbytc.com/notes-mandevilla
It recommends a specific mix: 55% pine bark plus 15% Canadian peat / 15% Florida peat and 15% coarse perlite; it also claims “Plant does not appear to be a heavy water user,” and cautions not to let the pot get too dry (implying a balance between drainage and moisture).
https://tcgrasses.com/wp-content/uploads/2020/04/Mandevilla-Fury.pdf
The Sundaville leaflet includes instructions that indicate potting on into a pot size “around” a certain size after early rooting/handling (document includes “After 24 hours, pot the plant up into a pot size of around …”).
https://www.huizengaplantgoed.nl/pdf/leaflet_Sundaville.pdf
Gardening Know How recommends rooting dipladenia/mandevilla cuttings using rooting powder and placing cuttings into prepared pots, then using bottom heat/heat mat conditions around 60°F to support rooting.
https://www.gardeningknowhow.com/ornamental/vines/mandevilla/dipladenia-cutting-propagation.htm
Gardening Know How states propagation is accomplished by “seed or cuttings,” and describes using cuttings with a “sandy peat mix” (when desired, dip in rooting hormone).
https://www.gardeningknowhow.com/ornamental/vines/mandevilla/mandevilla-propagation.htm
Promesse de Fleurs describes that propagation is “quite tedious” and is done in a humid mini-greenhouse using plant hormones and bottom heat.
https://www.promessedefleurs.ie/gardening-tips/familysheet/dipladenia-mandevilla-planting-and-care/
Syngenta’s vegetative dipladenia culture sheet specifies bottom heat: 72–74°F (22–23°C) for the first three weeks; it also states the use of rooting hormone is recommended and describes overhead watering/misting during propagation.
https://www.syngentaflowers.com/ams/sites/g/files/kgtney2381/files/media/document/2022/12/15/culture_vegetative_dipladenia_madiniapetite.pdf
Homes and Gardens advises bringing mandevilla indoors once temperatures drop to below 50°F and before the first frost (with indoor potting if needed).
https://www.homesandgardens.com/gardens/how-to-overwinter-mandevilla
Gardening Know How advises repotting/fertilizing “in late May to early June,” returning outdoors when temps are above 60°F (16°C), and gradually acclimating from less indoor light to outdoor light by moving to a shaded area a week or so before fully placing outdoors.
https://www.gardeningknowhow.com/ornamental/vines/mandevilla/mandevilla-winter-indoors.htm
Leafy Zen’s guidance emphasizes full sun for best results (while flowers form better in brighter light) and discusses container/topping/airflow needs that affect how well plants bloom across seasons.
https://leafyzen.com/mandevilla-and-dipladenia-care/
Leafy Zen suggests that compact dipladenia forms may be less eager to twine and benefit from a small trellis for shape and airflow—important indoors where airflow/humidity differs.
https://leafyzen.com/mandevilla-and-dipladenia-care/
It claims mandevilla needs a minimum of 6–8 hours of direct sun daily for reliable long-season flowering, and suggests morning sun with afternoon shade in hot climates.
https://lifetips.alibaba.com/plant-care/mandevilla-sun
RHS advises wearing gloves when pruning/handling mandevillas due to milky sap that can irritate skin.
https://www.rhs.org.uk/plants/mandevilla/how-to-grow-mandevillas
Garden Guides advises pruning and pinching: prune then pinch to encourage new stems and more flowers; it also states pruning after the plant begins to grow can reduce that summer’s flower buds, and that stems can be cut back to ~6–8 inches and still bloom that summer.
https://www.gardenguides.com/13426463-how-to-prune-a-mandevilla-plant/
Gardening Know How emphasizes that mandevilla produces flowers on new growth (summer flowers bloom on new growth), and that unmanaged growth can become unkempt and reduce blooming potential.
https://www.gardeningknowhow.com/ornamental/vines/mandevilla/prune-mandevilla-vines.htm
RHS defines deadheading as removing spent flowers to encourage more blooms and prevent seed production, describing a simple method to remove faded blooms with fingers and removing the flower with its stalk.
https://www.rhs.org.uk/garden-jobs/deadheading-plants
Nature & Garden says regular deadheading encourages more flowers and recommends “Feed lightly every 2–3 weeks during the blooming period to maximize flower count and size.”
https://www.nature-and-garden.com/gardening/dipladenia.html
Homes and Gardens recommends feeding every 2–3 weeks with a water-soluble fertilizer high in phosphorus once mandevilla starts blooming; it also suggests spring feeding using a slow-release/granular organic option with examples of NPK 10-10-10 or 20-20-20.
https://www.homesandgardens.com/gardens/fertilize-mandevilla
A container-focused source states to maintain consistent moisture without saturation and to allow the top 1–2 inches of soil to dry between waterings—aimed at avoiding root rot while preventing drought stress.
https://lifetips.alibaba.com/plant-care/growing-dipladenia-or-mandevilla-in-containers
Leafy Zen includes container culture notes that connect airflow/trellis and light to plant health; these are relevant because yellowing/leggy growth in containers often relates to insufficient light and crowding.
https://leafyzen.com/mandevilla-and-dipladenia-care/
Promesse de Fleurs states the purchased pot is quickly too small and recommends quick repotting before flowering, implying that root restriction and depleted medium contribute to late/poor bloom in containers.
https://www.promessedefleurs.com/conseil-plantes-jardin/ficheconseil/cultiver-dipladenia-pot/
A QVC PDF states a transplant/repotting rule of thumb: “You can transplant gradually one pot size per year up to 20 inches in diameter.”
https://www.qvc.com/footers/fth/pdf/M53084-Mandevilla.pdf
Planet Natural recommends selecting pots with drainage holes and indicates that cuttings or transplants should be placed into well-drained soil conditions (reiterating container drainage as critical).
https://www.planetnatural.com/dipladenia/
Leafy Zen emphasizes using containers properly (e.g., sufficient light and airflow via trellising/placement) to reduce common container ailments like leggy growth and stress-related issues that can look like yellow leaves.
https://leafyzen.com/mandevilla-and-dipladenia-care/