Fill a small pot with seed-starting mix, sow your seeds at a depth of about twice their diameter, water gently from below, and keep the pot warm and bright. That's the core of it. Most seeds will germinate within 5 to 14 days if you keep the mix consistently moist (not soggy), the temperature in the right range, and give seedlings enough light once they sprout. The steps below walk you through every stage from choosing your pot to feeding your first true plants.
How to Grow Seeds in a Pot: Step by Step Guide
Marcus Whitley
16 May 2026
Choosing containers and potting mix for seed starting
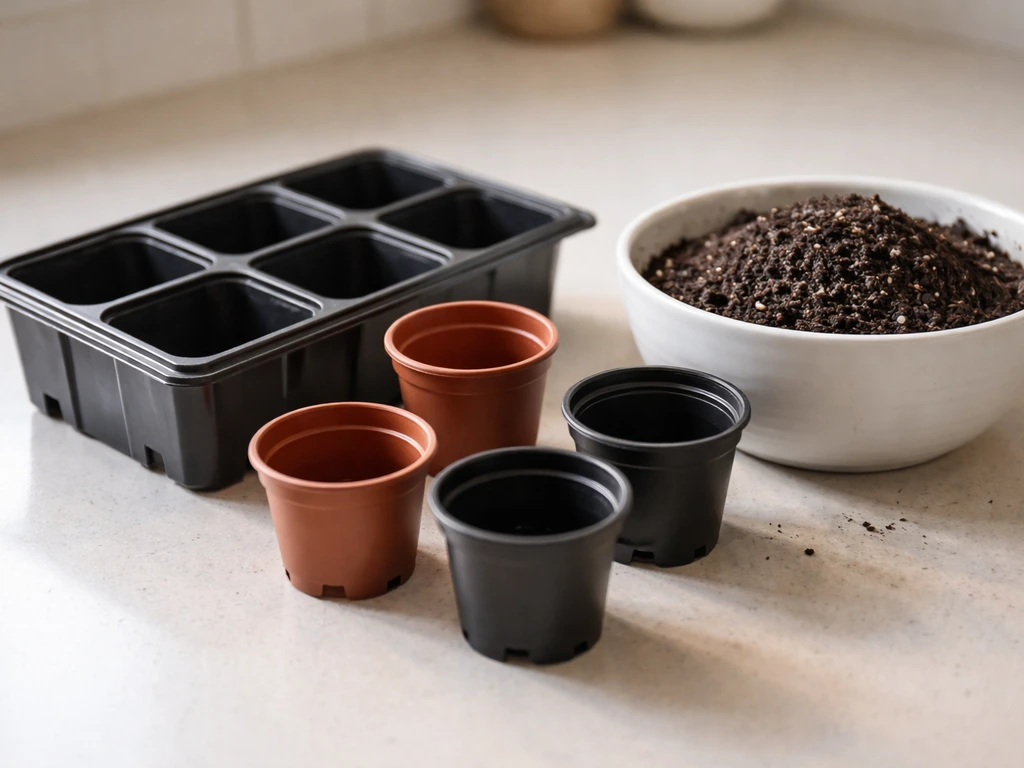
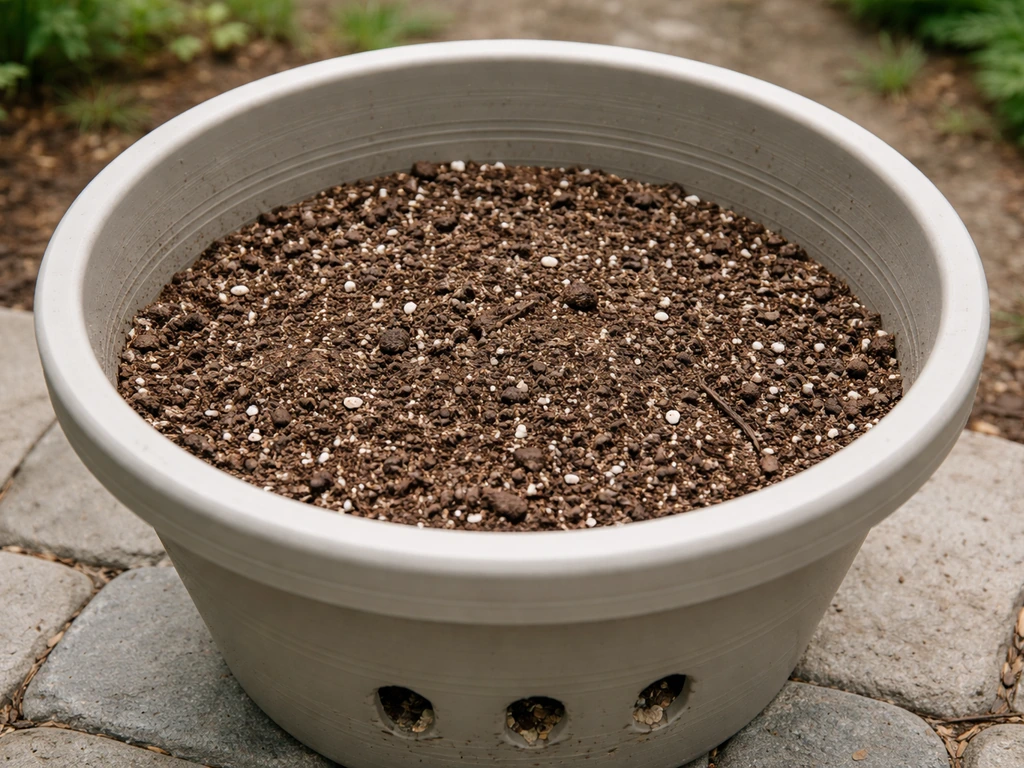
The single most important thing about any container you use for seed starting: it must have drainage holes. Seeds sitting in waterlogged mix will rot, and so will young seedlings. That's not a preference, it's a rule. Beyond that, you have plenty of options. Small individual pots, divided plastic trays (the kind with 6 or 12 separate cells), biodegradable paper or peat pots, or even repurposed yogurt containers with holes punched in the bottom all work fine.
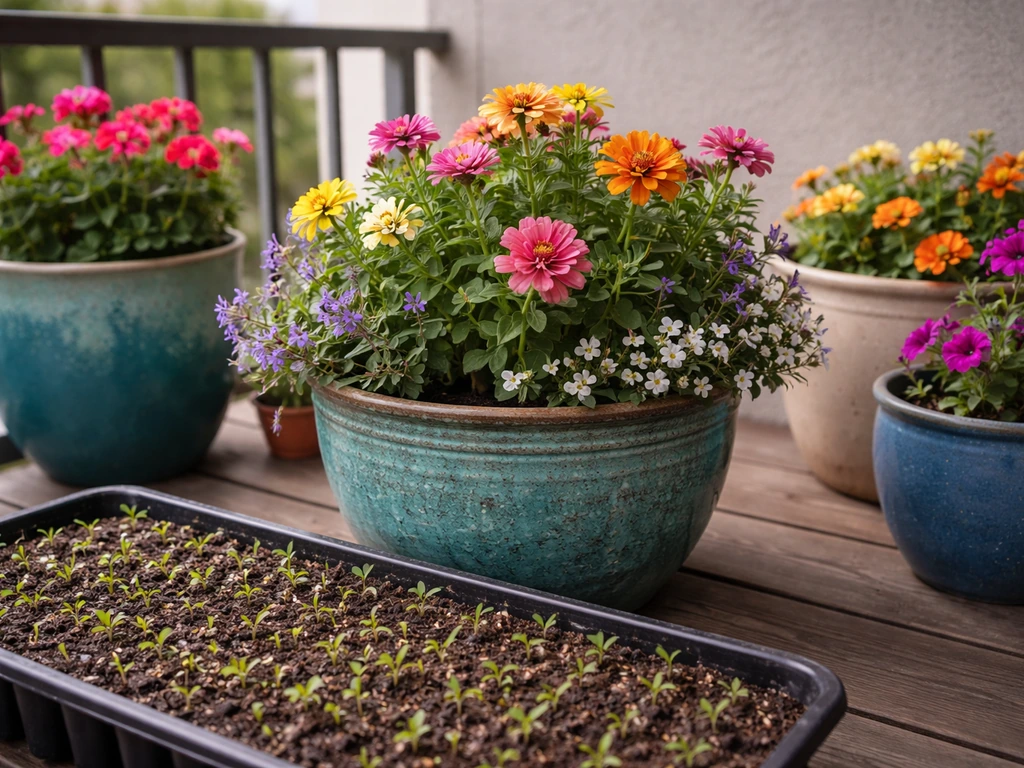
For most vegetables and flowers, I prefer individual cells or small pots rather than one big tray where you scatter seeds everywhere. One seed (or two, and then thin to one) per cell gives each seedling room, keeps roots separate, and makes transplanting much easier later on. If you're working with a catch tray underneath, make sure water drains out of the seed container freely and doesn't pool for hours, which is exactly the condition that triggers damping off (more on that below).
For the mix itself, use a dedicated seed-starting mix, not regular potting soil and definitely not garden soil dug from outside. Seed-starting mixes are light, fine-textured, and designed to hold just enough moisture while letting air reach the seeds. They're typically made from peat moss or coconut coir combined with vermiculite or perlite. Garden soil is too heavy and dense, and it can harbor fungi that kill seedlings overnight. It's genuinely not worth the risk.
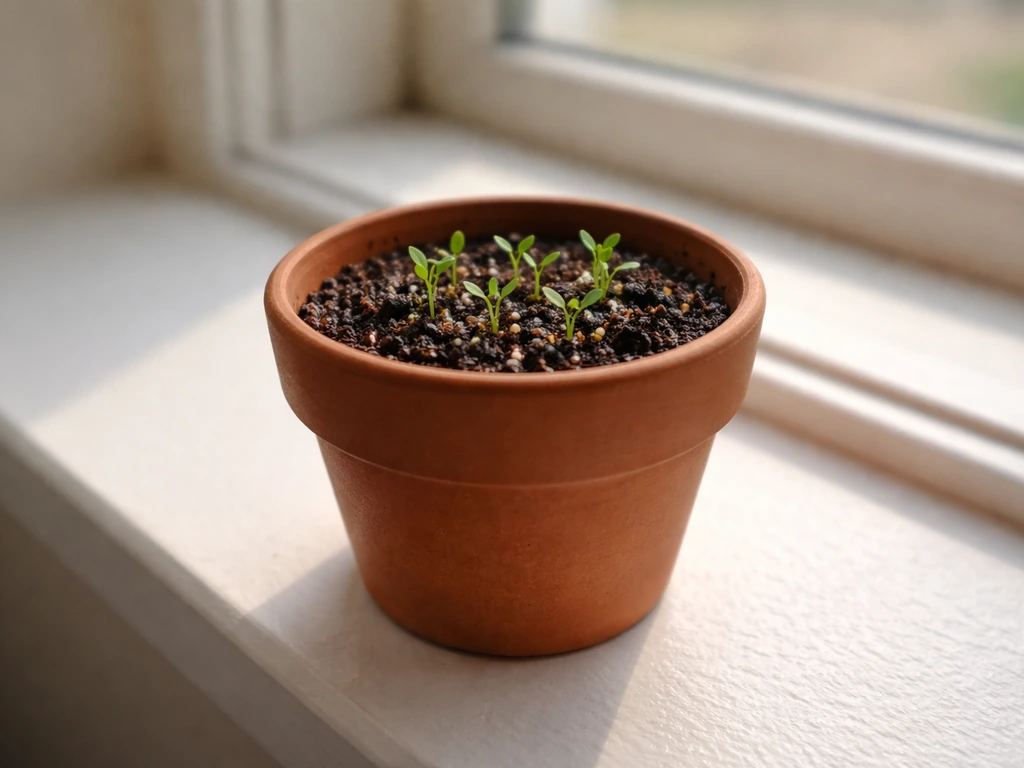
When filling your container, add the mix to just below the rim, not halfway down. A half-full pot dries out much faster at the surface and makes watering unevenly harder to manage. Fill it up, press down lightly to remove air pockets, and you're ready to sow.
Selecting seeds and planning for pot size and spacing
Not every plant is equally happy in a pot long-term, so it's worth thinking about this before you buy seeds. The good news is that most vegetables and many flowers can be started from seed in small containers, even if they'll eventually need to move to something larger. Where people get tripped up is assuming the seed-starting pot is the final home. It usually isn't.
For vegetables, start seeds in small pots or cells (around 2 to 4 inches across) and plan to move seedlings into their permanent containers once they've developed a few true leaves. Compact varieties are your best friends in containers: bush tomatoes, dwarf peas, baby carrots, lettuce, herbs, radishes, and dwarf beans are all genuinely well-suited to pot life. Large, sprawling plants like standard pumpkins or full-size indeterminate tomatoes can technically be grown in pots, but they'll need very large containers (10 gallons or more) and a lot of maintenance. Once your seedlings are established, look up specific guidance for how to get a large pot to grow fluxweed, since it has different needs than common vegetables Large, sprawling plants like standard pumpkins or full-size indeterminate tomatoes. If you're growing flowers from seed, most annuals like marigolds, nasturtiums, and zinnias start beautifully in small pots and move up from there. Once your seedlings are established in their final pots, you can follow specific container care steps to keep potted flowers healthy as they grow flowers from seed.
As a rough guide for final container sizing: small herbs and lettuce can stay in 6 to 8-inch pots. Bush beans, peppers, and most annual flowers need at least a 10 to 12-inch pot. Tomatoes and courgettes need a minimum of 10 to 15 liters of compost volume (something like a 12-inch wide, deep pot or a grow bag). Plan ahead so you're not scrambling for a bigger container when your seedling is already rootbound.
Sowing seeds correctly: depth, spacing, and how many to plant
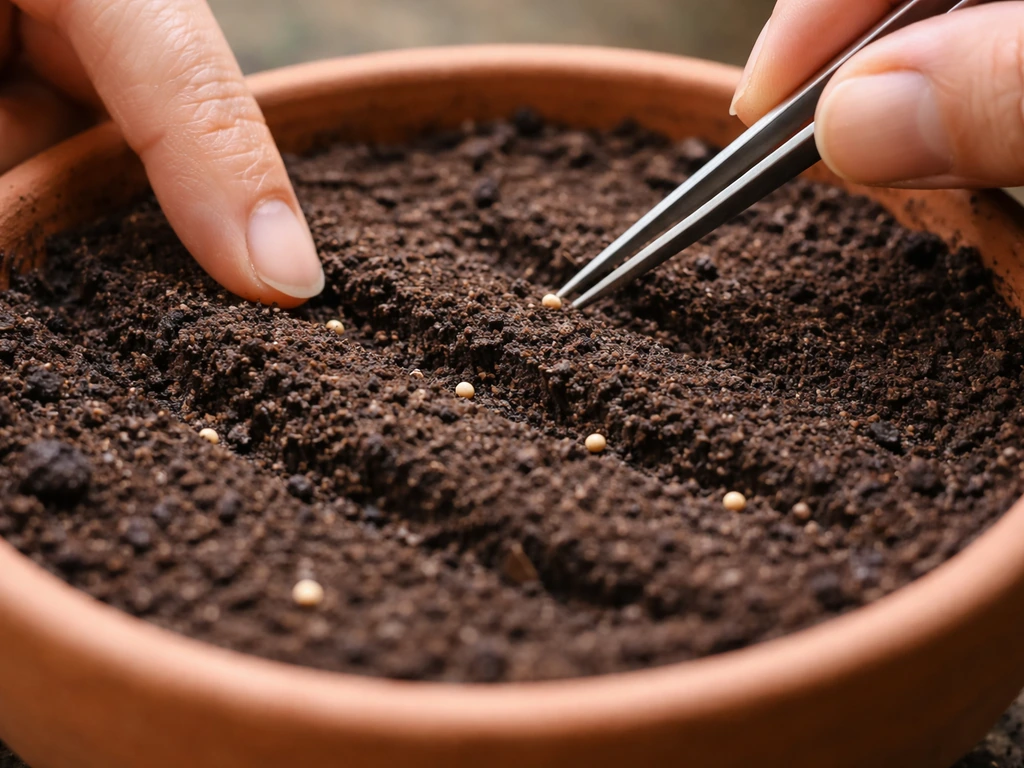
The general rule for sowing depth is to plant a seed about twice as deep as its own diameter. So a large seed like a bean or pea (about half an inch across) goes in about an inch deep. A medium seed like a tomato or pepper goes in about a quarter inch. Tiny seeds like lettuce or basil barely get covered at all, maybe an eighth to a quarter of an inch, and some need light to germinate so you can just press them lightly onto the surface and mist. If you're ever unsure, check the seed packet. Most good packets include the depth.
For small seeds, a useful trick is to top the sown area with a thin layer of fine vermiculite or screened mix. This helps maintain moisture around the seed and improves contact between seed and medium without burying it too deep.
How many seeds per cell or pot? For most vegetables, sow two seeds per cell and plan to thin to one after germination. This gives you insurance against a non-germinator without crowding the roots badly. For very large seeds with high germination rates (beans, peas, courgettes), one seed per cell is fine. For tiny seeds that are hard to place individually, scatter a pinch and then thin aggressively once they sprout. Crowding seedlings together is one of the main causes of damping off, so don't be shy about removing the extras.
Some seeds benefit from a pre-soak before planting. Hard-coated seeds like beans, peas, and sweet corn can be soaked in lukewarm water for 8 to 12 hours before sowing, which softens the coat and can speed up germination. Most small seeds don't need this. Stratification (a cold, damp period to simulate winter) is mainly relevant for tree seeds or certain perennial flowers, not typical vegetable seeds.
Watering and moisture control until germination
Getting moisture right is the part most beginners get wrong, in both directions. Too dry and seeds don't germinate. Too wet and they rot, or damping off wipes out seedlings as soon as they emerge. The target is consistently moist but never soggy. Think of a wrung-out sponge: damp all the way through, but not dripping. A useful test: squeeze a handful of your seed-starting mix. If you can wring a steady stream of water out of it, it's too wet.
Before sowing, pre-moisten your seed-starting mix in a bowl or bucket. Add water gradually, mix it through, and let it absorb for a few minutes. You want it evenly damp before it goes in the pot, not dry mix that you try to water heavily after filling. This avoids dry pockets and gives seeds good contact with moisture from the start.
After sowing, bottom watering is my preferred method, especially for delicate seedlings. Set your pot or tray in a shallow dish of water and let it absorb from below for 20 to 30 minutes, then remove it and let it drain. This keeps the surface from getting crusted or disturbed, and it avoids blasting tiny seeds around with a watering can. If you do water from the top before germination, use a very fine mist or a spray bottle.
Check moisture daily. The mix should feel cool and slightly damp when you press a finger into the surface. If it's dry an inch down, water. If it still feels wet from the day before, leave it. Once seedlings are up and growing (roughly the height of your hand), shift to watering only when the top inch of mix feels dry. Overwatering is far more common than underwatering among new growers.
Light, temperature, and where to place pots for sprouting
Temperature and light are where a lot of indoor seed starting goes sideways. Seeds need warmth to germinate, but they don't need light yet. Once they sprout, that reverses completely: they need a lot of light to grow into strong seedlings, and heat matters less.
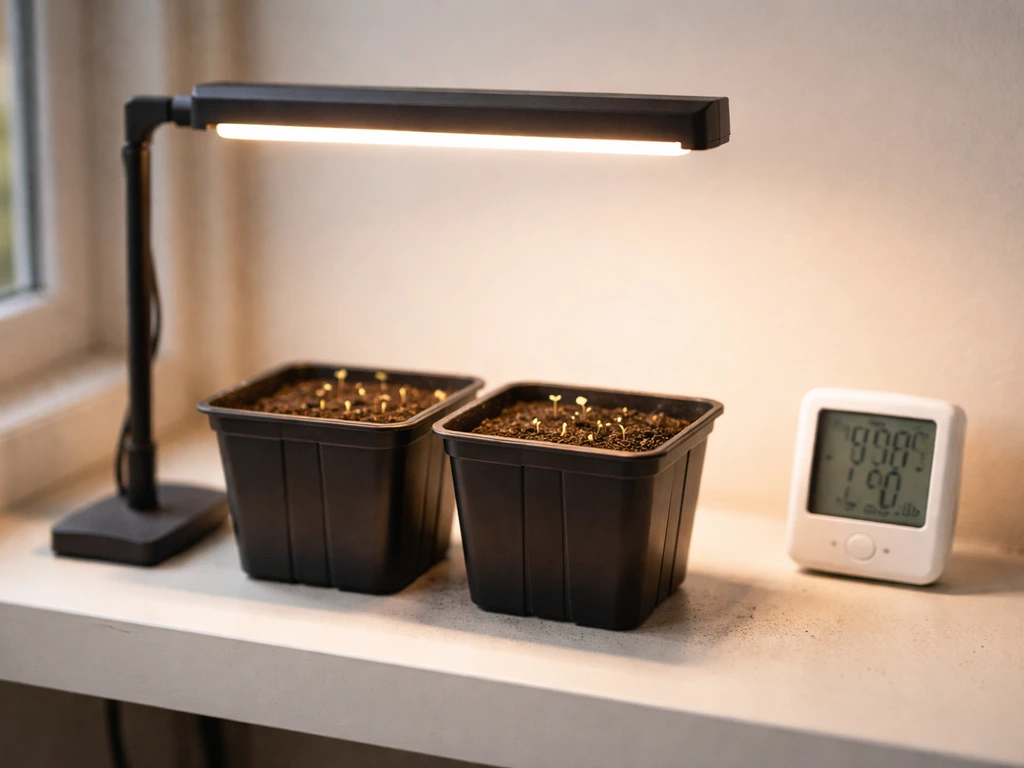
For germination, soil temperature matters more than air temperature. A room that feels warm to you might have a windowsill or countertop that's quite cool. If you're growing heat-loving crops like tomatoes, peppers, or cucumbers, a heat mat placed under the pots is one of the most useful tools you can buy. It keeps the soil temperature in the ideal range for germination, which for tomatoes and peppers is around 75 to 85°F (24 to 29°C). For lettuce, you actually want it cooler, around 65°F (18°C). Always remove pots from the heat mat once seedlings emerge.
| Vegetable | Optimum Soil Temp for Germination | Days to Germinate (approx.) |
|---|---|---|
| Tomato | 75–85°F (24–29°C) | 5–10 days |
| Pepper | 80–85°F (27–29°C) | 7–14 days |
| Lettuce | 60–68°F (15–20°C) | 3–7 days |
| Cucumber | 85–95°F (29–35°C) | 3–7 days |
| Basil | 70–80°F (21–27°C) | 5–10 days |
| Pea | 55–65°F (13–18°C) | 5–10 days |
Once seedlings are up, they need as much light as possible. A south-facing windowsill is useful but rarely enough for strong growth in spring, especially early in the season. Seedlings that don't get enough light get 'leggy', meaning they stretch upward with a long, weak stem, which makes them fragile and harder to transplant. If you're seeing this, move pots closer to the brightest window or add a basic grow light positioned a few inches above the seedlings. If you're starting seeds outdoors on a balcony or patio, place them somewhere warm and sheltered from cold wind, and bring them in on cold nights until the risk of frost has passed.
Thinning, transplanting, and moving seedlings to their final pots
Once your seedlings sprout, the first leaves you see are called seed leaves (cotyledons). These are not the 'true' leaves of the plant. Wait until the first true leaves appear, which look like a miniature version of the plant's actual foliage, before you do anything major. True leaves are the signal that the seedling is strong enough to handle being moved.
Thinning: getting down to one per pot
If you sowed two seeds per cell and both germinated, you need to remove one. This feels ruthless but it's necessary. Pinch off the smaller or weaker seedling at soil level with your fingers or small scissors. Don't pull it out, because pulling can disturb the roots of the one you're keeping. You want one strong seedling per cell, not two crowded ones fighting for resources.
Pricking out: moving to bigger containers
If you started seeds in a communal tray or small shallow container with multiple seedlings, you'll need to 'prick out', which just means carefully separating and moving individual seedlings into their own pots. Use a pencil, chopstick, or dibber (a pointed stick for making holes) to gently loosen the mix around a seedling's roots. Always hold the seedling by a leaf, never by the stem. The stem is fragile and a crushed stem kills the plant. A damaged leaf can be replaced. Lift the seedling, lower it into a hole you've made in fresh seed-starting or potting mix, and firm the mix around the roots.
Hardening off before going outside
If you started seeds indoors and want to move seedlings outside permanently, don't just put them straight out on a sunny day. Indoor seedlings are not used to wind, direct sun, or temperature swings, and the shock can set them back badly. Harden them off over 7 to 10 days by putting pots outside for a couple of hours in a sheltered spot, then gradually increasing exposure each day. Bring them back inside before temperatures drop at night. After about a week of this, they'll be ready to live outside full-time. Choose a cloudy afternoon for the final transplant into their permanent containers, which reduces transplant stress.
Ongoing care: feeding, drainage, and fixing common problems
When and how to start feeding
Seed-starting mix contains little to no nutrients, which is fine for germination but won't sustain a growing plant beyond the first few weeks. Once your seedlings have been growing for about two to four weeks and have true leaves, start feeding with a diluted liquid fertiliser at around half the recommended strength. A balanced liquid feed (equal parts nitrogen, phosphorus, and potassium) works well for seedlings and young plants. As plants mature and start flowering or fruiting, you can switch to a feed higher in potassium. Don't rush the feeding or use full-strength fertiliser on young seedlings as it can burn roots.
Drainage: the thing people overlook in bigger pots
When seedlings move to their final, larger containers, drainage remains critical. Make sure the final pot has holes in the base, and that it's not sitting in a saucer full of water for days at a time. Empty catch trays after watering. If your potting mix seems to compact over time and water runs straight through without soaking in, it may need refreshing or the addition of some perlite to open it up again.
Troubleshooting common problems
- Seeds not germinating: check soil temperature first. Most vegetable seeds need at least 60°F (15°C) at root level, and heat-lovers need much warmer. Also check your sowing depth. Seeds buried too deep or sitting in mix that's too dry won't sprout.
- Damping off (seedlings suddenly collapse at the base): this is caused by fungal rot in warm, wet, poorly ventilated conditions. Prevention is everything: use sterile seed-starting mix, never garden soil, don't overwater, and don't crowd seedlings. Once damping off appears, the affected seedlings can't be saved, but healthy ones nearby can be rescued by improving airflow and letting the mix dry slightly.
- Leggy seedlings (tall and floppy): not enough light. Move pots closer to a bright window or add a grow light. You can also bury a leggy tomato seedling deeper when you transplant it, as tomatoes grow roots along a buried stem.
- Uneven germination across the tray: this is often a temperature or moisture issue. Spots near a cold window or a draughty gap can be much cooler than the rest of the tray. Try covering pots loosely with a clear lid or plastic wrap before germination to trap heat and moisture evenly, then remove it as soon as sprouts appear.
- Yellowing leaves on young seedlings: if the plant has been in seed-starting mix for more than three to four weeks, it's probably hungry. Start diluted feeding. If yellowing starts at the bottom and works upward, nitrogen deficiency is likely. If older leaves are yellowing while new growth looks fine, it's often just normal leaf senescence.
What to do right now: your starting checklist
If you're ready to get started today, here's a simple sequence to follow. Don't overthink it. The best thing you can do is start, make some small mistakes, and learn from them. Every experienced container gardener has killed a batch of seedlings. It's part of the process.
- Buy a bag of seed-starting mix and small individual pots or a cell tray with drainage holes.
- Choose seeds suited to pot growing: lettuce, basil, tomatoes (compact varieties), peas, or annual flowers like marigolds are all great first choices.
- Pre-moisten the seed-starting mix until it holds together when squeezed but doesn't drip.
- Fill pots to just below the rim and sow seeds at twice their diameter in depth. Cover very small seeds with a fine pinch of vermiculite.
- Water from below by setting pots in a shallow tray of water for 20 to 30 minutes, then let drain.
- Place pots somewhere warm (70 to 80°F for most vegetables) and cover loosely with clear plastic to hold moisture. Check daily.
- Remove the cover as soon as seeds sprout and move pots to your brightest window or under a grow light.
- Thin to one seedling per cell once true leaves appear.
- Begin half-strength liquid fertiliser two to four weeks after germination.
- Harden off seedlings over 7 to 10 days before moving them to their permanent outdoor containers.
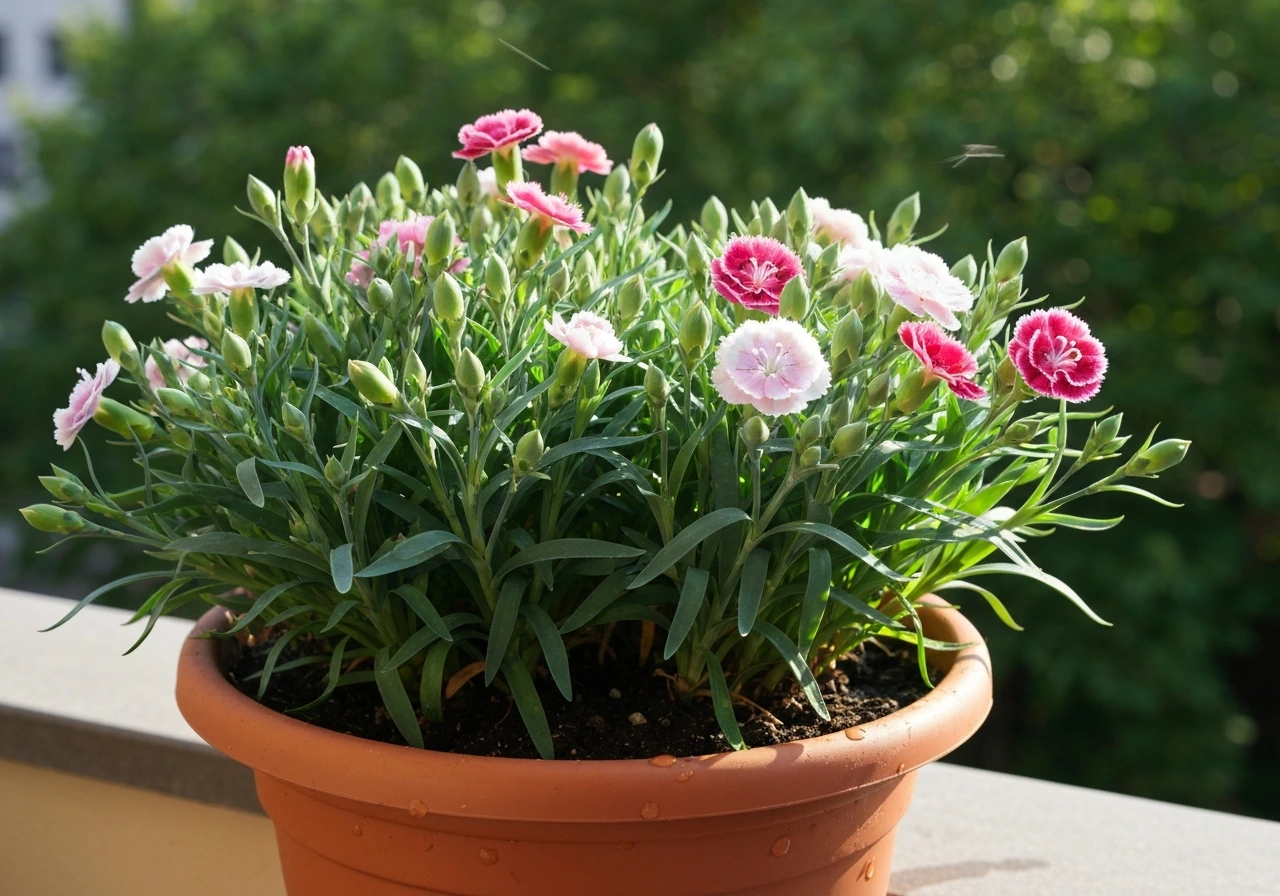
If you're specifically growing flowers from seed, the same principles apply across the board. The main variables are germination temperature and final pot size, which you'll find on the seed packet. And if you want to go deeper on specific plants, there's a lot more detail available on growing particular flowers and vegetables in containers, from carnations to autoflowers to classic annuals, each with their own quirks worth knowing. For a practical step-by-step walkthrough of how to grow flower seeds in pots, see how to grow flower seeds in pots. If you’re growing autoflowers outside in pots, the key is choosing the right pot size and keeping moisture and light consistent as they establish. Carnations have their own container tips too, including pot size, sunlight, and deadheading to keep them blooming.
FAQ
What should I do if my seeds germinate, but the seedlings keep collapsing or tipping over?
Most often this is damping off or weak stems from insufficient light. Check that the mix is moist, not wet, and that containers have drainage holes. Move seedlings closer to the brightest light or use a grow light right after emergence, and improve airflow (for example, avoid stacking trays tightly). If the surface is staying soggy, let the top inch dry slightly before watering again.
How do I know if I should bottom-water or water from the top for my seeds?
Use bottom watering for newly sown seeds and very small seedlings because it keeps the surface from crusting and prevents tiny seeds from washing or floating. Water from the top only as a gentle mist, and only after seeds have settled in. If you water from above and see a crust forming, switch to bottom watering the next day.
Can I reuse seed-starting mix from last season?
It's usually not worth it. Even if it looks clean, it can contain pathogens and it compacts over time, making moisture harder to manage. If you do reuse it, sterilize the mix first and blend in extra fresh seed-starting mix and some perlite to restore drainage and air pockets.
What’s the best way to thin seedlings without disturbing the ones I’m keeping?
After two seeds germinate in the same cell, thin as soon as you can identify the stronger one. Pinch or snip the weaker seedling at soil level, instead of pulling it out. Pulling can tug at the remaining seedling’s roots and cause stunting or delayed growth.
My seeds sprouted, but growth seems slow. Should I fertilize right away?
Usually not. Seed-starting mix has little nutrition, but seedlings typically benefit from feed only after they develop true leaves, then at half strength. If you fertilize too early, salts can stress or burn roots. Also verify light level and temperature first, because legginess or slow growth often comes from low light rather than lack of nutrients.
How thick should the vermiculite or extra covering layer be for tiny seeds?
Aim for a very light dusting only, enough to help moisture contact without burying the seed. For seeds that need light to germinate (common with many lettuces and basil), keep the layer extremely thin or skip covering entirely and mist the surface regularly.
What if my potting mix dries out quickly between waterings indoors?
First, confirm you are not underfilling the pot (seed-starting mix should be near the rim, not halfway down). Then check pot size and airflow, a smaller pot and breezy windowsill dry out fast. You can also use bottom watering more consistently, and consider a humidity dome early on (remove it once seedlings emerge to prevent damp conditions).
Should I cover the pot with plastic wrap or a dome to help germination?
You can for warmth and humidity, but you must remove or vent it once sprouts appear. Leaving a dome on after emergence increases the risk of damp conditions and fungal issues. Even with a cover, you still need drainage and a moist, not soggy, medium.
Why are my seedlings leggy, even though I have a window nearby?
A window often provides warmth but not enough intensity. Increase light right away by moving the pots closer, rotating them daily, or adding a grow light positioned a few inches above the seedlings. Legginess can also be worsened by warm temperatures during early growth, so avoid leaving heat mats on once seedlings emerge.
Do I need to harden off before transplanting if I’m growing in a pot on a patio?
Yes. Even container plants can suffer transplant shock from sudden wind, sun, and temperature swings. Harden off for about a week by gradually increasing time outside in a sheltered, cloudy or mild conditions approach. Bring pots back in if nights drop quickly or frost risk remains.
How can I tell when it’s time to transplant from the starter pot to a larger container?
Use more than just calendar days. Transplant when you see true leaves and the seedling roots start filling the cell, or when the plant looks like it needs more space to stand without leaning. Delaying too long can mean root tangling and a higher chance of transplant stress.
What’s the safest way to transplant seedlings without damaging them?
Handle by the leaves, not the stem, and minimize root disturbance. Prepare the destination pot first, moisten it so the mix settles, then lower the seedling into a hole and firm gently around roots. Avoid burying seedlings deeper than they were growing in the starter mix unless your specific crop instructions say so.
Citations
Use containers with drainage holes for seed-starting (e.g., “jiffy/paper pots” and other inserts should be permeable and/or have holes so excess water can escape rather than staying waterlogged).
https://www.extension.iastate.edu/how-to/containers-starting-seeds
A general rule for container fit: small pots (≤8 inches diameter) are limited to dwarf/small plants; for container vegetables, you must size containers to the mature plant (start small for seedlings, but plan to up-pot).
https://extension.usu.edu/archive/container-gardening-tips
For indoor seed-starting, very small individual containers are preferred—UMN Extension recommends starting seeds in small, individual containers (often divided containers with one seedling per container) rather than sowing many seeds in one larger pot.
https://extension.umn.edu/planting-and-growing-guides/starting-seeds-indoors
Seed trays vary in overall footprint (e.g., common 6-packs to 12×20-inch flats) and are commonly paired with an outer tray/catch tray; the key is drainage from the seed tray and water management to avoid soaking the medium too long.
https://harvesttotable.com/seed-starting-tray-buyers-guide/
Seed-starting mixes are designed to be light and to provide moisture with good drainage/aeration—unlike garden soil (which is heavier).
https://extension.oregonstate.edu/imported-publication/container-gardening-basics
Commercial seed-starting media are typically peat or coconut coir + vermiculite/perlite (soilless) and are recommended for seed starting.
https://extension.usu.edu/yardandgarden/research/starting-vegetable-seeds-indoors-materials
A UNH Extension guide notes you can use a thin top layer (e.g., vermiculite or fine screened mix) to cover very small seeds and improve seed-to-media contact/moisture retention.
https://extension.unh.edu/resource/starting-plants-seed-fact-sheet
Moisture control guideline for filling containers: fill containers with seed-starting mix to just below the rim/near the top so you can manage moisture evenly after sowing (avoid low-fill that dries out quickly).
https://extension.unh.edu/sites/default/files/migrated_unmanaged_files/Resource000495_Rep517.pdf
Sowing depth guideline for many vegetables: a “twice the seed diameter” rule is commonly used (and UMD Extension also states covering depth is usually about twice the seed’s diameter).
https://extension.umd.edu/resource/starting-seeds-indoors
UNH Extension’s guidance for small seeds: lettuce is often left on the surface or covered very lightly; for very small seeds, top off with at least 1/4 inch of fine screened mix or a layer of vermiculite (as appropriate).
https://extension.unh.edu/resource/starting-plants-seed-fact-sheet
Lettuce depth reference: UGA Cooperative Extension says lettuce seed is tiny—work it under the soil surface only about 1/8 to 1/4 inch deep.
https://extension.uga.edu/publications/detail.html?number=C1018
Seed starting spacing/thinning principle: thin to one healthy seedling per cell/container after emergence (e.g., Oregon State University Extension recommends pinching off smaller seedlings and leaving the healthiest).
https://extension.oregonstate.edu/imported-publication/seed-starting
If you sow multiple seeds per cell/pot, plan to thin after germination so roots don’t crowd and so you can transplant one seedling per pot/cell.
https://extension.psu.edu/sowing-annual-seeds/
Bottom watering helps keep the medium moist without repeatedly wetting tender seedlings—WVU Extension notes bottom-watering can help keep soil moist and reduce over-saturation risk.
https://extension.wvu.edu/lawn-gardening-pests/gardening/gardening-101/seed-starting
Damping-off prevention principle: keep the soil moist but not soggy; UMN Extension specifically says to water to keep moist but not soggy.
https://extension.umn.edu/node/10566
OSU Extension notes seeds won’t germinate in dry soil and advises keeping seeds warm and moist after planting; once seedlings are established (as tall as your hand), water only when the soil is dry to the touch.
https://extension.oregonstate.edu/imported-publication/seed-starting
Wetting-too-much diagnostic: if you can wring a steady stream of water out of the mix, it’s too wet (WVU Extension).
https://extension.wvu.edu/lawn-gardening-pests/gardening/gardening-101/seed-starting
Germination temperature ranges matter: UC Master Gardener Program provides optimum/acceptable temperatures (example given: tomatoes optimum range 65–85°F; lettuce optimum range includes mid-60s/low-60s).
https://ucanr.edu/program/uc-master-gardener-program/seed-germination-temperature-and-timing
Purdue Extension provides soil temperature “optimum/optimum range” examples for vegetable seed germination (examples listed: lettuce optimum around 75°F with ranges; cucumber around 95°F optimum; pepper around 85°F optimum; tomato around 85°F optimum).
https://www.extension.purdue.edu/extmedia/HO/HO-186-W.pdf
Light requirement: some seeds need light perception—UNH’s seed-starting basics notes lettuce can require light and can be uncovered or very lightly covered.
https://extension.unh.edu/blog/2018/03/seed-starting-basics
Heat mats are about soil temperature control: WSU Extension materials advise using a heat mat for control & emphasize room temperature isn’t the same as soil temperature; remove from bottom heat after emergence (per their outline).
https://wpcdn.web.wsu.edu/extension/uploads/sites/30/Seed-Starting-101.pdf
Hardening-off basics: UMN Extension recommends hardening off when seedlings aren’t gradually accustomed to outdoor conditions; it explains you must bring them back inside before night temps drop and to transplant on a cloudy/late-afternoon period when possible.
https://extension.umn.edu/planting-and-growing-guides/starting-seeds-indoors
Pricking out (transplanting from one container to another) is typically done once the first true leaves are present; RHS also notes seedlings are ready to prick out once seed leaves are strong enough to handle.
https://www.rhs.org.uk/education-learning/school-gardening/resources/getting-started/how-to-prick-out-seedlings-into-modules
When transplanting, handle seedlings by leaves rather than the delicate stem to avoid damage—RHS/BBC-style guidance is consistent: hold by leaf where possible.
https://www.gardenersworld.com/how-to/grow-plants/how-to-transplant-seedlings/
For thinning/crowding prevention, seed sowing too close increases damping-off risk; Penn State Extension mentions optimum spacing reduces damping-off risk and also discusses separating/transplanting seedlings by cutting through soil between plants.
https://extension.psu.edu/sowing-annual-seeds/
Timing for feeding and transplant vigor: CSU Extension notes thinning to one per container and that if you start in larger containers you may later transplant; their seedling growth notes emphasize true-leaf stage for potting up behavior.
https://extension.colostate.edu/docs/pubs/garden/07409.pdf
Container feeding start window: UMN Extension says it’s a good idea to start regular fertilizer applications between two and six weeks after planting (for container plants), depending on growth rate and media/watering schedule.
https://extension.umn.edu/node/31646
Seedling nutrition approach: UC/Illinois-style guidance favors weak fertilizer solutions for seedlings (UIUC Extension discusses half-strength fertilizer solutions as an option for fertilizing containers).
https://extension.illinois.edu/container-gardens/fertilizing
To prevent damping off/injury from excess moisture: Texas A&M AgriLife Extension (damping-off fact sheet) advises use sterile seed-starting media and do NOT overwater as part of the disease prevention checklist.
https://plantclinic.tamu.edu/wp-content/uploads/2010/09/DampingOff.pdf
Damping-off definition and typical cause conditions: Penn State Extension describes damping-off as rotting of seeds and destruction of newly emerged seedlings by fungi; it’s associated with warm/wet conditions.
https://extension.psu.edu/damping-off/
Avoid using garden soil for seedling trays because it can introduce damping-off pathogens; UMN Extension specifically warns against using garden soil in seedling trays due to pathogens in warm wet conditions.
https://extension.umn.edu/node/10566
Bottom heat/temperature management for damping-off risk: Penn State Extension notes damping-off prevention involves bottom heat to keep soil in the 70–75°F range (22–24°C) in their guidance context.
https://extension.psu.edu/damping-off/
If you keep media too wet, seeds/embryos can rot; WVU Extension also warns not to plant in waterlogged media and repeats that too-wet vs too-dry can be diagnosed by squeeze/water stream.
https://extension.wvu.edu/lawn-gardening-pests/gardening/gardening-101/seed-starting