Yes, you can grow blackcurrants in a pot, and for a beginner with limited space it's a perfectly reasonable way to get started. Yes, it really is possible to grow goji berries in a pot if you pick the right container size and give them plenty of sun. The honest caveat is that blackcurrants are vigorous shrubs that eventually outgrow most containers, so you're committing to a few years of good fruit rather than a permanent low-maintenance setup. Pick the right variety, give it a big enough pot from the start, and you'll get real harvests. Go too small or choose a rampant variety, and you'll be fighting the plant more than enjoying it.
Can I Grow Blackcurrants in a Pot? How To Do It
Marcus Whitley
29 May 2026
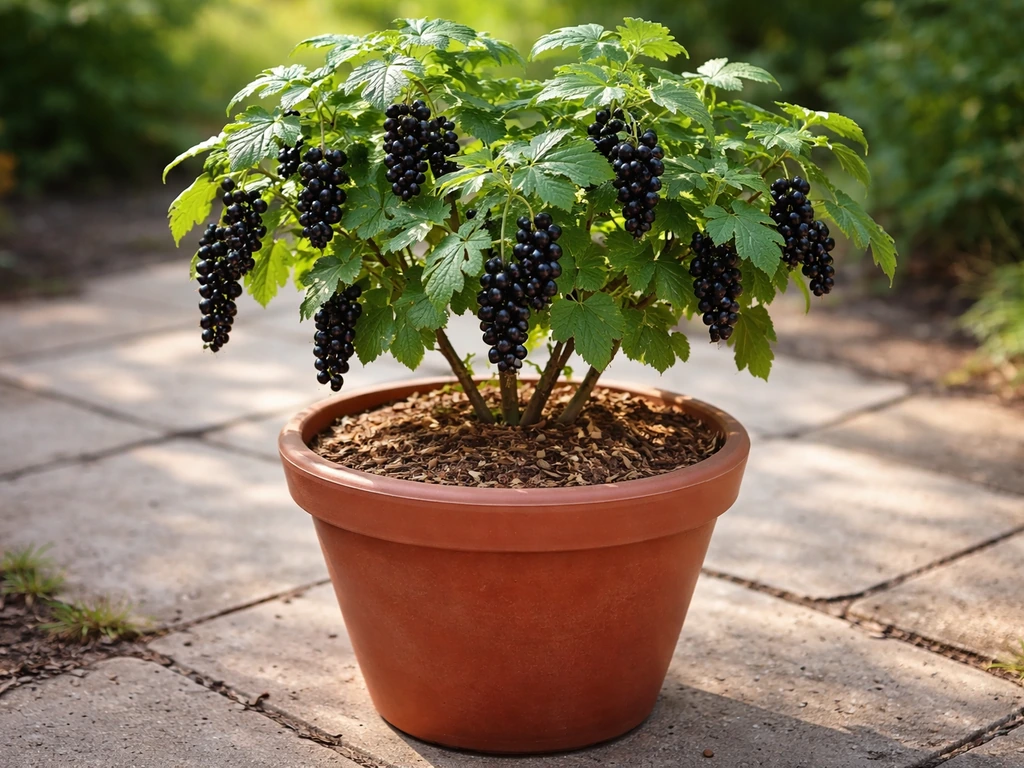
Can blackcurrants actually grow in pots, and which varieties work best
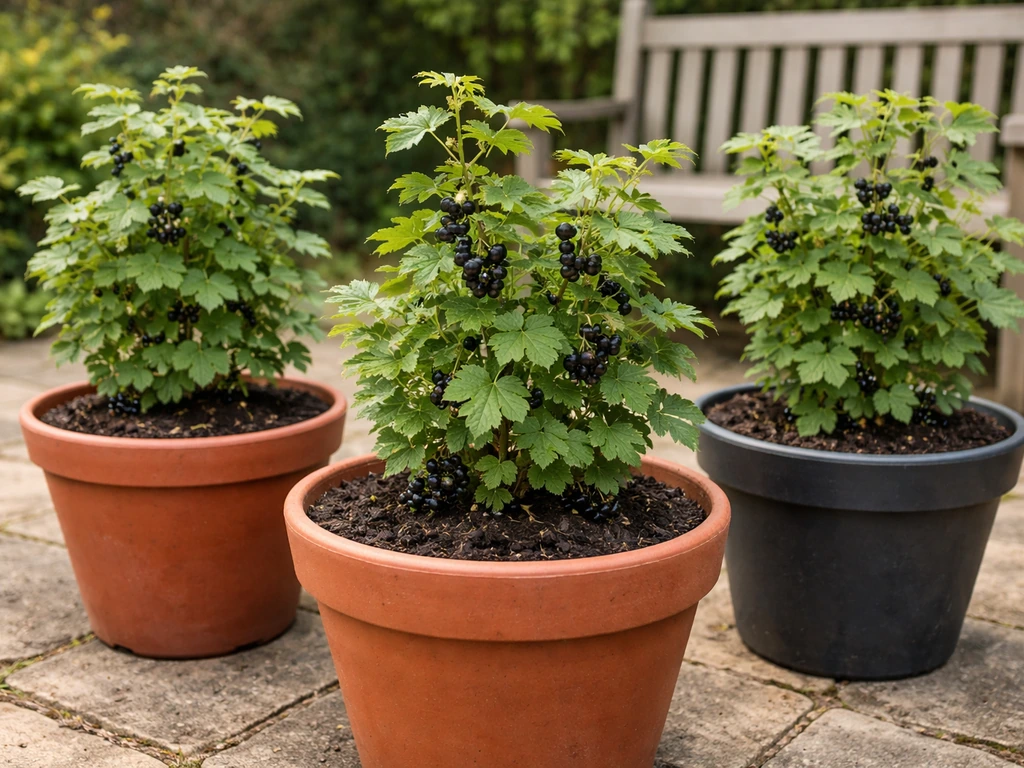
Blackcurrants are fully hardy, self-fertile, and don't need a massive garden to fruit. Those facts make them appealing for containers. The challenge is that most standard varieties are bred to grow into large, spreading bushes, and a pot puts a hard limit on that. The RHS is upfront about this: blank" rel="noopener noreferrer">blackcurrants don't generally perform well in pots long-term. But that doesn't mean don't bother. It means manage your expectations, choose wisely, and plan to repot or eventually move the plant to the ground after three to five years. But that doesn't mean don't bother how to grow fruits in pots.
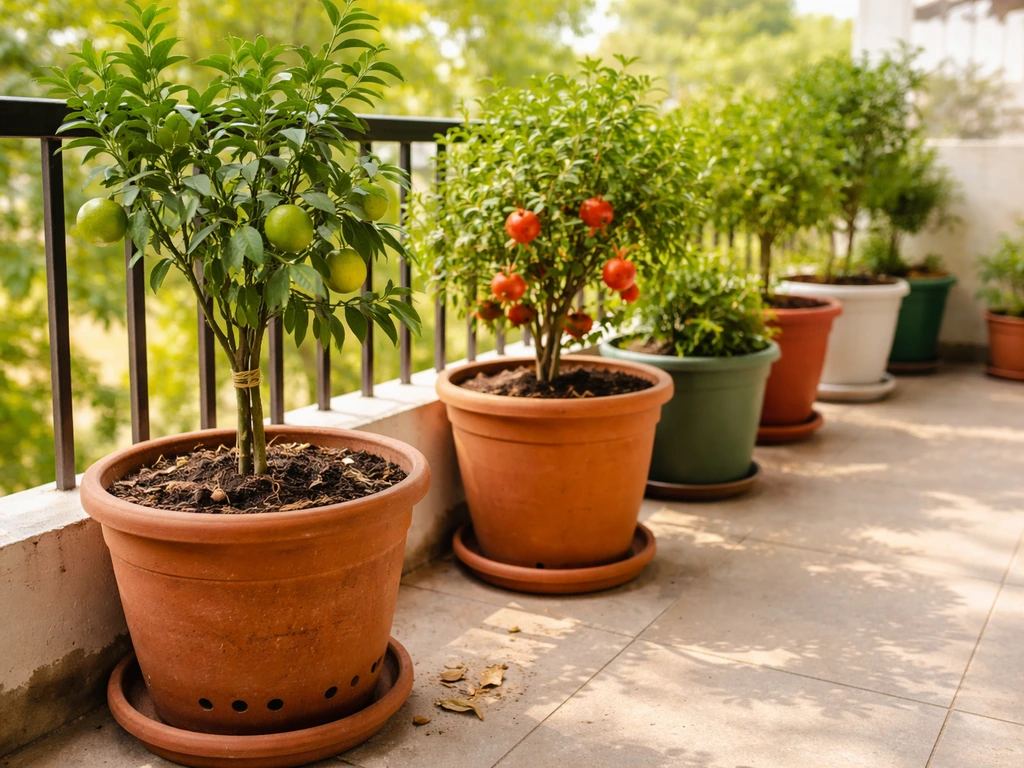
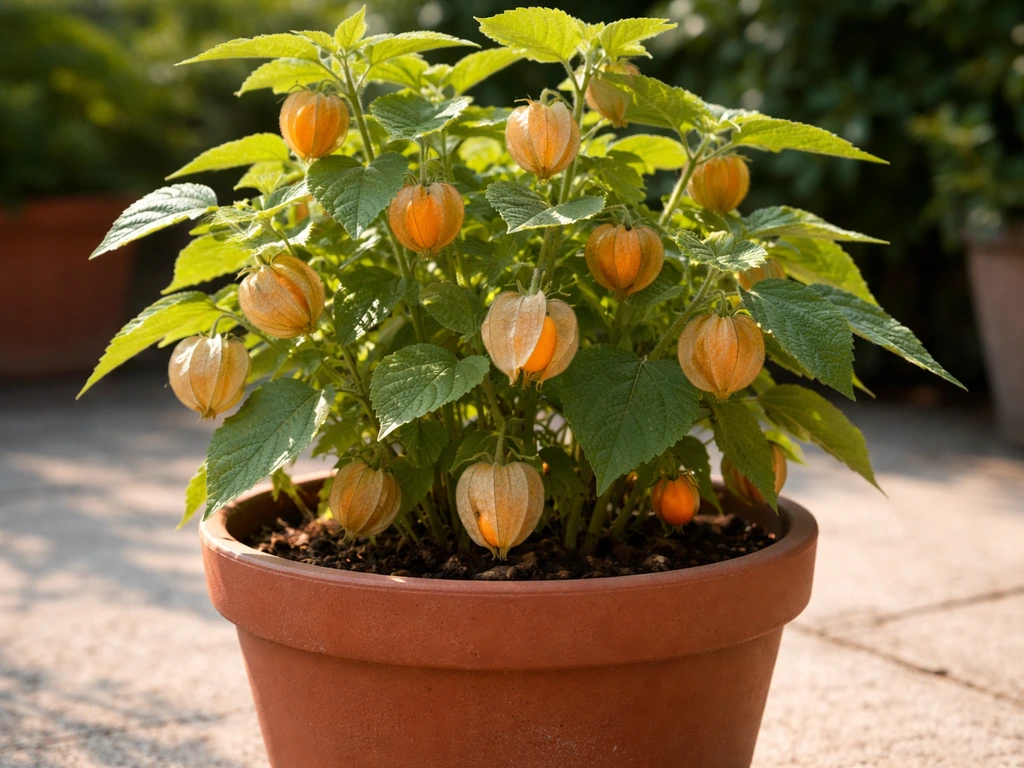
For containers, compact or semi-compact varieties are your best friends. Cape gooseberry is another fruit you can grow in pots, as long as you give it plenty of sun and warm, well-drained compost how to grow cape gooseberry in pots. Look for these specifically:
- Ben Sarek: the top pick for pots. It's a compact variety bred to stay small, produces heavy crops of large berries, and handles container life better than almost anything else. Widely available from garden centres in spring.
- Ben Gairn: another compact option with good disease resistance and decent yields. Slightly less common but worth hunting down.
- Ebony: a newer variety with a more upright, tidy habit. Good for small spaces and ripens slightly later, which extends your picking season if you grow more than one plant.
- Titania: more vigorous than the Ben varieties but has excellent disease resistance. Fine for a large container if you're prepared to prune hard every year.
Avoid large, spreading varieties like Baldwin or Wellington XXX in pots. They'll just fight the container constantly, produce less fruit than they should, and exhaust the soil fast.
Choosing the right pot size and setting up your container
Size matters a lot here. Go too small and the plant stresses out in its first summer, the roots circle the pot, and you get poor fruit. The minimum starting size for a blackcurrant is a 30-litre container, roughly 40cm in diameter and 40cm deep. In India, follow similar pot and soil basics, then pay close attention to summer heat, watering frequency, and selecting varieties that fit your local conditions how to grow fruits in pots in india. That's bigger than most people expect. If you can go to 40 or 50 litres from the start, especially with a compact variety like Ben Sarek, you'll get better results and you won't need to repot as soon.
Material matters too, mainly in terms of how the pot handles water and temperature. Here's a quick comparison:
| Pot material | Pros | Cons | Verdict for blackcurrants |
|---|---|---|---|
| Plastic | Lightweight, retains moisture well, cheap | Can overheat in full sun, less attractive | Good practical choice, especially for moving indoors in winter |
| Terracotta | Breathable, looks great, stable | Heavy, dries out fast, can crack in frost | Fine in mild winters, risky in hard freezes |
| Fabric grow bags | Excellent drainage, air-prunes roots, lightweight | Dries out very quickly, less durable | Works well in summer, needs insulation in winter |
| Wooden half barrels | Large volume, insulates roots, looks attractive | Heavy, can rot over time | One of the best long-term options if you can move it |
Whatever container you choose, drainage holes are non-negotiable. Blackcurrants hate waterlogged roots. If your pot doesn't have enough holes, add more with a drill. Raise the pot on feet or bricks to stop the holes blocking on a flat surface.
Getting the soil right and actually planting your blackcurrant
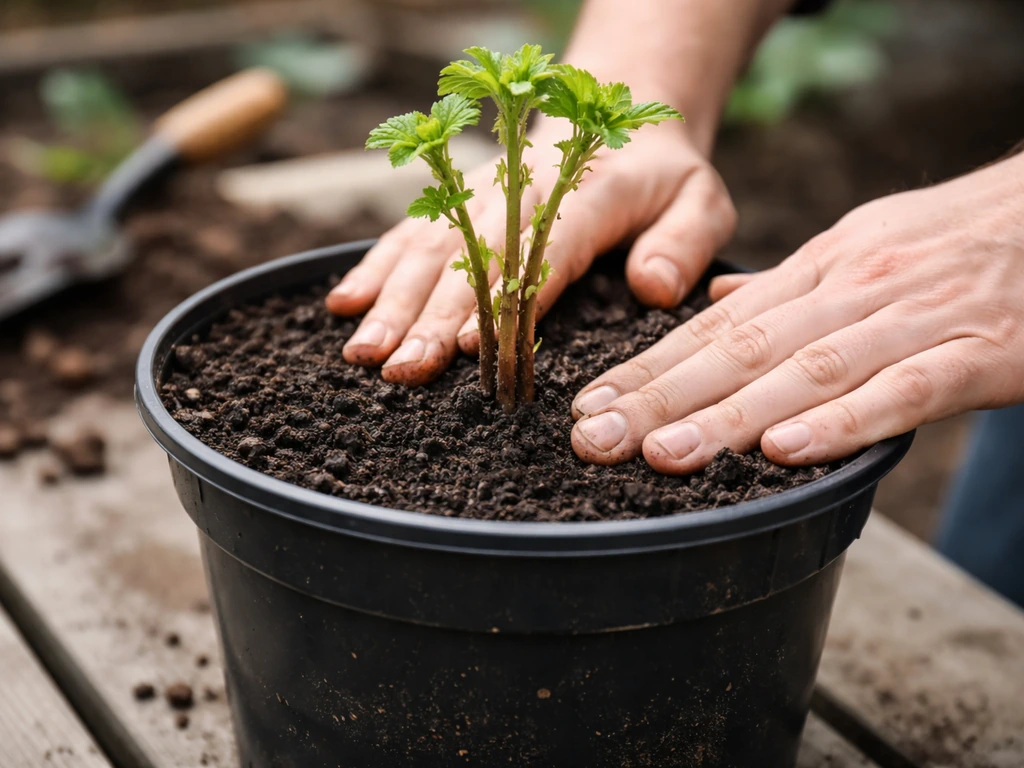
Standard multipurpose compost alone isn't ideal for blackcurrants in pots. It's too light, dries out fast, and doesn't hold nutrients well through a full growing season. Mix in some loam-based compost (John Innes No. 3 is the gold standard) to give the mix more weight and nutrient retention. A good ratio is roughly 60% John Innes No. 3 to 40% multipurpose, plus a generous handful of perlite or horticultural grit to keep drainage sharp. This gives you something that holds moisture without sitting wet.
Before you fill the pot, add a layer of crocks (broken pottery, stones, or even a piece of mesh) over the drainage holes to stop compost blocking them. Then follow these steps:
- Fill the pot about halfway with your soil mix.
- If planting a bare-root plant (available November to March), soak the roots in water for 30 minutes first. For a pot-grown plant from a garden centre, water it well an hour before planting.
- Set the plant in the pot so the base of the stems sits about 5cm below the rim. Blackcurrants fruit best from stems that grow up from the base, so planting slightly deeper than it was in its original container encourages new shoots from the crown.
- Fill around the roots with your compost mix, firming gently as you go to remove air pockets.
- Water thoroughly until it drains from the bottom.
- After planting, cut all the stems down to about 2-3 buds above soil level. This sounds brutal but it's standard practice: it forces the plant to put energy into strong new growth rather than trying to fruit in its first year. You'll get better long-term results for it.
The best planting time is autumn (October to November) for bare-root plants, or any time from spring to early summer for container-grown ones. Autumn planting gives the roots time to establish before the growing season kicks off.
Sun, water, and feeding through the growing season
Blackcurrants want as much sun as you can give them. Full sun (six or more hours a day) produces the best crops and the sweetest fruit. They'll tolerate light shade, and the RHS notes they can still do well in those conditions, but expect smaller yields and slightly tarter berries the shadier it gets. On a balcony or patio, position the pot somewhere it gets direct morning sun at minimum.
Watering in containers is where most people go wrong with blackcurrants. The restricted root space means the compost dries out much faster than open ground, especially in summer. During the growing season (April to September), check the compost every two to three days by pushing your finger about 3cm in. If it feels dry at that depth, water thoroughly until it runs from the drainage holes. In a heatwave, you may need to water daily. In cooler, wet spring weather, every four to five days might be enough. The aim is consistently moist, never soggy.
Feeding is essential because the closed compost volume runs out of nutrients faster than garden soil. Start feeding in early spring when you see new growth appearing, and continue through to midsummer. Use a high-potassium liquid feed (tomato feed works perfectly and is cheap and widely available) once a week from March through to late July. In early spring you can also scratch a small amount of slow-release fertiliser granules into the top layer of compost as a background boost. Stop feeding by August so the plant hardens off properly before winter.
Pollination and what to expect from fruiting
Blackcurrants are self-fertile, which means you only need one plant to get fruit. You don't need to grow two or worry about matching varieties for cross-pollination the way you do with some other fruits. The flowers appear in April and are pollinated mainly by bees and other insects, so position the pot somewhere accessible to pollinators rather than in a completely enclosed space with no airflow or insect access.
In terms of realistic harvest expectations: don't expect a huge yield in year one. First-year plants (especially after the hard pruning at planting) put most of their energy into root and stem development. You might get a handful of berries, or none at all. By year two you should see a proper crop, and by year three a healthy container-grown blackcurrant with regular feeding can produce 1 to 2 kg of fruit. That's less than a well-established in-ground bush, but it's still a genuinely useful amount for jam, crumbles, or freezing.
Birds absolutely love blackcurrants and will strip a plant overnight once the berries start to ripen. The RHS flags this as the main practical problem at harvest time. Drape netting over the plant as soon as the berries start to colour up. You don't need a fancy fruit cage: a simple piece of fine mesh netting thrown over the pot and secured at the base is enough.
Pruning your container blackcurrant to keep it fruiting well
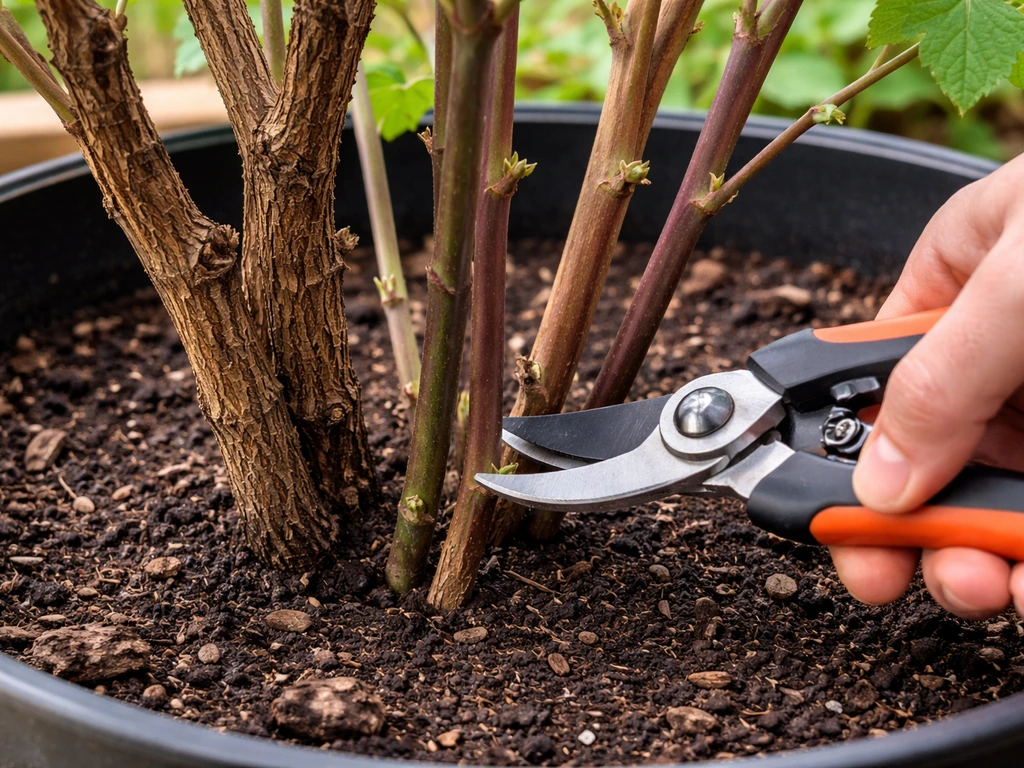
Blackcurrants fruit on stems that are one to three years old, with the best crops coming from last year's growth (one-year-old wood). The goal of pruning is to keep a constant rotation of fresh stems coming through while removing the old, less productive wood. In a pot this is slightly more important than in the ground because you want to keep the overall size manageable.
Prune once a year, in late winter (February to early March), before new growth starts. Here's how to approach it:
- Look at the stems. Young stems (one to two years old) are pale brown or greenish and flexible. Old stems (three or more years) are darker, thicker, and often have a more gnarled look.
- Remove about one third of the oldest, darkest stems right back to the base. Cut cleanly with sharp secateurs.
- Remove any stems that are crossing, rubbing against each other, or growing inward toward the centre of the plant.
- Remove any weak, spindly, or damaged stems.
- Leave the rest. The young growth that remains is where next year's crop will come from.
- In a container, also cut back any stems that are getting too long or making the plant too top-heavy and difficult to manage.
After three or four years in a pot, you can take hardwood cuttings in autumn (30cm sections of healthy stems stuck into a pot of gritty compost) to propagate new plants. This is useful because the original plant may start to decline in a container, and having a young replacement ready to go is good forward planning.
Pests, diseases, and keeping a container plant healthy
The good news about growing blackcurrants in pots rather than open ground is that you have more control over their environment. If you’re wondering how to grow roses in pots in India, the same container basics like drainage, consistent watering, and feeding will help your plants thrive blackcurrants in pots. You can move them, inspect them closely, and respond quickly to problems. The most common issues you'll face:
- Big bud mite (gall mite): the buds swell up into round, fat buds that look like tiny cabbages rather than the normal pointed shape. Remove affected buds by hand as soon as you spot them. Severe infestations can spread a disease called reversion virus, which permanently reduces cropping. If the whole plant looks affected, it's better to remove and replace it rather than try to save it.
- Aphids: blackcurrant aphids curl the young leaves in spring. The damage looks worse than it usually is. For a container plant, a strong jet of water can knock most of them off, or use an organic insecticidal soap spray.
- Powdery mildew: a white powdery coating on leaves, usually in dry periods. Make sure you're watering consistently (uneven watering is a trigger), and ensure there's good air circulation around the pot. Don't crowd it against a wall with no airflow.
- Gooseberry sawfly: these caterpillars can strip leaves quickly. Check under leaves regularly from late spring and pick them off by hand if you spot them early enough.
- Birds: as mentioned, net the plant from when berries start to colour until harvest is done.
One container-specific problem to watch for is vine weevil. The grubs live in compost and eat roots, which can devastate a potted plant without obvious above-ground symptoms until the plant suddenly wilts. If you're repotting and see creamy C-shaped grubs in the compost, remove them. You can also use a biological control (nematodes watered into the compost) in late summer as a preventative.
Winter protection, repotting, and knowing when to harvest
Winter protection
Blackcurrants are fully hardy plants, so the top growth (stems and buds) will handle UK winters and most temperate winters without any problem. The issue in a container is the roots. When a plant is in the ground, the surrounding soil insulates the root zone. In a pot, the roots are only as protected as the walls of the container, which means they can freeze solid in a hard winter. Frozen roots can't take up water, and the plant can suffer even while the top looks fine.
In most mild winters you won't need to do much. But in a cold snap below about minus 5 degrees Celsius, wrap the pot with bubble wrap, hessian, or old blankets to insulate it. Move it to a sheltered spot, such as against a house wall or into an unheated shed or garage, if temperatures are going to drop hard for more than a few days. You don't need heat, just protection from the worst of the freeze. This is one area where growing in a plastic pot really helps: it's easy to move.
Repotting and refreshing the soil
Every two to three years, either move the plant into a larger container or refresh the compost in the same one. To refresh without sizing up, remove the plant in late winter, shake as much old compost off the roots as you can, trim back any circling or damaged roots, and replant in fresh John Innes No. 3 mix. This gives the plant a new nutrient supply and more room for fine root growth.
Eventually (usually after four or five years) the plant will become too large and congested for any pot to handle well. The RHS reiterates that [blackcurrants generally do not grow well in pots long term](https://www. rhs. org.
uk/advice/grow-your-own/fruit/blackcurrants), even with regular repotting and root trimming when they become impractical to move to a larger container. At that point, plant it in the garden if you have space, or propagate cuttings and start fresh.
When and how to harvest
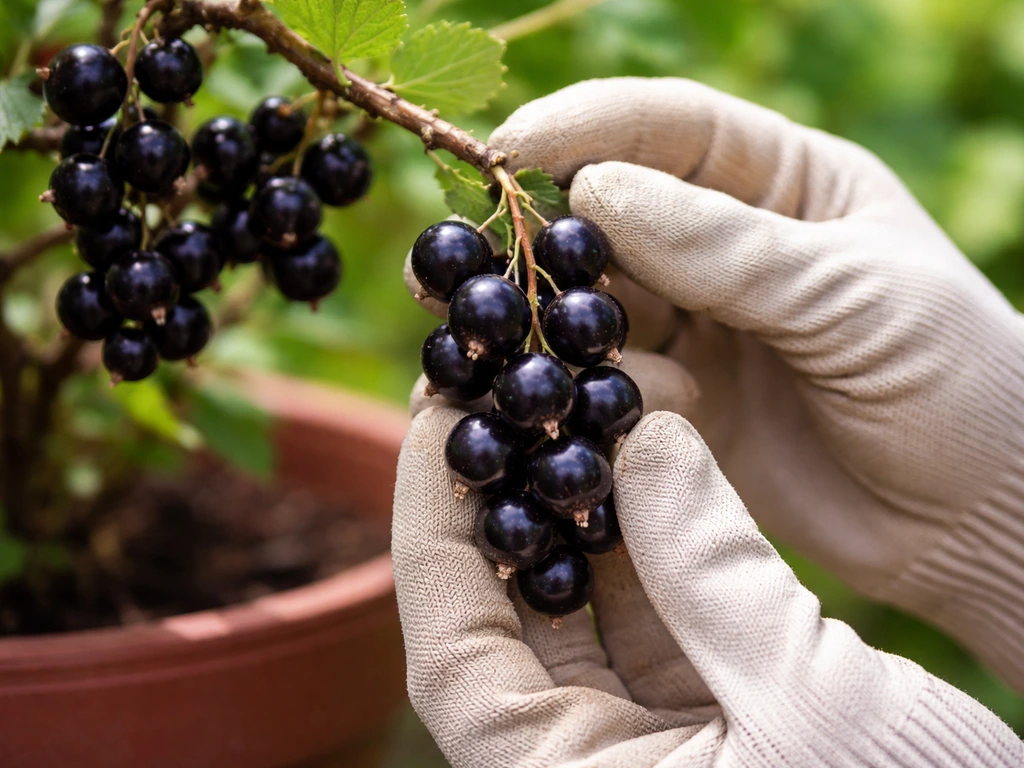
Blackcurrants ripen in July, though this varies slightly by variety and your local climate. Ebony and other late varieties can extend into early August. The berries are ready when they've turned completely black (not dark purple) and feel slightly soft when gently pressed. Don't taste just one berry from a cluster: whole clusters ripen at slightly different rates, so taste from a few different parts of the plant.
Pick in whole clusters (called 'strigs') rather than individual berries. It's faster, and the berries hold better on the strig than individually. If you're freezing them, freeze on the strig and strip the berries off once frozen: they come off much more easily. Pick over two to three sessions across a couple of weeks rather than trying to take everything at once, since not everything ripens on the same day.
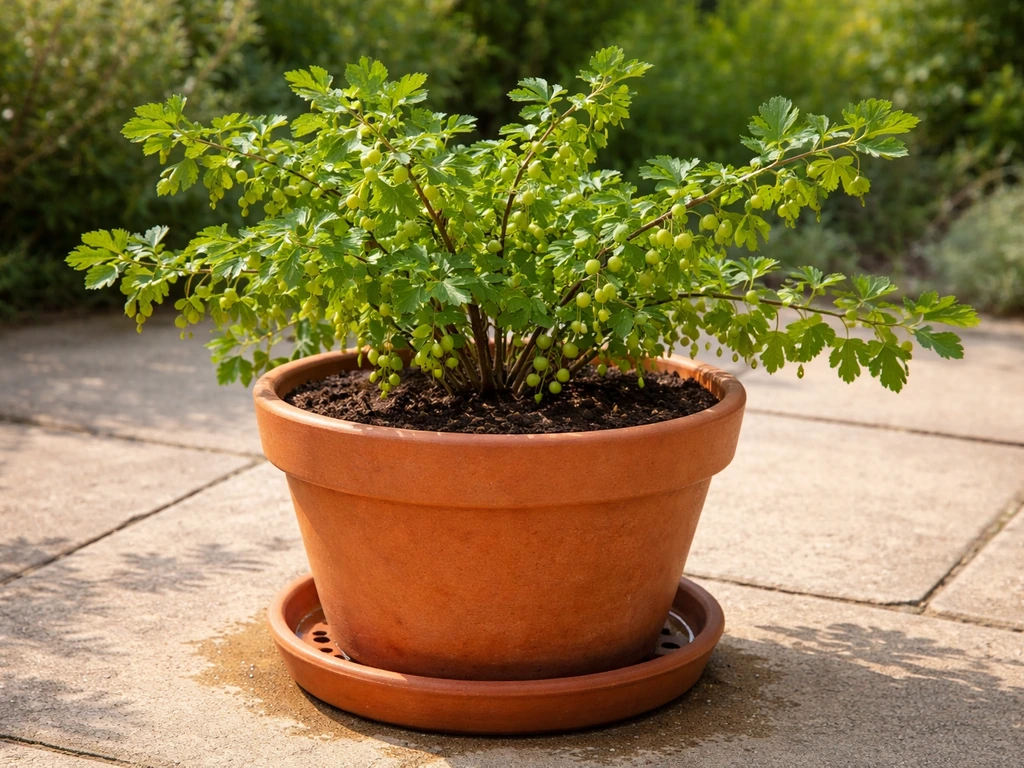
If you enjoy growing other fruits in containers alongside your blackcurrants, gooseberries are a great companion project since they're similarly hardy and well-suited to pot life. If you want the full step-by-step, see our guide on how to grow gooseberries in pots for container-friendly tips. Strawberries are another popular option that handles containers beautifully and gives you fruit in a much shorter timeframe, which is useful while your blackcurrant is getting established in its first couple of years. Strawberry plants how to grow in pots is straightforward once you choose the right container, use fresh potting compost, and keep watering steady Strawberries are another popular option.
FAQ
Can I grow a blackcurrant in a pot on a patio with limited sun?
You can, but aim for at least six hours of direct light. If it gets less, expect smaller yields and tarter berries. Also place it where morning sun reaches the pot, since warm up speeds up growth after winter dormancy.
What is the smallest pot size that still works, and should I go bigger than 30 litres?
Thirty litres (about 40 cm wide and deep) is the minimum starting point. If you can fit 40 to 50 litres, do it, because blackcurrants in smaller pots dry out and exhaust nutrients quickly, and you will repot sooner.
Do I need to move the pot indoors in winter?
Usually no, blackcurrants are hardy, but you must protect the roots. In hard frosts (around below minus 5 C), insulate the pot and move it to a sheltered spot, for example against a wall or into an unheated shed or garage. The goal is preventing the rootball from freezing solid.
How do I know when to water a potted blackcurrant without overdoing it?
Use the finger test 3 cm down every few days during the growing season. Water thoroughly only when that depth feels dry. If water runs out quickly and the compost stays dry again within a day, you likely need either a larger pot or a compost mix with more water retention.
Is multipurpose compost okay, or do I really need John Innes No. 3?
Multipurpose alone tends to dry out fast and can underperform in nutrient holding. John Innes No. 3 helps by being denser and more stable. If you do not have John Innes, choose a loam-based potting compost and still add horticultural grit/perlite for drainage.
How often should I repot or refresh the compost in the same container?
A full pot increase is not always needed. Every two to three years, either move to a larger pot or refresh by removing the plant in late winter, shaking off much old compost, trimming any circling roots, and replanting into fresh mix.
Can I keep one blackcurrant plant for many years in a pot, or will it always outgrow it?
In containers, most plants eventually become too congested, even with pruning. A practical window is usually four to five years, then plan either to move it into the ground if you can, or start replacements from cuttings in autumn.
Do I need two blackcurrant plants for fruit in a pot?
No, blackcurrants are self-fertile, one plant is enough. The more important factor is pollinator access, so avoid fully enclosed balcony spaces with no insect activity or airflow.
When should I prune, and how does pot pruning differ from garden pruning?
Prune once a year in late winter before new growth starts. In a pot, pruning is more about controlling total size and maintaining a steady flow of new stems, since the root space limits how many branches the plant can support.
Why does my container blackcurrant suddenly wilt even though the leaves look okay?
Vine weevil grubs can damage roots before symptoms show above ground. If the plant wilts or stops thriving, check the compost during repotting for creamy C-shaped grubs, then remove them and consider nematodes as a late-summer preventative.
How do I stop birds from taking the berries, and when should I add netting?
Add netting as soon as berries start to colour, not after they are fully black. Secure the net at the base around the pot so birds cannot reach through gaps or peel it up.
What is the correct harvest stage for blackcurrants in a pot?
Pick when berries are fully black (not dark purple) and slightly soft to gentle pressure. Taste from several parts of the plant, because clusters ripen unevenly, and plan for multiple picking sessions.
Should I pick individual berries or the whole cluster (strig)?
Pick whole strigs. They are faster to harvest, berries hold better on the stem, and stripping is easier for freezing once they are cold, so you can freeze on the strig and remove berries after freezing.
If my blackcurrant produces no fruit in year one, is that normal?
Yes. Many first-year plants give little or no crop because energy goes into building roots and stems, especially after the initial hard pruning. Expect a meaningful crop in year two, with more regular yields by year three if watering and feeding are consistent.