Yes, you can grow a cocoa tree in a pot, and if you give it the right conditions, you can realistically get it to produce pods. A cocoa tree in a 24-inch container, trimmed to around 6 feet tall, can produce 5 to 10 pods a year. That's not a chocolate factory, but it's genuinely exciting for a container plant. The catch is that cocoa is a tropical understory tree with specific needs around humidity, warmth, light, drainage, and fertilizing. Get those right and the plant rewards you. Get them wrong and you'll be fighting root rot, yellow leaves, and a very unhappy tree. This guide walks you through everything from picking the right variety to actually harvesting pods. If you want a broader idea of how to manage container trees, you can also compare these cocoa pot tips with how to grow drumstick in pots for similar watering and sun-planning trade-offs.
How to Grow Cocoa Trees in Pots: Step-by-Step Guide

Is cocoa actually container-friendly (and which variety should you grow)?
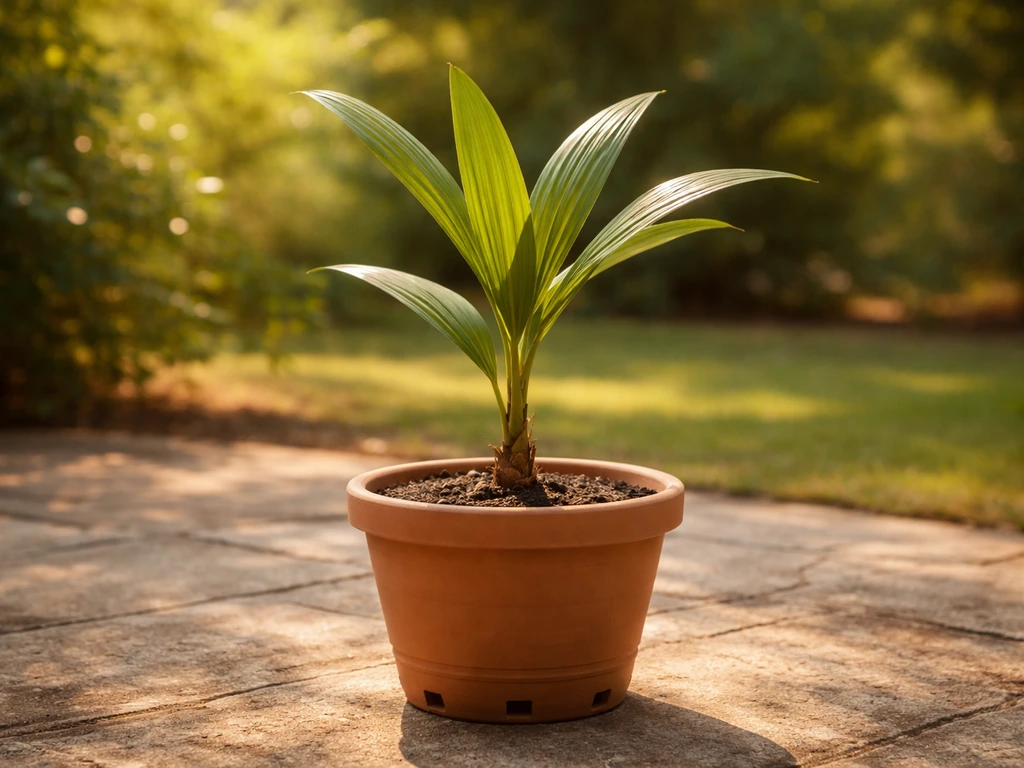
Theobroma cacao, the chocolate tree, is naturally a small, wide-branching evergreen that lives under the rainforest canopy in the wild. That understory lifestyle actually makes it more adaptable to container growing than a lot of other tropical fruit trees. It doesn't need blazing full sun, it stays manageable in size with regular pruning, and it genuinely can produce fruit in a pot. Compare that to something like a coconut palm, which really wants deep roots and open ground to perform well, and cocoa starts to look like one of the better candidates for indoor tropical container growing. If you want a similar container-growing setup for coconut, you can follow dedicated coconut-pot guidelines for choosing a large container, fast drainage, and bright light coconut tree in pots.
When people talk about 'dwarf cacao,' they're usually referring to compact cultivars or varieties of Theobroma cacao that have been selected or pruned to stay smaller. It's not a separate species. The three main cultivar groups are Forastero, Criollo, and Trinitario. For container growing, look for compact or dwarf-labeled varieties within these groups. Criollo trees tend to be smaller and more open in habit, which suits pot culture. Trinitario is a hybrid between Criollo and Forastero and is often considered a good balance between productivity and manageability. If you can find a named compact or dwarf cultivar from a specialty tropical nursery, grab it. Avoid unnamed seedlings from untested sources if fruiting is your goal, since there's no guarantee of compact growth.
Pot size, container type, drainage, and where to put it
Start a young cocoa in a 5- to 7-gallon pot and work up from there. If you want to try a similar container setup with a different species, learn how to grow oak trees in pots. For a mature, producing tree, aim for a container in the 20- to 25-gallon range. A 24-inch (roughly 25-gallon) container is the practical sweet spot referenced by growers who've gotten cocoa to fruit in pots. Going too big too fast is tempting, but it leads to soggy soil around immature roots, which is a fast track to root rot.
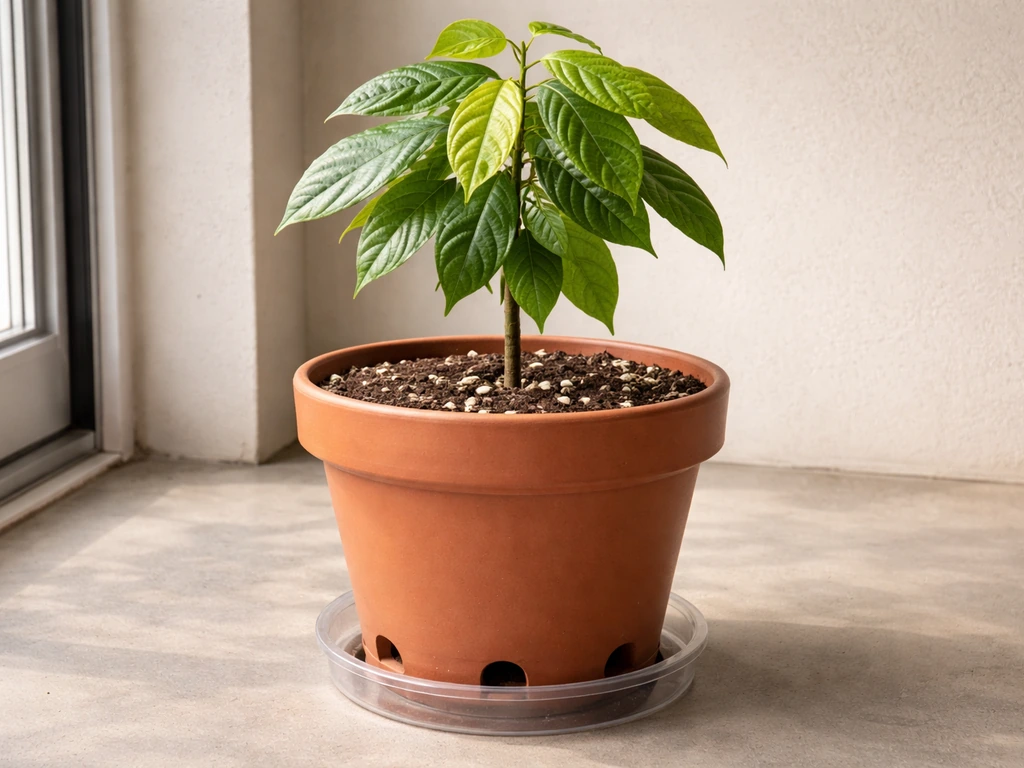
Drainage is non-negotiable. Choose a container with multiple large drainage holes, not just one small hole in the center. Terracotta pots breathe well and help prevent waterlogging, which makes them a solid choice for cocoa if you live somewhere warm and don't mind the extra weight. Fabric grow bags are another great option because they air-prune roots and drain beautifully. Avoid decorative glazed pots with poor drainage unless you drill extra holes yourself.
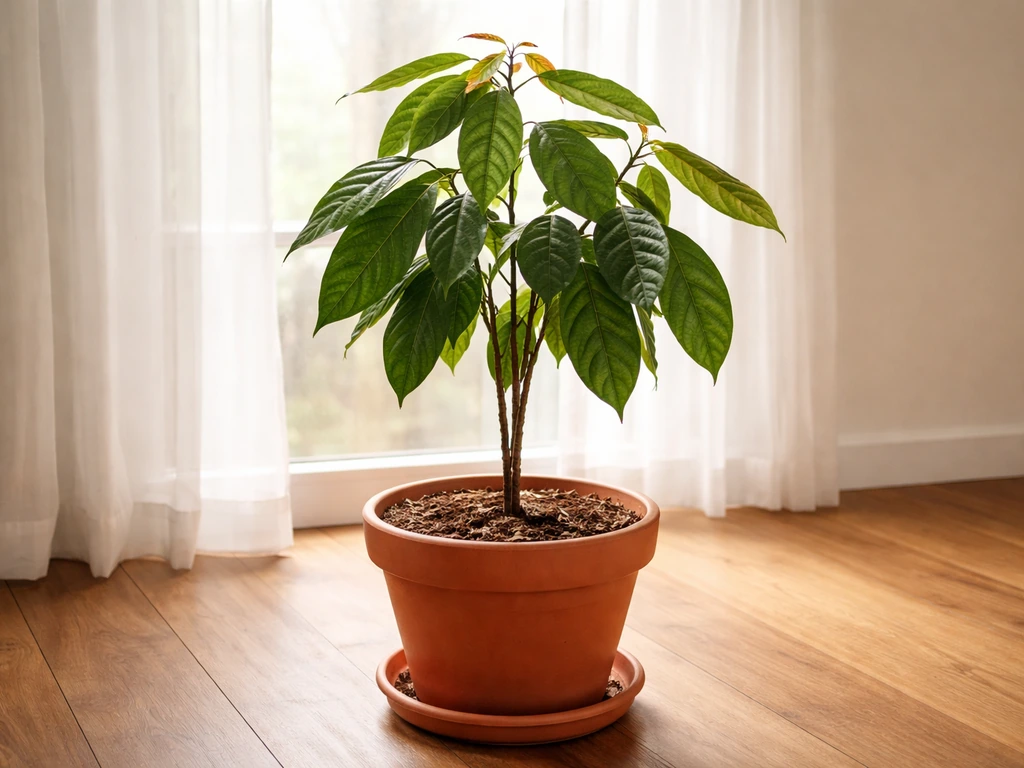
Placement depends on your climate. If you're in USDA zones 11-12 (or similar tropical/subtropical climates), your cocoa can live outdoors year-round in a sheltered, partially shaded spot. In cooler zones, plan to bring it inside when temperatures drop below about 60°F (15°C). Indoors, place it near a bright east- or west-facing window. Avoid cold drafts from air conditioning vents or drafty windows, which will stress the plant fast. If you're growing it full-time indoors, position it where it gets the most ambient light without direct harsh afternoon sun through glass, which can scorch leaves.
The right soil mix and how to fertilize
Standard potting mix alone won't cut it for cocoa. You want something rich but fast-draining. A good blend is two parts high-quality peat-based or coco coir potting mix, one part perlite, and one part compost. The perlite keeps drainage snappy, the compost adds organic richness, and the base mix holds enough moisture without getting waterlogged. Aim for a soil pH between 6.0 and 7.0. Below 5.5, availability of magnesium, calcium, and phosphorus drops off, and your tree will start showing deficiency symptoms. Above 7.5, zinc, manganese, and iron become less available. A simple soil pH test kit from any garden center will tell you where you stand.
Cocoa is a moderate to heavy feeder, and frequent small doses of fertilizer work better than occasional large ones. A balanced fertilizer with roughly 6-10% nitrogen, 6-10% phosphoric acid, 6-10% potash, and 4-6% magnesium is the target range. Specific formulas like 6-6-6-2 or 8-3-9-2 (N-P2O5-K2O-Mg) have been recommended for young cocoa trees by university extension specialists. Feed every 4 to 6 weeks during the growing season (spring through early fall), and reduce to once every 8 weeks or so in winter if your plant is indoors and growth has slowed. Make sure your fertilizer includes micronutrients, especially boron, zinc, iron, manganese, and copper. Boron deficiency in particular can directly affect flowering and fruit set, so don't skip a fertilizer that covers micronutrients.
Planting method: seed, cutting, or grafted plant
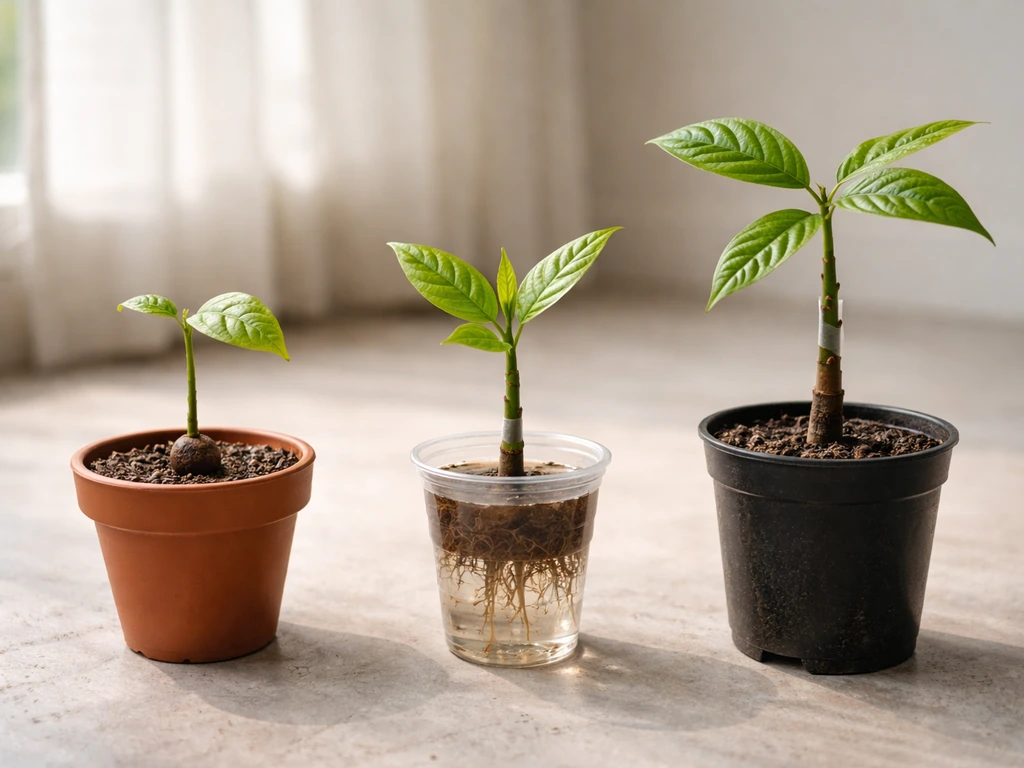
You have three options for getting started, and each has trade-offs.
| Method | Time to First Fruit | Ease | What to Know |
|---|---|---|---|
| Seed | 3-5+ years | Moderate | Use fresh seeds from a ripe pod immediately; viability drops fast. Genetic variation means growth habit isn't guaranteed. |
| Stem cutting | 2-4 years | Tricky | Cocoa cuttings can be slow to root. Use semi-hardwood cuttings with a rooting hormone and high humidity. Results are variable. |
| Grafted plant | 1-3 years | Easiest | Buy from a reputable tropical nursery. Known genetics, compact habit, and faster fruiting. Worth the extra cost if you want pods sooner. |
If you're a beginner, buy a grafted plant from a specialist nursery. It's the most reliable path to fruiting in a pot. If you want the full experience of growing from seed, plant fresh seeds point-down about an inch deep in moist, well-draining seed-starting mix, cover the pot with a plastic bag or humidity dome to maintain moisture, and keep it warm (around 77-86°F). Germination usually takes 1 to 3 weeks. Once the seedling has several leaves, move it to a brighter spot and remove the dome. In the first year, keep the plant in indirect light, water carefully, and don't rush fertilizing until the roots are established (usually 6 to 8 weeks after planting).
Watering, humidity, and temperature
Cocoa needs consistent moisture but absolutely cannot sit in wet soil. That's the tension you're managing every time you water. The rule of thumb is to water when the top inch of soil feels dry, then water thoroughly until it drains freely from the bottom. Don't let the pot sit in a saucer of standing water. In summer or in a warm indoor environment, that might mean watering every 3 to 5 days. In cooler or lower-light indoor conditions in winter, you might stretch to 7 to 10 days. Drought stress is also a real problem: letting the soil dry out completely leads to leaf drop and flower drop, so don't ignore the plant either.
Humidity is where indoor cocoa really struggles. These trees come from rainforest environments, so they want humidity in the 60-80% range. Most homes sit at 30-50%, which is marginal. Run a small humidifier near the plant, group it with other tropical plants, or place the pot on a tray of pebbles filled with water (keeping the pot above the waterline). Misting the leaves helps a little but isn't a substitute for ambient humidity. A cheap hygrometer will tell you exactly what you're working with.
Temperature is straightforward: keep it warm. Cocoa thrives between 65°F and 90°F (18-32°C). Below 60°F (15°C), growth slows noticeably. Below 50°F (10°C), the plant can be damaged. Never expose it to frost. If you're moving the plant between indoors and outdoors seasonally (which is common for container trees in temperate climates), transition it gradually over a week or two rather than shocking it with a sudden environment change.
Light and how to prune and train your cocoa tree
Cocoa is a shade-tolerant understory tree, and that's actually great news for indoor growers. It performs best at around 25-50% of full sunlight, mimicking the filtered light under a forest canopy. Direct, intense afternoon sun through glass can scorch leaves. Bright, indirect light near an east- or west-facing window is the sweet spot indoors. If your space is genuinely dim, a full-spectrum LED grow light running 12 to 14 hours a day will keep the plant healthy. Outdoors, partial shade with morning sun and afternoon shade is ideal.
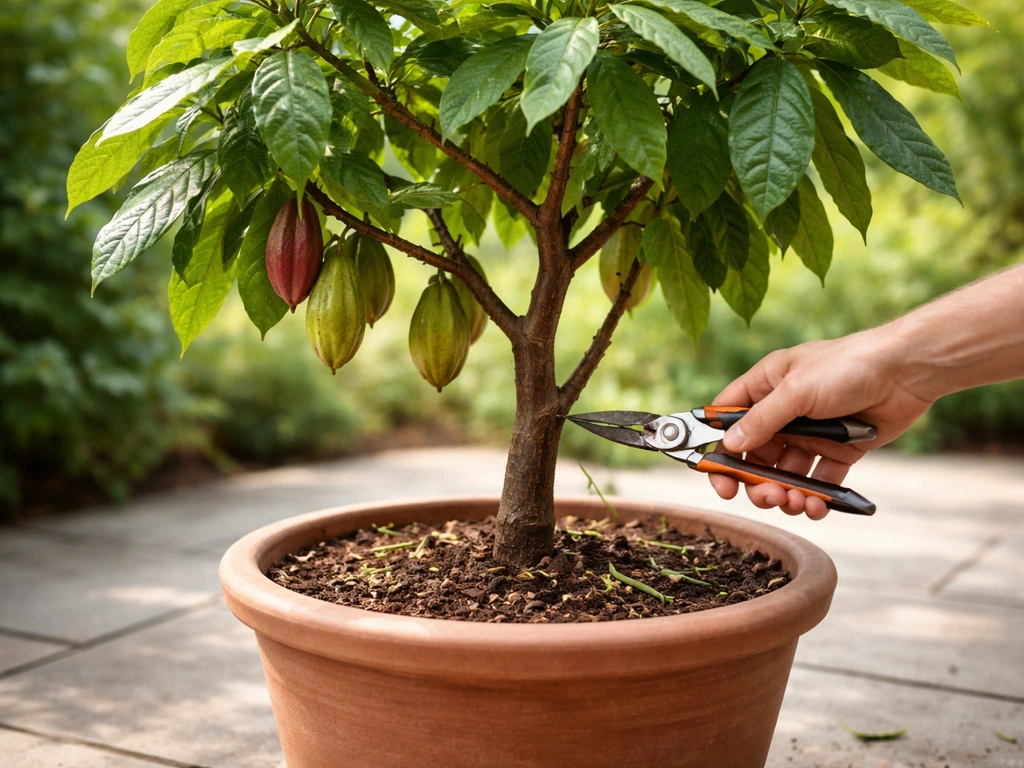
Pruning is important for keeping a cocoa tree container-sized, but you need to be strategic about it. Cocoa flowers and fruits in a very specific way: the flowers and pods emerge directly from the trunk and older woody branches (called cushions), not from the leaf-bearing tips. This is called cauliflorous growth. Pruning away main branches or damaging those cushion sites removes your future flowering wood. The right approach is to trim back soft new growth at the tips to maintain shape and height, remove any crossing or congested branches, and thin the canopy to improve airflow, but always preserve the older woody trunk and main branch structure where cushions form. For a container tree, keeping it at 4 to 6 feet tall is a realistic goal with annual light pruning.
Pests, diseases, and how to troubleshoot problems
Root rot (the most common container killer)
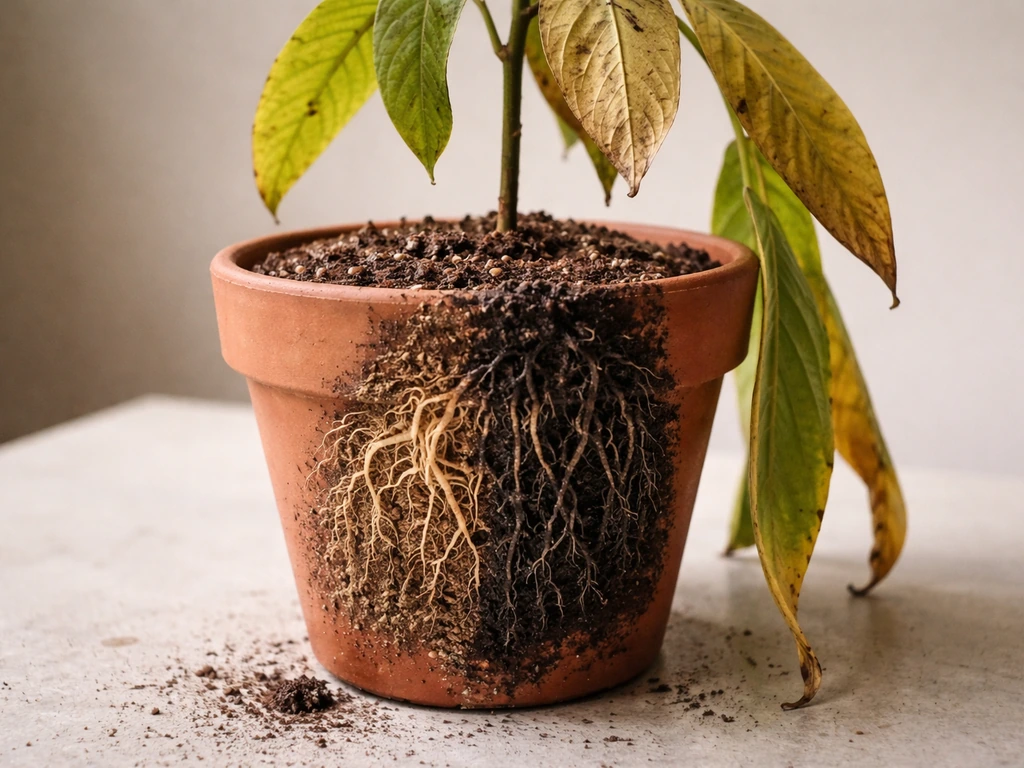
Root rot is the number one killer of potted cocoa. It happens when the soil stays wet too long and the roots can't get oxygen. The signs are yellowing leaves, wilting even when the soil is moist, and a musty smell from the pot. If you catch it early, let the soil dry out more between waterings, improve drainage, and consider repotting into fresh, well-draining mix. If the roots are already brown and mushy, cut away the damaged sections with clean scissors, dust the remaining roots with a fungicide powder, and repot immediately. Prevention is much easier: always use a container with good drainage, never let the plant sit in standing water, and water only when the top inch of soil is dry.
Common pests
- Mealybugs: White cottony clusters in leaf joints. Wipe off with a cotton swab dipped in rubbing alcohol, then spray with neem oil.
- Scale insects: Brown bumps on stems. Scrape off manually and treat with horticultural oil.
- Spider mites: Tiny moving dots and fine webbing, especially in dry indoor conditions. Raise humidity and spray with insecticidal soap or neem oil.
- Aphids: Small soft insects clustering on new growth. Knock off with water or treat with insecticidal soap.
Common diseases
Black pod disease, caused by Phytophthora fungi, is one of the most serious cocoa diseases and is made worse by wet, humid conditions with poor airflow. Pods develop dark, water-soaked lesions that spread rapidly. Prevent it by improving airflow around the plant, avoiding overhead watering, and not letting the canopy stay wet. Remove and dispose of any affected pods immediately. Anthracnose shows up as dark irregular spots on leaves and can spread in wet conditions. A copper-based fungicide applied preventatively during wet periods helps. Witches' broom and frosty pod rot are serious commercial diseases but are less common in isolated container plants, especially indoors.
Leaf yellowing and nutrient issues
Yellow leaves between green veins (interveinal chlorosis) usually mean an iron or magnesium deficiency, often triggered by a pH that's drifted too high or too low. Test your soil pH and correct with sulfur (to lower) or garden lime (to raise), then apply a fertilizer that includes chelated iron and magnesium. Pale overall yellowing with slow growth usually means nitrogen is low. Increase your fertilizing frequency rather than the dose. Dropped leaves combined with poor growth and dark roots mean root rot, not a nutrient issue.
Pollination, fruiting timeline, and harvesting your pods
Here's the honest truth about fruiting: cocoa flowers are tiny and pollinated in nature by very specific midges (Forcipomyia spp.) that almost certainly aren't in your living room or backyard outside the tropics. Without pollinators, most flowers just drop without setting fruit. This is where you step in with hand pollination, and it's simpler than it sounds.
When you see tiny flowers appearing directly on the trunk or older branches (those cushions we talked about), take a small, soft paintbrush or even a toothpick and gently transfer pollen from one flower to the stigma of another on the same tree or a different cocoa plant. Do this in the morning when flowers are freshest. You don't need a second tree, but having more than one flower open at the same time on a cushion increases your odds. Once pollination is successful, a tiny pod will begin forming within a few weeks.
From successful pollination to a fully ripe, harvestable pod takes 5 to 7 months or longer. That's a long wait, and it requires consistent care throughout. The pods change color as they ripen: most varieties go from green to yellow, orange, or red when fully mature, depending on the cultivar. A ripe pod feels slightly hollow when tapped and the seeds inside may rattle a little. Cut the pod from the cushion with a clean, sharp knife rather than pulling or twisting it, to avoid damaging the cushion for future flowers. Inside, you'll find the cacao beans surrounded by white pulp. That pulp is edible and delicious on its own.
After harvesting, let the tree rest and continue regular fertilizing and watering. A healthy, well-maintained container tree in a 24-inch pot can produce 5 to 10 pods per year, which is enough to make a small batch of real chocolate if you go through the fermenting and drying process. If you want to try the same approach, learn how to grow a drumstick tree in a pot, including pot size, soil, and watering needs 24-inch pot. It's a project, but it's one of the most rewarding things you can grow in a container. If you want to replicate those results, follow a step-by-step plan for how to grow bay tree in pots, including the right pot size, soil, watering, and light. Start with one good grafted plant, nail the watering and humidity, and you'll have the most interesting pot in your collection. If you want the broader basics beyond cocoa, see our how to grow a tree in a pot guide for container care comparisons.
FAQ
Do I need two cocoa trees in pots to get pods?
Not necessarily. Hand-pollinating can work on a single tree, but your odds improve when you have multiple flowers open on the same cushion at the same time. If only one flower is open at a time, transfer pollen from another cocoa plant if you can, otherwise repeat hand pollination across multiple days while blooms are fresh.
What’s the best way to hand-pollinate cocoa at home?
Use a small soft brush and touch the stigma with pollen from another flower, ideally on the morning when blooms look most fresh. After pollination, check cushions every few days, once you see a tiny pod start forming, stop disturbing that area and keep humidity steady to prevent flower drop.
How can I tell if my fertilizer is causing problems in a potted cocoa?
If you see leaf burn at the tips or edges, salt crust on the soil surface, or persistent wilting with dry topsoil, you may be overfeeding. Flush the pot with clean water until excess drains out, then reduce fertilizer frequency for 4 to 6 weeks and resume at a lower dose once new growth looks normal.
My cocoa leaves are yellowing. Is it always a nutrient issue?
Not always. Yellow leaves can come from pH or nutrient gaps, but they also appear with root stress and early root rot. Check the pot, if the mix stays wet for many days or the trunk base feels soggy, treat it as a drainage/root problem first, then recheck pH and nutrients after the plant stabilizes.
How often should I repot a cocoa in a container?
Generally, repot every 1 to 2 years or when roots start circling the pot and drainage slows. Move to fresh mix during active growth, not in the coldest winter period. If you are trying to fix root rot, repot immediately rather than waiting for the next scheduled repot.
Can I keep cocoa in a glazed decorative pot if I drill holes?
You can, but only if drainage is genuinely reliable. Make sure you drill multiple large holes, use a saucer that you empty after watering, and confirm that water drains freely within a few minutes. If the pot holds water long after watering, switch to terracotta or fabric to reduce rot risk.
Should I prune to encourage pods, or will it reduce fruiting?
Pruning can help you manage size and airflow, but avoid cutting into the older woody cushions where flowers and pods form. Focus on thinning congested growth and limiting height with careful tip trimming, keep the trunk and established cushion areas intact, and remove only what you can clearly see is not part of the cushion wood.
Why do flowers keep dropping even though my tree looks healthy?
Common causes are insufficient pollination, indoor humidity that stays too low, cold stress near 60°F (15°C) or below, and uneven watering. Since cocoa is very sensitive to water and humidity, keep the top inch of soil from fully drying out and use a hygrometer to confirm humidity stays in the higher target range.
What humidity setup works best for indoor cocoa?
A small humidifier near the plant is often more effective than misting alone. Pair it with grouping plants to reduce dry air around the leaves, and use a pebble tray only as a supplemental boost (keep the pot above the waterline). Aim to track humidity with a hygrometer so you know whether your routine is actually raising levels.
How do I prevent black pod disease in a potted cocoa?
In containers, the biggest levers are avoiding wet foliage and improving airflow. Don’t overhead-water pods or leaves, keep the canopy thinned for circulation, remove any affected pods immediately, and if you often have high humidity indoors, reduce leaf wetness and avoid stagnant, damp conditions near the plant.
Is cocoa safe to keep on a patio during summer and indoors in winter?
Yes, if you transition gradually. Move it over 1 to 2 weeks, increasing outdoor exposure stepwise, and bring it inside before temperatures drop near 60°F (15°C). Sudden shifts can trigger leaf drop and reduce flowering because cocoa dislikes temperature and light shocks.
How long can I wait for my cocoa to fruit in a pot?
A grafted plant is usually the quickest path to pods, but it still takes time to size up and establish a strong root system. If you started from seed, germination and early growth can delay fruiting by a significant margin. If your tree is healthy but not flowering after a season or two, reassess pollination, humidity, and whether temperatures are staying consistently warm.