Hippeastrums grow brilliantly in pots, arguably better than in the ground, as long as you get three things right: pot size, planting depth, and not overwatering early on. For a different look, the same pot-growing mindset applies to plumeria, but you will need to match its warmer, brighter conditions and let the mix dry appropriately between waterings how to grow plumeria in pots. Plant the bulb in a container only about 1 inch wider than the bulb itself, leave roughly the top third exposed above the soil, and hold back on water until you see real growth. Do those three things and you're already ahead of most first-timers.
How to Grow Hippeastrums in Pots: Step by Step Guide

Marcus Whitley
23 Jun 2026
Choosing the right hippeastrum bulb and pot
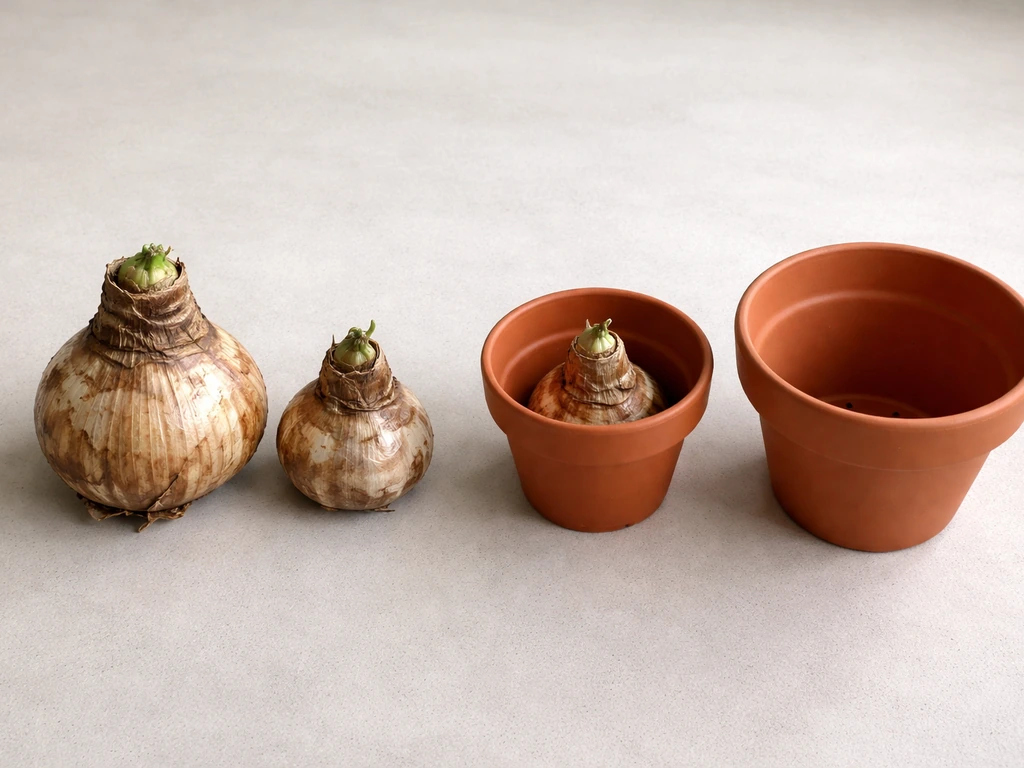
Start with the biggest, firmest bulb you can find. Hippeastrum bulbs are sold by circumference, and larger bulbs (22 cm and above) produce more flower spikes. When you're buying, feel the bulb, it should be dense and heavy, with no soft spots, no visible mold, and no foul smell. Soft patches near the neck are a red flag for rot. If you're choosing between varieties at a nursery, doubles and large-flowered Dutch hybrids tend to be the most forgiving for beginners.
For the pot, go snug rather than spacious. Hippeastrums like to be slightly pot-bound, and a container that's only about 1 inch wider than the bulb's diameter on each side is the sweet spot. So if your bulb is roughly 4 inches across, a 6-inch pot works well. Going too large means excess wet soil around the roots, which is the single fastest route to bulb rot. For material, terracotta is my first choice because it's porous and dries out faster than plastic, but any pot works as long as it has drainage holes. No drainage holes means no hippeastrums.
You can plant multiple bulbs together for a fuller display, just allow that same 1-inch gap between each bulb and the pot wall. A wider, shallower bowl-style pot works well for groupings of three.
Potting mix, drainage, and correct planting depth
The potting mix needs to drain fast but also hold enough organic matter to feed the roots. A good homemade blend is two parts loam or good quality potting soil, one part perlite, and one part well-rotted compost or aged manure. That ratio gives you the drainage hippeastrums need without drying out completely between waterings. If you're buying a pre-made mix, choose one labelled for bulbs or add extra perlite to a standard potting mix, roughly one handful of perlite per litre of mix.
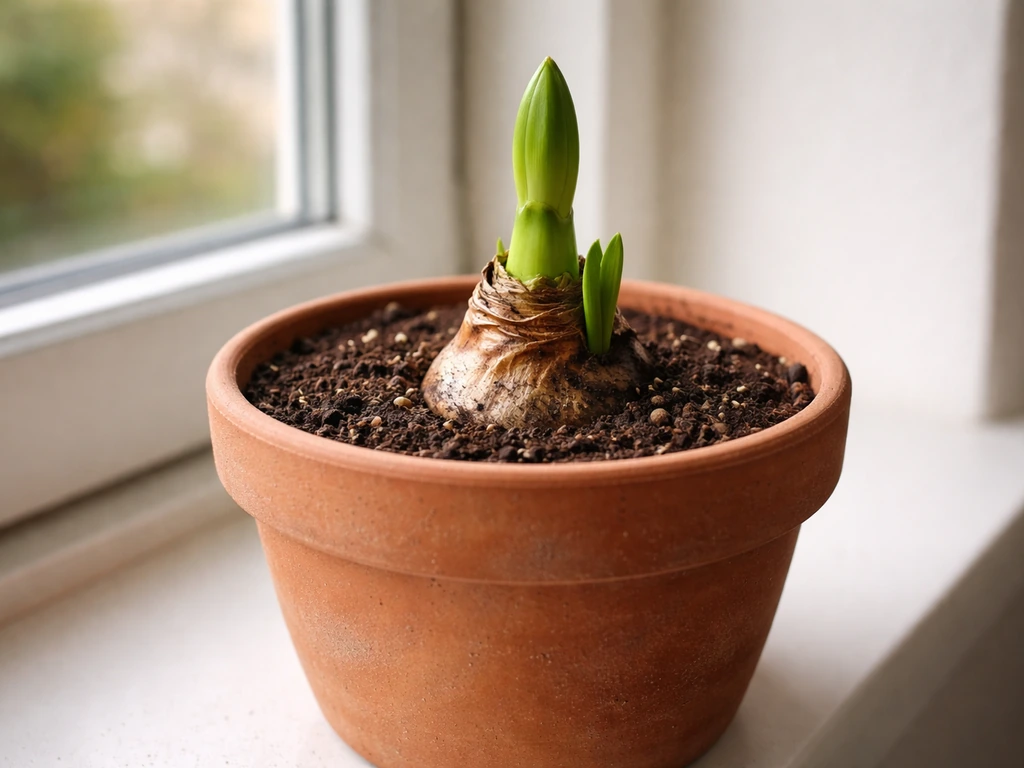
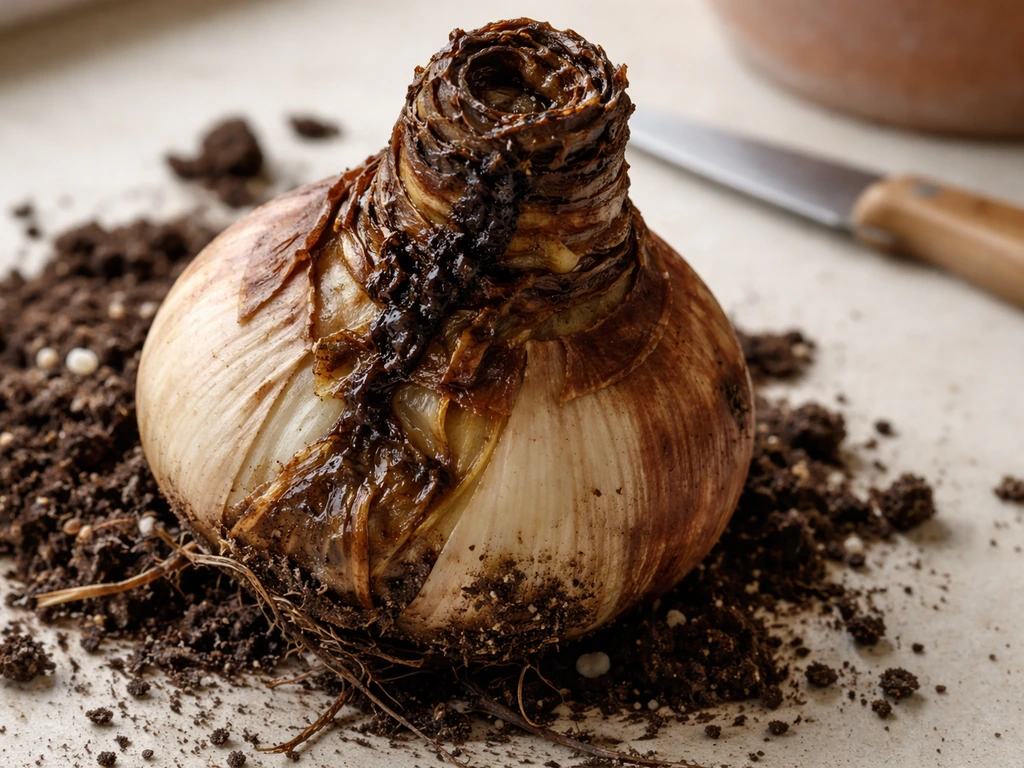
Planting depth is where a lot of beginners go wrong. You do not bury the whole bulb. The neck and upper shoulders of the bulb should sit above the soil line, aim to have roughly the top third to half of the bulb exposed. Some guidance from the RHS even suggests leaving up to two-thirds above the surface. The key reason is airflow around the neck, which dramatically reduces the risk of Botrytis neck rot. The pathogen that causes neck rot infects through wet neck tissue, so keeping it dry and exposed is genuine disease prevention, not just aesthetics.
- Add a layer of potting mix to the bottom of the pot so the bulb sits at the right height with the neck above the rim.
- Place the bulb pointy-side up and centre it in the pot.
- Fill in around the bulb, firming the mix gently so there are no air pockets.
- Leave the top third to half of the bulb exposed — do not cover the neck.
- Water lightly once after planting, then hold back until growth starts.
Light, temperature, and where to place the pot
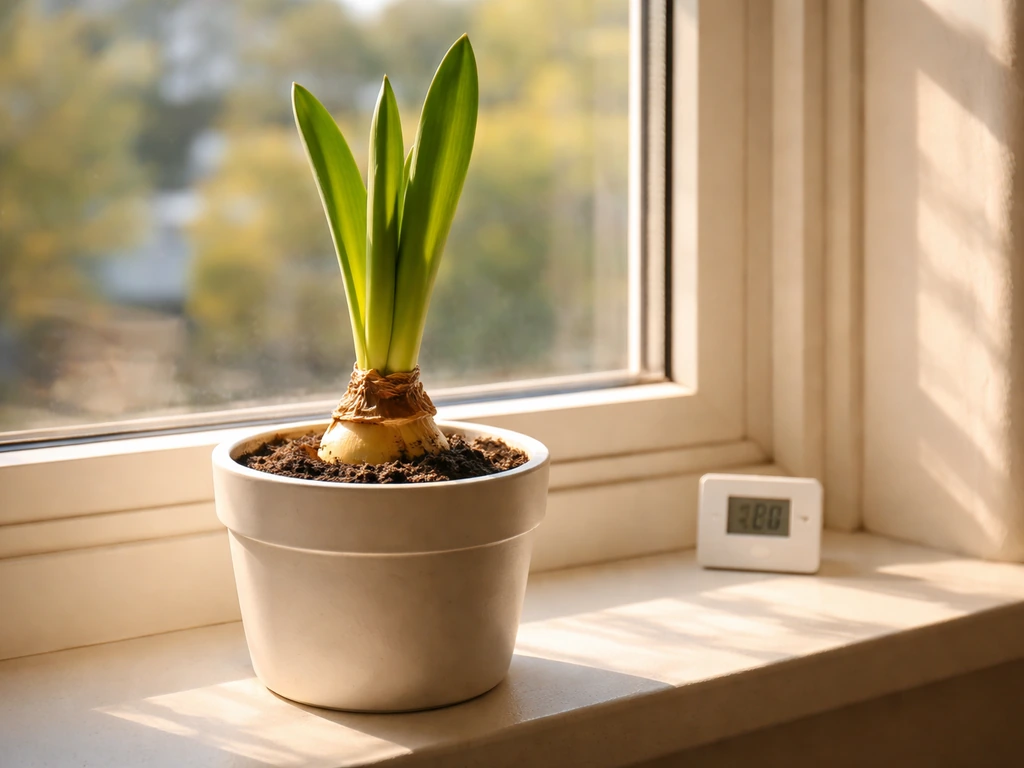
Hippeastrums need bright light to build strong stems and vivid blooms. Indoors, place the pot in your sunniest window, a south or west-facing sill is ideal in the Northern Hemisphere. Once the flower spike appears, you can move the pot to a slightly cooler spot to extend bloom time, but during the leaf-growing phase after flowering, the plant needs maximum light to store energy for next year's flowers.
Temperature matters more than most guides let on. The bulb will happily sit dormant through cool winters, but once you're trying to grow it actively, consistent warmth (around 18 to 24°C / 65 to 75°F) speeds things along. Avoid cold windowsills in winter where the glass drops temperatures overnight, roots hate that. Outdoors in summer, hippeastrums in pots thrive on a sheltered patio with morning sun and afternoon shade in very hot climates. If you live somewhere with light frost, bring the pot indoors before temperatures drop below 10°C (50°F).
One practical tip for indoor growers: rotate the pot a quarter turn every couple of days once the flower spike emerges. Hippeastrums lean aggressively toward light, and rotating keeps the stem growing straight rather than at a 45-degree angle toward the window.
Watering and fertilizing through the growth cycle
This is the section most worth reading carefully, because getting the watering wrong at each stage is the most common reason hippeastrums fail in pots. The cycle has three distinct phases and each one needs a different approach.
Phase 1: After planting, before active growth
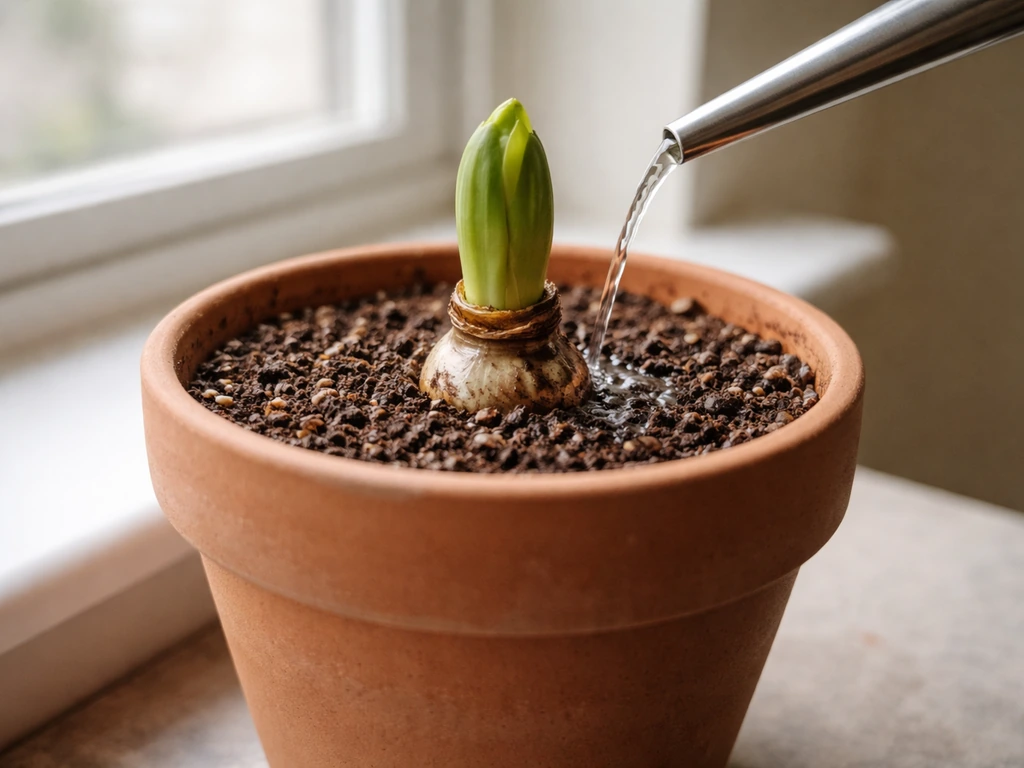
Water sparingly, just enough to keep the potting mix barely moist. You're trying to encourage root development without rotting the bulb. I usually water once after planting, then not again until I see either roots peeking from the drainage holes or the first green tip of a shoot emerging from the bulb's nose. This can take two to four weeks. Patience here pays off.
Phase 2: Active growth and flowering
Once the shoot is actively growing, gradually increase watering. Keep the potting mix consistently moist but never waterlogged. In practice, this means checking the top inch of soil, if it's dry, water thoroughly and let the excess drain away completely. Never let the pot sit in a saucer of standing water. During peak summer growth, you may be watering every two to three days; in cooler conditions indoors, once a week might be enough.
Start fertilizing once you see the first leaves or flower spike. A weekly dose of dilute liquid fertilizer keeps container-grown hippeastrums fed without the risk of salt build-up from heavy applications. For the flowering phase, lean toward a formula with higher phosphorus (the middle number on the N-P-K label), something like a 10-20-10 or similar encourages stronger flower development. After flowering and through the leaf-growing season, you can switch to a balanced fertilizer (such as 20-20-20) to support healthy foliage and energy storage.
Phase 3: Heading into dormancy
As leaves start to yellow and die back naturally (typically in late summer to autumn), reduce watering gradually and stop fertilizing entirely. This signals the bulb to start storing energy for the next cycle.
How to force blooms and get stronger flower spikes
The most reliable way to force a hippeastrum into bloom on your schedule is to control temperature and dormancy length. After the bulb has had at least 8 to 10 weeks of cool, dark rest (more on that in the next section), bring it into a warm spot at around 18 to 21°C (65 to 70°F), give it one good watering, and wait. In most cases a flower spike appears within three to five weeks. The warmth is the trigger, moving a dormant bulb from cold to warm effectively mimics the natural transition from dry season to growing season.
Strong flower spikes come from well-fed bulbs. A bulb that spent the previous growing season in full sun with regular fertilizing will reward you with thicker stems and more florets per spike. If you've had weak or absent flowering, the fix is almost always better aftercare the previous season, more light, more feeding, longer growing period before dormancy. There's no shortcut to a well-stocked bulb; the energy for next year's flowers has to be built during this year's leaves.
One technique worth trying: when you're ready to wake the bulb from dormancy, bottom-heat helps. Setting the pot on top of a heat mat or even on a warm surface like a refrigerator top (old-school but effective) speeds up root activation and encourages a faster, more vigorous spike. Just watch the moisture, a warm pot dries out faster.
Care after flowering and how to trigger dormancy for rebloom
Once the flowers fade, cut the flower stalk back to about 2 to 3 cm above the bulb's neck. Do not cut the leaves. This is the mistake that kills rebloom more than anything else, the leaves are the bulb's solar panels. Every week they're alive and photosynthesising, they're loading energy back into the bulb for next year's flowers. Let the foliage grow as long as possible, keeping the plant in full sun and continuing to water and feed.
When you're ready to trigger dormancy (usually in late summer or early autumn for a Christmas or winter rebloom), stop watering and let the foliage die back naturally. Once the leaves have yellowed and withered, cut them off at the neck. Move the pot to a cool, dark location, a basement, garage shelf, or cool cupboard works well. The target temperature is 10 to 13°C (50 to 55°F). Leave it there for 8 to 10 weeks minimum. Some growers go the full 12 weeks for larger bulbs. Don't water at all during this time.
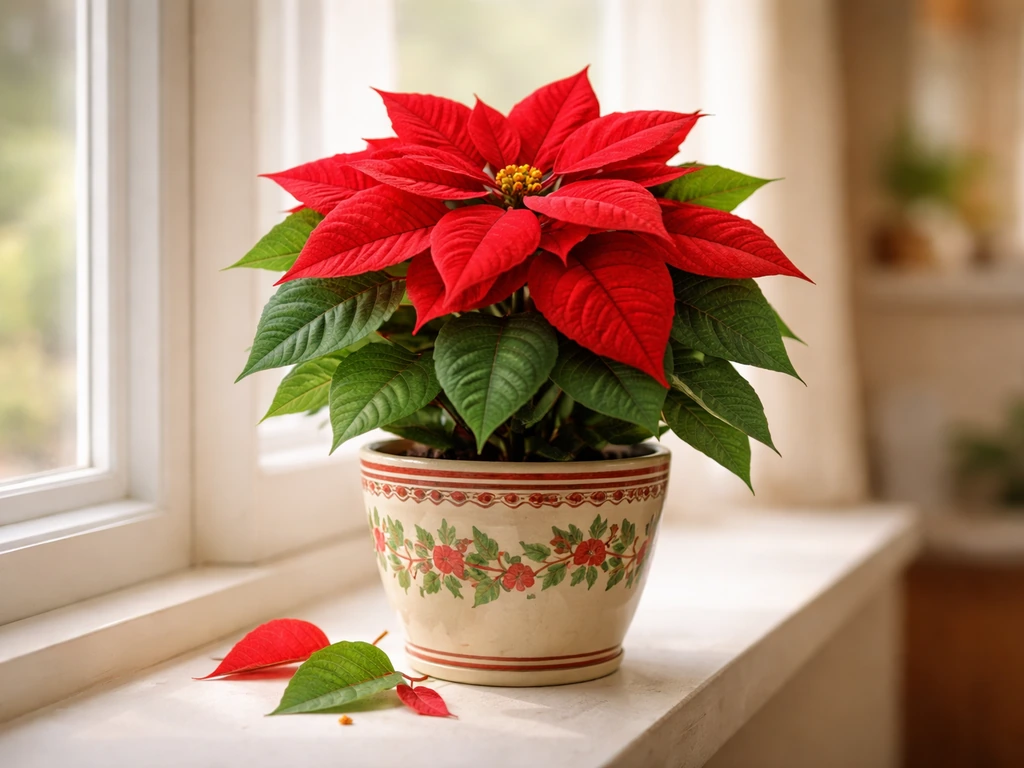
After the rest period, bring the pot back into warmth, give it one thorough watering, and place it in bright light. If you want a poinsettia instead of an amaryllis-type bulb, follow our guide on how to grow poinsettias in a pot. Within a few weeks you should see the nose of the bulb beginning to swell. That's your cue to resume normal care and start the cycle again.
| Stage | Timing (approximate) | Water | Fertilizer | Location |
|---|---|---|---|---|
| Planting / dormant wake-up | Late autumn or spring | Sparingly (keep barely moist) | None | Warm, bright spot indoors |
| Active growth and flowering | 6–10 weeks after wake-up | Consistently moist, never waterlogged | Weekly dilute liquid feed (high phosphorus) | Sunniest window or sheltered outdoor spot |
| Post-flower leaf building | After bloom through summer | Regular, keep moist | Weekly balanced fertilizer | Full sun, outdoors if possible |
| Dormancy induction | Late summer to autumn | Reduce then stop entirely | Stop feeding | Cool, bright spot transitioning to shade |
| Full dormancy rest | 8–10+ weeks | None | None | Cool, dark location at 10–13°C (50–55°F) |
Common container problems and troubleshooting fixes
Most hippeastrum problems in pots come down to one of a few culprits: too much water, too little light, or a bulb that wasn't fed well enough the previous season. For anthuriums in pots, focus on bright, indirect light, fast-draining soil, and steady moisture without letting the roots sit in water anthurium plants in pots. Here's how to diagnose and fix the most common issues.
Soft, mushy bulb or rotting neck
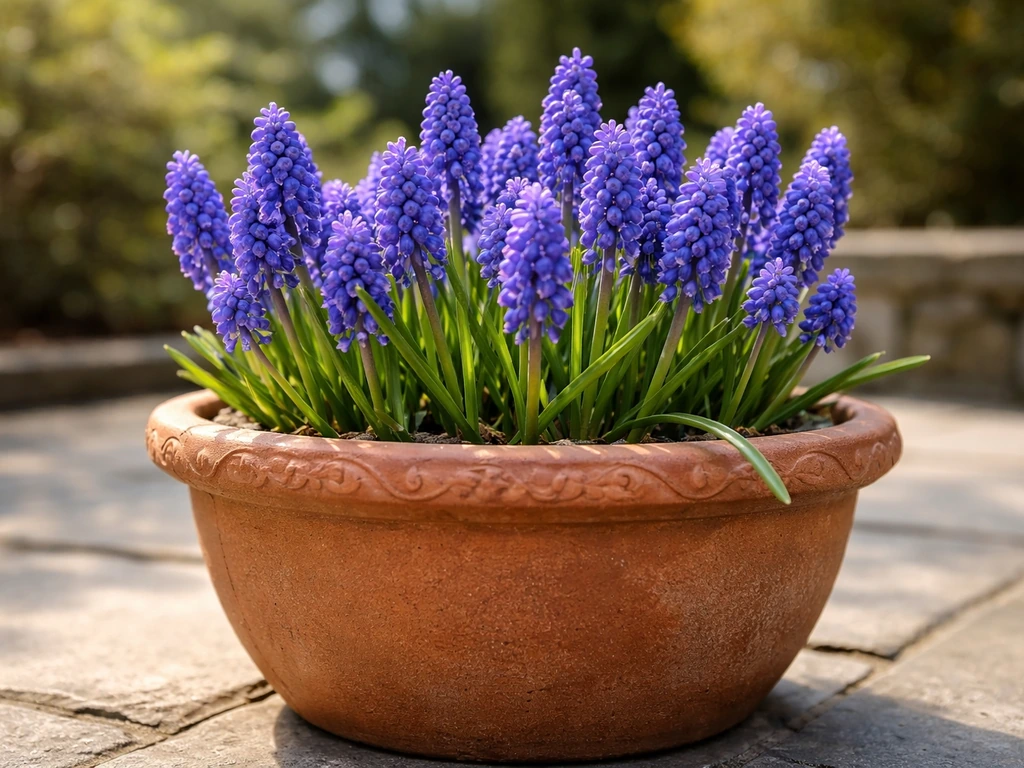
This is Botrytis neck rot or general bulb rot from overwatering. If you catch it early, remove the bulb from the pot, cut away any soft tissue with a clean knife, dust the wound with powdered sulfur or cinnamon (yes, kitchen cinnamon works as a mild antifungal), let it dry for a day in open air, then repot in fresh, dry mix. If you want a different spring pot flower, you can also learn how to grow grape hyacinth in pots for compact, reliable blooms. Keep the neck well above soil and hold off watering for a week. If the rot is more than a quarter of the bulb, the bulb is likely a write-off.
No flower spike appearing
The most likely cause is insufficient dormancy (the bulb didn't get cold or dark enough), insufficient energy stored from the previous season (not enough light or fertilizer), or the bulb is too small to flower yet. Hyacinths grown in pots also need a clear cool rest period to flower reliably. Check that your dormancy conditions hit that 10 to 13°C (50 to 55°F) range and lasted at least 8 weeks. If the bulb spent the summer in a dim corner, give it better light this season and don't expect a flower spike until the following year.
Yellow leaves during the growing season
Yellow leaves in summer, when the plant should be actively growing, usually mean overwatering or poor drainage. Check that the pot isn't sitting in water and that the mix is draining freely. If the bottom of the pot feels soggy, tip it out and inspect the roots, healthy roots are white and firm, while rotting roots are brown and mushy. Trim any dead roots, let the bulb dry briefly, and repot in fresh mix with extra perlite.
Leggy, floppy flower spike
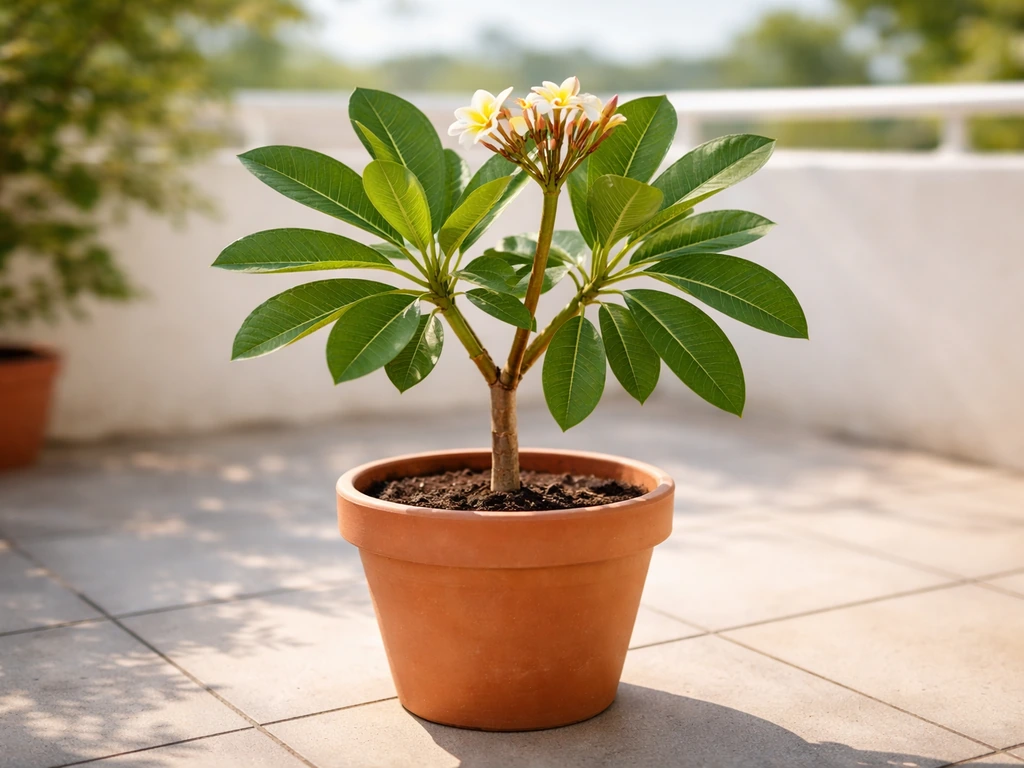
A stem that grows tall but flops over is caused by insufficient light during emergence. If you want to grow frangipani in pots, you will also need a sunny spot, fast-draining potting mix, and a careful watering routine to avoid root problems. Once the spike appears, move the pot to your brightest spot and keep rotating it. You can support a leaning spike with a thin bamboo cane tied loosely with soft twine, no shame in that, especially with the big double-flowered varieties that get top-heavy.
Pests: what to watch for
- Narcissus bulb fly: the larvae tunnel into the bulb and cause hollow, soft sections. Inspect bulbs carefully before planting and discard any with unexplained holes or cavities.
- Mealybugs: look like small white cottony clusters at the base of leaves or around the neck. Wipe off with a cotton bud dipped in rubbing alcohol or spray with insecticidal soap.
- Spider mites: tiny dots on leaves with fine webbing underneath, usually during hot dry indoor conditions. Increase humidity, rinse leaves with water, and use a miticide if severe.
- Scale insects: brown or tan bumps on the bulb or stem. Scrape off manually and treat with neem oil or horticultural oil.
Bulb not growing after wake-up
If you've brought the bulb out of dormancy, watered it, placed it in warmth, and nothing is happening after three to four weeks, check the roots first. Sometimes a bulb that was stored too dry has lost its root system. Repot into fresh, slightly moist mix, water the base of the pot rather than the top, and place on a heat mat if possible. Give it another two to three weeks, hippeastrums can be slow starters, especially if they had a hard season.
If you enjoy growing bulbs in containers, the care principles here share a lot of DNA with other pot-grown bulbs like hyacinths and grape hyacinths, particularly the dormancy management and the need for sharp drainage. To adapt these container-care principles for hydrangeas, start by choosing a large pot with drainage and using a moisture-retentive potting mix suited to hydrangea needs how to grow hydrangea in pots. The main thing that sets hippeastrums apart is their preference for being pot-bound and for having that exposed neck, which is the opposite of what you'd do with most other bulbs. Get that one detail right and the rest of the process is quite forgiving.
FAQ
Can I use a self-watering pot or keep water in a saucer for hippeastrums in pots?
Avoid it. Hippeastrums need to dry out partially between waterings, and standing water encourages neck rot and bulb rot. If you use a cachepot or saucer, empty it after watering so the pot is never sitting in water.
How do I know whether my hippeastrum is still in the “no-water” stage or it’s started growing?
Wait until you see active signs, such as roots peeking through drainage holes or the first green tip emerging from the bulb’s nose. Watering too early keeps the neck wet, raising the risk of Botrytis.
Should I water from the top or bottom after planting or during the growth phase?
Top watering is fine once growth starts, but during recovery or when you’re trying to keep the neck dry, watering the base of the pot helps. Keep water away from the bulb’s exposed neck and shoulders.
What pot size should I use if I’m growing more than one bulb in the same container?
Stick to the same “snug” spacing rule. Leave about a 1-inch gap between each bulb and the pot wall, and avoid extra empty space around the outside bulbs because it stays wet longer and increases rot risk.
Is it okay if the bulb neck is above the soil and exposed, even indoors near a window?
Yes, it’s usually beneficial because airflow around the neck reduces neck-rot risk. Just be careful not to let the bulb dry out completely, and keep the pot away from cold window drafts that chill the roots.
How long should I leave the leaves before cutting them back, and what if they yellow late?
Let the leaves die back naturally after flowering, then reduce watering gradually. If leaves are still mostly green but flowering has already passed, continue bright light and normal feeding until yellowing begins, because the plant needs that foliage to rebuild reserves.
Do I need to repot after dormancy, or can I reuse the same pot and mix?
You can reuse the same pot, but refresh the mix if you suspect it stayed too wet or if there’s any rot history. Dormant bulbs are sensitive, so using fresh, well-draining mix helps you avoid carrying over pathogens or salt buildup.
What’s the best way to prevent salt buildup from fertilizer in pots?
Use dilute feedings as you’re already doing, and periodically flush the pot with clean water until excess drains out. A good time is every few weeks during active growth, especially if you notice crusty white residue on the soil surface or pot rim.
My hippeastrum produced leaves but no flowers, what is the most likely cause?
Most often it’s insufficient light and feeding during the leaf-building period, or the bulb was too small to store enough energy yet. Also confirm dormancy lasted long enough at the right cool temperature range, because an incomplete cool rest delays flowering.
Why does my flower spike lean even though I moved the pot to bright light?
It’s usually phototropism toward the light source. Rotate the pot a quarter turn every couple of days once the spike emerges, and if needed, support it with a light tie to a thin cane so the stem is not bent sharply.
What should I do if I see a soft spot near the neck or suspect rot?
Act quickly. Remove the bulb, cut away all soft tissue with a clean knife, let the cut area dry in open air for about a day, then repot into completely fresh dry mix. If the rot covers a large portion of the bulb, it may not recover, especially if the core is affected.
Can I grow hippeastrums year-round without forcing dormancy?
They can survive, but reliable rebloom typically requires a cool, dark rest period. If you skip dormancy, the bulb may keep producing leaves with weak or no flowering, because it needs that temperature shift to trigger the next cycle.