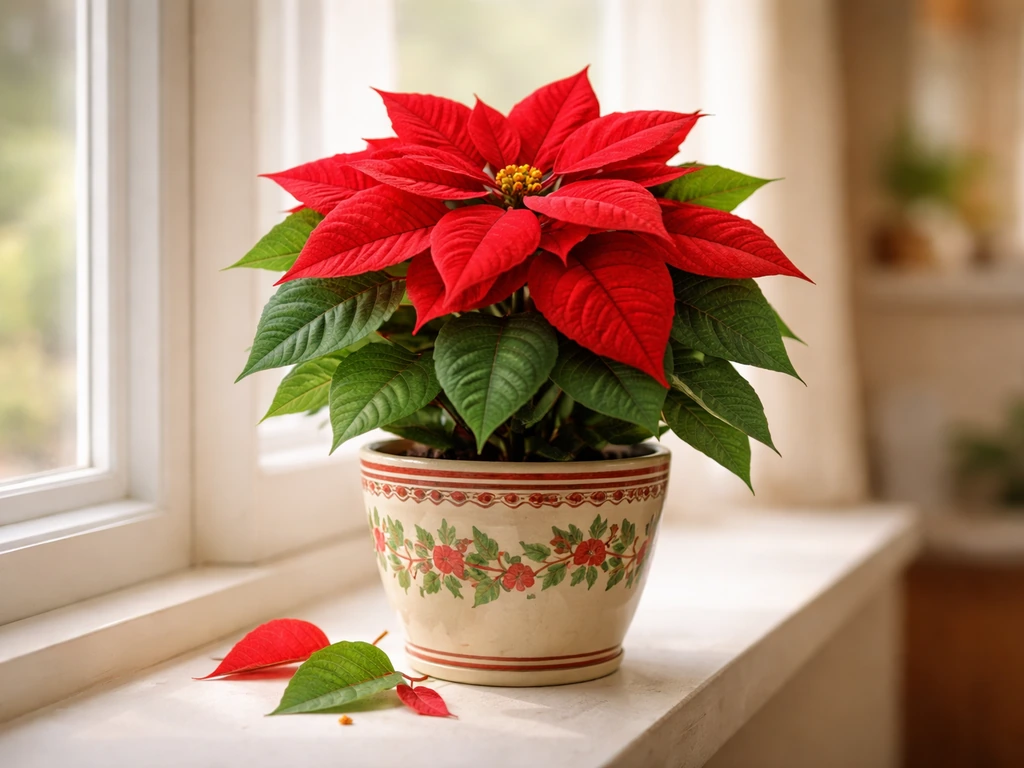
You can absolutely grow a healthy, colorful poinsettia in a pot indoors. The key things you need: a container with good drainage, a well-draining potting mix (not garden soil), a bright south or west-facing window, careful watering (letting the top inch dry before you water again), and if you want holiday color next year, about 8 to 10 weeks of 15 hours of complete darkness each night starting in late September. That's the whole game, really. Everything else is just filling in the details.
How to Grow Poinsettias in a Pot: Step-by-Step Care

Marcus Whitley
11 Jun 2026
Choosing the right container and pot size
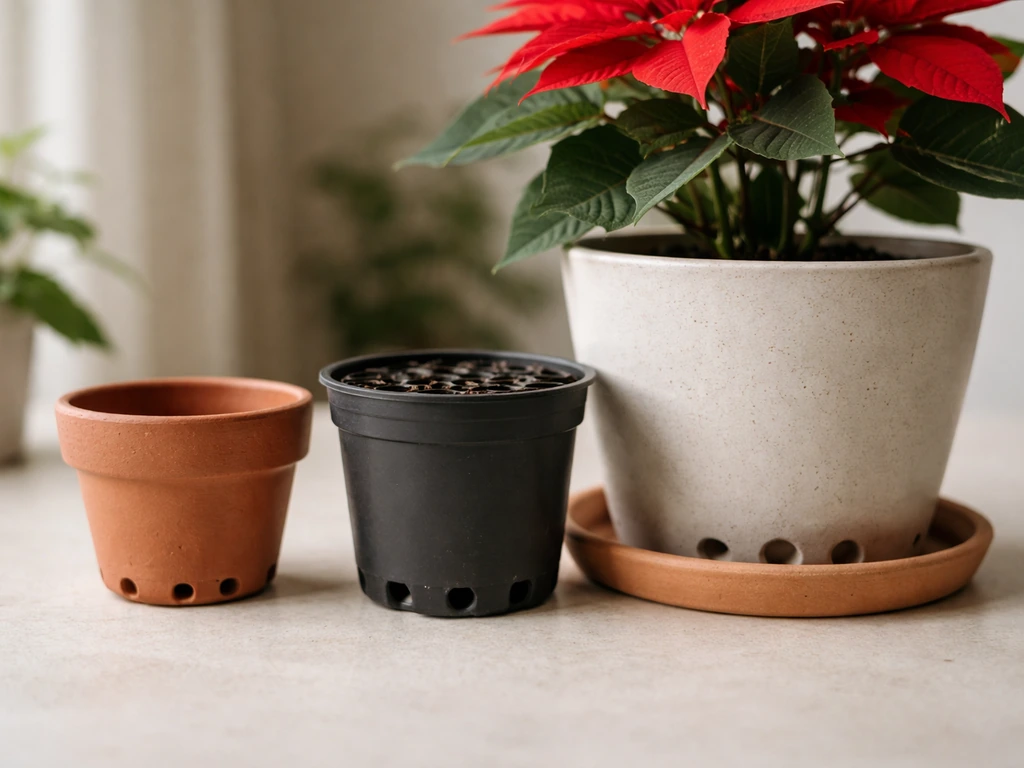
Drainage is non-negotiable with poinsettias. They are one of those plants that will die in a waterlogged pot faster than almost anything else, so whatever container you pick, it must have drainage holes at the bottom. Decorative foil wrapping or cachepots (the pretty outer sleeve that often comes with poinsettias at the store) are fine to use for looks, but you need to remove them or empty them every single time you water so the plant isn't sitting in a pool of water.
For pot size, start with something that's only slightly larger than the nursery pot the plant came in. If you buy a 4-inch poinsettia, pot it into a 5- or 6-inch container. If it came in a 6-inch grower pot, move it into a 7- or 8-inch pot. Going too big too fast is a common beginner mistake because excess soil holds moisture the roots can't use, and that leads to rot. As the plant grows through the year, you can move up one pot size at a time. Terracotta pots are a great choice for poinsettias because they're porous and help the soil dry out a bit faster, which keeps roots healthier.
Potting mix and repotting basics
Don't use plain garden soil in a pot. It compacts, drains poorly, and will suffocate your poinsettia's roots. Instead, use a quality premixed potting mix. Peat moss-based mixes (like standard houseplant or all-purpose potting mixes) work well, and so do bark-based mixes, which tend to have slightly better air space around the roots. The goal is a mix that holds some moisture but drains freely and doesn't stay soggy.
If you want to improve drainage even further, mix in about 20 to 30 percent perlite (the little white chunks you see in commercial mixes). This is especially worth doing if you know you tend to overwater, or if your home stays on the cooler side and soil dries slowly.
When repotting, gently loosen the root ball, shake off some of the old soil, and place the plant in the new pot so the top of the root ball sits about an inch below the rim of the container. Fill in around it with fresh potting mix, press lightly to remove air pockets, and water thoroughly until water runs out the bottom. Don't fertilize for the first four to six weeks after repotting since the fresh mix usually has enough nutrients to get the plant settled in.
Light, temperature, and where to put your pot
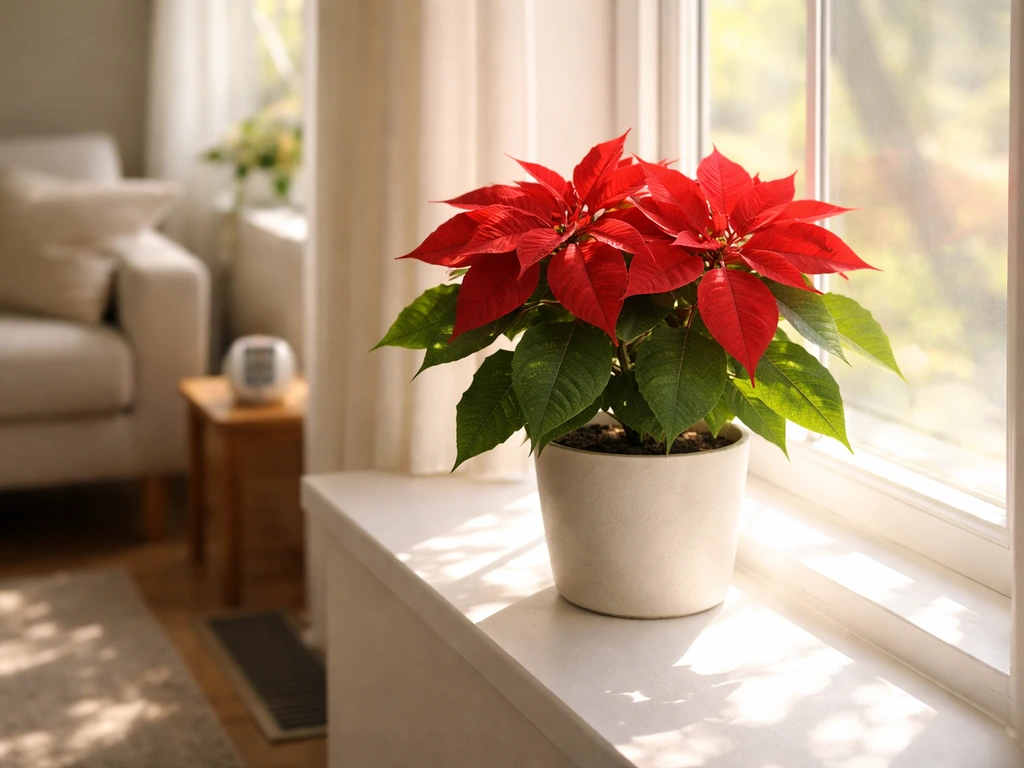
Poinsettias need bright light to stay healthy and keep their leaves. A south, east, or west-facing window is ideal indoors. If you put yours in a dim corner, the leaves will go pale, drop, and the plant will generally look sad. Get it as close to a bright window as you can. Six hours of indirect or filtered bright light per day is a solid minimum.
Temperature matters a lot too. Keep your poinsettia in a room that stays between 65 and 75°F during the day. It will tolerate slightly cooler nights, but keep it above 60°F. What really kills poinsettias fast is cold drafts, so keep the pot away from exterior doors, drafty windows, or anywhere near an air conditioning vent. Cold drafts cause sudden and dramatic leaf drop, and once a poinsettia loses most of its leaves to cold stress, it's very hard to recover. I've lost a nice plant to a drafty windowsill before, and it genuinely happened overnight.
During summer, you can move a potted poinsettia outdoors onto a sheltered porch or patio where temperatures stay above 55°F. Just make sure it's not in harsh direct afternoon sun, which can scorch the leaves. Bring it back inside well before the first frost.
How to water and feed a potted poinsettia
Watering
Overwatering is the number one way people kill poinsettias in pots. The roots need oxygen as much as they need water, and if the potting mix stays constantly wet, the roots suffocate and rot. Hippeastrums, like these poinsettias, do best in pots with excellent drainage and an airy potting mix. The symptoms of root rot look almost identical to underwatering: wilting, yellowing, and leaf drop. So people water more, making things worse.
The right approach: stick your finger about an inch into the potting mix. If it feels dry at that depth, water thoroughly until water drains freely from the holes at the bottom of the pot. Then wait and check again before watering next time. Never let the pot sit in a saucer full of water for more than 30 minutes after watering. Empty it out.
Feeding
During active growth (spring through summer), feed your poinsettia every two to three weeks with a balanced, water-soluble fertilizer. A 10-5-10 or similar complete fertilizer works well. Follow the label instructions for flowering plants.
In winter when the bracts (the colored leaves most people call the flowers) and regular leaves are naturally dropping, blank" rel="noopener noreferrer">reduce or stop fertilizing until you see new growth pushing out. Then resume. If you're doing the short-day darkness treatment to force holiday color (covered below), blank" rel="noopener noreferrer">fertilize once a week at half strength or less with a water-soluble fertilizer during that period. Over-fertilizing can cause leaf drop, so err on the light side.
Pruning to keep your poinsettia full and compact
Left alone, a poinsettia grows tall, leggy, and sparse. Pruning is what keeps it looking like a full, attractive plant rather than a few long bare sticks with leaves at the tips. It sounds intimidating, but it's actually pretty satisfying once you get into it.
After the holiday display is done and the bracts have faded, cut the plant back hard, to about 6 inches above the soil. This feels drastic, but the plant will respond by pushing out new shoots from lower down the stems. Once those new shoots are a few inches long, usually around the first week of July, pinch out the growing tips to encourage even more branching. This is called pinching, and it's how you get a bushy, multi-stemmed plant instead of a single spindly one.
Around Labor Day (early September), give the plant one more pruning to activate the side buds and make it fuller and more compact going into the re-blooming process. After this point, stop pinching because you don't want to remove the growth that will become the colorful bracts.
Getting holiday color again: the short-day trick
This is the part most people don't know about, and it's honestly kind of fun once you understand what's happening. Poinsettias are what botanists call short-day plants, meaning they only produce their colorful bracts when they experience long, uninterrupted periods of darkness. In nature, this happens automatically as the days get shorter in fall. When you grow them in a house with electric lights on in the evenings, the plant never gets the signal to bloom.
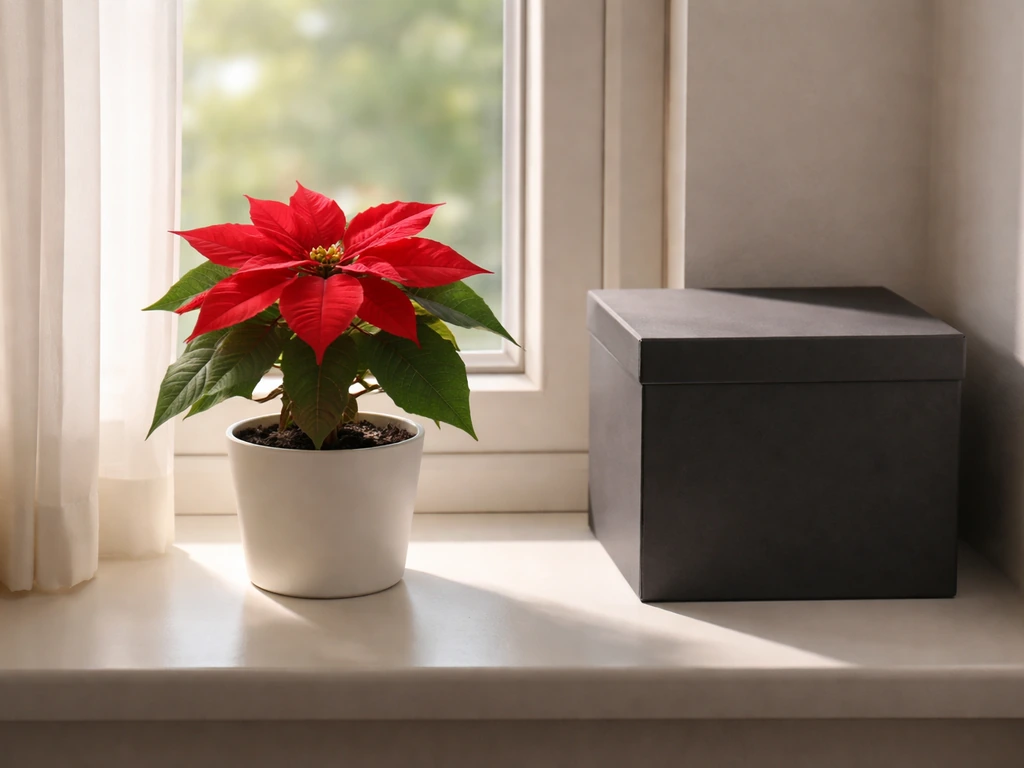
To trigger flowering for Christmas, you need to give your poinsettia 15 hours of complete darkness every single day for 8 to 10 weeks. A practical schedule is to put the plant in a dark closet at 5 p.m. and bring it back to your bright window at 8 a.m. The darkness must be total: even a brief exposure to a lamp, a streetlight through a window, or you opening the closet to grab a coat counts as an interruption and can reset the process. During the daylight hours, the plant still needs that bright window to fuel growth.
Start the darkness treatment in late September (some sources say as early as October 1 works fine for Christmas color). After 8 to 10 weeks, once you can see good bract color developing, you can stop the darkness treatment and let the plant go back to normal light. Keep nighttime temperatures between 60 and 70°F during this period to get the best, deepest bract color.
| Month | What to do |
|---|---|
| January to March | Enjoy the bracts; reduce watering and feeding as bracts fade |
| April | Cut back watering, place in cool spot (~60°F), indirect light |
| May to June | Cut plant back to 6 inches; resume regular watering and feeding |
| July (first week) | Pinch new shoots to encourage bushiness |
| August | Continue feeding every 2 to 3 weeks; keep in bright light |
| Early September (Labor Day) | Final pruning to activate side buds; stop pinching after this |
| Late September | Begin 15-hour darkness treatment (5 p.m. to 8 a.m. daily) |
| October to November | Continue darkness treatment; water and feed lightly |
| Late November to December | Bracts develop color; stop darkness treatment; enjoy for the holidays |
Fixing common problems
Leaf drop
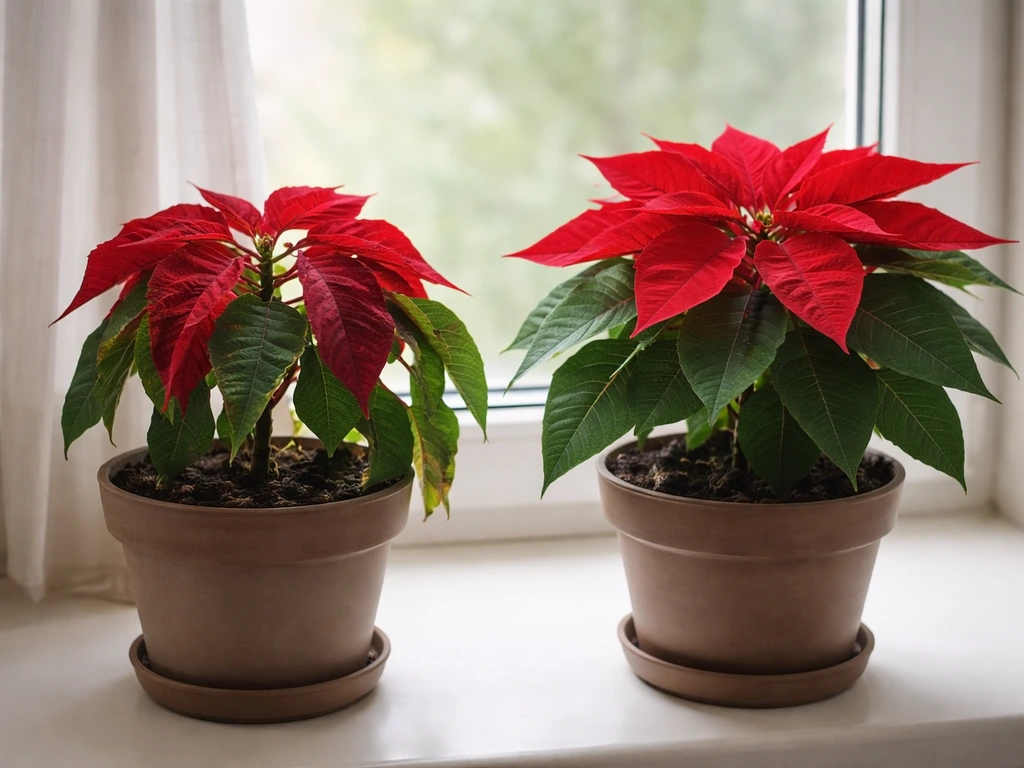
The most common cause is cold drafts or temperature shock, usually right after bringing the plant home from a store in winter. Wrap it well when transporting it and keep it away from drafty spots at home. Overwatering and root rot cause the same symptom (wilting and leaf drop), as does over-fertilizing. If leaves are dropping and the soil is constantly wet, stop watering, let the mix dry out, and check the roots. Soggy brown roots are a sign of rot.
Root rot
Root rot is almost always caused by a pot sitting in water or by watering before the soil has dried out enough. If you catch it early, you can sometimes save the plant by removing it from the pot, cutting off the rotted black or brown roots, letting the healthy roots air out for an hour, and repotting into fresh dry mix. Going forward, water less frequently and make sure the pot drains freely.
Pests
The three pests most likely to bother a potted poinsettia are whiteflies, mealybugs, and spider mites. Whiteflies are tiny white insects that cloud up when you disturb the plant. Mealybugs look like small white cottony blobs, usually found in leaf joints. Spider mites create fine webbing on the undersides of leaves and cause a speckled, dusty look on the foliage.
- Whiteflies: spray the undersides of leaves with insecticidal soap or neem oil; repeat every five to seven days for two to three weeks
- Mealybugs: dab individual bugs with a cotton swab dipped in rubbing alcohol; follow up with neem oil spray for larger infestations
- Spider mites: increase humidity around the plant and spray with insecticidal soap or neem oil; mites thrive in hot, dry indoor air
Catching any pest problem early makes it much easier to deal with, so get into the habit of checking the undersides of leaves when you water. Isolate any affected plant from your other pots until you've cleared the infestation.
A few things that make the whole process easier
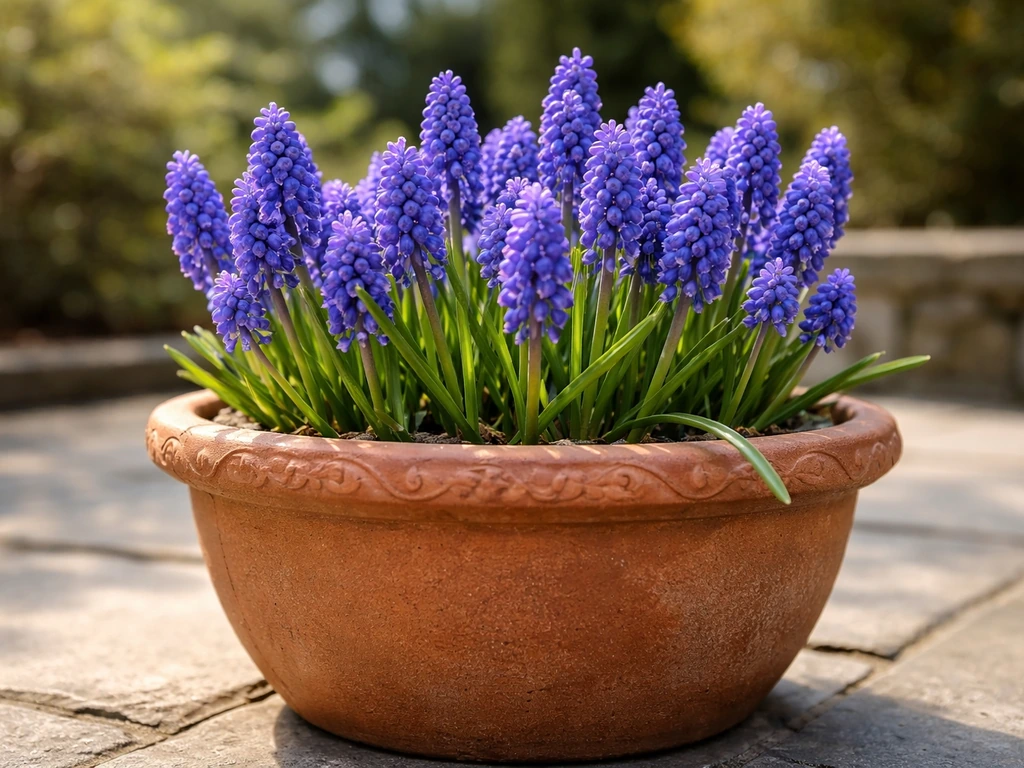
If you've grown other flowering houseplants in pots, you'll notice that poinsettias have a lot in common with some of them. If you want a different kind of potted bloom, you can also look at how to grow grape hyacinth in pots, since it is another container-focused option that benefits from getting the basics right early on.
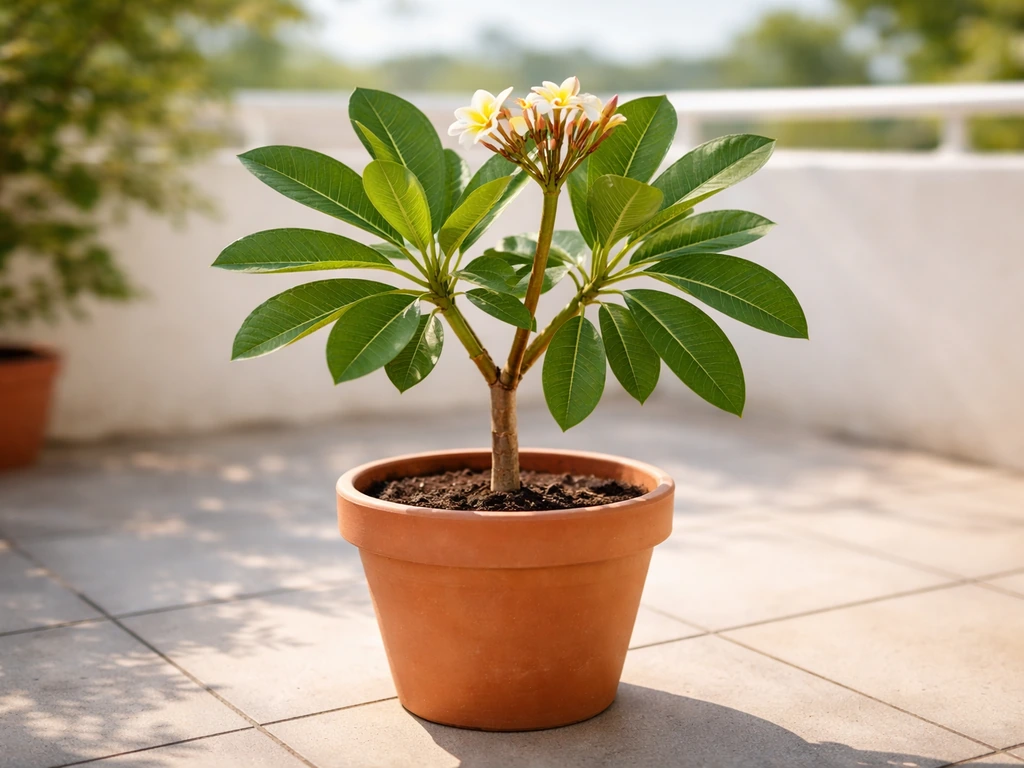
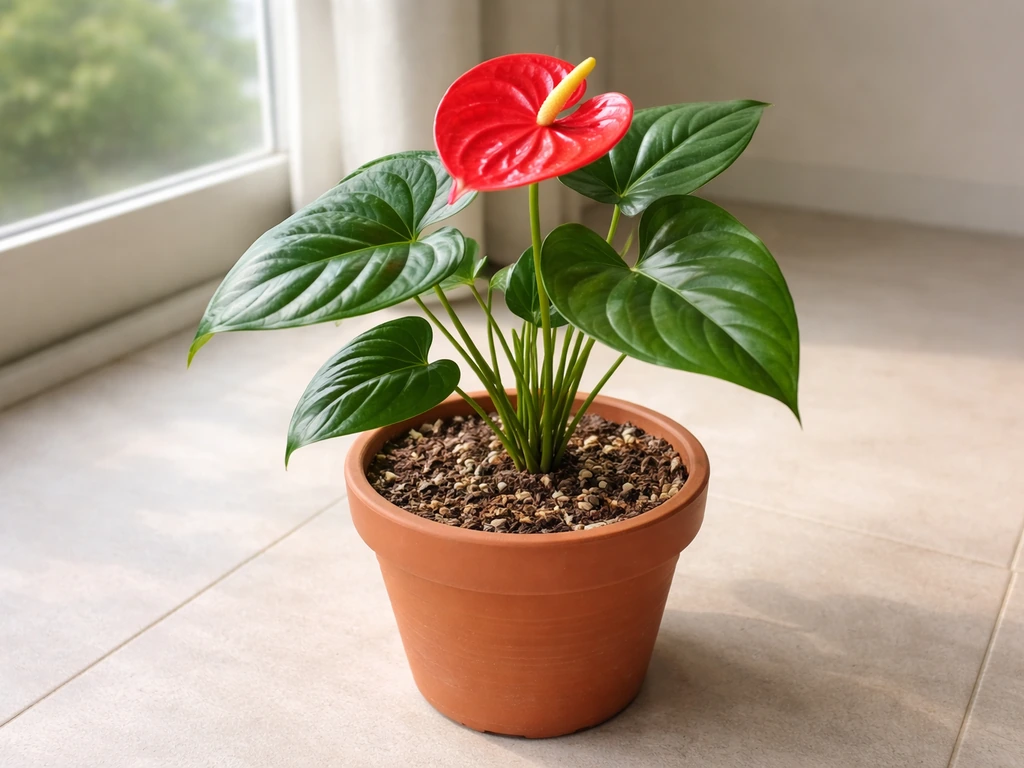
If you want a different style of container gardening, the same pot basics can help you learn how to grow plumeria in pots potted plants. The careful watering approach and the need for a bright window are similar to what you'd do for anthurium plants or hydrangeas in containers. Hippeastrums also do well in pots when you use fast-draining potting mix and water carefully so the bulbs never sit in soggy soil watering approach.
Frangipani (plumeria) can also be grown in containers, as long as you match its needs for full sun, fast-draining soil, and careful watering between dry cycles grow frangipani in pots. Anthuriums also do well in pots if you use a chunky, well-draining mix and water only when the top portion is drying anthurium plants.
If you're wondering how to grow hydrangea in pots, the same container care basics and consistent moisture management are a great place to start hydrangeas in containers. The seasonal timing and the effort involved in re-blooming are also a useful comparison point: it takes commitment, but it's genuinely rewarding when it works.
Don't stress too much if you get it wrong the first time. Most people lose a poinsettia or two before they figure out their home's particular balance of light, temperature, and watering rhythm. The second year is almost always better than the first. The plant is more forgiving than its reputation suggests, as long as you keep it warm, drain the pot properly, and give it enough light. If you want a different kind of bulb, you can apply similar pot-and-drainage principles when learning how to grow hyacinth bulbs in pots.
FAQ
Can I keep my poinsettia in a cachepot or foil wrap long-term?
You can for looks, but not for soaking. After every watering, remove the plant from the decorative sleeve (or empty any standing water in the cachepot) within about 30 minutes. Leaving it wrapped while wet can lead to root oxygen loss and quick decline.
How can I tell whether my problem is overwatering versus underwatering?
Both can cause wilting and leaf drop, but check the potting mix. If the mix is cool and soggy and the top inch never really dries, it is likely overwatering or root rot. If the mix is light, pulling away from the pot edges, and dry at the one-inch depth, it is likely underwatering or inconsistent watering.
Is it okay to mist poinsettias for humidity?
Usually not as a primary strategy. Poinsettias care more about drainage and root oxygen than extra humidity. If you do mist, do it lightly and not frequently, because persistently damp foliage can worsen pest issues like spider mites or fungal spotting in cooler rooms.
What should I do if the plant drops leaves after I bring it home from the store?
First, confirm warmth and avoid drafts. Keep it away from exterior doors, drafty windows, and HVAC vents, and keep daytime temperatures within the 65 to 75°F range. Also water only when the top inch dries, then make sure it drains fully, because stress from temperature plus wet soil is a common two-hit cause.
Do poinsettias need more light during the short-day darkness period?
Yes. Darkness must be complete at night, but daytime still needs bright window light to keep the plant building strength. Place it by a bright south or west-facing window during the day, and only use blackout coverage after you confirm the plant will not receive any stray light.
Will streetlights or a phone flashlight through a closet window ruin the bloom?
They can. The darkness requirement is strict, even brief light interruptions can delay or reset bract formation. If the closet door has cracks, cover gaps or use opaque blackout material. Avoid checking on the plant with bright light during the dark window.
How often should I water during winter when the plant is changing colors?
Check more frequently but water less routinely. Even in winter, watering is determined by dryness at the one-inch depth. If that depth is dry, water thoroughly until it drains out, then discard any excess after about 30 minutes.
What fertilizer should I use, and how do I prevent leaf drop from feeding?
Use a balanced water-soluble fertilizer at the label rate during spring and summer, but during the darkness treatment use half strength or less and do not overdo it. If you see increased leaf drop during or soon after feeding, pause and let the plant stabilize with only water and good light.
Should I prune and pinch immediately after purchase?
Not usually. If the plant is currently in bloom, avoid heavy pruning until after bracts fade and regular leaves are dropping. Timing matters because pruning and pinching are part of the cycle that sets up future branch growth and next year’s bract formation.
My poinsettia looks tall and sparse again. When is the best time to prune?
Prune after the holiday display ends and the bracts have faded, cutting back to about 6 inches above the soil. Then pinch growing tips around early July to encourage multiple stems, and do a final pruning around early September to activate side buds before you stop pinching.
What pot material is safest for beginners?
Terracotta is often the easiest option because it dries more evenly and faster, which reduces the risk of staying soggy. If you use plastic, be extra careful with watering intervals and consider adding perlite (about 20 to 30%) to improve oxygen and drainage.
Should I repot right away or wait?
If the roots are clearly sitting in wet, dense mix or the pot lacks drainage, repot sooner. Otherwise, waiting until after the current display period is often less stressful. If you do repot, avoid fertilizing for 4 to 6 weeks so the plant can recover from root disturbance.
How do I handle root rot if it seems to start?
Act quickly. Remove the plant from the pot, cut off black or brown rotten roots, and air out healthy roots for about an hour. Repot into fresh dry mix with lots of drainage, then water only after the plant is settled and the mix begins to dry at the one-inch depth.
Which pests are easiest to miss, and what should I check first?
Mealybugs and spider mites are often noticed after damage appears, so check earlier. Look under leaf joints for cottony clusters (mealybugs) and on leaf undersides for speckling and fine webbing (spider mites), especially when the plant is near dry indoor air.