Alugbati (Malabar spinach, Basella alba or Basella rubra) is one of the easiest leafy greens you can grow in a pot, and it actually thrives in containers if you give it the right setup. Once you pick the right container and support, you can use the same pot-growing approach to learn how to grow rajnigandha in pots too. It's a fast-growing vine that can start giving you harvestable leaves in as little as 60 to 80 days from planting, and once it gets going, it just keeps producing. You can grow it from cuttings or seeds, it loves heat and humidity, and it handles small urban spaces beautifully as long as you give it something to climb.
How to Grow Alugbati in Pots: Step-by-Step Guide

Marcus Whitley
24 Jun 2026
Pick the Right Alugbati Type, Pot, and Container Setup
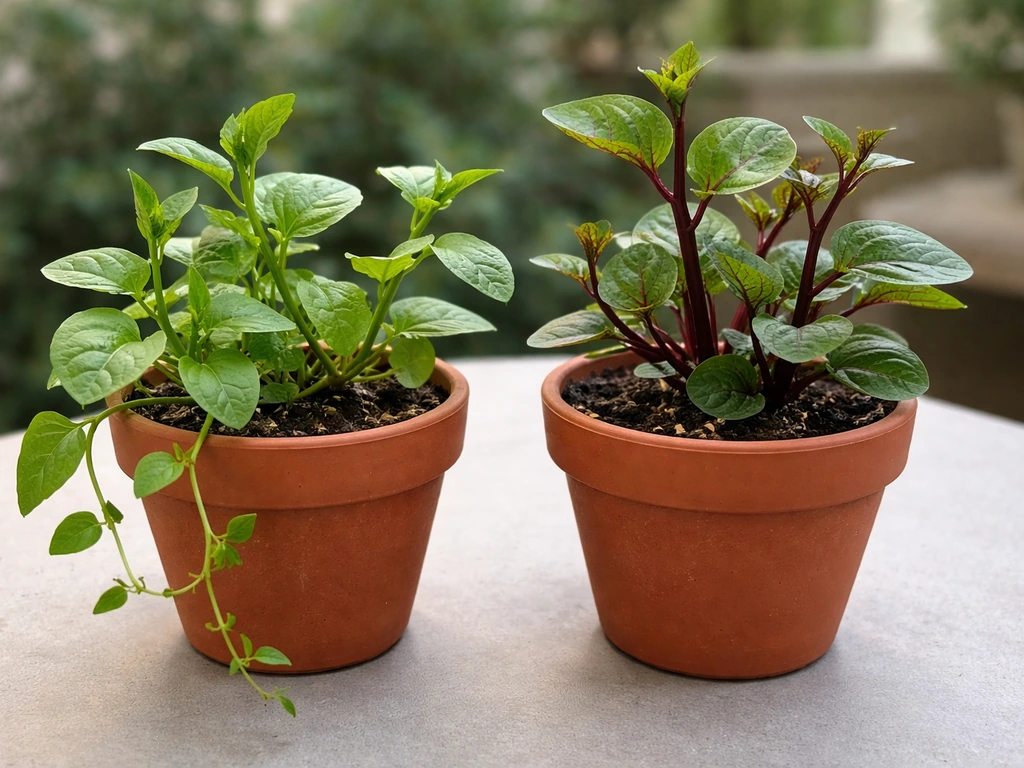
Green or Red: Which Type Should You Grow?
There are two main types you'll find for sale: Basella alba, which has green stems and leaves, and Basella rubra, which has striking red or purple stems with slightly darker leaves. Both taste essentially the same and perform identically in containers. The red-stemmed variety is a bit more ornamental, which makes it a nice choice if you want your pot garden to look good on a balcony or patio. If you just want maximum yield and ease, either one works perfectly.
What Size Pot Do You Actually Need?
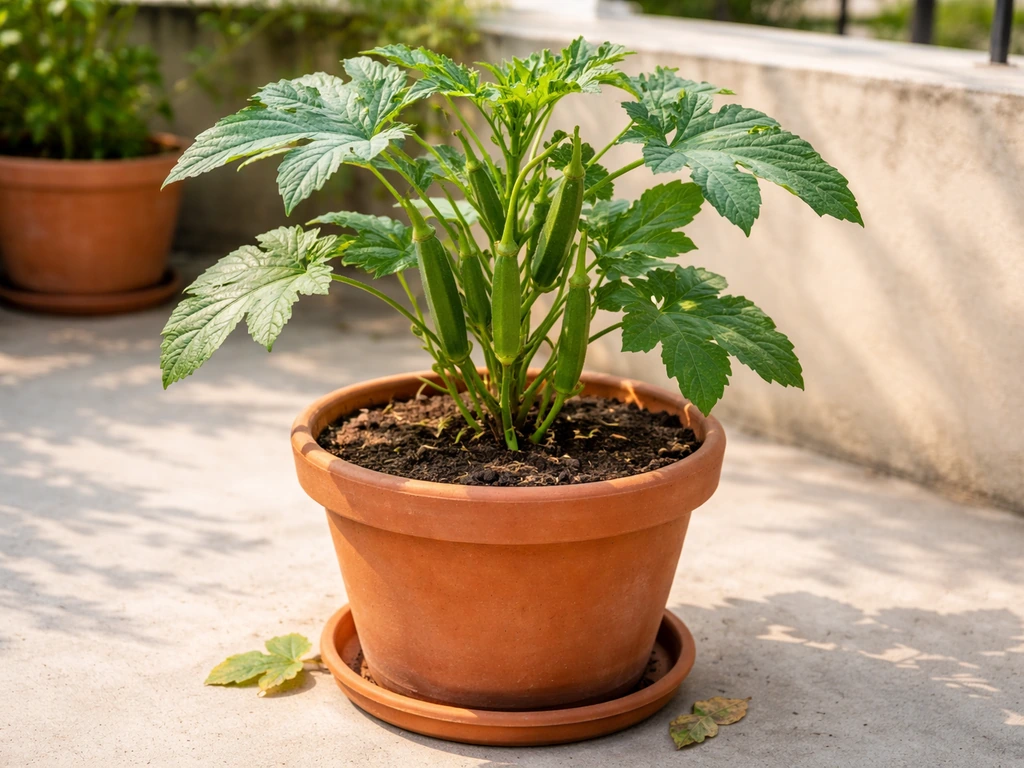
Go bigger than you think you need. अगर आप general तौर पर जानना चाहते हैं, तो pots में vegetables उगाने की पूरी guide भी देखें p5s0: Go bigger than you think you need.. Alugbati is a vigorous vine and its roots need room to support all that leafy growth. A single plant does well in a pot that's at least 12 inches (30 cm) wide and 12 inches deep. If you want two or three plants together, or if you plan to train the vine upward for a heavy harvest, bump up to a 16-inch or even a 20-inch container. The extra soil volume holds more water and nutrients, which directly translates to faster, lusher growth.
Drainage is non-negotiable. Whatever pot you use, make sure it has at least two or three holes at the bottom. Alugbati doesn't like waterlogged roots at all, and a pot without good drainage will rot the plant quickly. Terracotta pots breathe well and are great if your climate is humid. Plastic pots retain moisture longer, which can be an advantage if you're in a very hot, dry spot and watering is a challenge.
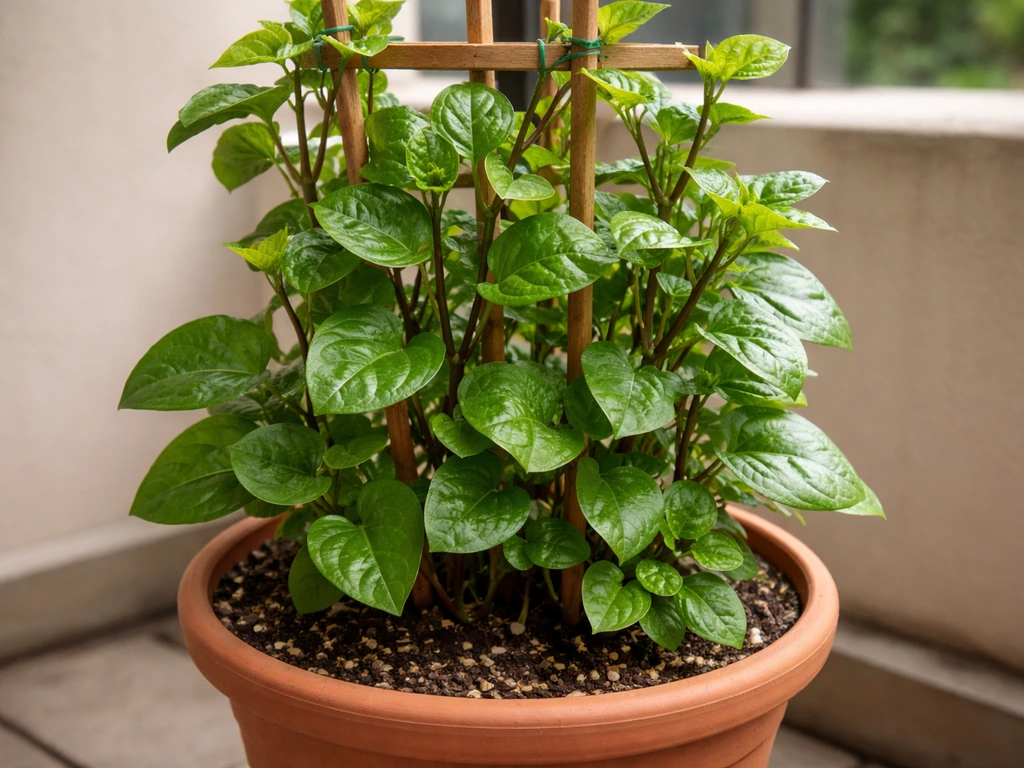
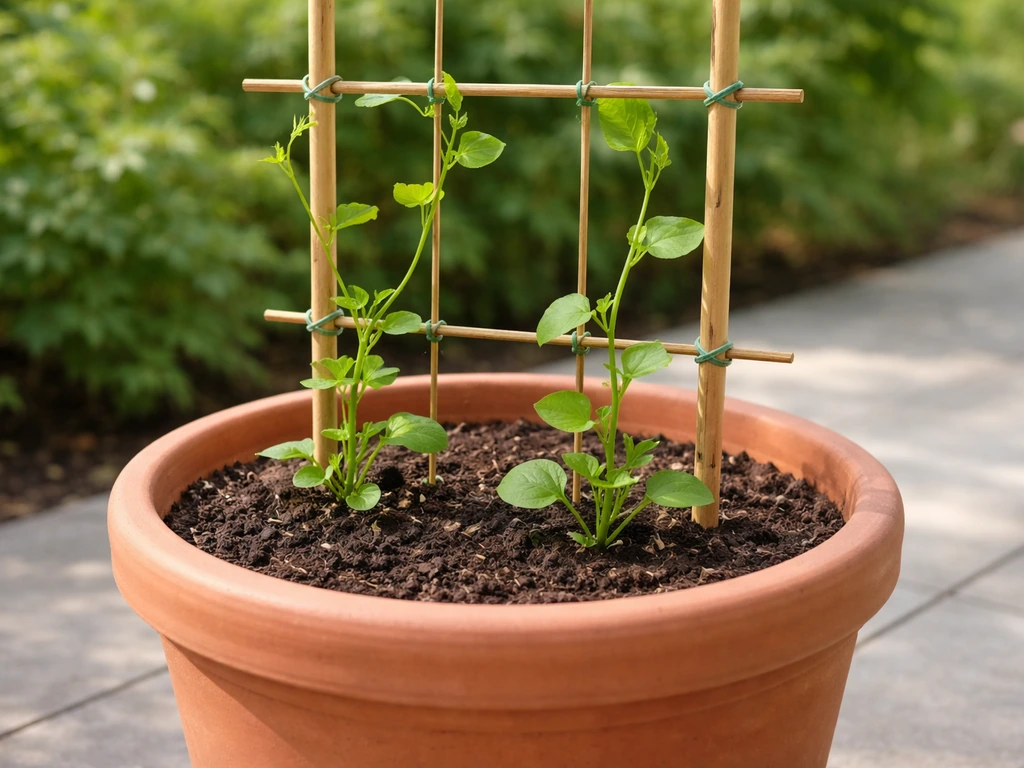
Set Up a Trellis or Support Before You Plant
Here's something I wish someone had told me early on: set up your trellis before you plant, not after. Alugbati is a vine. Left to itself in a pot, it'll sprawl over the edges and get tangled. A simple bamboo stake or a small A-frame trellis placed directly in the pot works beautifully. Even a tension rod wedged between a wall and a railing with some twine tied across works fine for a balcony setup. The plant will start climbing on its own once it has something to grab, and vertical growth means more stems, more leaf nodes, and more harvests.
Light, Temperature, and Where to Put the Pot
Alugbati is a heat-loving tropical plant. It genuinely performs best in hot, humid weather, which is why it's such a popular vegetable in the Philippines, Southeast Asia, and other warm-climate regions. In terms of light, you want at least 6 hours of direct sunlight per day. A south-facing or west-facing spot on a balcony or patio is ideal. More sun means faster growth and more productive vines.
Temperature-wise, alugbati is happiest between 25°C and 35°C (77°F to 95°F). It slows down noticeably below 20°C (68°F) and will struggle or die if it gets frost. If you're growing in a cooler climate or during a cooler season, start seeds indoors under a grow light a few weeks before your warm season begins, then move the pot outside once temperatures stay consistently warm. One thing to watch: alugbati can be triggered to flower under short-day conditions or when it's water-stressed, and once it flowers heavily, leaf production slows down. Keeping it consistently watered and in a warm, bright spot delays flowering and keeps the leaves coming.
Best Soil Mix and How to Plant (Seeds or Cuttings)
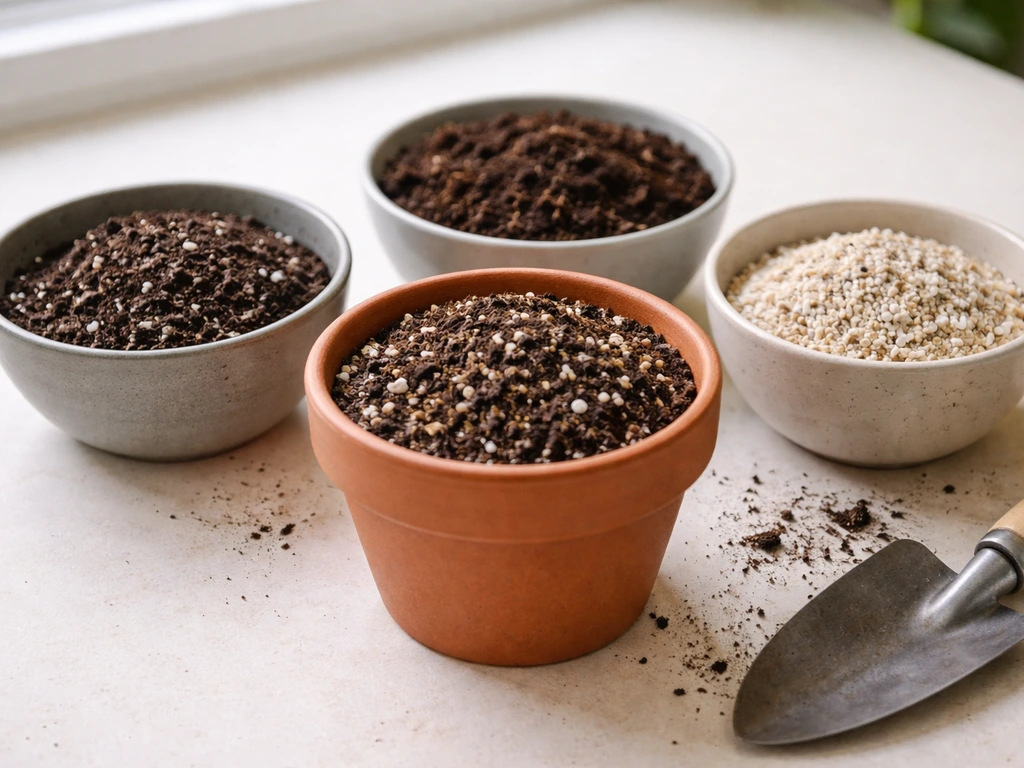
The Potting Mix to Use
Don't just fill the pot with garden soil. Garden soil compacts in containers, drains poorly, and stunts root growth. Instead, mix your own: two parts good-quality potting mix, one part compost, and one part perlite or coarse sand. The compost gives the plant a rich, organic nutrient base to start with, and the perlite keeps the mix loose and well-draining. If you can add a small handful of vermicompost (worm castings) to the mix, even better. Alugbati responds really well to organic matter in the soil.
Seeds vs. Cuttings: Which Is Faster?
Cuttings win every time for speed. If you can get a 15 to 20 cm (6 to 8 inch) stem cutting from an existing alugbati plant, strip the lower leaves, and stick it about 5 cm (2 inches) deep into moist potting mix, it will typically root within 7 to 14 days and start growing fast. This is the method most home gardeners in tropical regions use because it's free and reliable.
If you're starting from seeds, the process takes a bit longer. Alugbati seeds have a hard coat, so soak them in warm water for 24 hours before planting. This dramatically improves germination rates. Plant seeds about 1 cm (half an inch) deep, keep the soil consistently moist, and expect germination in 10 to 21 days. Once the seedlings are about 10 cm (4 inches) tall, thin to the strongest plant per pot. You can expect your first harvest around 60 to 80 days from planting. If you are specifically wondering how to grow karela in pot, you can use the same container approach: choose a deep pot, keep the soil evenly moist, and support the vine as it grows.
Watering and Fertilizing Your Container Alugbati
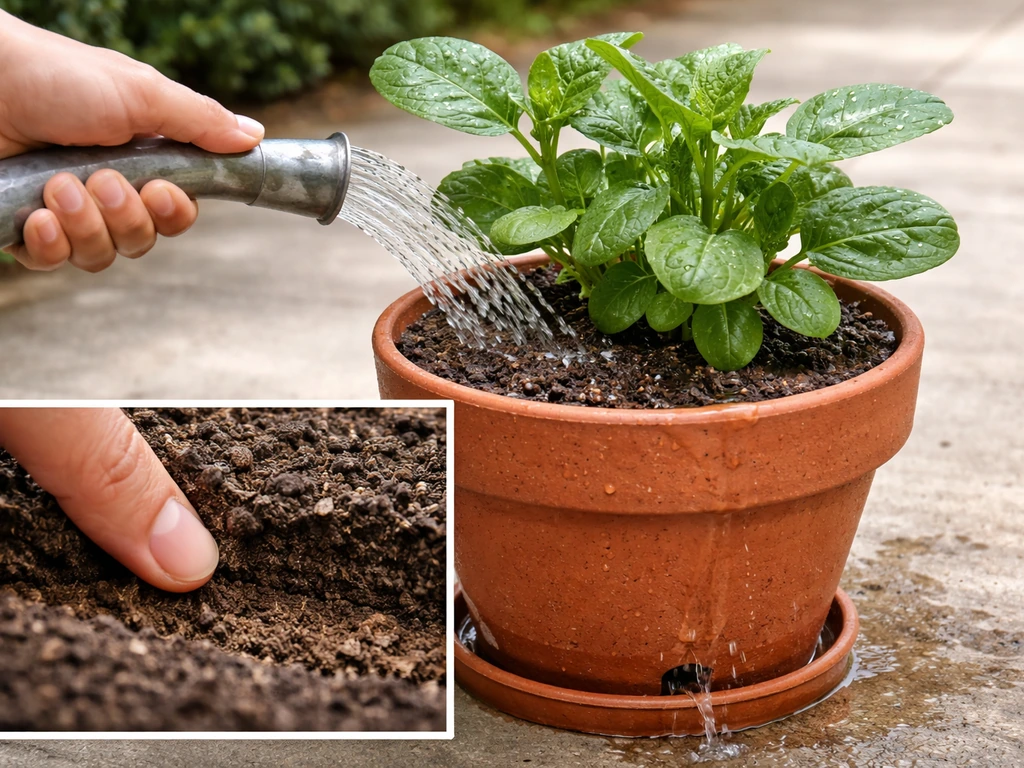
How Often to Water
Check the soil every day, especially during hot weather. Stick your finger about 2 cm (an inch) into the soil. If it feels dry, water thoroughly until it drains out the bottom. In warm summer conditions, this might mean watering every day or every other day. In cooler or cloudier weather, you might water every two to three days. The goal is consistently moist soil, not wet or soggy. If water sits in a saucer under the pot, dump it out after 30 minutes. Standing water is the fastest route to root rot.
Fertilizing for Fast Leafy Growth
Alugbati is a leafy green, so it needs nitrogen more than anything else. Start fertilizing about two weeks after planting or once you see active new growth. A balanced liquid fertilizer (something like a 10-10-10 NPK mix) applied every two weeks works well as a foundation. But the real secret to lush, fast leaf production is adding extra nitrogen. Diluted fish emulsion, liquid seaweed fertilizer, or a nitrogen-heavy liquid fertilizer (like 20-10-10) applied every 10 to 14 days during peak growing season will keep the leaves dark green and the vine growing vigorously. Don't overdo it though. Too much fertilizer in a container can burn roots, so always dilute to half the recommended strength if you're not sure.
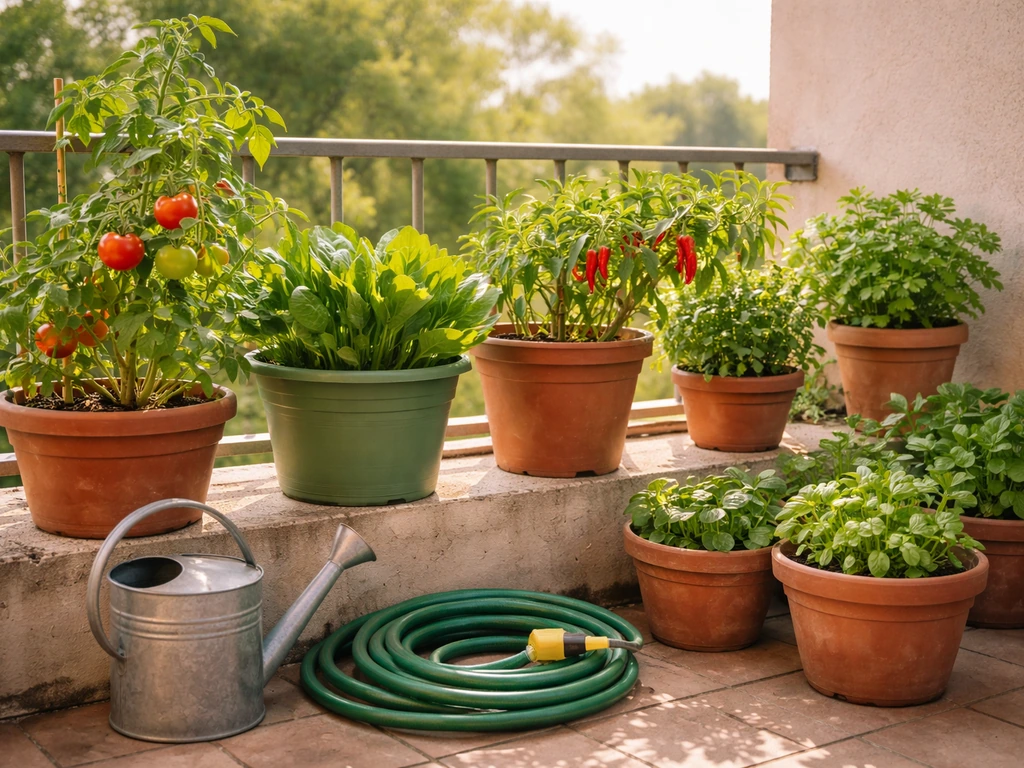
As a side note: if you're also growing other leafy greens in pots like palak or manathakkali keerai, you'll find a very similar nitrogen-focused fertilizing routine applies to all of them. Manathakkali keerai can be grown in pots with the same basic container leafy-green approach, focusing on warm conditions, good drainage, and frequent harvesting.
Supporting, Pruning, and Training for a Better Harvest
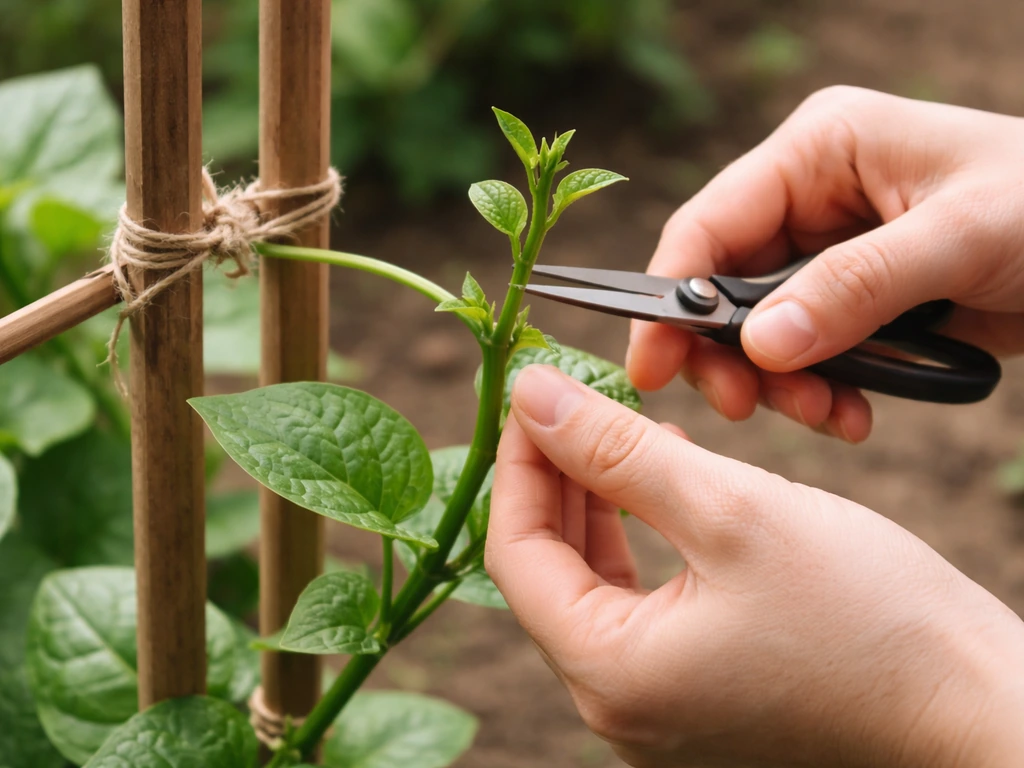
Once your alugbati vine starts growing, guide it toward your trellis or support. You can loosely tie the main stem to a stake with soft twine or garden tape. Don't tie too tightly. You want to guide the plant, not strangle it. As the vine climbs, it will naturally start branching, and each branch point is a potential harvest node.
Pruning is actually what drives continuous leaf production. Every time you harvest, you're essentially pruning. But beyond harvesting, you should also pinch off any growing tip that's getting too long or leggy. Pinching the tip of a stem forces the plant to put energy into side shoots, which means more branches and more leaves per harvest. If you let the vine grow unchecked without any pruning, you'll get long, sparse stems with fewer leaves rather than a bushy, productive plant.
Remove any yellowing or damaged leaves as soon as you see them. They're just taking up space and can invite disease. Keep the canopy open enough for air to move through, which helps prevent fungal problems in humid weather.
Troubleshooting: Pests, Disease, and Nutrient Problems
Common Pests in Containers
Alugbati is relatively pest-resistant, which is one of the reasons it's such a satisfying container plant. If you also want to grow bhindi in pots, the biggest keys are choosing the right container size, ensuring drainage, and keeping warm-season conditions how to grow bhindi in pots. But it's not immune. The most common pests you'll encounter are aphids and caterpillars (leaf chewers). Aphids tend to cluster on new growth and the undersides of leaves. A strong spray of water knocks them off. If that's not enough, diluted neem oil solution (about 2 ml neem oil per liter of water with a few drops of dish soap) applied in the evening works well without harming the plant. Check for caterpillar eggs on the undersides of leaves and remove them by hand. For serious infestations, Bacillus thuringiensis (Bt) spray is safe and effective on caterpillars.
Yellowing Leaves: What's Going Wrong
| Symptom | Most Likely Cause | Fix |
|---|---|---|
| Leaves pale yellow all over | Nitrogen deficiency | Apply diluted liquid nitrogen fertilizer immediately |
| Lower leaves yellow, upper leaves fine | Normal aging OR overwatering | Check soil drainage; dump saucer water; reduce watering frequency |
| Yellow leaves with green veins | Iron or magnesium deficiency | Apply chelated iron or a balanced micronutrient liquid feed |
| Soft, mushy stems near soil | Root rot from overwatering | Remove plant, trim rotted roots, repot in fresh dry mix |
| Yellow leaves with tiny webbing underneath | Spider mites | Spray with neem oil solution, increase humidity around pot |
| Wilting despite moist soil | Root rot or compacted soil | Check roots, repot if needed, improve drainage |
Recovering a Struggling Plant
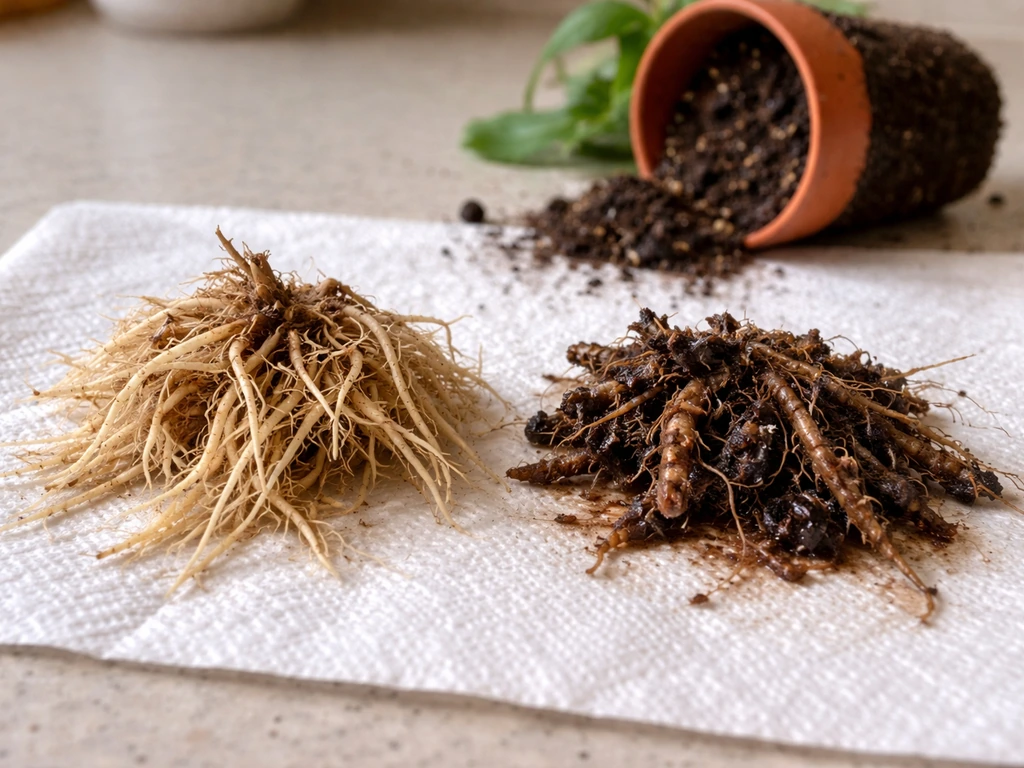
If your alugbati looks sad, the first thing to do is check the roots. Take the plant out of the pot and look. Healthy roots are white or light tan. Rotten roots are brown, mushy, and smell bad. If you catch root rot early, cut off the rotted sections with clean scissors, let the roots air dry for 20 to 30 minutes, then repot in fresh, well-draining mix. Move the pot to a shadier spot for a week while the plant recovers, then gradually move it back to full sun. Most alugbati plants bounce back from early root rot surprisingly well as long as you act fast.
Harvesting and Keeping the Yield Going
When and How to Harvest
Your first harvest can happen anywhere from 60 to 80 days after planting, depending on your growing conditions. Don't wait until the plant is massive before you harvest. Start harvesting early and often. When stems are around 15 to 20 cm (6 to 8 inches) long, cut or pinch off the top 10 to 15 cm. Always leave a few leaves on each stem so the plant can keep photosynthesizing and bouncing back. Harvest in the morning when the leaves are most hydrated and crisp.
The more you harvest, the more the plant produces. This is the beautiful thing about alugbati in a container. If you are wondering how to grow palak in pots, the same container-focused approach to soil, drainage, and regular feeding will help you get leafy harvests. Regular harvesting keeps triggering new side shoot growth, so you get a much denser, more productive plant than if you leave it alone and harvest only occasionally.
After the Harvest: Feeding and Keeping Production Up
Every time you do a major harvest, follow it up with a liquid nitrogen fertilizer the next day. Harvesting creates a growth demand on the plant, and feeding right after helps it bounce back faster and produce more shoots quickly. Think of it as a one-two punch: harvest, then feed.
Succession Planting to Keep Leaves Coming All Season
If you want a continuous supply without interruption, start a new cutting or pot every four to six weeks during the warm season. By the time your first plant is aging and slowing down, your next pot is hitting its peak production. This is the same succession planting principle that works well for other fast-growing leafy greens like palak or dhaniya, and it applies perfectly to alugbati in containers. One plant per pot, staggered by a few weeks, gives you a reliable rotating harvest all through the warm months.
When the weather cools down significantly, alugbati naturally slows and eventually dies back. At that point, take fresh cuttings from the healthiest stems, root them in a small indoor pot under a bright window or grow light, and overwinter them. When warmth returns, you'll be ready to plant out with established cuttings rather than starting from zero. That's how you keep growing alugbati year after year without ever having to buy seeds again.
FAQ
Can I grow alugbati in a pot without a trellis if it is on a balcony or patio?
You can, but expect much lower leaf density. Without vertical support, the vine will sprawl and tangle, which makes pruning harder and increases humidity around the leaves. If you skip the trellis, use a larger pot, place it where it can trail freely, and plan to prune the tips regularly to encourage branching.
How many alugbati plants should I put in one pot?
For best results, grow one plant per pot. Even though the article mentions 2 or 3 plants in bigger containers, overcrowding increases competition for water and nutrients and makes it easier for pests and fungal issues to spread. If you do multiple plants, keep them spaced and be strict about feeding and checking moisture daily.
What should I do if my alugbati flowers but I still want leaf harvests?
Flowering usually means it is stressed, often due to heat changes, short day length, or inconsistent watering. Keep the soil evenly moist, move the pot to the warmest, brightest spot available, and continue harvesting tender stems. If flowering is heavy, remove the earliest flower stems to slow down the shift away from leaf production.
How often should I water alugbati in pots during rainy or humid weather?
Water based on soil moisture, not the calendar. Check the top 2 cm of soil daily. In rainy periods, you may water less frequently, but you must still prevent standing water by emptying any saucer after about 30 minutes and ensuring the pot drains freely.
Is alugbati safe to grow in self-watering planters or with wicking systems?
It can be risky unless the system prevents over-saturation. Alugbati is sensitive to waterlogged roots, so use wicking only if the reservoir cannot keep the medium constantly wet, and confirm drainage by checking that excess water does not collect at the bottom of the pot.
Why are my alugbati leaves turning pale or yellow even though I fertilized?
Pale growth can come from compacted soil, low nitrogen availability, or root stress from soggy conditions. Confirm your mix is loose (potting mix plus compost plus perlite or sand), check drainage holes are clear, and verify you are not overwatering. If the roots look brown or mushy, repot promptly rather than increasing fertilizer.
Can I propagate alugbati cuttings in water instead of potting mix?
You can, but transfer shock is common. Roots started in water may be weaker when moved to soil. If you do use water, wait until roots are several centimeters long, then pot into a light, draining mix and keep it slightly moist for the first week while it adjusts.
What is the fastest way to recover if my alugbati plant droops after transplanting?
First, check soil moisture and drainage, drooping often means the root zone is either drying out or staying too wet. Move the pot to bright shade for a few days, then return it to full sun gradually. Also avoid heavy feeding immediately after transplant, start fertilizing only after you see new growth.
Should I trim or pinch after harvesting, or just cut the leaves I need?
Pinch the growing tip of longer or leggy stems, in addition to your regular harvest, to push new side shoots. When you harvest, cut or pinch only the top 10 to 15 cm and leave several leaves per stem so the plant continues photosynthesizing and regrows quickly.
Are there signs that my alugbati pot is too small?
Yes, the vine may grow slowly, leaves may be smaller, and the plant will dry out much faster, often requiring daily watering even in mild weather. If you see frequent wilting or yellowing despite consistent care, move to a wider and deeper container so the root system has room to support frequent leaf regrowth.
How should I adjust feeding if growth slows during cooler weather?
Reduce fertilizer frequency because nitrogen uptake slows when temperatures drop. Instead of continuing the same schedule, wait until you see active new growth, then resume with diluted liquid feed. Keep watering consistent but do not overcorrect with extra fertilizer if the plant is simply slowed by cool temperatures.
What is the easiest pest control routine for aphids and caterpillars on potted alugbati?
Start with physical control, rinse aphids off with a strong spray and remove caterpillar eggs by hand on leaf undersides. If they persist, apply neem oil in the evening and repeat as needed. For caterpillars, Bt works well, apply according to the product label and target the undersides where feeding happens.