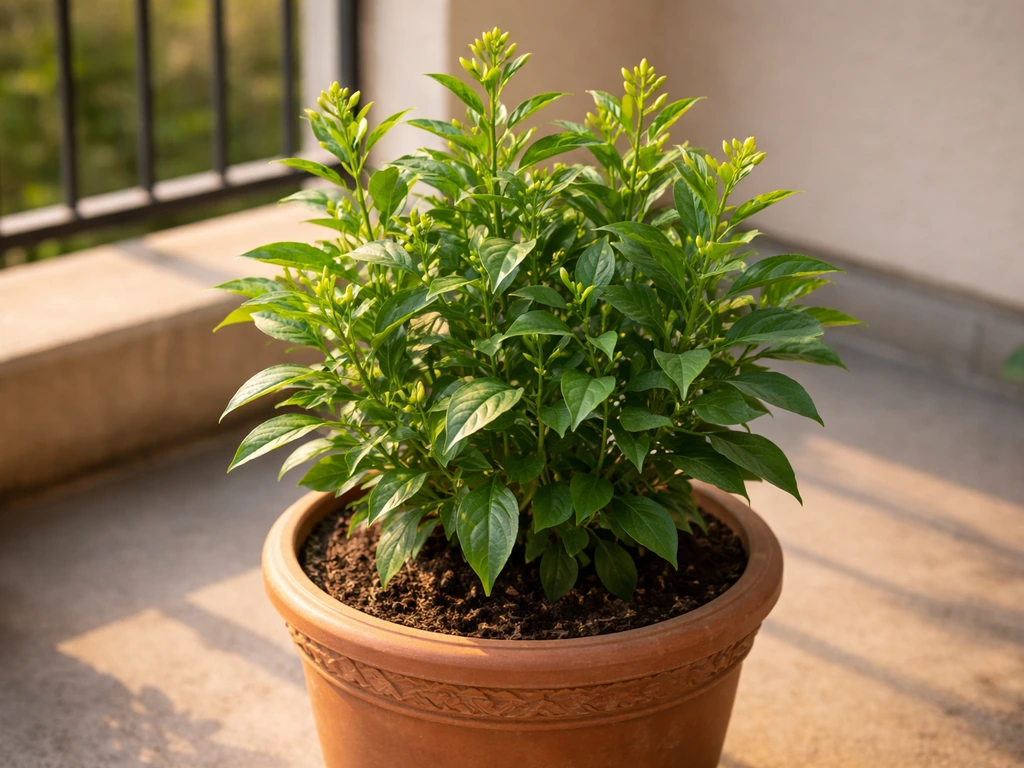
Yes, you can absolutely grow rajnigandha (Cestrum nocturnum, also called night-blooming jasmine or lady of the night) in a pot, and it does surprisingly well in containers when you give it the right setup. It needs a deep pot with excellent drainage, a loam-based free-draining mix, full sun for most of the day, and consistent warmth. Get those basics right and this plant will reward you with those intensely fragrant tubular flowers on warm evenings throughout the growing season.
How to Grow Rajnigandha in Pots: Step-by-Step Guide

Marcus Whitley
12 Jun 2026
If you are wondering how to grow bhindi in pots too, focus on choosing a roomy container, using a well-draining mix, and keeping the soil consistently warm and evenly moist. Alugbati is another great leafy option for containers, as long as you give it the right pot, drainage, and regular watering.
Rajnigandha in pots: what to expect and what it needs
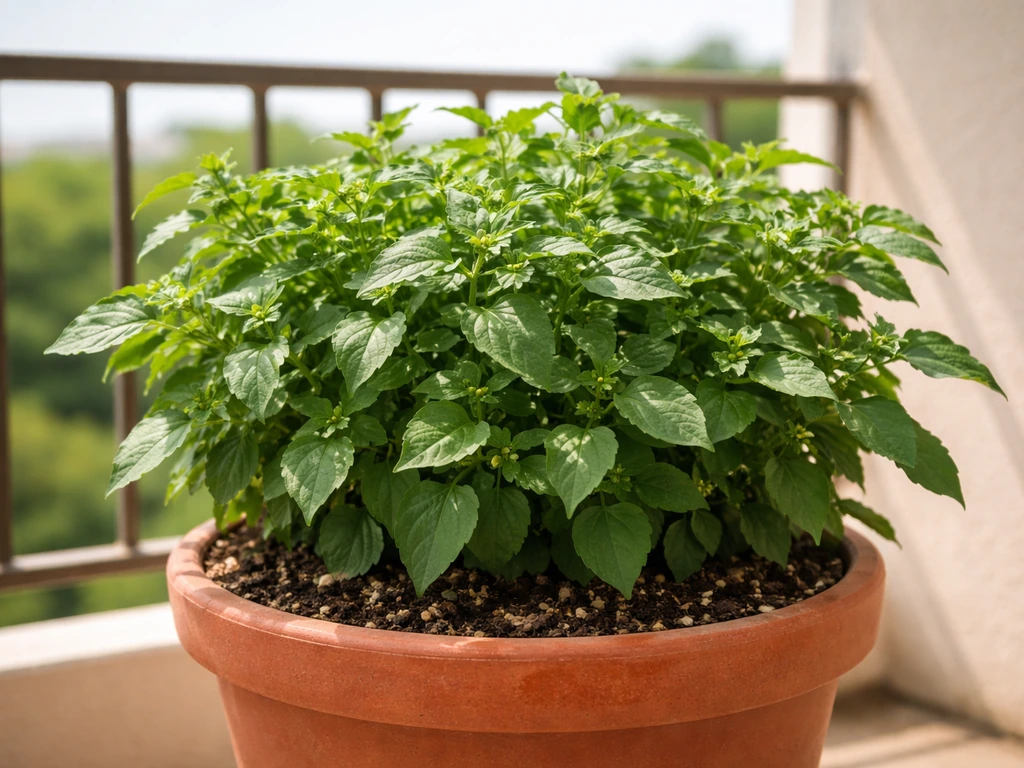
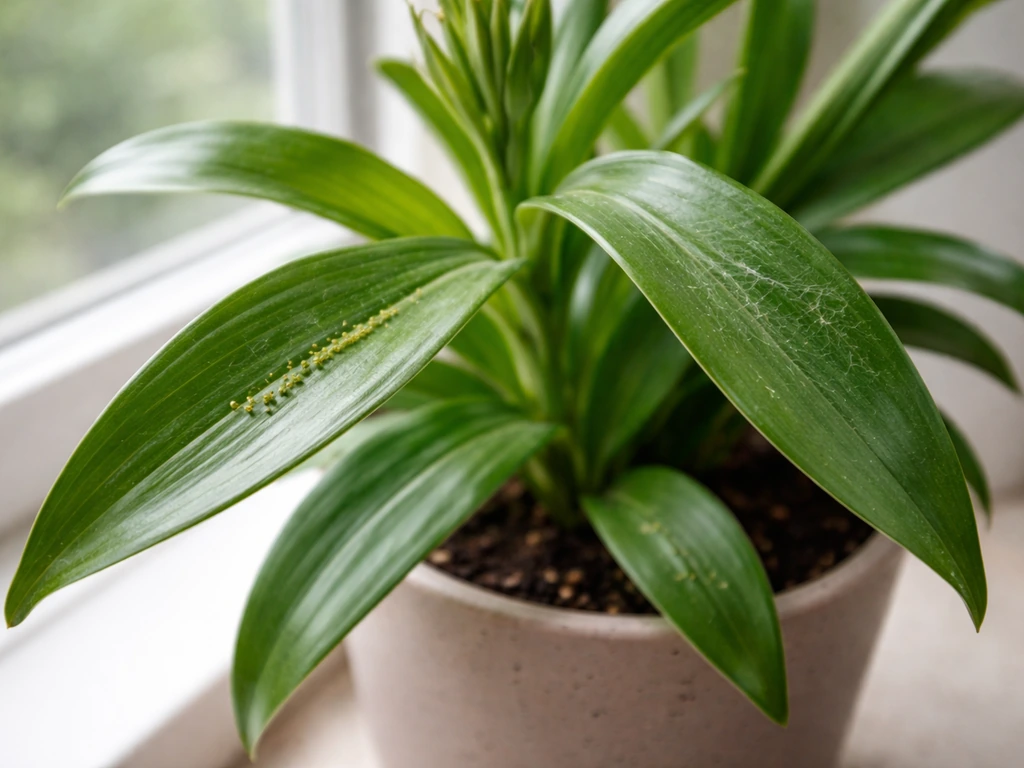
Cestrum nocturnum is a fast-growing evergreen shrub that can reach anywhere from 3 to 13 feet in the ground. In a pot, you control its size through pruning and pot choice, but expect it to grow vigorously during warm months and push out lots of flexible stems. The flowers are small, creamy white to pale green tubes that cluster at the tips of branches and in the leaf axils. They open at night and the scent carries a long way, which is honestly one of the most dramatic things about growing this plant on a balcony or patio. After flowering, it produces small red or black berries.
One thing to know before you start: this plant is toxic if ingested. All parts carry toxic compounds, and the berries especially should be kept away from children and pets. If you have curious animals or young kids around, think carefully about where you position the pot. That said, handling the plant with normal garden care is perfectly fine.
For container growing, the plant thrives between 65 and 85°F (18 to 29°C). It loves heat, dislikes frost, and needs good air circulation. In warm climates it can stay outside year-round. In cooler areas, the pot setup is actually an advantage because you can move it indoors when temperatures drop. It does best with full sun, though it tolerates a little afternoon shade, especially in regions where summer temperatures push above 90°F (32°C).
Choosing the right container, drainage, and potting mix
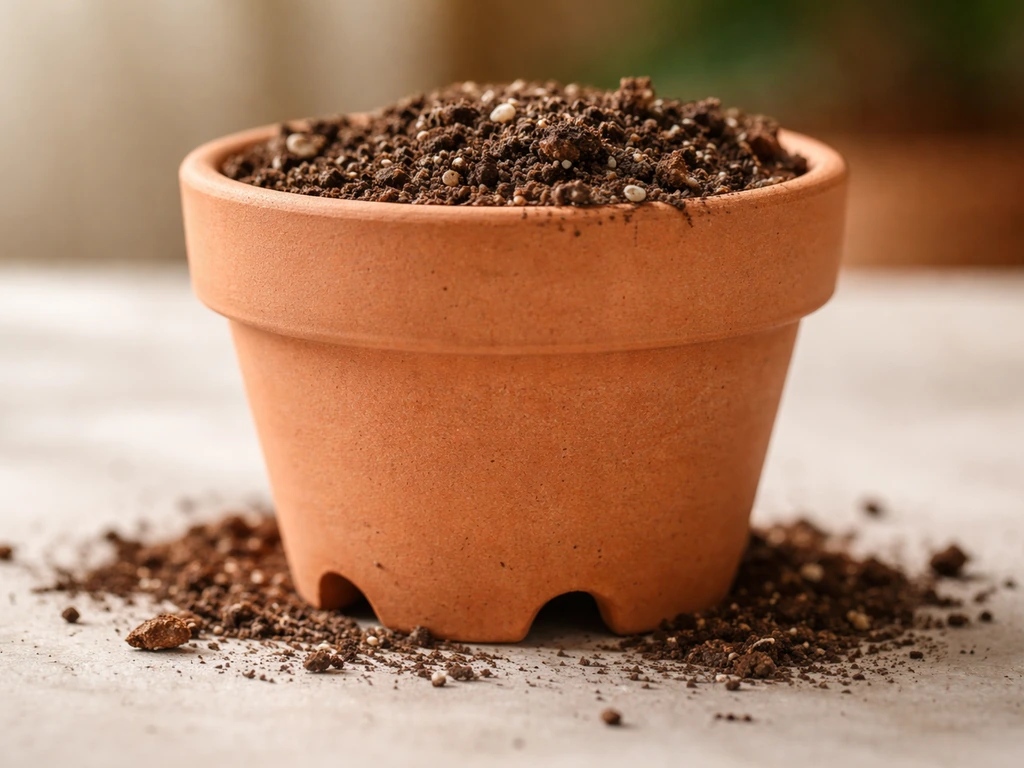
Container depth matters more than width for this plant. Go with a pot that is at least 30 to 40 cm (around 12 to 16 inches) deep. This supports the root system properly, reduces the risk of the tall plant tipping over, and gives the roots room to develop before you need to repot. A terracotta or heavy ceramic pot works well because the weight helps stabilize the plant as it grows. Whatever pot you use, it must have drainage holes at the bottom. No exceptions. Poor drainage is the number one killer of potted rajnigandha.
For the potting mix, aim for something loam-based and free-draining. A John Innes No. 3 type compost (or a homemade equivalent) works really well for a longer-term container plant like this. You can mix a good quality loam-based compost with some perlite or coarse sand at roughly a 3:1 ratio to improve drainage. The RHS specifically recommends peat-free loam-based compost for container Cestrum, and commercially available peat-free mixes often already contain composted bark, coir, and sand, which gives you that balance of moisture retention and drainage. Avoid heavy garden soil on its own. It compacts in a pot, holds too much water around the roots, and causes the exact rot problems you're trying to avoid.
Before filling the pot, place a layer of broken crocks, gravel, or even a piece of mesh over the drainage holes to stop the mix from washing out while still letting water escape freely. Elevating the pot slightly on pot feet or bricks also helps drainage and airflow underneath.
Starting from seeds, cuttings, or seedlings, and when to plant
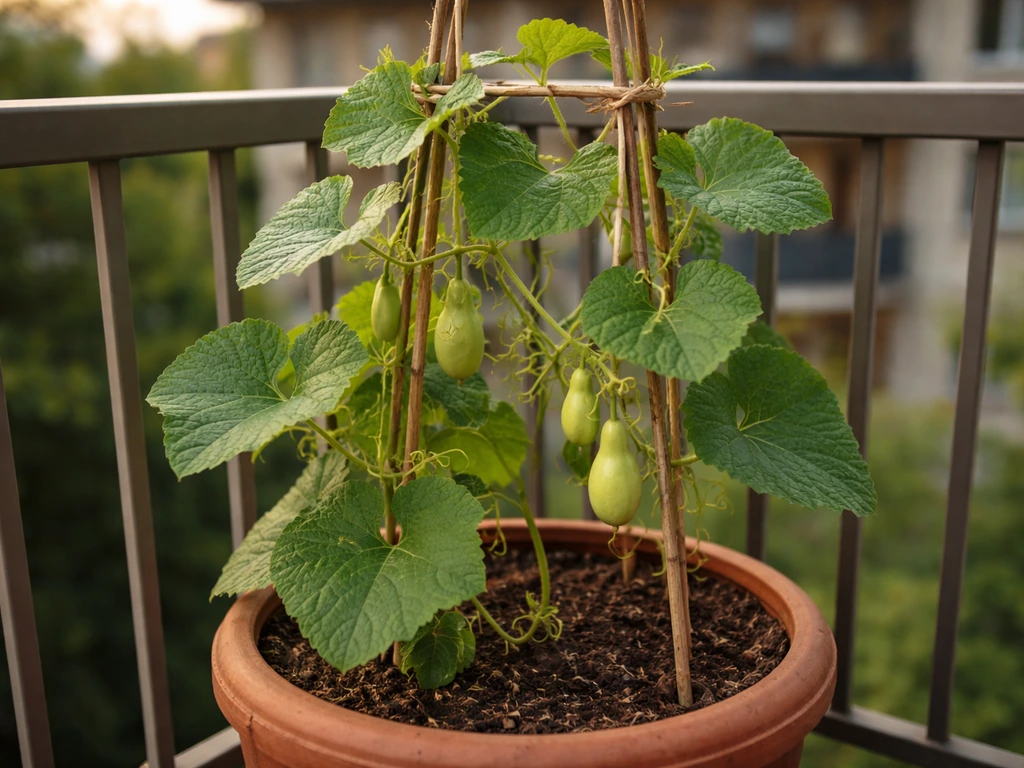
You have three options: seeds, cuttings, or buying a young plant from a nursery. If you are starting your plants from scratch, you can also follow similar container-friendly steps for how to grow karela in pot. Here is how each one works in practice.
Starting from seed
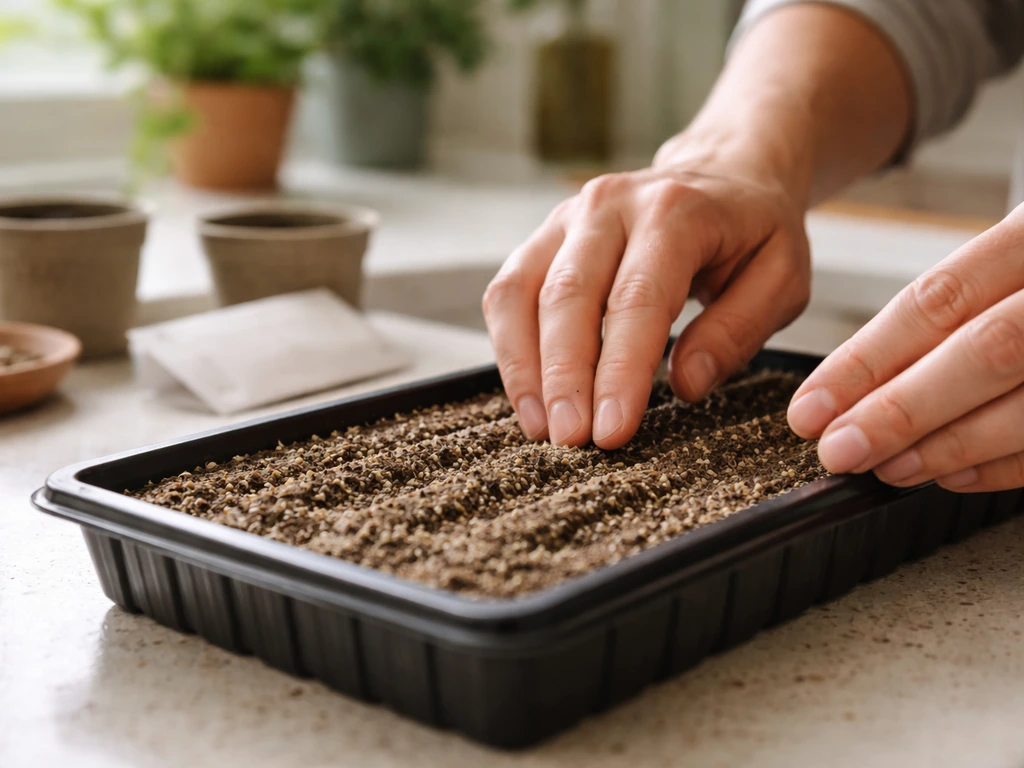
Seeds germinate in about 20 days when kept at a soil temperature between 70 and 75°F (21 to 24°C). Sow them in small trays or pots filled with a light seed-starting mix, cover them lightly with a thin layer of mix, and keep them consistently moist but not waterlogged. A warm windowsill or a propagator helps maintain temperature. Once seedlings have a couple of sets of true leaves, transplant them into individual pots. Seed germination is slower and less predictable than cuttings, but it works if you are patient.
Starting from cuttings
This is the most reliable method and the one I would recommend to most people. Take semi-woody cuttings about 4 inches (10 cm) long while the plant is actively growing, ideally in spring or early summer. Trim the lower leaves, dip the cut end in rooting hormone powder or gel to improve success rates, and push it into a pot of moist potting mix. Place the pot somewhere warm with bright indirect light, not direct sun. Rooting typically takes 4 to 8 weeks. Once you see new leaf growth and the cutting resists a gentle tug, it has rooted and can be moved into its final container.
Buying a young plant
If you want to skip the propagation stage, buy a small plant from a nursery or garden center. Pot it up into a container one size larger than the nursery pot using the loam-based mix described above. The best time to do this is in spring, once the risk of cold nights has passed. This gives the plant a full warm season to establish before any winter management is needed.
Sunlight placement and seasonal care
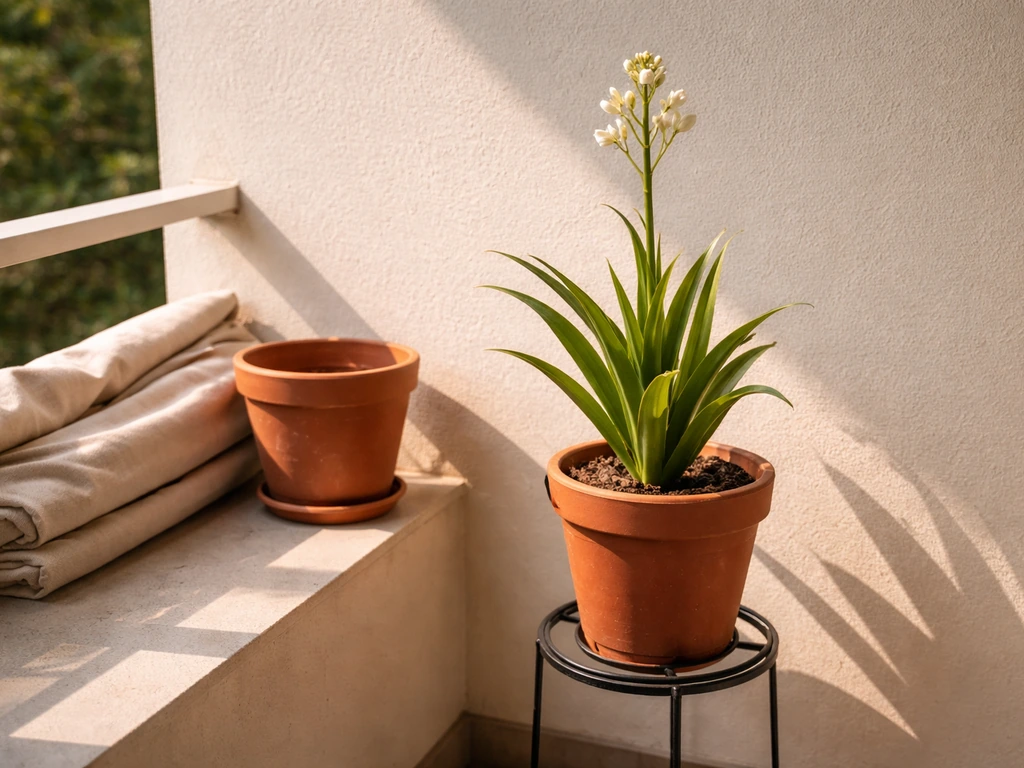
Rajnigandha wants as much sun as you can give it, ideally a spot that gets direct sunlight for at least 5 to 6 hours a day. A south or west-facing balcony, patio, or windowsill is ideal. The more light it gets, the more it will flower. If you grow it under glass (like a greenhouse or conservatory), make sure there is good ventilation and some shade from the harshest afternoon sun to prevent scorching.
In summer, if temperatures regularly exceed 90°F (32°C), move the pot to a spot where it gets morning sun but some afternoon shade. Overheating the roots in a small dark pot in direct midday heat can stress the plant. Lighter-colored pots help here, and grouping pots together reduces soil temperature swings.
As temperatures drop in autumn, this is where having a pot really pays off. Once nights consistently fall below around 50°F (10°C), bring the plant indoors to a bright, sunny spot such as a south-facing window. It will slow its growth over winter but should stay evergreen. Avoid placing it near cold drafts, radiators, or air conditioning vents. Sudden temperature swings stress the plant more than a steady cool temperature does. Move it back outside after the last frost, gradually acclimatizing it to outdoor conditions over a week or two rather than going straight from indoors to full sun.
Watering and feeding schedule
How often to water
During the active growing season (spring through summer), water thoroughly when the top inch or two of soil feels dry. Water until it runs freely from the drainage holes, then stop. Do not let the pot sit in a saucer of standing water. In hot weather, a pot in full sun may need watering every other day. In cooler weather or when the plant is indoors over winter, cut back significantly. Allow the soil to dry out more between waterings but do not let it go bone dry for extended periods. Once established, the plant tolerates short dry spells, but regular moisture stress will affect flowering quality.
The two signs to watch for: if the leaves look dull and wilted and the soil is dry and pulling away from the pot edges, it needs water. If leaves are yellowing, stems feel soft, and the soil smells sour, you are overwatering or drainage is failing. That second scenario causes root rot and is harder to fix, so err on the side of slightly underwatering rather than overwatering.
Feeding your plant
Start feeding in spring with a balanced fertilizer or a top dressing of well-rotted compost or manure around the base of the plant, watered in well. Repeat lightly in midsummer if the plant looks pale or is not growing strongly. Spread any fertilizer evenly around the base rather than dumping it right against the stem, and always water it in after applying to prevent root burn. In pots, salts from fertilizers can accumulate in the soil over time, which inhibits growth, so avoid overfeeding and flush the pot through with plain water occasionally to prevent salt buildup. Stop feeding entirely in late summer and through winter when the plant is not actively growing.
Pruning, support, and encouraging flowering
Rajnigandha flowers on new growth, which means encouraging fresh shoots is the key to getting more flowers. Prune in late winter or early spring before new growth kicks off. For a container plant, you want to remove dead or crossing stems, shorten any very long or leggy shoots by about a third, and open up the centre of the plant for light and air. This kind of moderate annual pruning keeps the plant compact and productive.
If the plant has become very overgrown and woody, you can cut it back harder, down to around 3 feet, to force a flush of new healthy growth. The tradeoff is that you may lose flowers for that season. I would only go this aggressive if the plant is really struggling or has become too large for its space. Avoid cutting hard into the oldest, thickest woody stems if you can help it.
Because the stems are flexible and can become quite long, some support helps keep the plant tidy in a pot. Stake the main upright shoots early in the growing season and tie them loosely with soft garden twine as they elongate. A simple bamboo cane structure or a small trellis pushed into the pot works well. This stops the plant from flopping over and reduces stem breakage in wind.
If your plant is not flowering, the most common causes in a pot are insufficient light, temperature stress (too cold or too hot), over-pruning at the wrong time, or a nutrient imbalance (too much nitrogen encourages leaves over flowers). Manathakkali keerai, like rajnigandha, can also be grown successfully in containers if you provide the right potting mix, drainage, and consistent care how to grow manathakkali keerai in pots. Rule these out one by one before assuming something more serious is wrong.
Repotting as the plant grows
Plan to repot every 2 to 3 years. Signs that the plant needs a bigger home include roots circling the inside of the pot, roots emerging from the drainage holes, noticeably slow growth despite good care, or the plant drying out unusually fast after watering (a root-bound pot holds very little compost relative to roots). When you repot, move up one to two pot sizes, refresh the potting mix completely, and gently tease out or trim the outer root ball to encourage fresh root growth. Spring is the best time to do this.
Troubleshooting common container problems
Yellow leaves
The most common cause of yellow leaves in a potted rajnigandha is overwatering combined with poor drainage. Check the soil. If it is soggy and smells sour, let it dry out, improve drainage, and cut back watering frequency. If the soil is dry and the plant has been sitting in the same pot for years, nutrient deficiency is the likely cause. A feed of balanced fertilizer usually resolves this within a few weeks. Yellow leaves can also indicate a root-bound plant, in which case repotting is the fix.
No flowers or very few flowers
Not flowering is almost always a light or temperature problem in containers. Make sure the plant is getting enough direct sun, at least 5 hours a day. If it spent winter in a dim spot indoors, it may take a few weeks after moving outside to kick into flowering mode. Over-pruning in summer (when it should be developing flower buds) also cuts off potential blooms. Stick to late-winter pruning only, and make sure you are not over-fertilizing with high-nitrogen feed, which pushes leafy growth at the expense of flowers.
Leggy, floppy growth
If your plant is putting out long, weak, spindly stems, it is almost certainly not getting enough light. Move it to a sunnier spot. Stake the existing stems to keep them upright while the plant adjusts, and prune back the leggy growth to encourage bushier new shoots.
Pests: what to look for and how to deal with them
Common pests on potted rajnigandha include aphids, mealybugs, soft scale insects, and spider mites. Spider mites tend to show up in hot, dry conditions and leave a fine webbing on the undersides of leaves. Mealybugs look like small white cottony blobs in leaf joints. Scale insects appear as small brown or tan bumps on stems. Aphids cluster on new soft growth.
- For aphids and spider mites: blast the plant with a strong jet of water to dislodge them, focusing on the undersides of leaves. Repeat every few days.
- For mealybugs and scale: remove larger infestations manually with a cotton swab dipped in rubbing alcohol, then follow up with a neem oil spray.
- Neem oil diluted in water (following pack instructions) and sprayed over the whole plant is a good general treatment that disrupts multiple pest life cycles without harsh chemicals.
- If the plant is coming back indoors for winter, always check carefully for pests first to avoid introducing them into your home.
Root rot and overwatering damage
If you catch root rot early (soft stems at the base, sour smell, yellowing leaves), take the plant out of the pot, shake off the soggy compost, trim away any black or mushy roots with clean scissors, and repot into fresh dry mix with improved drainage. Leave it in a warm, bright spot and hold off watering for several days to let the remaining roots recover. It is a stressful fix but it does work if the rot has not spread too far.
Your week-by-week rhythm once the plant is established
Once your rajnigandha is settled into its pot and growing well, the routine is actually pretty simple. Check soil moisture every two to three days in summer, water thoroughly when the top inch is dry, and keep the pot in the sunniest spot you have. Feed once in spring and once lightly in midsummer. Stake and tie stems as they grow through spring and summer.
Prune once in late winter. Repot when roots start pushing out of the drainage holes, roughly every two to three years. Bring it indoors before the first cold snap and put it back outside after the last frost. That is genuinely most of what this plant needs.
If you want a quick recap of the whole process, review the full guide on how to grow kaddu in pots.
If you enjoy growing fragrant plants in containers, the same careful attention to drainage, sun, and seasonal care applies to many other flowering and edible plants you might want to try. If you want to grow palak in pots, focus on a deep container, loose soil, and consistent watering so the roots stay cool and productive fragrant plants in containers.
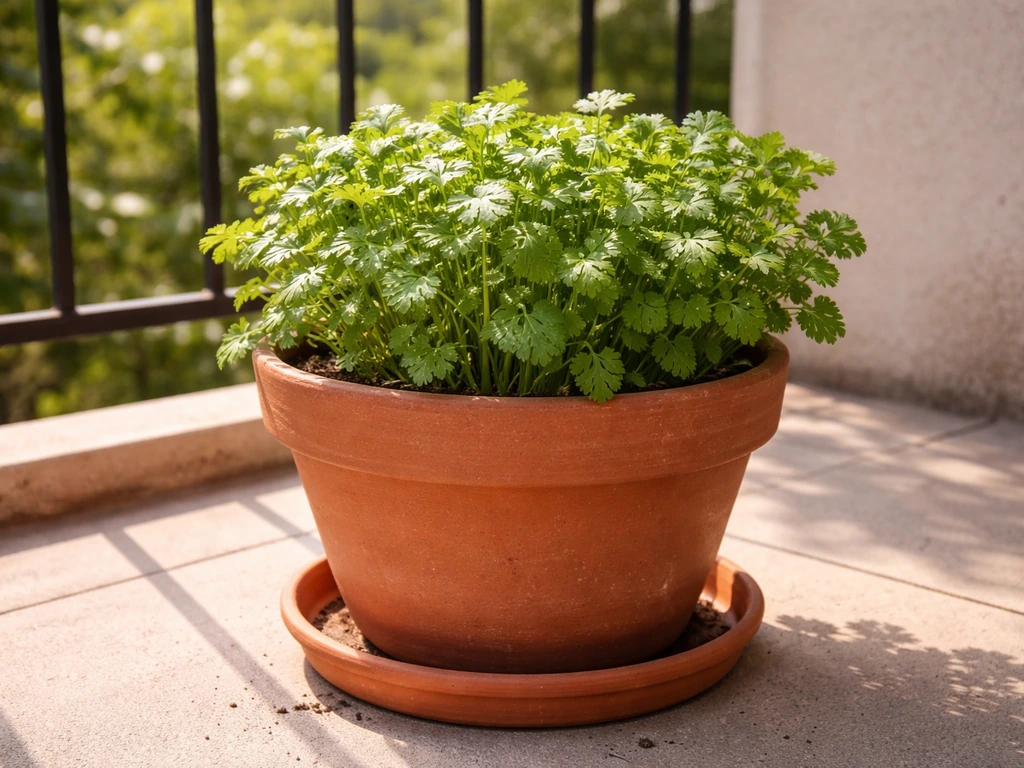
If you want an edible option too, learn how to grow dhaniya in pots with the right container, soil, and watering routine. For more detailed guidance on container setup and daily care, follow this karela pot-growing routine alongside these general container tips drainage, sun, and seasonal care. If you are growing manathakkali keerai in pots, the same principles of good drainage and steady sunlight will help it thrive edible plants.
Container gardening has a way of teaching you a transferable set of instincts, and rajnigandha is a particularly satisfying place to start because the flowering reward is so dramatic and the scent on a warm evening is genuinely hard to beat. If you are also curious about how to grow kaddu in pots, you can use the same container-gardening mindset and tailor the watering and sunlight to cucurbits. You can apply the same pot-first container gardening approach when learning how to grow alugbati in pots, focusing on rich soil, consistent moisture, and plenty of light how to grow kaddu in pots.
FAQ
How big should the pot be for rajnigandha, and how deep is deep enough?
Use at least 30 to 40 cm deep (12 to 16 inches). Depth matters more than width, but if your plant keeps drying out faster than usual, go up one pot size rather than just watering more, because an overly narrow root run dries unevenly.
Can I keep rajnigandha in a pot outdoors all year?
In areas where nighttime temperatures rarely fall below about 10°C (50°F), you can usually keep it outside year-round. If frost is possible, plan to move the pot indoors before nights drop consistently, and keep it bright and away from cold drafts.
What potting mix should I avoid even if it drains well initially?
Avoid heavy, soil-based mixes that compact over time, even if they drain at first watering. In containers, compaction can create waterlogged pockets that lead to root rot, so stick to loam-based free-draining compost plus perlite or coarse sand.
Do I need a saucer under the pot?
No. Water fully until it runs out the drainage holes, then empty any excess. If the pot sits in a saucer, the roots can reabsorb drained water, which defeats the drainage advantage and increases rot risk.
My plant gets leaves but no flowers, what should I check first?
Start with direct light (aim for at least 5 to 6 hours of sun). Next check that you are not pruning after flower buds have formed, and avoid high-nitrogen feeding, since extra leaf growth often comes at the expense of blooms.
Is winter pruning okay for potted rajnigandha?
Yes, late winter or early spring is the safer window because it aligns with the start of new growth. Avoid major pruning in summer, when you want the plant focusing on flowering shoots.
How do I water when the plant is indoors in winter?
Let the top portion of the mix dry out more between waterings, and water less frequently than outdoors. Also keep indoor airflow reasonable, because cold, damp, still air can slow drying and increase disease pressure.
What are the best signs to tell if I am overwatering versus underwatering?
Underwatering usually shows dry soil pulling away from the pot edges and leaves that look dull and wilted. Overwatering often comes with soft stems and yellowing, and the soil may smell sour, especially if drainage is failing.
How can I prevent salts from fertilizer buildup in containers?
Feed lightly (spring, then a small midsummer repeat) and always water in after feeding. Every so often, flush the pot with plain water until it drains freely to move accumulated salts out of the root zone.
How do I know when to repot?
Repot when roots circle the pot, emerge from drainage holes, growth slows despite good care, or the pot dries unusually fast after watering. In spring, move up one to two pot sizes and refresh the mix completely.
Can I propagate rajnigandha cuttings in the same pot I plan to grow it in?
It is better to root cuttings in a smaller warm pot or tray first, then transplant once you see new leaf growth and the cutting resists a gentle tug. This reduces the chance of excess moisture in a large container while the cutting is still forming roots.
What should I do if my rajnigandha starts flopping over in the pot?
Stake early in the season and tie loosely as stems elongate. If it keeps leaning despite support, check for root crowding or insufficient light, because weak growth from low light makes stems less sturdy.
How do I handle pests like aphids or spider mites on a potted plant?
Start with inspection of new growth and leaf undersides. For spider mites in hot, dry conditions, increase humidity around the plant (without soaking soil) and rinse foliage, then treat as needed. For mealybugs and scale, focus on the joints and stem bumps, and repeat treatments because eggs can hatch after the first pass.
Is rajnigandha safe around pets and children?
No. All parts are toxic if ingested, and the berries are the highest risk. Keep the pot out of reach, and consider a location where children and pets cannot access the stems or fallen berries.