You can absolutely grow manathakkali keerai in pots, and it's one of the more rewarding leafy greens to try at home. If you want a Hindi guide on the same basics for container vegetable gardening, you can follow this detailed resource on how to grow vegetables in pots in hindi. Sow seeds shallowly in a pot that's at least 10–12 inches wide and deep, keep it in full sun, water consistently at the base, and you'll be harvesting tender leaves in about 25–30 days. The plant is naturally compact and bushy, which makes it well-suited to containers, and once you get the first harvest going, you can keep cutting and let it regrow for weeks.
How to Grow Manathakkali Keerai in Pots: Step by Step

Marcus Whitley
6 Jun 2026
What is manathakkali keerai and why does it grow well in pots?
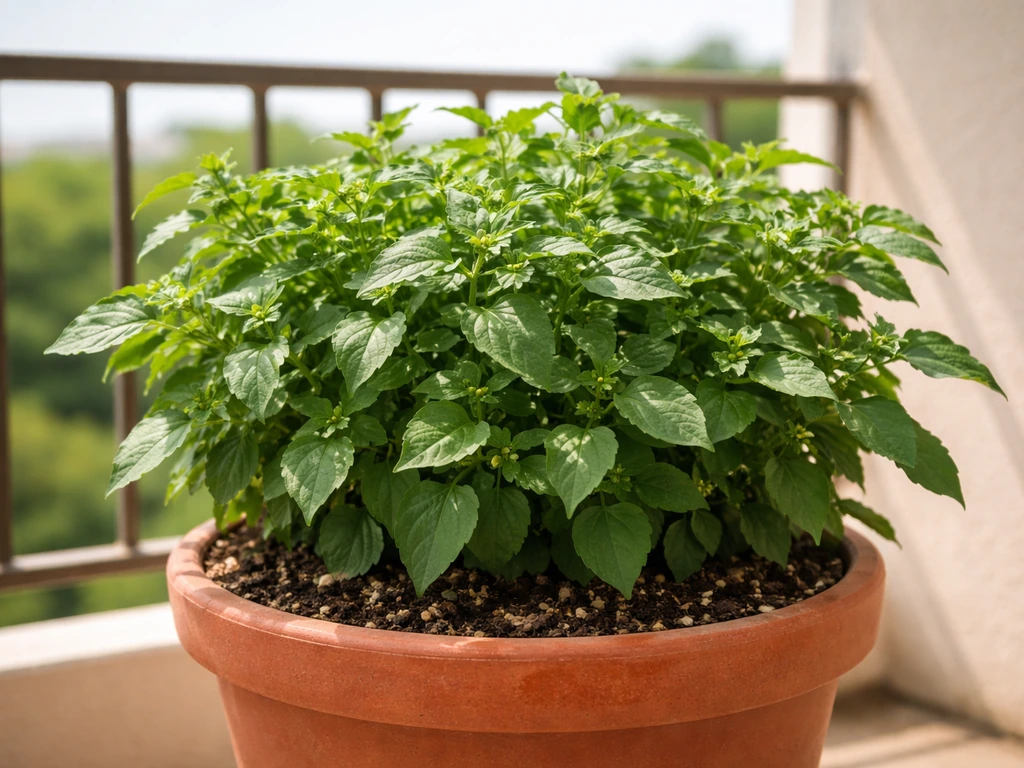
Manathakkali keerai is the Tamil name for black nightshade (Solanum nigrum), a leafy herb in the Solanaceae family, the same family as tomatoes, brinjal, and chillies. The leaves are the edible part and are widely used in South Indian cooking, especially in kootu, stir-fries, and medicinal preparations. The plant also produces small clusters of flowers and tiny berries that turn deep purple-black when ripe.
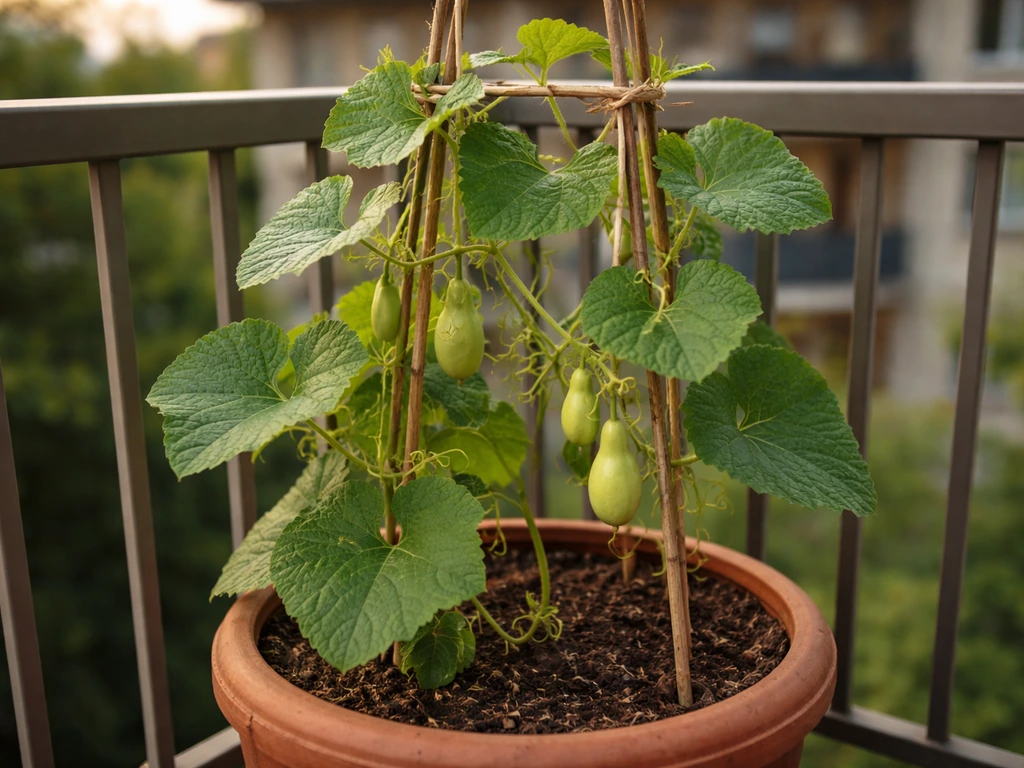
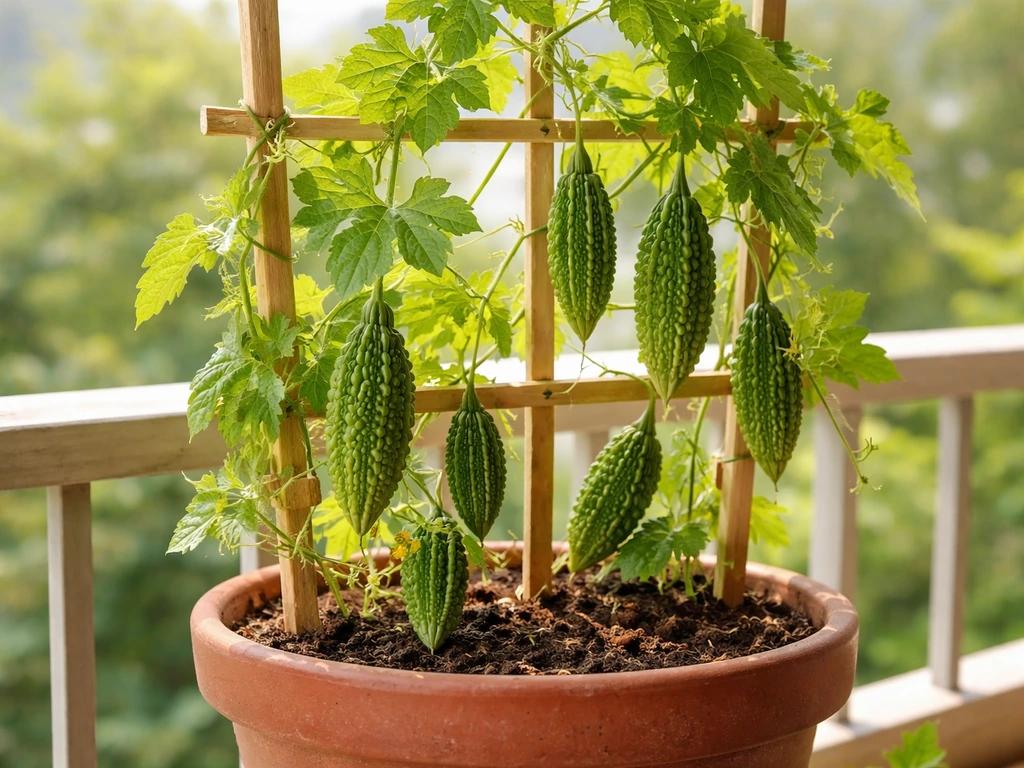
What makes it great for pots is its growth habit. It grows upright and bushy rather than sprawling or climbing, reaching about 50 cm to 1 metre tall depending on conditions. That compact, shrub-like form means it stays manageable in a container and doesn't need staking or trellising the way a karela or bean plant would. If you are specifically looking for how to grow karela in pot, the key is using a deep container, giving strong sun, and keeping moisture steady without waterlogging . . . a karela or bean plant would.. It's an annual or short-lived perennial, so you can start fresh each season and get multiple harvests from a single sowing.
Choosing the right pot, location, and time to plant

Pot size and type
Go with a pot that's at least 10–12 inches (25–30 cm) wide and deep. That gives the roots enough room and holds enough soil volume to stay moist between waterings without drying out in an hour. If you want to grow multiple plants together, a rectangular grow tray or a large balcony planter works well, just make sure it has drainage holes. No drainage holes means waterlogged roots and a dead plant, full stop.
For pot material, both plastic and terracotta work, but they behave differently. Terracotta is porous and dries out faster, which actually helps prevent overwatering during humid or monsoon periods. Plastic retains moisture longer, which is useful in dry summer heat when you can't water twice a day. If you're growing on a hot terrace or balcony in summer, a light-coloured plastic or ceramic pot will keep the roots cooler than a dark terracotta one sitting in direct sun. Whatever you pick, just make sure it has at least one good drainage hole.
Best location
Manathakkali keerai needs full sun, at least 5–6 hours of direct sunlight a day. A south or west-facing balcony, terrace, or windowsill is ideal. If your only option is partial shade, the plant will still grow but the leaves will be fewer, smaller, and the growth will be noticeably slower. Don't try to grow it as an indoor plant without a grow light; it just won't perform.
Best season to grow
In South India and similar tropical or warm climates, manathakkali can be grown almost year-round, but it thrives in warm weather. The seeds germinate fastest at around 30°C, studies have recorded germination beginning as early as day 2 at that temperature. The practical takeaway: if you sow in the cool winter months, expect slower sprouting and slower growth. The sweet spots are post-monsoon (September to November) and the early warm season (February to April). Avoid sowing during peak summer in a rooftop container where temperatures exceed 40°C regularly, as that stresses seedlings.
Getting the soil mix right
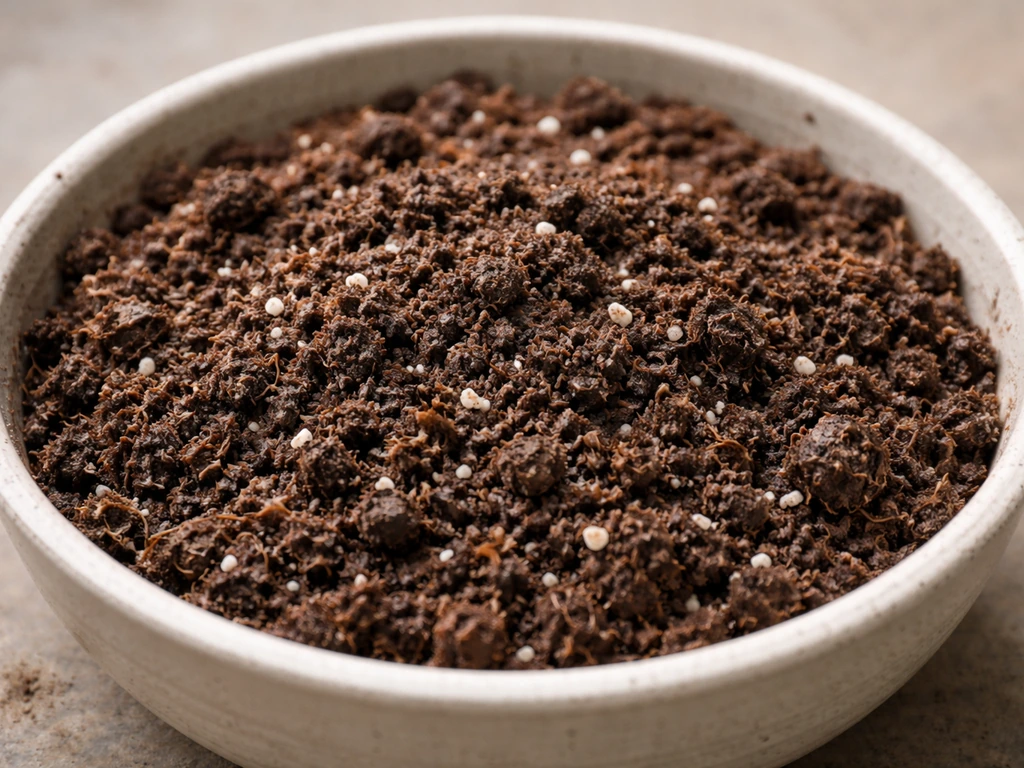
This is where a lot of first-time growers go wrong: using garden soil straight from the ground. Garden soil compacts badly in a pot, drains poorly, and tends to carry pests and pathogens. Always use a proper potting mix for container growing.
A simple mix that works well for manathakkali keerai in pots: 50% good quality potting soil or cocopeat, 30% compost (home compost or vermicompost works great), and 20% perlite or coarse river sand for drainage. This combination drains freely after watering, holds enough moisture for consistent growth, and gives the plant a solid nutrient baseline from the compost.
Fertilizer plan
Nitrogen is the most important nutrient for leafy greens like manathakkali. Research on Solanum nigrum specifically confirms that nitrogen application directly improves leaf yield and quality. In practical terms, this means feeding your plant regularly rather than just once at sowing. Research under greenhouse conditions comparing organic versus inorganic fertilizers in Solanum nigrum has shown measurable differences in growth parameters such as plant height and stem diameter, so a well-planned fertilizer program matters for healthy leaf growth feeding your plant regularly rather than just once at sowing.
- At sowing: Mix compost or vermicompost into the base soil as described above. This covers the first 3–4 weeks.
- Week 4 onwards: Apply a diluted liquid fertilizer every 2 weeks. A nitrogen-rich option like fish emulsion, liquid vermicompost, or a balanced NPK liquid (like 19:19:19 diluted to half strength) works well.
- After each harvest: Give the plant a small liquid feed or side-dress with a tablespoon of vermicompost. This encourages fresh leaf regrowth quickly.
- Avoid heavy chemical fertilizers on young seedlings — they can burn roots, especially in the confined volume of a pot.
Sowing seeds vs. using seedlings
Starting from seeds
Seeds are the most common and economical way to start. You can sow directly into the final pot or into a seedling tray and transplant later. Direct sowing is easier for beginners and avoids the transplant shock that sometimes sets young plants back. If you want a step-by-step guide for rajnigandha in pots too, follow the same approach for choosing a suitable container and keeping the watering consistent transplant shock.
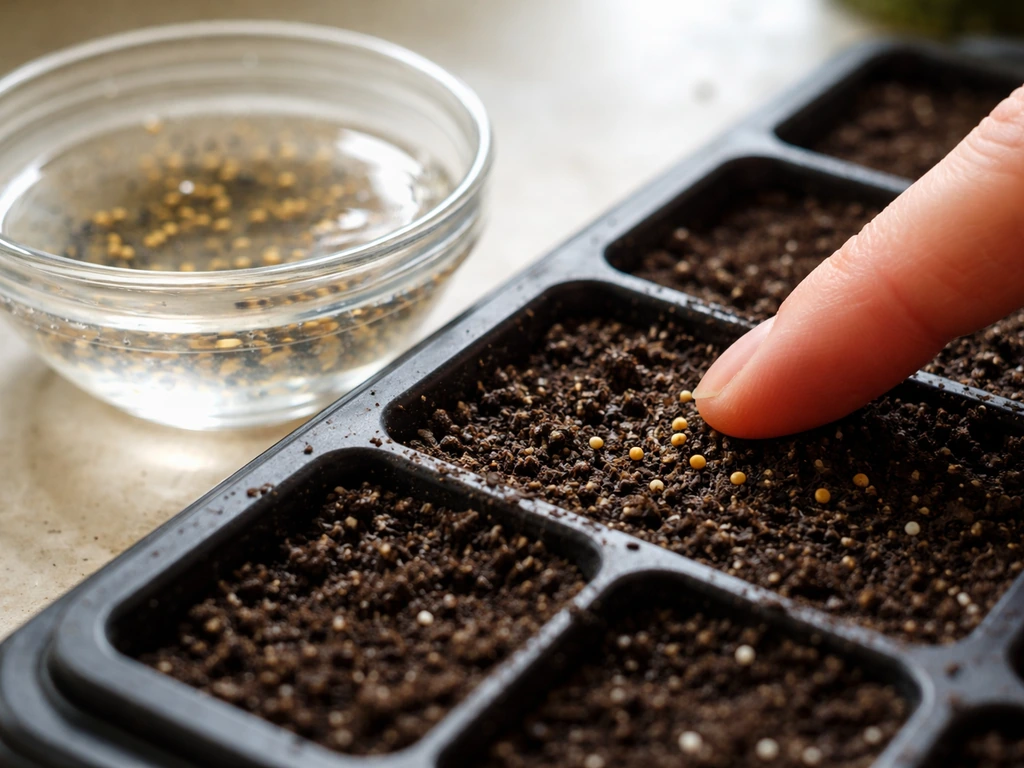
Manathakkali seeds are tiny, so handle them carefully. One useful trick: soak seeds in warm water for 6–8 hours before sowing to soften the seed coat and speed up germination. After soaking, scatter them thinly across the surface of the moist soil, don't bury them deep. Solanum seeds need light to germinate well, so a very light dusting of fine soil or cocopeat over the top (just enough to barely cover them, about 3–5 mm) is all you need. Firm the surface gently and water carefully with a misting bottle or a gentle spray so you don't wash the seeds to one corner.
Keep the pot in a warm, bright spot. If you've sown in good warm weather, expect to see sprouts in 3–5 days. Cover loosely with a plastic sheet or newspaper for the first couple of days to keep moisture in, then remove once you see the first sprouts poking up.
Spacing in the pot
In a 10–12 inch pot, grow 1 plant. In a larger rectangular planter (say 24 inches wide), you can grow 2–3 plants spaced about 15–20 cm apart. Overcrowding causes competition for nutrients and reduces airflow, which leads to disease. Thin out weaker seedlings once they have 2–3 true leaves so the stronger ones have space to develop.
Using seedlings or transplants
If you're buying seedlings from a nursery or starting in a seedling tray, transplant when the seedlings are about 3–4 cm tall with 2–3 true leaves. Water the seedlings an hour before transplanting so the roots are hydrated and the soil around them holds together. Make a hole in the pot soil, place the seedling at the same depth it was growing before, firm the soil gently around the base, and water in immediately. Keep the pot in partial shade for 2–3 days after transplanting to reduce stress, then move it back into full sun.
Day-to-day care: watering, sunlight, and maintenance
Watering
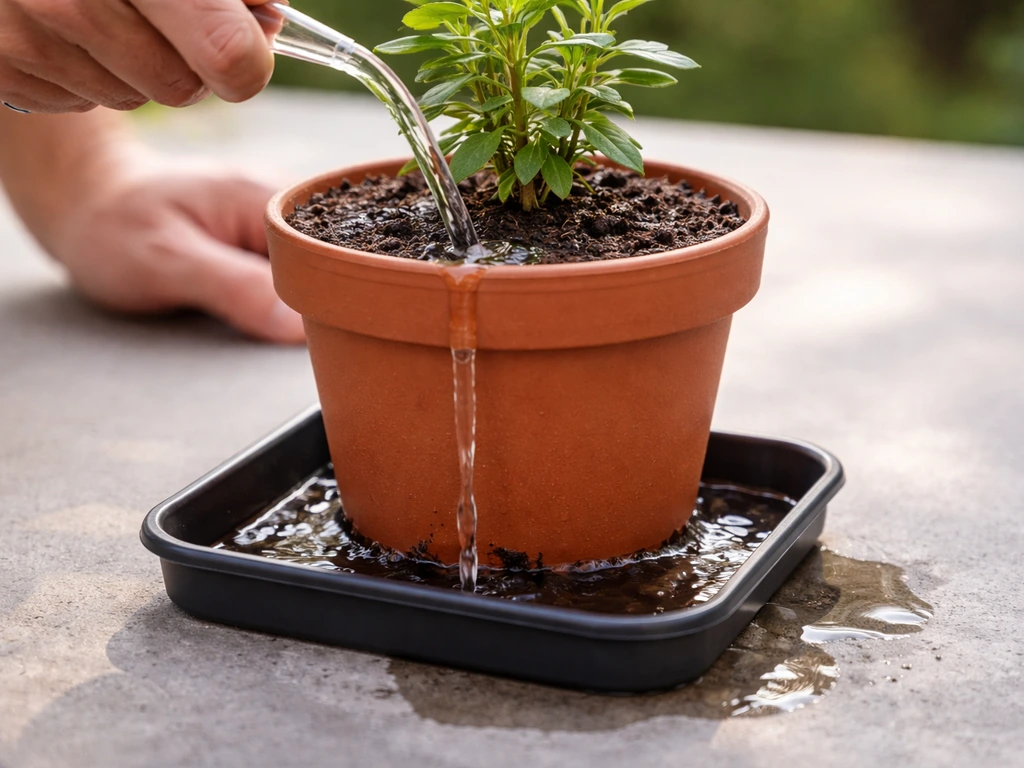
Watering in pots is all about consistency and technique. The rule of thumb: water until it runs freely out of the drainage holes. This ensures the entire root zone gets moisture, not just the top inch or two. Quick, shallow watering is one of the most common mistakes, the roots at the bottom stay dry and the plant slowly declines.
In warm weather, you'll likely need to water once a day, possibly twice on very hot days if the pot is on a sun-baked terrace. In cooler weather or monsoon season, check the soil before watering, stick your finger 1–2 inches into the soil; if it's still moist, skip watering that day. Always water at the base of the plant, not over the leaves. Wet leaves sitting overnight invite fungal diseases, which manathakkali is prone to.
Sunlight
Aim for 5–6 hours of direct sun daily. Morning sun is ideal because it's gentler and dries off any dew or moisture on leaves before the heat of the day sets in. If you're growing on a west-facing balcony where the plant gets intense afternoon sun in summer, that's usually fine as long as watering is consistent.
Pruning and pinching
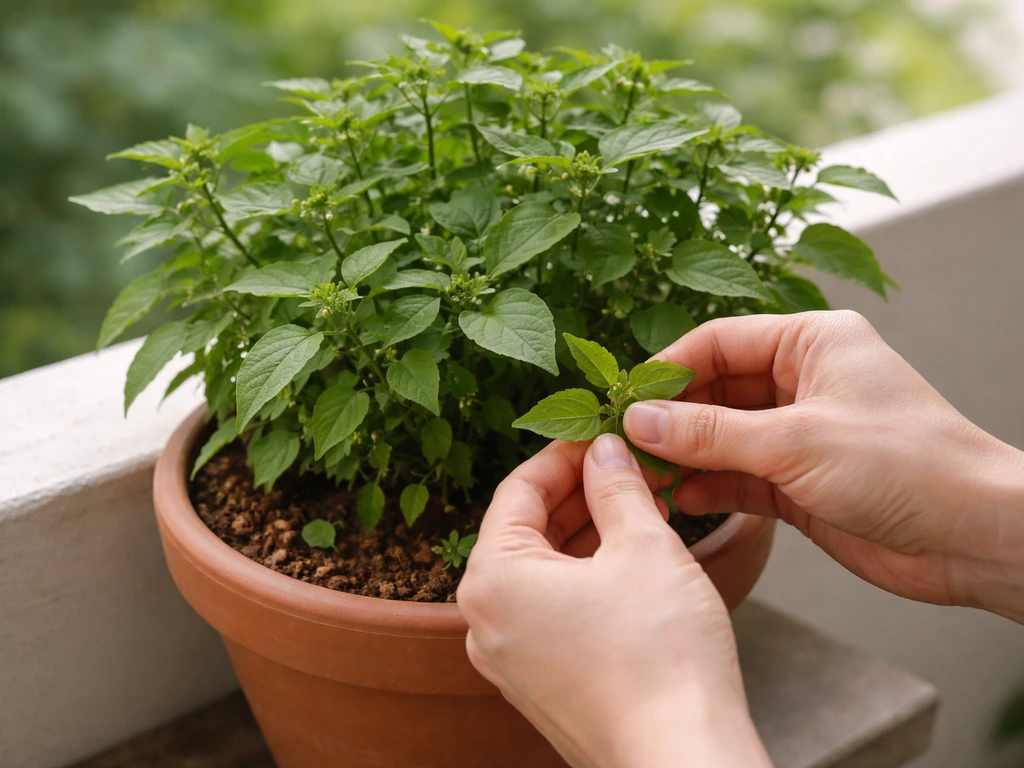
Pinching out the growing tips early (once the plant has 4–6 leaves) encourages the plant to branch out and become bushier, which means more leaf growth overall. Don't let the plant bolt straight up into a tall, spindly stem, a bushy plant produces far more harvestable leaves in a pot. Once flowering begins, you can pinch off some flower heads to keep the plant focused on leaf production a little longer, though the berries are edible too once they ripen to black.
Dealing with pests and diseases in containers
Common pests
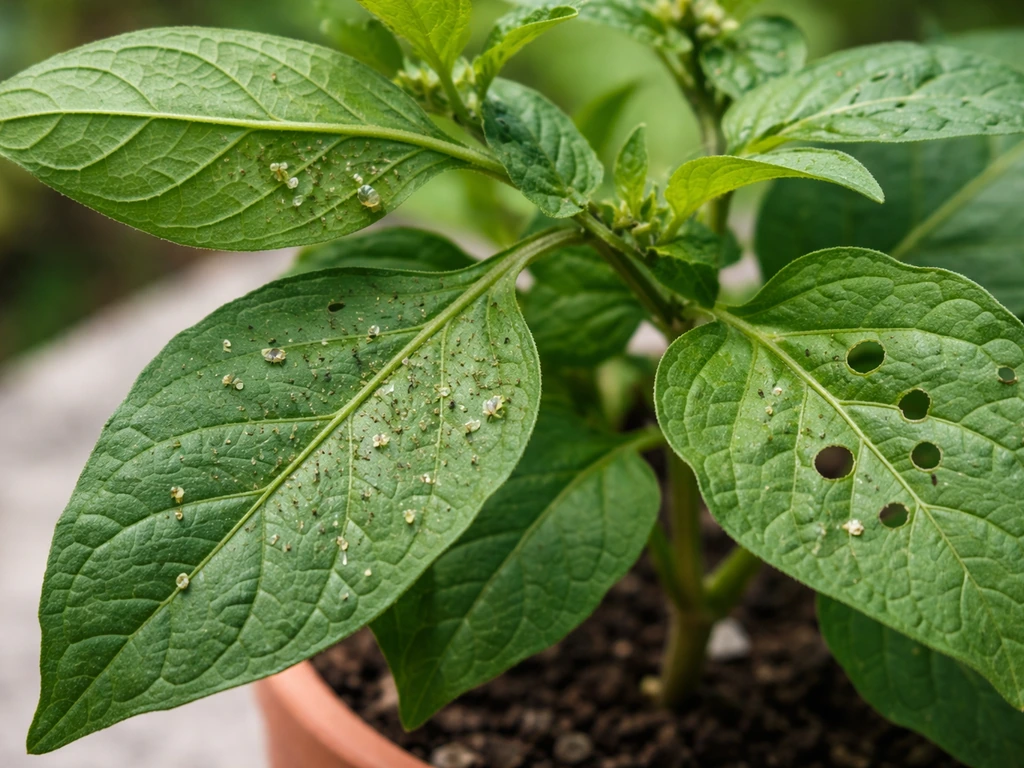
Manathakkali in pots faces the same insect threats as field-grown plants: aphids, whiteflies, thrips, and flea beetles are the main culprits. Aphids and whiteflies cluster under leaves and suck sap, causing leaves to curl, yellow, or become sticky. Thrips cause silvery streaking on leaves. Flea beetles leave tiny holes all over the leaf surface.
- Inspect the undersides of leaves every few days, especially when you water.
- For aphids and whiteflies, a simple jet of water can knock them off. Follow up with a neem oil spray (5 ml neem oil + 1 ml liquid soap in 1 litre water) applied early morning or evening — not in harsh midday sun.
- Yellow sticky traps hung near the pot catch whiteflies and thrips effectively and give you an early warning system.
- Avoid overwatering and crowding, both of which attract pests and weaken plants.
Common diseases
Damping-off is the biggest threat to seedlings. It shows up as a brown, water-soaked patch at the base of the stem, after which the seedling topples and dies. It's caused by fungal pathogens in overly wet, poorly draining soil. Prevention is the only real cure: use fresh potting mix, don't overwater seedlings, and ensure the pot drains freely.
Powdery mildew appears as a white powdery coating on leaves, usually when air circulation is poor or when nights are cool and humid. Catch it early, once the leaves are heavily colonized, it's very hard to reverse. At the first sign, remove affected leaves, improve airflow around the plant, and spray with a baking soda solution (1 teaspoon baking soda in 1 litre water with a drop of soap) or diluted neem oil.
Leaf spot diseases (including Septoria-type spots, which show as small lesions with darker borders) can also appear in humid conditions. Remove spotted leaves promptly and avoid wetting the foliage when watering. Keeping leaves dry and maintaining good spacing between plants in your containers goes a long way.
Harvesting, pruning after harvest, and keeping the plant productive
The first harvest typically comes 25–30 days after sowing from seed. If you want specifics on growing bhindi in pots, follow the pot size, sun, and watering guidance for successful container harvests how to grow bhindi in pots. Don't wait until the plant is huge before you start picking, harvesting regularly actually stimulates new growth and keeps the plant bushy. For the first harvest, pick tender young shoot tips and fresh leaves from the top and outer branches. Leave the central stem and at least a third of the leaf mass intact so the plant has energy to bounce back.
After harvesting, feed the plant with a light liquid fertilizer dose within a day or two. The principle is simple: you've just removed a chunk of the plant's biomass, so you need to give it nutrients to rebuild. With consistent watering, good light, and that post-harvest feed, you can expect a fresh flush of harvestable leaves within 10–14 days. This cut-and-come-again cycle can continue for several rounds over a few months.
Eventually, the plant will start putting more energy into flowering and fruiting than leaf production. At that point, you can let some berries ripen and collect seeds for your next batch, or simply start fresh with new seeds. Don't try to push a tired, flowering plant into continuous leaf production, it rarely works and the leaves become smaller and tougher anyway.
Troubleshooting: yellow leaves, slow growth, and weak plants
| Problem | Likely Cause | What to Do |
|---|---|---|
| Leaves turning yellow | Overwatering or poor drainage | Check drainage holes, reduce watering frequency, let soil dry slightly between waterings |
| Pale, washed-out foliage | Nitrogen deficiency or depleted soil | Apply liquid nitrogen-rich fertilizer (fish emulsion or diluted NPK) every 2 weeks |
| Slow germination | Temperature too low or seeds buried too deep | Move pot to a warmer spot; seeds need warmth (around 30°C is ideal) and only a very thin soil covering |
| Seedlings collapsing at the base | Damping-off fungus from overwatering | Remove affected seedlings, reduce watering, improve drainage, and let soil surface dry slightly between waterings |
| Weak, spindly plant | Insufficient sunlight | Move the pot to a sunnier location; aim for at least 5–6 hours of direct sun daily |
| Poor leaf yield after first harvest | No post-harvest feeding or plant is root-bound | Feed with liquid fertilizer after each harvest; if roots are circling the drainage holes, repot into a larger container |
| White powder on leaves | Powdery mildew | Remove affected leaves, improve air circulation, spray with diluted neem oil or baking soda solution early |
| Tiny holes all over leaves | Flea beetles | Inspect and treat with neem oil spray; ensure plant is healthy and not stressed |
Yellowing is probably the most common issue I see reported, and nine times out of ten it's overwatering in a poorly draining pot. Before you reach for fertilizer, check whether the drainage holes are blocked or whether the soil is staying soggy for more than a day after watering. Fix the drainage first, then assess whether the plant needs feeding.
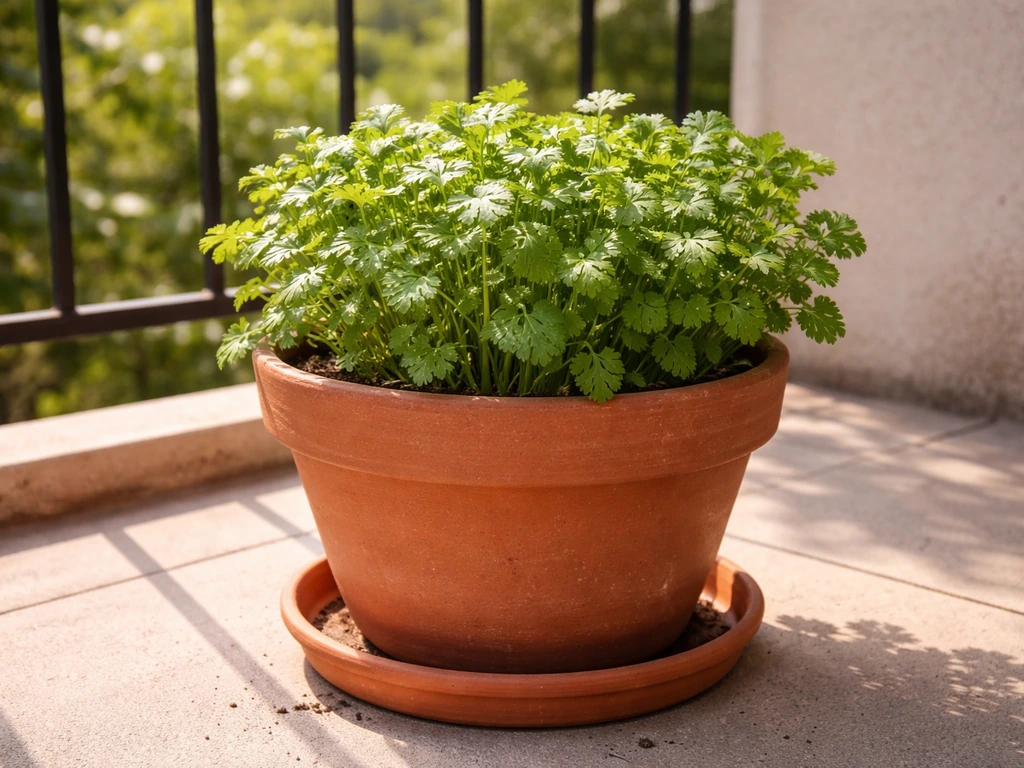
If the plant just seems to have stalled entirely and you've ruled out water and light issues, check whether it's root-bound. Gently tip the pot and look at the drainage hole, if you see a mass of roots circling out, it's time to move the plant to a slightly larger container. This is common if you started in a small pot and didn't repot as the plant grew. Leafy greens like manathakkali are relatively forgiving, but a badly root-bound plant in a tiny pot will always underperform. If you're also growing other leafy greens in containers, the same root-bound and overwatering checks apply, it's a universal container gardening challenge whether you're growing palak, alugbati, or dhaniya. If you want, you can apply similar pot size and watering habits when you learn how to grow dhaniya in pots dhania. If you want a similar container setup, follow these tips on how to grow alugbati in pots for leafy, tender harvests.
Growing manathakkali keerai in pots is genuinely one of the easier leafy greens to succeed with, especially in a warm South Indian climate. Start with good potting mix and adequate drainage, keep the sun and watering consistent, and don't skip that post-harvest feed. A few rounds of cut-and-come-again harvesting from your own balcony or terrace is a satisfying payoff for a pretty small investment of space and effort. If you’re specifically trying to grow palak in pots, follow the same container basics like full sun, consistent watering, and a well-draining potting mix.
FAQ
What is the safest way to handle manathakkali (black nightshade) while growing in pots?
Wear gloves when sowing, pruning, or harvesting, and wash your hands after handling leaves or berries. Keep the pot out of reach of small kids and pets, since the plant also produces berries. If you harvest for cooking, rinse the leaves well and avoid using any part that looks rotten, heavily infested, or moldy.
Should I grow manathakkali from seed or buy seedlings for the fastest results?
For speed, seedlings can start faster, but seeds are more reliable for avoiding transplant shock if you keep moisture consistent. If you choose seedlings, transplant only when roots are not circling heavily, and keep them in partial shade for 2 to 3 days, then move back to full sun.
How many hours of sun is enough if my balcony gets bright light but not full sun?
Aim for 5 to 6 hours of direct sun. If you only get 3 to 4 hours, expect slower growth and smaller leaves, but you can partially compensate by using a slightly larger pot and feeding with nitrogen every 2 to 3 weeks instead of waiting longer. Avoid deeper shade, where mildew risk rises due to slower drying of foliage.
What pot size should I use if I want repeated harvests for months?
Stick to at least 10 to 12 inches wide and deep for one plant, and prefer the deeper option over a shallow wide tub. If you repeatedly cut leaves and want a steady flush, upgrading to a 12 to 14 inch pot helps keep moisture stable and reduces the chance of stalling from root crowding.
How do I know if I’m watering correctly without overwatering in a container?
Use the finger test you already know, then confirm drainage by observing how long soil stays wet. If the top dries but the pot feels heavy and soggy for more than a day, slow down. Always water until it drains freely, and never let trays collect standing water, because that recreates waterlogged conditions around the roots.
Do I need a trellis or staking for manathakkali in a pot?
Usually no, because it grows upright and bushy. If the plant starts leaning, it is typically due to uneven watering, low sun, or overcrowding, not because it requires support. Fix the cause, then pinch out the top to encourage branching instead of propping it up.
Can I grow multiple manathakkali plants in one large planter without disease problems?
Yes, but space matters for airflow. In a rectangular planter, keep about 15 to 20 cm between plants and avoid packing too tightly near the edges where leaves get less sun and dry slower. Good spacing also makes it easier to spot aphids, whiteflies, and early mildew on inner leaves.
What should I do if my manathakkali seedlings dampen off at the stem base?
If seedlings collapse with a brown, water-soaked base, stop watering and improve drainage immediately. Remove affected seedlings to prevent spread, discard the top contaminated layer of soil if possible, and switch to fresh potting mix for any re-sowing. Next time, avoid covering seeds too deeply and keep the surface evenly moist, not soaked.
Is baking soda or neem spray safe for manathakkali leaves meant for cooking?
Use sprays only when needed and test on a small portion first. Apply during the evening or when leaves can dry quickly, then wash harvested leaves thoroughly before cooking. Baking soda is typically used as an early intervention for mildew, while neem may leave an odor, so use it sparingly and follow with a gentle rinse before use.
How do I prevent leaves from getting holes from flea beetles?
Check undersides daily and act early. Use a fine mesh netting over young plants if beetle pressure is high, and remove badly damaged leaves so adults do not keep feeding and laying. Keep plants vigorous with proper pot size and nitrogen feeding, stressed plants attract more pests.
When should I pinch or stop harvesting if the plant begins flowering?
You can pinch flower heads selectively to keep leaf production going a bit longer. Once berries start forming and the plant is clearly shifting energy to flowering, reduce harvesting intensity and stop aggressive top picking. Let some berries ripen only if you plan to collect seeds, otherwise expect the plant to naturally slow down.
Can I save seeds from my pot-grown manathakkali for the next batch?
Yes, but only from plants that produced healthy berries and were not heavily stressed or diseased. Collect seeds when berries turn deep purple-black and feel fully ripe, then dry them thoroughly before storing in a cool, dry place. For best germination, sow soon in warm conditions since seedling speed drops in cool weather.