Growing healthy plants in pots comes down to six things done consistently: the right container, a quality potting mix, a plant that suits your light, water applied at the right time, regular feeding, and a quick weekly check for problems. Get those six things working together and your container plants will genuinely thrive, whether you have a balcony, a windowsill, or a full patio to work with.
How to Grow Healthy Plants in Pots: A Practical Guide

Marcus Whitley
1 Jun 2026
Choosing the right pot and container type
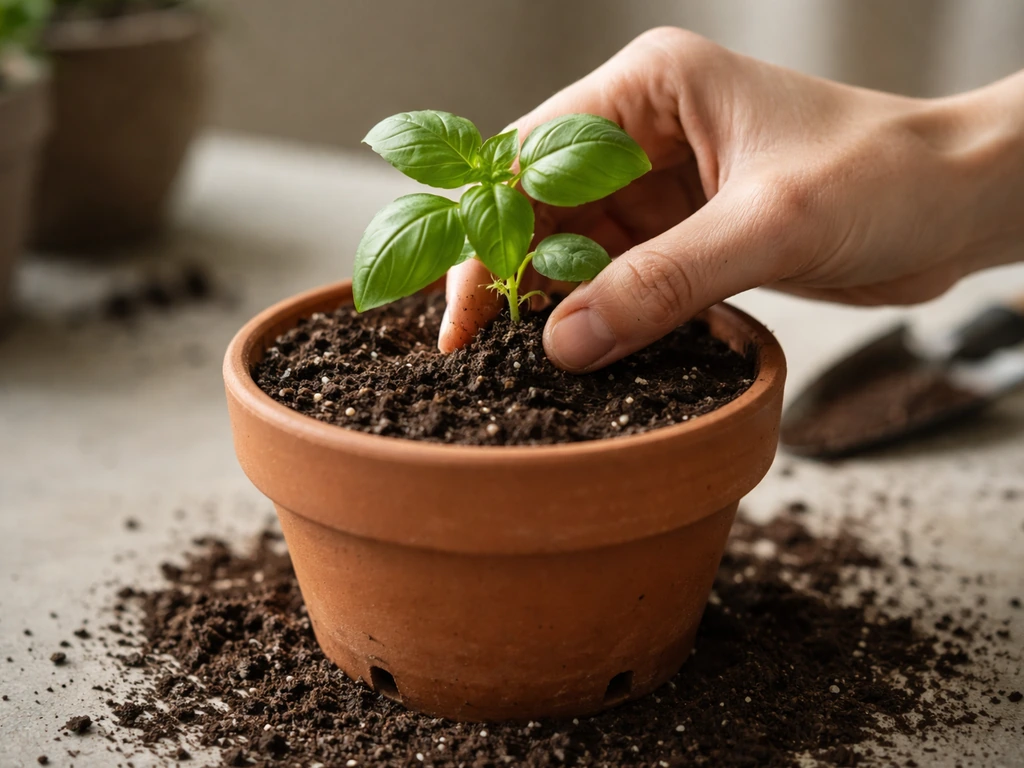
Pot size matters more than most beginners expect. The general rule is to pot up into a container that is one size larger in diameter than the pot your plant is currently in. For bigger pots (10 inches wide or more), aim for something about 2 to 3 inches wider than the root ball. That might sound fussy, but there is a real reason behind it: a pot that is too large for the plant holds more soil than the roots can absorb water from, and that extra wet soil is exactly where root rot starts. I have killed more than a few plants by being generous with pot size early on.
Drainage holes are non-negotiable. Drainage can single-handedly determine whether a potted plant survives or fails, and it is worth repeating that loudly. Every container you use needs at least one drainage hole at the bottom. One common mistake is stuffing rocks, gravel, or broken pot shards into the bottom of the container thinking it will help drain water faster. It does not. That layer actually raises the water table inside the pot and makes drainage worse. Skip it entirely and use a proper potting mix instead.
Another thing to avoid: covering drainage holes with nylon mesh or landscape fabric. It sounds sensible but it can reduce effective drainage by slowing water movement out of the pot. If you are worried about soil falling out, a small piece of window screen or a coffee filter works better and breaks down over time without blocking flow.
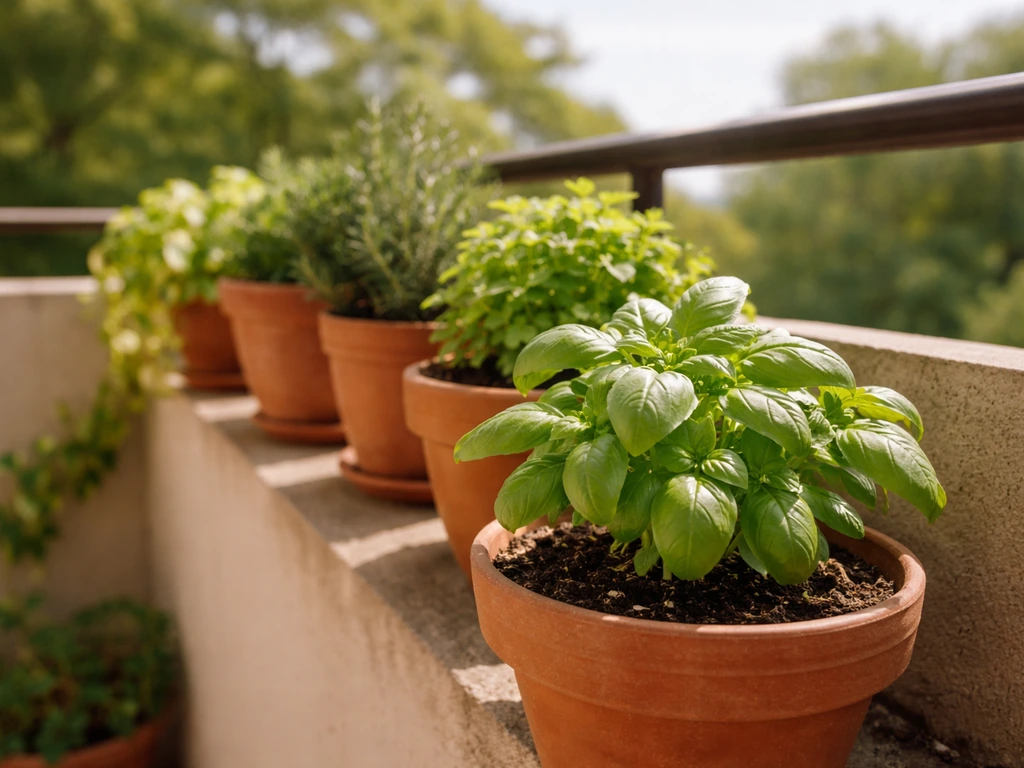
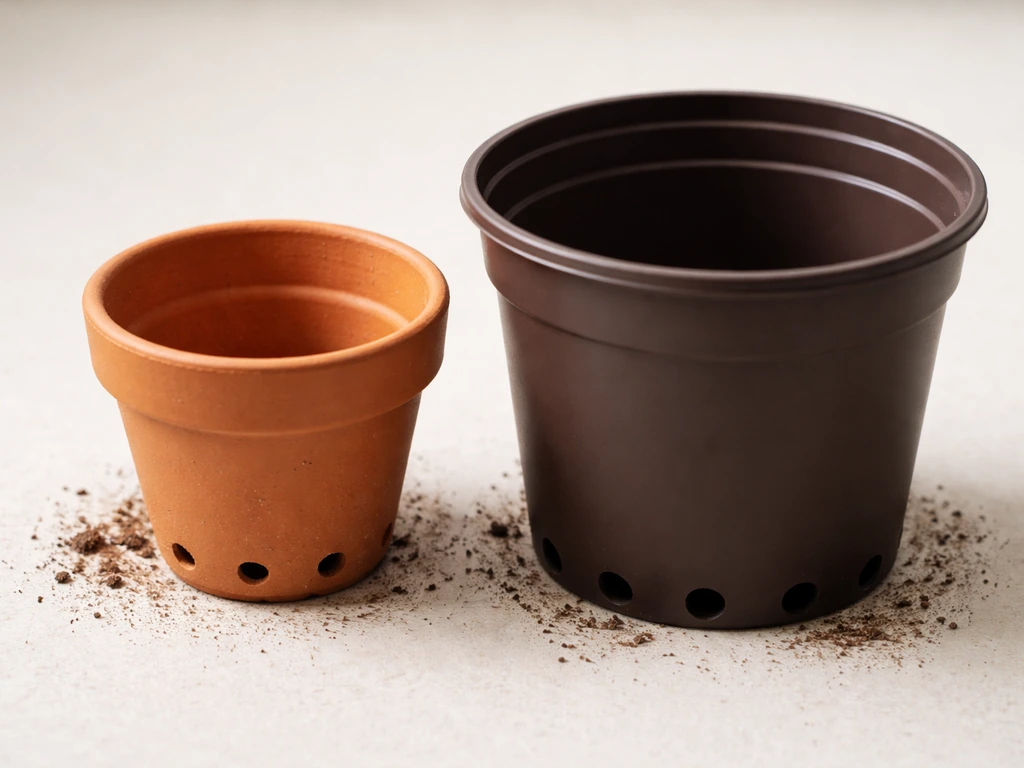
As for material, the main choice is between terracotta (or unglazed ceramic) and plastic. If you are specifically wondering how to grow plants in ceramic pots, the key differences usually come down to moisture control and how quickly terracotta dries. Terracotta is porous, which means it breathes and dries out faster. That is great for plants that hate sitting in wet soil, like succulents, herbs, and Mediterranean plants. Heavy-duty plastic holds moisture longer and is much lighter, which is a real advantage if you need to move pots indoors for winter or rearrange your space. If you want to grow plants in plastic pots or ceramic pots specifically, each material has its own quirks worth understanding in more depth.
Best potting mix and soil setup (drainage matters)
Never use garden soil in containers. I know it is tempting because it is free, but garden soil compacts in pots, drains poorly, and can carry pests and diseases. A quality potting mix is specifically engineered to stay loose and drain well while still holding enough moisture for roots to absorb.
A solid all-purpose container mix looks something like this: about 40% coco coir or peat moss as the base (these hold moisture without getting waterlogged), 25 to 30% perlite (those little white bits that look like tiny styrofoam, which create air pockets and improve drainage), and 25 to 30% mature compost for nutrients and microbial life. University of Georgia Extension also recommends using perlite in container soil mixtures and incorporating peat moss and other organic components when preparing the mix blank" rel="noopener noreferrer">25 to 30% perlite. You can buy a bagged potting mix that already contains perlite and call it done, but if you want to mix your own or improve a cheap bag of soil, adding extra perlite is always a smart move.
If you are dealing with fungus gnats (those tiny flies that hover around the soil), a potting mix with a higher bark content and a habit of letting the top inch of soil dry between waterings goes a long way toward prevention. More on that in the pest section below.
Picking plants that match your light and space
The single biggest reason container plants struggle is a mismatch between the plant and the available light. Before you buy anything, spend a day noticing how many hours of direct sun your space actually gets. It is usually less than you think.
| Light Level | Hours of Direct Sun | Good Plant Choices |
|---|---|---|
| Full sun | 6+ hours (fruiting crops need 8+) | Tomatoes, peppers, basil, marigolds, most fruiting vegetables |
| Partial sun / partial shade | 3 to 5 hours | Lettuce, spinach, kale, herbs like parsley and mint, pansies |
| Low light | Less than 3 hours or bright indirect | Ferns, pothos, peace lily, snake plant (mainly indoor plants) |
Flowering plants and fruiting vegetables like tomatoes and peppers need at least eight hours of full sun per day to perform well. Leafy greens and most cool-season crops are far more forgiving and can get by on three to five hours. Matching your plant to your actual light conditions is the fastest path to success, especially in urban spaces where sun can be blocked by buildings or trees for large parts of the day.
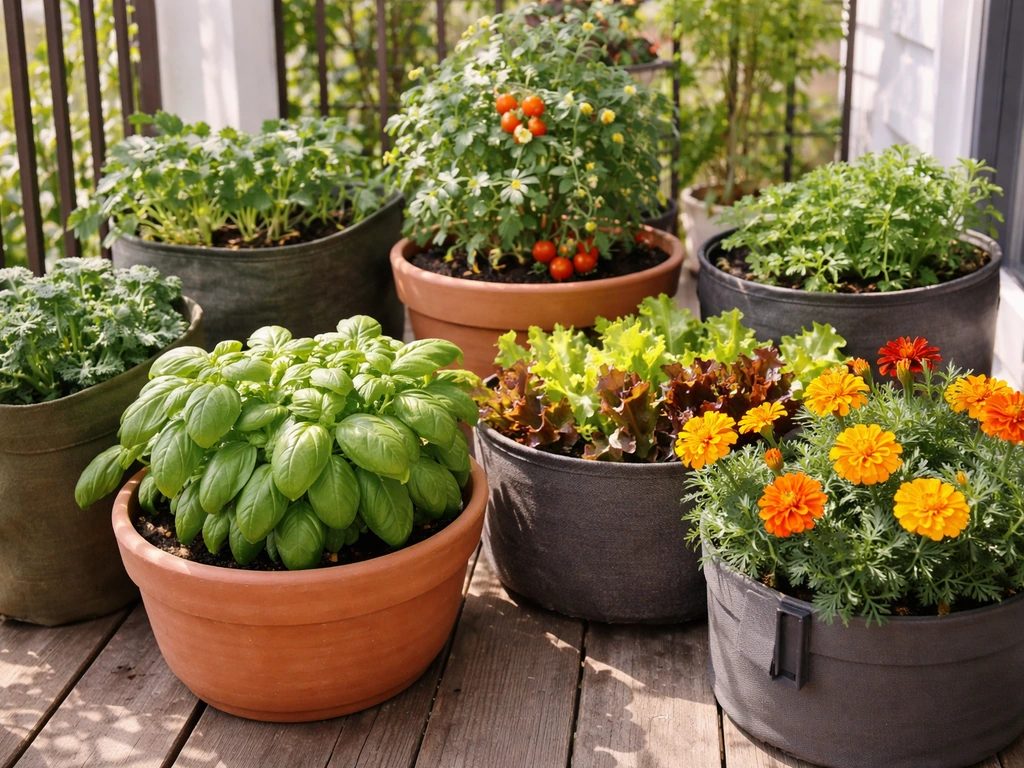
When you are putting multiple plants in one container, pick ones with similar water and light needs. Mixing a drought-tolerant succulent with a thirsty basil plant in the same pot is a recipe for one of them dying. If you are growing small plants in pots or building out a mixed container garden, grouping plants by their requirements makes watering and feeding dramatically simpler.
For light management indoors, rotating pots monthly between brighter and lower-light areas can help plants that are a bit light-starved build up enough energy reserves to stay healthy. It sounds like extra work but takes about ten seconds.
Watering schedule and avoiding common over/under-watering
Overwatering kills more container plants than anything else. The fix is simple but requires you to actually check the soil rather than water on a fixed schedule. Stick your finger an inch or two into the potting mix. If it feels damp, wait. If it feels dry, water thoroughly until it runs freely out the drainage holes. That is the whole system.
There is no universal schedule like 'water every three days' that works across all containers, plants, seasons, and climates. A large terracotta pot in a hot sunny spot in July might need watering every day. A small plastic pot on a shaded windowsill in October might only need water once a week. Sunny, windy, and warm conditions all speed up drying. In peak summer, some containers in full sun need water more than once a day.
Both overwatering and underwatering can produce similar symptoms above ground: yellowing leaves, drooping, and leaf drop. That is frustrating, and it is why checking the soil before you water matters so much. If the leaves look sad but the soil is still wet, hold off. If the soil is bone dry and the leaves are crispy at the edges, water immediately and consider moving the pot to a slightly less brutal spot.
- Water slowly and deeply so moisture reaches all the roots, not just the surface
- Use a pot with drainage holes and let excess water drain completely, never let pots sit in standing water for more than 30 minutes
- In hot weather, water in the morning so foliage dries before nightfall, reducing fungal risk
- Lift the pot after watering to feel how heavy it is when wet, then lift it again when dry, over time you will learn the weight cues without needing to check the soil every time
Fertilizing for healthy growth in containers
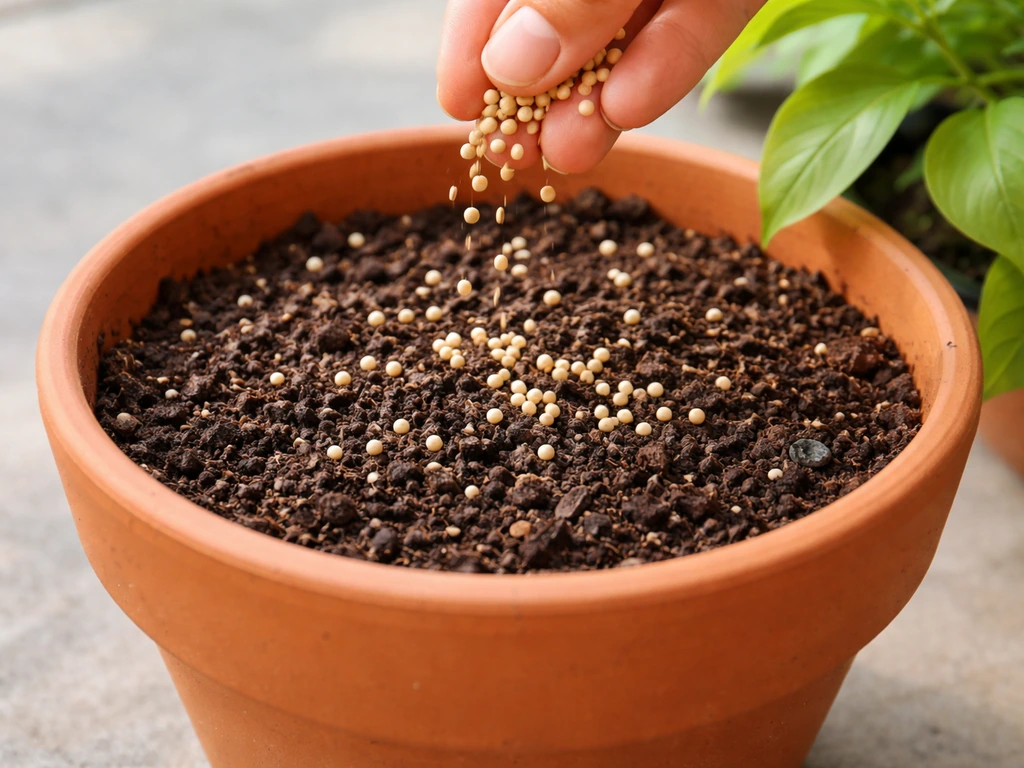
Container plants need regular feeding in a way that in-ground plants generally do not. Every time you water (which is often), nutrients leach out through the drainage holes. Within a few weeks of planting, a potting mix that started with nutrients is already running low. Plan to start fertilizing somewhere between two and six weeks after potting up, depending on how rich your starting mix was and how fast your plants are growing.
There are two main approaches: slow-release granular fertilizer and liquid (soluble) fertilizer. Slow-release pellets get mixed into the soil at planting and release a small amount of nutrients each time you water, making them very low-maintenance. A reapplication every couple of months keeps most containers fed adequately. Liquid fertilizers are applied with your watering and are easier to adjust on the fly. If a plant looks pale or growth has slowed, you can bump up the dose or frequency quickly.
A practical liquid fertilizing approach: if the label says one scoop per gallon, try half a scoop every week instead of a full scoop every two weeks. More frequent, diluted feeding tends to keep growth steady and avoids the boom-and-bust cycle of heavy feeding followed by nutrient gaps. Over-fertilizing is also a real problem, producing lush leafy growth but poor flowering or fruiting, so resist the urge to double the dose when you want faster results.
Light, temperature, and airflow care basics
One of the biggest advantages of container gardening is mobility. Use it. If a plant is not performing in one spot, move it. If temperatures are about to drop overnight or a heatwave is coming, you can bring pots inside or shift them to a protected spot. That flexibility is something in-ground gardeners simply do not have.
Heat is a particular challenge for containers in summer. Pots, especially dark-colored ones, absorb and hold heat, and roots can literally cook in a small pot sitting on a sun-baked patio or balcony. Light-colored containers, grouping pots together so they shade each other, or placing pots on a wooden surface instead of concrete all help keep root zone temperatures manageable.
Airflow often gets overlooked but it genuinely matters. Good air circulation around and between plants reduces humidity, which discourages fungal diseases like powdery mildew. Avoid cramming pots so tightly together that air cannot move between them, especially for plants that are prone to fungal issues. For indoor plants, a gentle fan running periodically works well.
If you are growing indoor plants in pots, keep them away from cold drafts near windows in winter and heat vents in summer. Both create stress that weakens plants and invites pests. Consistent temperatures in the 60 to 75 degrees Fahrenheit range suit most common indoor and patio plants well.
Pruning, training, and pest/disease prevention in pots

Container maintenance does not need to be a separate gardening session. The most effective approach is to handle small tasks while you are already watering. Snap off a dead flower, pinch back a leggy stem, check the undersides of a few leaves for pests. Done daily in small doses, this keeps plants tidy, encourages new growth, and catches problems before they escalate.
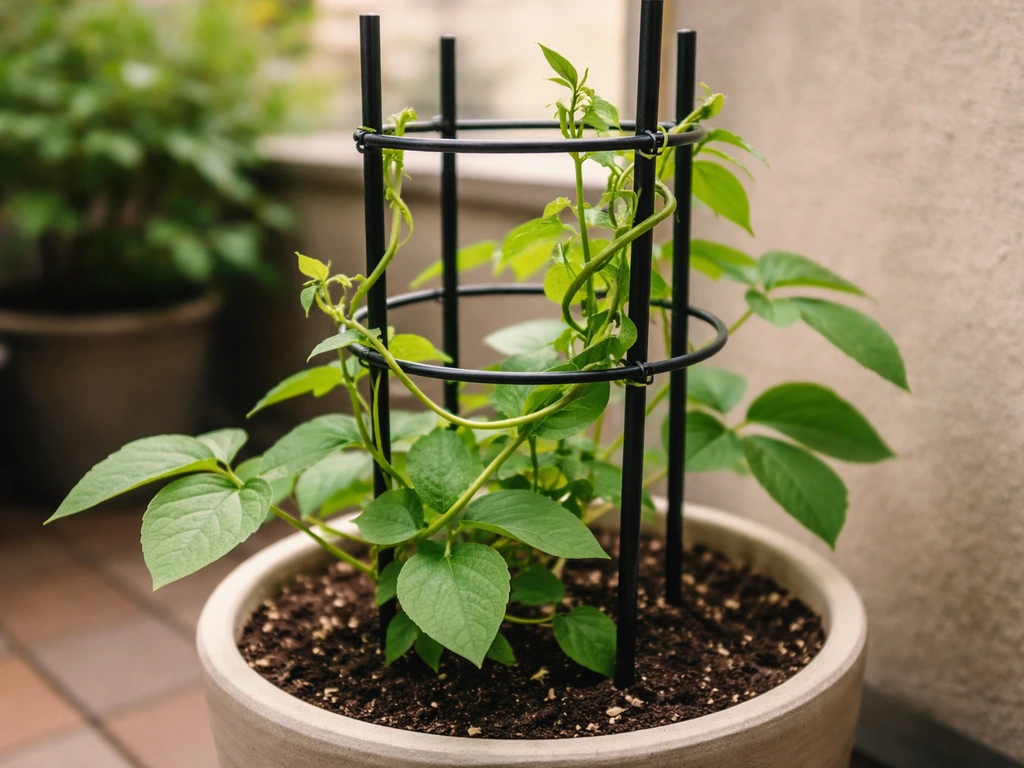
Deadheading (removing spent flowers) is one of the highest-return tasks for flowering containers. Removing old blooms redirects the plant's energy from seed production into making new flowers. For climbing plants in pots, light training and tying stems to a support early on prevents a tangled mess later and keeps the plant growing in the direction you actually want.
The pests you are most likely to encounter
The three pests that show up most reliably in container gardens are aphids, spider mites, and fungus gnats. Aphids cluster on new growth and undersides of leaves, sucking sap and causing distorted leaves. A strong spray of water or diluted neem oil handles most outbreaks. Spider mites are tiny and hard to see but leave a distinctive fine webbing and stippled, silvery leaf surfaces; they thrive in hot, dry conditions, so keeping humidity up and inspecting regularly helps catch them early. Fungus gnats are the little flies you see hovering around potting soil. They are annoying but the larvae are the real problem, feeding on roots in moist soil. Letting the top inch of soil dry out between waterings is the most effective control because the larvae need consistently moist conditions to survive.
The best overall pest strategy is inspection and prevention rather than reaction. Check a handful of leaves each time you water, look at the tops and undersides, and keep an eye on new growth. Catching an aphid colony at ten insects is a five-second fix. Catching it at ten thousand is a real problem. Virtually any houseplant or container plant can host fungus gnats if the soil stays too wet, so consistent watering habits are genuinely your first line of defense.
Putting it all together
Start with a pot that fits your plant (not too big), fill it with a quality potting mix that has visible perlite, choose a plant that matches your actual light conditions, water only when the soil calls for it, feed consistently but not aggressively, and check for problems during your regular watering routine. This container-vegetable guide also provides per-crop container sizing guidance, including examples like “Scarlet Supreme” with notes on light tolerance and pot/space recommendations blank" rel="noopener noreferrer">Vegetable and Herb Gardening in Containers. If you want noticeably faster growth, focus on optimizing light, watering consistency, and feeding so your plants have what they need to push new growth how to grow plants faster in pots. If you want to grow aquarium plants in pots, focus on how you match light, moisture, and potting setup to the species you choose. That is a complete system, and it works whether you have one pot on a windowsill or thirty on a rooftop. The details get easier with practice, and even a few small failures along the way teach you more about your specific space and conditions than any guide can.
FAQ
How do I know when to water if the top of the soil looks dry?
Most healthy potted plants should have a light, frequent moisture check rather than daily watering. After you water thoroughly (until it drains), wait, then re-check the mix 1 to 2 inches down. If it is only slightly damp at that depth, skip watering, even if the top surface looks dry, since the top can dry faster than the root zone.
What’s the difference between overwatering and underwatering in pots?
Underwatering usually leaves plants looking limp and dull, with soil pulling away from the pot edges in extreme cases. Overwatering often leaves the mix soggy or damp for days and can come with yellowing plus slow growth. If leaves look bad, check the depth first, then also smell the soil, sour or musty odors suggest staying wet too long.
Can I grow plants in decorative pots that don’t have drainage holes?
Yes, but only if the pot is built for it. Use a nursery pot with drainage holes, keep that inside a decorative cachepot, and never let the outer pot collect runoff for long. Empty the tray or cachepot after watering, and consider adding a saucer only for short periods (such as 15 to 30 minutes for indoor plants).
How can I tell when my plant needs to be repotted?
If you see roots circling the bottom or drainage holes, or if watering suddenly takes much longer, it is time to pot up. Move to a container only one size larger in diameter, then refresh the top inch of mix if you are near the limit of pot size. Going up too much can keep soil wet and trigger root rot.
Is it okay to use garden soil in containers?
Not really, and it will often cause trouble over time. Potting mix stays loose and drains while holding moisture and air pockets, garden soil compacts and reduces oxygen around roots. If you must use something soil-like, blend it heavily with perlite and compost and expect more frequent monitoring, but the safer option is a real container mix.
What’s the right way to water deeply in pots?
Use a gentle, steady stream until water runs freely out of the bottom, then stop. If water runs out quickly without soaking deeper, the mix may be hydrophobic (dry and hydrophobic) or compacted, try watering in two shorter rounds 10 to 15 minutes apart to help re-wet evenly.
How much airflow do potted plants actually need?
A fan helps indoors, but airflow is about spacing and positioning too. Keep pots from touching, especially in humid conditions, and avoid clustering on dense shelves where air cannot circulate. For mildew-prone plants, add light movement (fan on low) and water earlier in the day so leaves do not stay wet overnight.
What should I do if fungus gnats keep coming back?
Start by using a potting mix that includes a lot of perlite or bark, then adjust watering rather than just adding fertilizer. For fungus gnats, let the top inch dry between waterings, use yellow sticky traps to monitor adults, and consider a top-dress layer like a thin, dry sand or fine bark to reduce egg laying.
Why are my plants leafy but not flowering or fruiting?
Over the season, container plants commonly need a nutrient refresh even if growth looks fine. A practical approach is to start feeding 2 to 6 weeks after potting up, then follow a diluted, consistent plan. If flowering or fruiting stalls, it can be nitrogen-heavy growth, so switch to a formula higher in phosphorus and potassium (or reduce nitrogen) rather than doubling everything.
My plant is wilting, but the soil is wet. What should I do?
If you suspect the roots are failing, act fast because potted plants can decline quickly. Stop watering for now, check drainage, and lift the plant to inspect roots. Healthy roots are typically light-colored and firm, while rotten roots are dark, mushy, and may smell. Trim rotten sections, re-pot into fresh mix, and only water lightly until new growth appears.
How do I adjust watering when my indoor conditions change in winter or summer?
For indoor plants, temperature stability matters as much as light. Keep pots away from cold drafts and hot vents, and avoid placing them directly against a window pane at night in winter where temperatures can drop below safe levels. If the room is below 60°F (15°C), slow down watering and feeding.
How do I prevent heat stress in summer container gardening?
Dark pots can overheat the root zone, especially on concrete or rooftops. To reduce heat stress, use lighter-colored containers, place pots on wood or pot feet instead of directly on concrete, group pots so they shade one another, and water in the morning so the pot and mix do not stay hot and wet overnight.
What’s the best way to combine plants in one pot without killing one of them?
For mixed containers, choose plants by their worst-case needs, not just “similar” needs. If one plant needs to dry out between waterings and another prefers consistently moist soil, keep them separate or use larger planters with internal water-zone separation (two compartments) because one watering pattern will eventually harm one plant.
When should I start fertilizing, and when should I wait?
It depends on the species, but a common starting point is to fertilize only after new growth resumes or once the initial nutrients in the mix have been used (often 2 to 6 weeks post-potting). If your plant is stressed due to low light or cold, feeding can worsen issues, so wait until light and temperatures are stable and the plant is actively growing.