Yes, you can absolutely grow plants in ceramic pots, and for a lot of plants they are one of the best choices you can make. They look great, they are heavy enough to stay stable, and the right ceramic pot keeps roots at a comfortable temperature. The main things you need to get right are drainage, choosing the correct pot size, and adjusting your watering routine to match whether your pot is glazed or unglazed. Get those three things right and ceramic pots will serve you well for years. These tips apply whether you are using ceramic pots or another container, and they cover the basics of how to grow indoor plants in pots.
How to Grow Plants in Ceramic Pots: Complete Beginner Guide

Marcus Whitley
10 Jun 2026
Can you grow plants in ceramic pots (and when it's a bad idea)
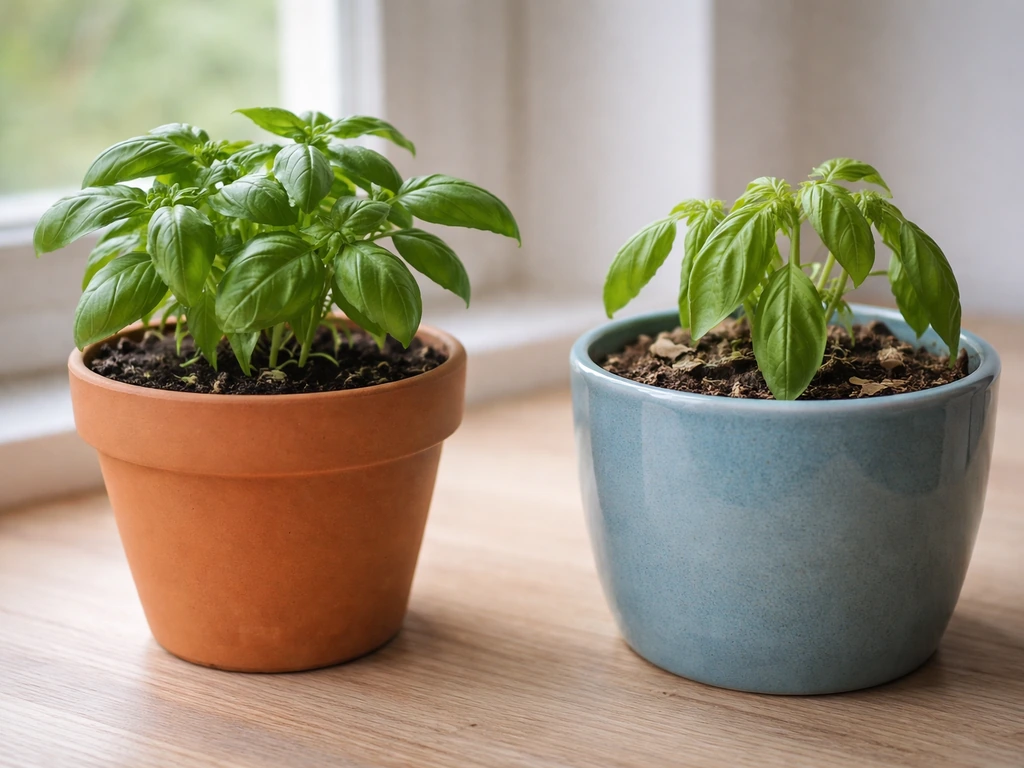
For most home and urban gardeners, ceramic pots are a solid choice. Herbs, vegetables, flowering annuals, succulents, tropical houseplants, small fruiting plants like strawberries and dwarf citrus, and even climbing plants trained up a support all do well in ceramic containers. Climbing plants in pots also need a sturdy support and regular checks so the soil does not dry out too quickly how to grow climbing plants in pots. The material is breathable enough to allow some air exchange around roots, and the weight keeps pots from tipping on a balcony or patio.
That said, there are a few situations where ceramic is genuinely the wrong call. First, blank" rel="noopener noreferrer">if the pot has no drainage hole, do not use it for plants you care about. Water cannot escape, roots sit in trapped water, and the plant fails. This is not a ceramic-specific problem, but since a lot of decorative ceramic pots are sold without drainage holes, it comes up constantly. A pot without a drainage hole is a vase, not a planter. Second, ceramic pots are heavy even before you add soil and a plant. If you need to move containers around regularly, or if you are gardening on a rooftop with weight limits, plastic may serve you better. If you want similar results but need something easier to move, learning how to grow plants in plastic pots can be a practical next step. Third, unglazed ceramic can crack in hard freezes, so if you are leaving pots outdoors over winter in a cold climate, bring them in or switch to frost-resistant materials.
Outside of those situations, ceramic is a genuinely excellent container material. I have grown tomatoes, basil, geraniums, and peace lilies in ceramic pots and had great results with all of them once I sorted out my watering habits.
Choosing the right ceramic pot: size, drainage, glazed vs unglazed
Size matters more than most people think
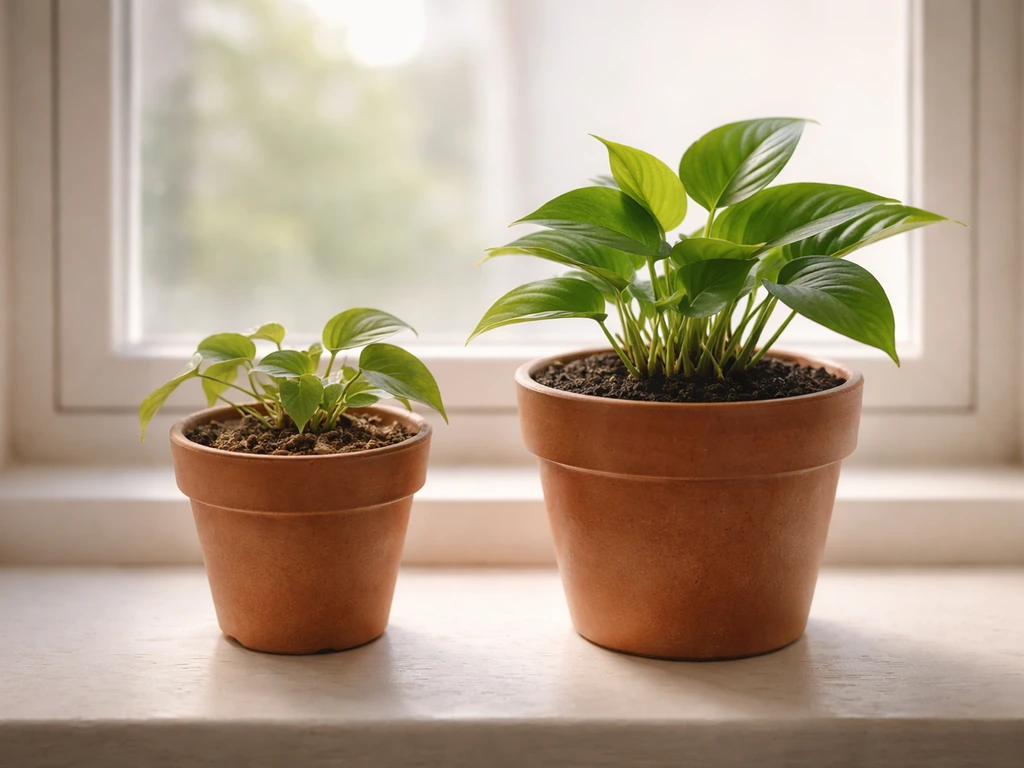
The single most common mistake beginners make is going too small. A tiny pot dries out fast, restricts root growth, and needs watering twice a day in summer. As a starting point, use a pot that is at least 6 inches (15 cm) in diameter for small herbs and flowers, 10 to 12 inches (25 to 30 cm) for most vegetables and larger flowering plants, and 16 inches (40 cm) or bigger for tomatoes, peppers, or anything with a deep root system. When in doubt, go one size larger than you think you need. Your plant will thank you.
Drainage holes are non-negotiable
Every ceramic pot you plant into must have at least one drainage hole at the bottom. Water needs somewhere to go. Without it, excess moisture builds up, roots drown, and rot sets in fast. If you fall in love with a beautiful ceramic pot that has no hole, you have two options: drill a hole yourself with a diamond-tipped drill bit (it is easier than it sounds and there are plenty of tutorials online), or use it as a decorative outer sleeve and place a plastic nursery pot with drainage holes inside it. When you do use a saucer or tray underneath, empty it within 30 minutes to an hour after watering. Roots sitting in that pooled water will rot just as surely as if there were no hole at all.
Glazed vs unglazed: what it means for your plants
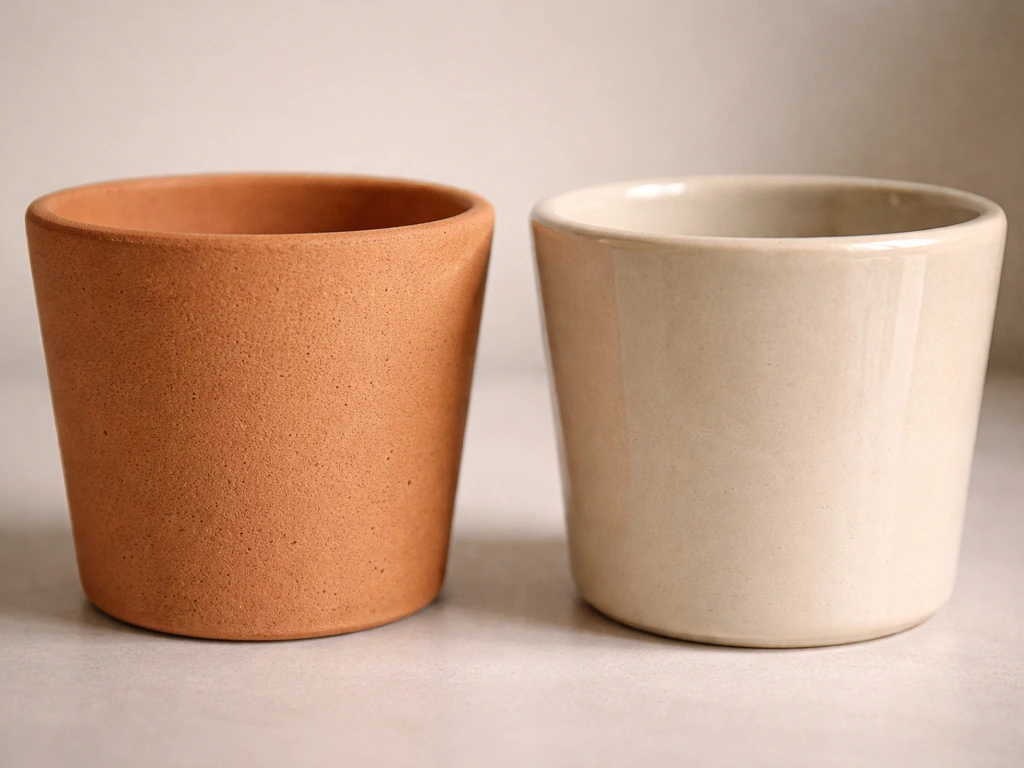
This is the decision that most directly affects how often you will water. Unglazed ceramic (think traditional terracotta-style pots with a rough, matte finish) is porous. Water evaporates through the walls, the soil dries out faster, and you will water more frequently, sometimes every day in hot weather. Glazed ceramic has a glass-like coating fired onto the surface. It holds water longer and behaves more like a plastic pot in terms of moisture retention. Neither is better in an absolute sense, but your plant and your climate should guide the choice.
| Feature | Unglazed Ceramic | Glazed Ceramic |
|---|---|---|
| Porosity | High (breathable walls) | Low (sealed surface) |
| Water retention | Dries out faster | Holds moisture longer |
| Watering frequency | More frequent | Less frequent |
| Best for | Succulents, cacti, Mediterranean herbs, plants that like to dry out between waterings | Tropical plants, moisture-loving vegetables, ferns, begonias |
| Freeze risk | More likely to crack in frost | More resistant but still at risk |
| Appearance | Natural, earthy | Decorative, wide color range |
My recommendation: if you are growing succulents or Mediterranean herbs like rosemary and thyme, go unglazed. For tomatoes, leafy greens, tropical houseplants, or anything that likes consistent moisture, glazed is the easier choice for beginners because it is more forgiving if you miss a watering day.
Soil and potting mix setup for container gardening
Do not use garden soil in a ceramic pot. It compacts, drains poorly, and can introduce pests and disease. What you want is a bagged potting mix specifically labeled for containers. These are formulated to be light and well-draining, which is exactly what roots in a confined space need.
For most plants, a standard all-purpose potting mix works fine straight out of the bag. But you can improve it with a few simple amendments depending on what you are growing. For succulents and cacti, mix one part coarse perlite or grit into every two parts potting mix to boost drainage. For moisture-loving plants or if you tend to underwater, mix in a small amount of coco coir to help the soil hold water a bit longer. For vegetables and fruiting plants, add a slow-release granular fertilizer into the soil at planting time so there is food available from the start.
Fill the pot to about an inch or two (2.5 to 5 cm) below the rim. That gap is important because it gives water somewhere to pool briefly before it soaks in and drains, rather than running straight over the edge before the roots get any benefit.
Planting step-by-step (from seedlings to transplants)
- Cover the drainage hole loosely with a small piece of mesh, a coffee filter, or a flat stone. You want to stop soil from washing out while still allowing water to drain freely. Skip the thick gravel layer at the bottom, it does not improve drainage and actually makes it worse in containers.
- Add a few inches of potting mix to the bottom of the pot and press it down lightly to remove large air gaps.
- If you are planting a transplant from a nursery pot, squeeze the sides of the nursery pot gently to loosen the root ball, tip it upside down, and ease the plant out. Do not yank it by the stem.
- Check the roots. If they are tightly wound in circles (root-bound), gently tease them apart with your fingers so they will spread into the new soil.
- Set the plant in the ceramic pot so the top of the root ball sits about an inch (2.5 cm) below the rim. Adjust the soil depth underneath to get this right.
- Fill in around the sides with potting mix, pressing gently as you go to eliminate air pockets. Do not bury the stem deeper than it was in its original pot, especially for vegetables and herbs.
- Water thoroughly right away until water runs freely from the drainage hole. This settles the soil around the roots and gives the plant its first drink in its new home.
- Top up with a little extra potting mix if the soil settles significantly after the first watering.
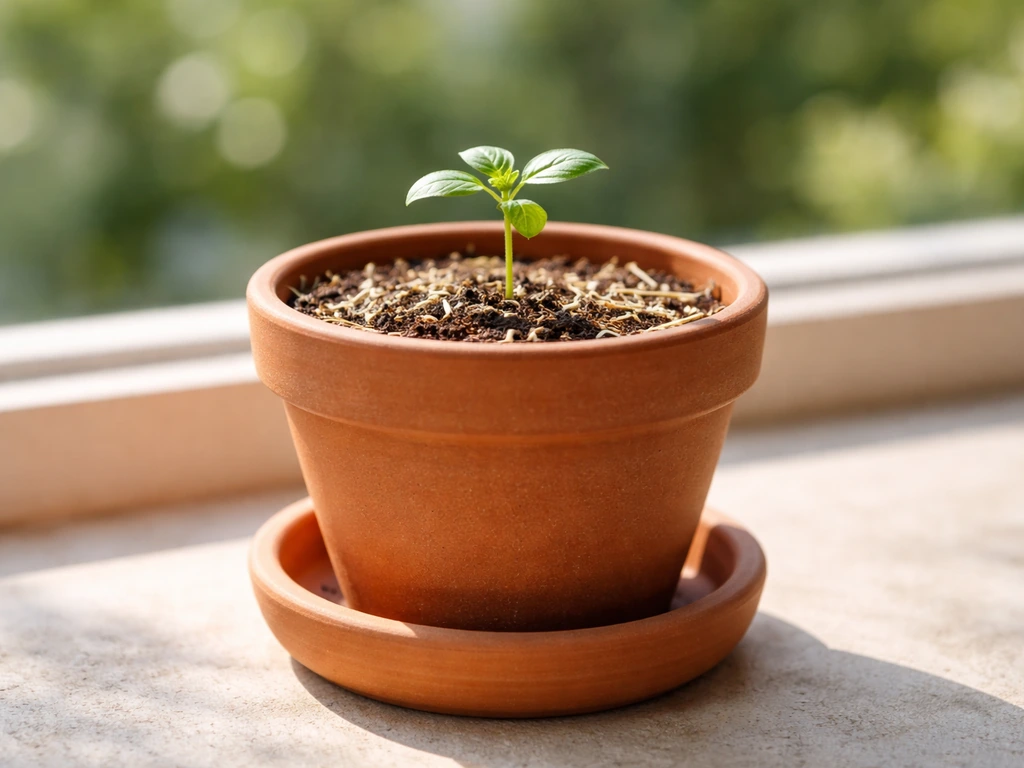
If you are starting from seed rather than a transplant, fill the pot to about half an inch (1 cm) below the rim, scatter or place seeds according to the packet spacing, cover lightly with a thin layer of potting mix, and water gently with a fine mist or spray so you do not dislodge the seeds. Germination times vary widely by plant, so check your seed packet for realistic expectations.
Placement: sunlight, heat, wind, and seasonal positioning
One of the great advantages of container gardening is that you can move pots around to optimize conditions. Use that flexibility. Most vegetables and fruiting plants need a minimum of 6 hours of direct sunlight per day to produce well. Herbs generally like 4 to 6 hours. Shade-tolerant plants like ferns, begonias, and peace lilies do fine with bright indirect light or 2 to 3 hours of gentle morning sun.
Ceramic pots, especially dark-colored ones, absorb heat. In midsummer, a black ceramic pot sitting on a concrete patio in full sun can get hot enough to damage roots sitting near the sides of the pot. You can offset this by grouping pots together (they shade each other's sides), placing them on a wooden surface instead of bare concrete, or wrapping the exterior in burlap or light-colored fabric during the hottest weeks. Light-colored glazed pots reflect more heat and are a better choice for hot, sunny spots.
Wind is often overlooked but it is a real issue for container gardens on balconies and rooftops. Strong wind increases evaporation from the soil and can physically damage plants. Position pots where they get some wind protection, a wall, a railing, or a windbreak made from other containers works well. The heavier weight of ceramic pots compared to plastic does help with stability in breezy spots.
Seasonally, be ready to move pots when temperatures shift. In spring, start moving frost-tender plants outside gradually over a week or two (a process called hardening off) rather than all at once. In autumn, bring tender plants inside before the first frost. Unglazed ceramic pots should come inside or be stored in a frost-free shed over winter in cold climates to prevent cracking.
Watering routine and how ceramic affects moisture
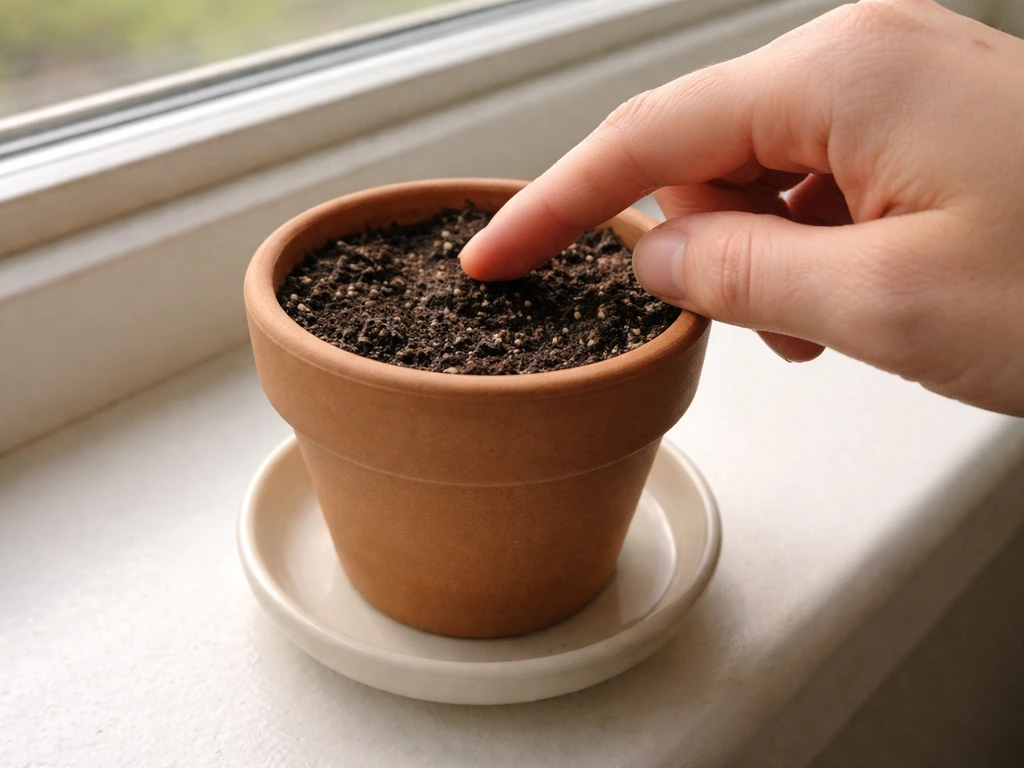
Watering is where most beginners go wrong, and it is more nuanced in ceramic pots than people expect. The golden rule is to check before you water, not to water on a fixed schedule. Push your finger about an inch (2.5 cm) into the soil. If it feels moist, wait. If it feels dry at that depth, water. This works for the vast majority of plants.
Unglazed ceramic pots dry out noticeably faster than plastic or glazed options because moisture evaporates through the porous walls. In summer, an unglazed pot in full sun may need watering every single day. Glazed ceramic behaves more like plastic and typically needs watering every two to three days in warm weather, less in cooler conditions. In winter, when plants are growing slowly, most pots only need watering once a week or even less.
When you water, water thoroughly. Pour slowly and steadily until water runs out of the drainage hole, then stop. This ensures the entire root zone gets moisture, not just the top inch. Shallow watering trains roots to stay near the surface where they are vulnerable to drying out. Always empty the saucer within an hour of watering so the pot is not sitting in pooled water, which leads directly to root rot.
A helpful trick for unglazed pots in hot weather: sit the pot in a shallow tray of water for 20 to 30 minutes so it absorbs water from the bottom (a process called bottom watering), then remove it before any water sits long enough to cause problems. This thoroughly saturates the root zone and gives you a bit of extra time before the next watering.
Feeding, maintenance, and troubleshooting common problems
Feeding your plants
Potting mix starts out with some nutrients, but they get depleted within four to six weeks as the plant uses them and water flushes them out through drainage. After that point, you need to feed regularly. A balanced liquid fertilizer (something like a 10-10-10 NPK ratio) applied every two weeks during the growing season covers most plants. Vegetables and fruiting plants are heavy feeders and benefit from a slightly higher-nitrogen feed early in growth, switching to a higher-phosphorus and potassium feed once they start flowering or fruiting. Succulents and cacti need very little feeding, once every four to six weeks in the growing season is plenty.
Ongoing maintenance
- Remove dead or yellowing leaves promptly to keep the plant tidy and reduce disease risk.
- Pinch back leggy growth on herbs and flowering annuals to encourage bushier, more productive plants.
- Repot when roots start growing out of the drainage hole or the plant dries out unusually fast, both are signs it has outgrown its pot. Move up one pot size at a time.
- Refresh the top inch of potting mix each spring by scraping it off and replacing it with fresh mix, which adds a small nutrient boost.
- Clean ceramic pots between plantings with a diluted bleach solution (1 part bleach to 9 parts water) to kill off any pathogens or pest eggs left behind.
Troubleshooting common problems
| Problem | What it looks like | What to do |
|---|---|---|
| Overwatering | Yellow leaves, mushy stem base, soggy soil, plant looks wilted even though soil is wet | Let the soil dry out completely before watering again. Check drainage hole is clear. Reduce watering frequency. |
| Underwatering | Wilting, dry and crispy leaf edges, soil pulling away from pot sides, very light pot weight | Water thoroughly right away. Check pots daily in hot weather, especially unglazed ones. |
| Root rot | Roots are brown and mushy instead of white and firm, foul smell from soil | Remove plant, trim away rotten roots, repot into fresh dry potting mix, and adjust watering habits. |
| Nutrient depletion | Pale or yellowing leaves, slow or stunted growth despite adequate water and light | Start a regular liquid fertilizer schedule every two weeks. |
| Soil drying too fast | Constant wilting, soil bone dry within a day of watering | Move to a shadier spot, switch to a glazed pot, or add coco coir to the potting mix to improve retention. |
| Salt crust on pot or soil surface | White crusty deposits on ceramic exterior or soil surface from fertilizer buildup | Flush the pot thoroughly with plain water to wash out excess salts. Reduce fertilizer concentration. |
Best beginner plants for ceramic pots + quick-start checklist
If you are just getting started, choose plants that are forgiving of beginner watering habits and do not need huge containers. For small plants, use the right pot size and a well-draining potting mix, then place the container where it gets enough light beginner watering habits. These are my top picks for first-time ceramic pot gardeners, organized by category.
| Category | Best beginner choices | Minimum pot size |
|---|---|---|
| Herbs | Basil, mint, parsley, chives | 6 inches (15 cm) |
| Vegetables | Lettuce, spinach, cherry tomatoes, radishes, dwarf kale | 10 to 12 inches (25 to 30 cm) |
| Flowers | Geraniums, marigolds, petunias, begonias | 8 to 10 inches (20 to 25 cm) |
| Succulents and cacti | Echeveria, sedum, aloe vera | 4 to 6 inches (10 to 15 cm) |
| Fruiting plants | Strawberries, dwarf chili peppers | 10 to 12 inches (25 to 30 cm) |
| Houseplants | Peace lily, pothos, ZZ plant, snake plant | 8 to 10 inches (20 to 25 cm) |
Mint is worth a special mention: it spreads aggressively in the ground but behaves itself in a pot, making it an ideal ceramic container plant. Lettuce and other leafy greens are also excellent starting points because they grow fast, need relatively small pots, and give you results within a few weeks, which is genuinely motivating when you are just starting out. If you want to speed things up, focus on bigger pots, faster-draining potting mix, and consistent watering that matches your plant’s needs grow fast.
Your quick-start checklist
- Choose a ceramic pot with at least one drainage hole (or drill one if needed).
- Pick the right size: at least 6 inches for small plants, 10 to 12 inches for most vegetables, 16 inches or more for tomatoes and peppers.
- Decide glazed or unglazed based on your plant and how often you can water.
- Buy a quality all-purpose container potting mix, not garden soil.
- Add perlite for drainage-loving plants or coco coir for moisture-loving ones.
- Plant at the correct depth, not deeper than the original nursery pot.
- Water thoroughly right after planting.
- Place in a spot that matches your plant's light requirements.
- Check moisture daily (finger test), especially in warm weather or with unglazed pots.
- Start liquid feeding every two weeks after the first four to six weeks.
- Empty any saucer within an hour of watering every single time.
Once you have one ceramic pot thriving, scaling up is just repeating the same process. A collection of three to five pots on a balcony or patio can give you fresh herbs, salad greens, and flowers all through the growing season. If you find you love the flexibility of container growing, you might also want to explore how to grow a whole garden in pots, or try growing climbing plants in pots to make use of vertical space. Ceramic containers are a great foundation to build on, and the skills you develop here transfer directly to every other kind of container gardening. If you want consistently healthy plants, use the same core potting, drainage, and watering principles every time you grow in pots Ceramic containers are a great foundation to build on.
FAQ
Can I use decorative ceramic pots indoors if they look like planters but have no drainage hole?
Usually no. If there is no drainage hole, use it only as an outer sleeve. Place a drained plastic or nursery pot inside, then empty any water from the saucer within 30 to 60 minutes after watering to prevent root rot from pooled moisture.
What’s the best way to tell if my plant actually needs water in a ceramic pot?
Do a finger test at the same depth every time (about 1 inch, 2.5 cm). If it feels dry there, water fully. Also check pot weight, a dry pot feels noticeably lighter than a freshly watered one, which helps when the soil texture is confusing.
Should I rotate ceramic pots for even growth?
Yes, especially for indoor plants and window-facing pots. Rotate every 1 to 2 weeks so stems grow evenly toward light. Ceramic pots can amplify unevenness because roots dry at the side facing sun or heat.
How do I prevent salts and buildup in ceramic pots over time?
Flush the soil periodically. Every few weeks, run water through the pot until it drains freely, then let the pot drain completely. This helps push out fertilizer salts that can burn roots, particularly in glazed pots where moisture movement is slower.
Is bottom watering safe for all plants in unglazed ceramic pots?
It works best when the potting mix is fast-draining enough to avoid staying waterlogged. Bottom watering is mainly a hot-weather rescue method. Don’t bottom-water plants that prefer drier cycles if the mix stays wet for many hours after, instead switch back to top watering and check moisture depth.
What pot size should I choose if I’m unsure how big my plant will get?
Choose for the roots, not just the plant above the soil line. A good rule is to size up one step from what you think, because undersizing causes faster drying and weaker root growth. If you already bought a pot, repot sooner rather than waiting until roots crowd the container.
Do ceramic pots change fertilizer schedules?
Yes. Container nutrients can deplete faster because water drains out. If you fertilize, use the amount on the label and consider slightly lighter feeding more often, then flush the pot occasionally to avoid salt buildup, especially in glazed pots and during hot, heavy watering weeks.
What should I do if my ceramic pot cracks or chips after freezing weather?
If it is a hairline crack that doesn’t leak, replace it before planting a long-term plant, since freeze-thaw can widen it. For winter storage, keep pots frost-free or protect them from direct freezing, and avoid leaving them sitting in standing water which speeds deterioration.
How can I keep plants from overheating in dark ceramic pots?
Use light-colored glazed pots for hot sun, or create a barrier from the ground. Set pots on wood or heat-resistant feet instead of bare concrete, and group pots to shade the sides. In peak heat, a breathable cover like burlap for a few hours can reduce root-side temperature spikes.
Are ceramic pots better than terracotta for watering frequency?
It depends on glaze and porosity. Unglazed ceramic behaves more like terracotta, it dries faster and often needs more frequent watering. Glazed ceramic is typically more forgiving and closer to plastic in moisture retention, so it can be easier if you miss watering days.
Can I reuse potting mix from old ceramic pots?
Not usually. Reuse can carry pests, compact the mix, and reduce aeration. For old containers, replace most of the mix, and if you top-dress, do it with fresh container potting mix to restore structure and drainage.