Growing plants in plastic pots is genuinely one of the most beginner-friendly ways to garden. If you are growing aquarium plants in pots, you'll need to focus on keeping the right moisture level and growing conditions so the plants can thrive outside the tank how to grow aquarium plants in pots. Pick a pot with drainage holes, fill it with a quality potting mix (not garden soil), plant at the right depth, water when the top inch of soil is dry, and put the pot where your plant actually gets the light it needs. If you are specifically growing small plants in pots, the container size and depth decisions become even more important how to grow small plants in pots. That core routine handles probably 80% of what you need to know. The rest is about avoiding a handful of common mistakes that trip up even experienced gardeners when they switch to containers. Using these steps together is the easiest way to grow healthy plants in pots all season.
How to Grow Plants in Plastic Pots: Step-by-Step Guide

Choosing the right plastic pot
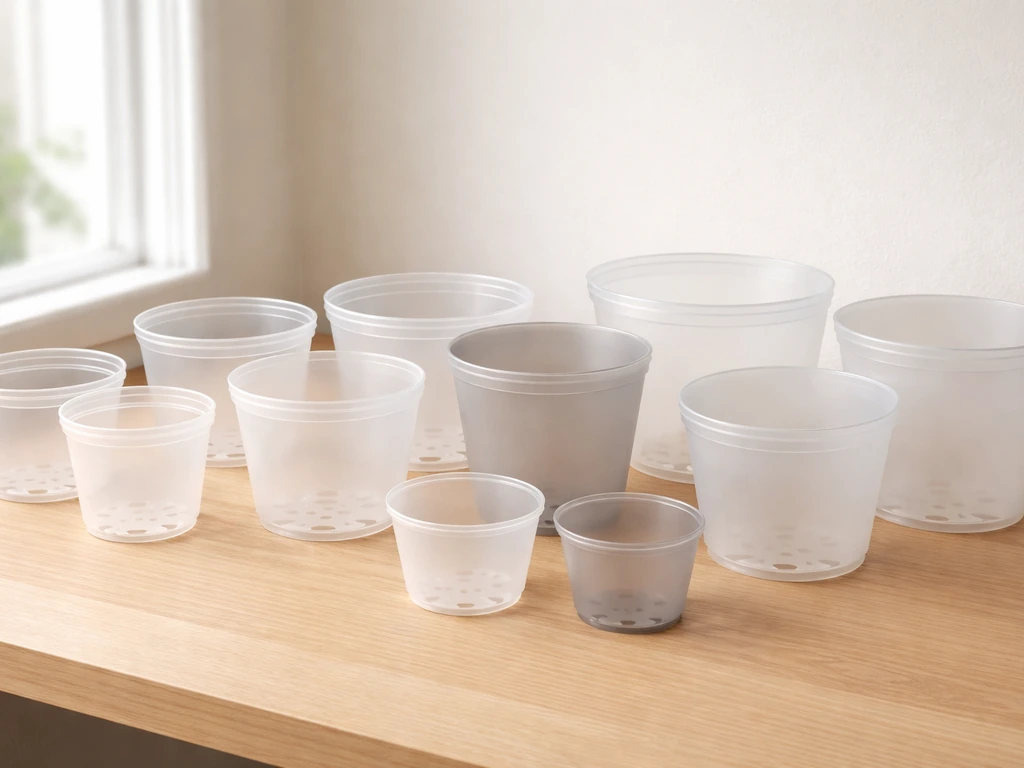
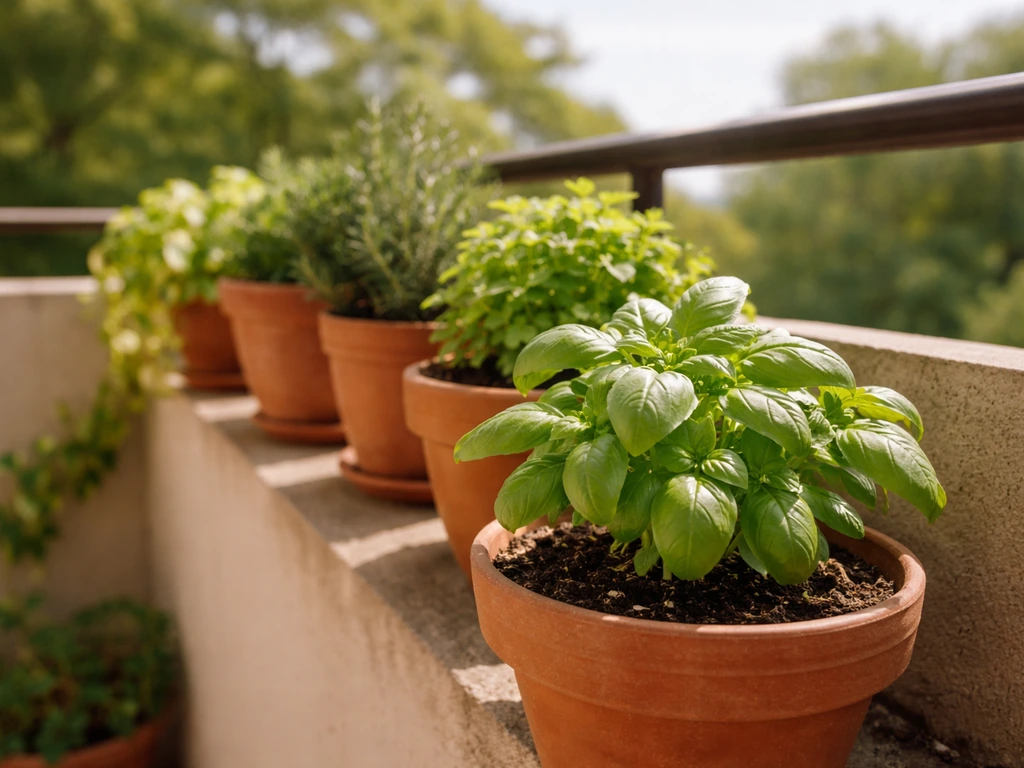
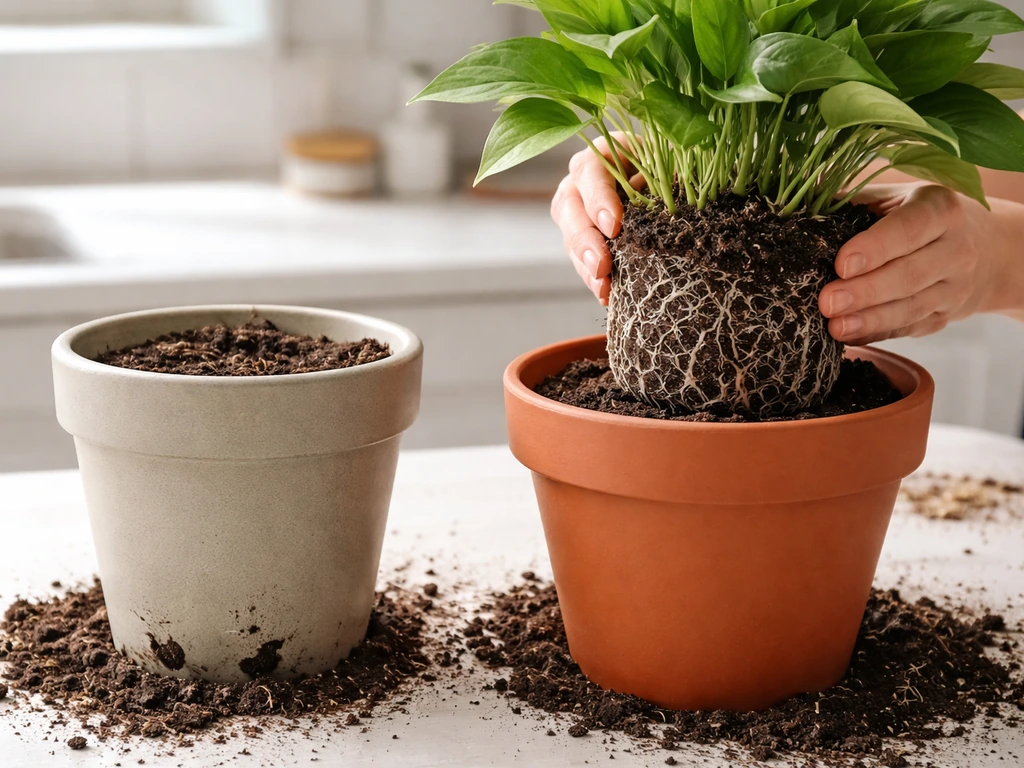
Plastic pots have a real advantage over terracotta and ceramic: they're lightweight, affordable, and they hold moisture longer, which means less frequent watering. The trade-off is that they can heat up fast in direct sun, which stresses roots. Keep that in mind when choosing color and placement. Light-colored or white plastic pots stay significantly cooler than black ones in summer heat, so if you're gardening on a sunny balcony or patio, lighter pots are worth the small upgrade.
Size matters more than most beginners expect. Match the pot size to both the plant's above-ground growth and its root system. A plant that grows tall and bushy needs volume below the soil surface too. For small plants and seedlings going into pots 8 inches in diameter or less, choose a pot that's about 1 to 2 inches wider than the current root ball. Going much bigger than that too early causes problems: extra soil that the roots haven't reached yet stays wet for too long and can rot young roots before they get established.
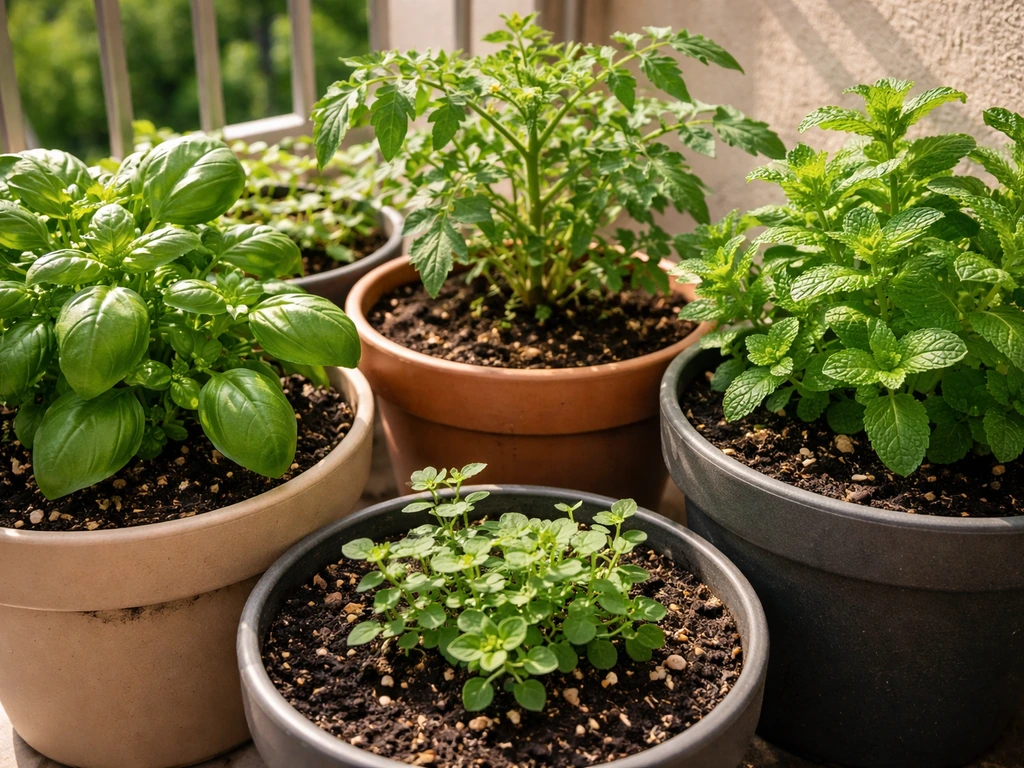
For vegetables and larger plants, think in terms of depth as well as width. Tomatoes, peppers, and most fruiting plants want at least 12 to 14 inches of depth. Shallow-rooted herbs like basil and mint can do fine in 6- to 8-inch pots. Root vegetables like carrots or beets need at least 12 inches of depth, otherwise the roots just won't develop properly. When in doubt, go slightly larger rather than smaller.
Many decorative resin and plastic pots come with pre-punched drainage points at the bottom that you press out yourself. Always check before you fill with soil. If a pot doesn't have any drainage option at all, it's really only suitable for plants that genuinely tolerate standing water, like certain aquatic plants. For the vast majority of what home gardeners want to grow, a drainless pot is more trouble than it's worth.
Drainage, aeration, and preventing root problems
Drainage holes are non-negotiable. If you are using ceramic pots, the key is still the same: make sure they have drainage holes and use a quality potting mix so your plants do well in containers. Roots sitting in water even for a day or two can start to rot, and by the time you see the plant wilting above the soil, the damage below is often already severe. NC State Extension is clear on this: blank" rel="noopener noreferrer">all containers need drainage holes to prevent root rot. If your plastic pot didn't come with holes, you can drill them yourself using a standard drill bit. Aim for at least 3 to 4 holes in pots up to 12 inches wide, and more for larger containers.
One thing I want to flag because it's incredibly common: do not put a layer of gravel at the bottom of your pot thinking it will improve drainage. It won't. This is a persistent gardening myth that Illinois Extension specifically calls out. What actually happens is that water pools just above the gravel layer, sitting right in the root zone. Use quality potting mix all the way to the bottom and let the drainage holes do their job.
If you're using saucers under your pots to catch overflow, empty them after every watering. A saucer filled with standing water effectively cancels out your drainage holes. University of Maryland Extension specifically advises this. It's one of those small habits that makes a real difference, especially in summer when overwatering risk is high.
Aeration is about giving roots access to oxygen as well as moisture. Plastic pots don't breathe the way terracotta does, so the potting mix you choose matters even more. A mix with perlite (the little white granules you see in commercial mixes) keeps soil from compacting and ensures air pockets remain around roots. If your existing mix has compacted over time, gently loosen the top inch or two with a chopstick or pencil. This also helps water penetrate evenly rather than running straight down the sides.
Soil mix and fertilizing in plastic containers
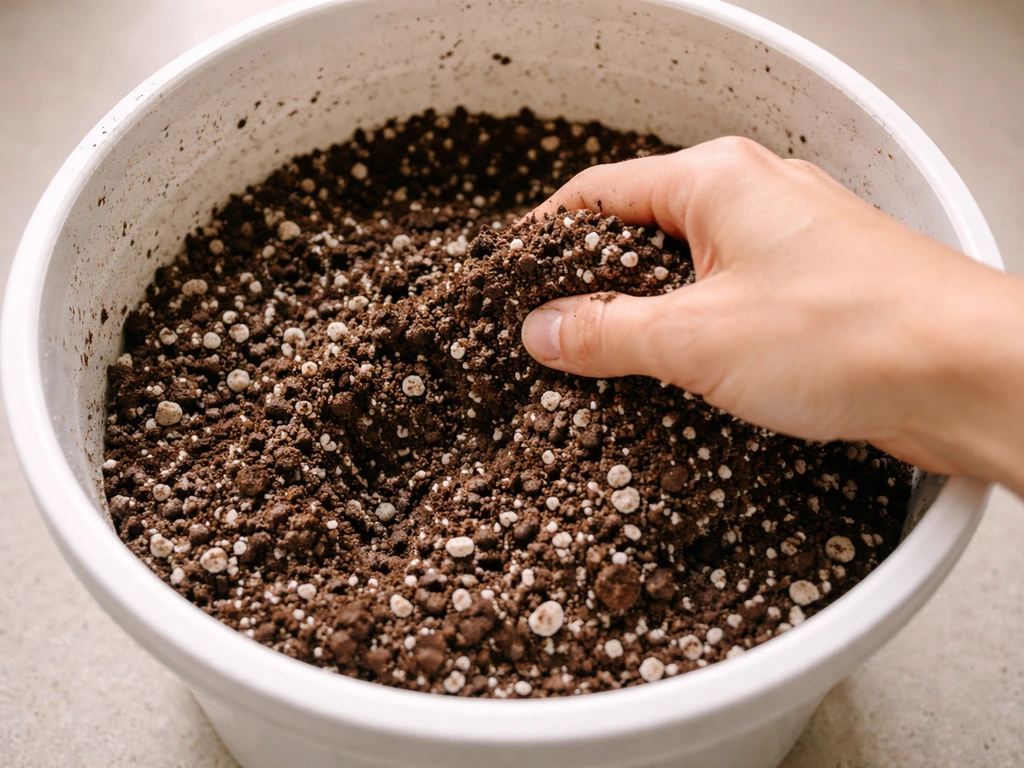
Always use potting mix, not garden soil or topsoil, in plastic pots. Garden soil compacts in containers, doesn't drain properly, and often introduces pests and disease. A good general-purpose potting mix gives you the drainage, aeration, and nutrient base your plants need to start strong.
For most vegetables and flowering plants, I mix in some perlite at roughly a 4:1 ratio of potting mix to perlite if I'm buying a basic mix. If the bag already includes perlite (you'll see the white granules throughout), you're probably set. For succulents and cacti, use a mix specifically labelled for them, or make your own by adding extra perlite or coarse sand to standard potting mix, about 50/50.
Here's the thing about fertilizing in plastic pots: nutrients get used up faster than you'd expect. When you water regularly, nutrients leach out through the drainage holes over time. Most potting mixes come with a starter charge of fertilizer, typically enough for about 4 to 6 weeks. After that, you need to supplement. A slow-release granular fertilizer mixed into the top of the soil works well for most plants and feeds consistently over 3 to 4 months. If you want faster results in containers, focus on giving plants more light, consistent moisture, and timely feeding so they can grow at their full potential how to grow plants faster in pots. For heavy feeders like tomatoes or peppers, add a liquid fertilizer every 2 weeks during the growing season on top of that.
Every year or two, even if you don't fully repot, refreshing the top few inches of potting mix helps because the mix breaks down and loses its structure over time. More on repotting in the ongoing care section below.
Planting correctly: seeds vs. seedlings
Starting from seed in plastic pots
Sowing directly into a plastic pot works well for plants that don't like their roots disturbed during transplanting, like beans, peas, carrots, and nasturtiums. Fill your pot to about an inch below the rim (so water doesn't splash out), make a small indent or furrow at the depth noted on the seed packet, drop in your seeds, and cover lightly. Keep the soil consistently moist but not soggy until germination, which usually means checking and misting once or twice a day in warm weather.
Plastic pots can help with germination because they retain warmth and moisture well. If you're starting seeds indoors, placing pots on a heat mat can push germination times down significantly. Once seedlings emerge and have their first set of true leaves (the second set that appears, which looks like a miniature version of the adult leaf), thin them to the spacing recommended on the packet. I know it feels wrong to pull out seedlings you just grew, but overcrowding is one of the main reasons container plants underperform.
Transplanting seedlings into plastic pots
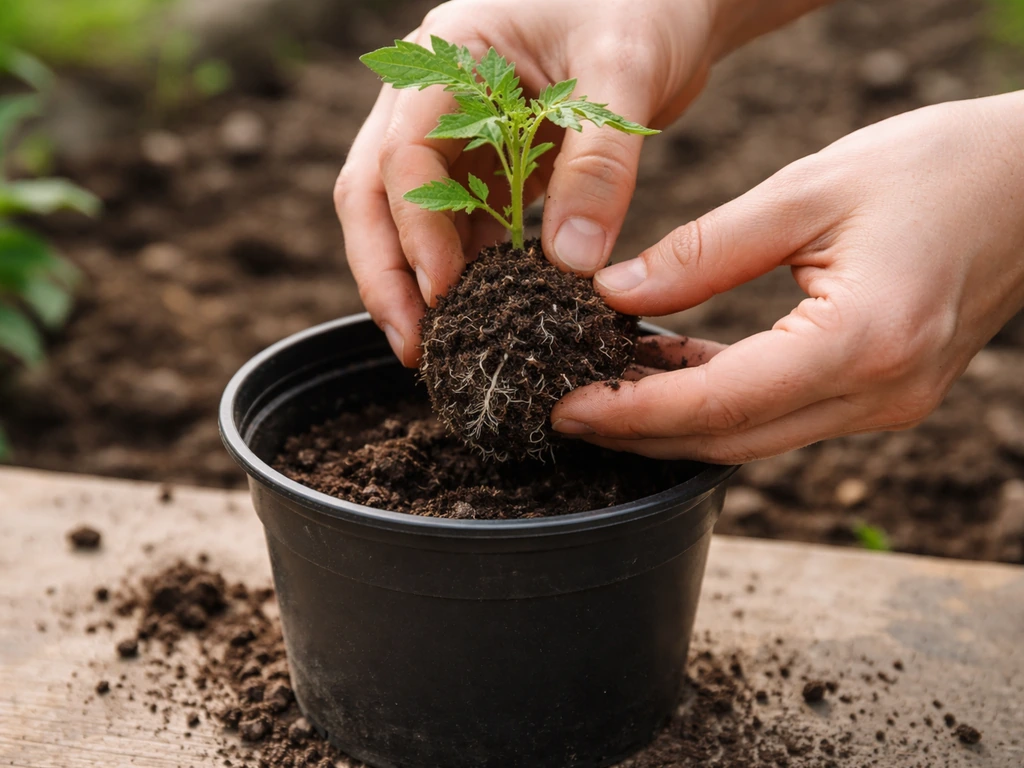
When transplanting a seedling or young plant, the goal is to disturb roots as little as possible while making sure they have room to spread. Fill your plastic pot about halfway with potting mix. Hold the seedling by its leaves (not the stem, which bruises easily) and ease it out of its nursery container. Set it in the pot so the top of the root ball sits about 1 inch below the pot rim. Fill in around the sides with more potting mix, firm gently, and water thoroughly right away.
Tomatoes are a special case: you can bury them deeper than they were sitting, right up to the lowest leaves. They grow roots along their buried stem, which makes for a stronger plant. Most other vegetables and all flowers should be planted at the same depth they were in their original container.
Watering routines and managing heat in plastic pots
The single most useful watering rule for plastic pots: check the soil, don't follow a rigid schedule. Stick your finger about an inch into the potting mix. If it feels dry at that depth, water thoroughly until it drains from the holes. If it still feels damp or cool, wait. This prevents both overwatering (the most common mistake) and drought stress.
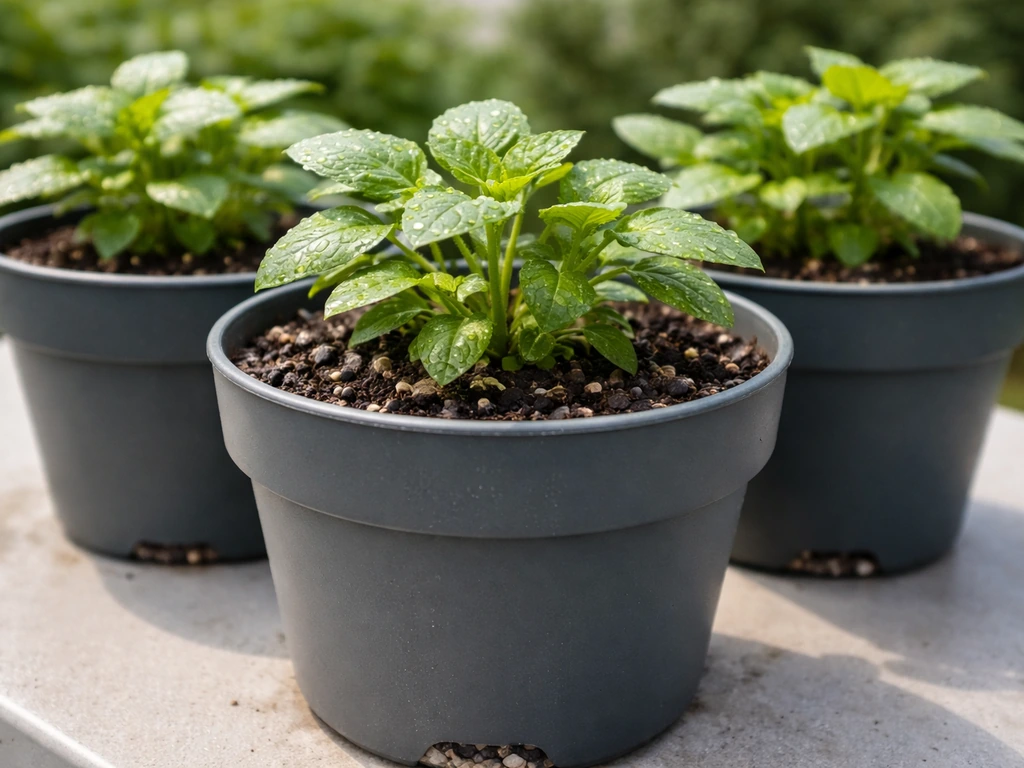
That said, plastic pots do behave differently depending on where they sit. In summer, dark plastic pots in direct sun can heat up to soil temperatures that stress or even kill roots. If you notice your plant wilting in the afternoon even with adequate moisture, heat stress in the pot itself is often the cause. Moving the pot to a spot with afternoon shade, wrapping it in a light-colored cover, or double-potting it (placing the plastic pot inside a larger decorative container with an air gap) all help. The air gap acts as insulation.
In hot, sunny weather, most vegetable-sized containers will need watering once a day or even twice for smaller pots. In cooler or shaded conditions, every 2 to 3 days is more typical. Large pots hold moisture longer than small ones, so a 20-litre pot won't dry out as fast as a 2-litre pot sitting in the same spot. Get a feel for your specific setup over the first few weeks rather than assuming any single schedule will work.
When you water, always water deeply rather than lightly. A shallow sprinkle encourages roots to stay near the surface, which makes them more vulnerable to heat and drought. Water slowly until you see it running clearly from the drainage holes. That tells you moisture has reached all the way through the root zone.
Light placement and positioning your pots
One of the biggest advantages of plastic pots over in-ground gardening is that you can move them. Use that. In early spring, you can move tender plants indoors if a frost threatens. In peak summer, you can shift sun-loving plants to catch more hours of light, or move heat-stressed pots into afternoon shade. It's genuinely worth checking how the light moves across your space through the day before you settle pots in permanent spots.
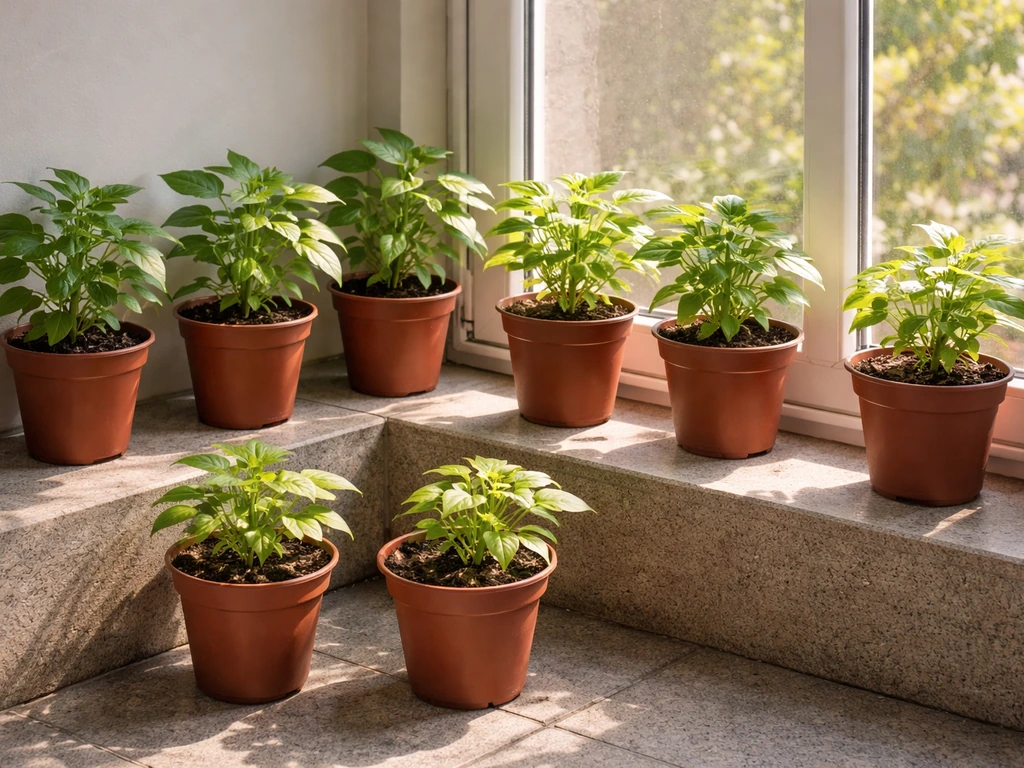
Most vegetables and fruiting plants need 6 to 8 hours of direct sunlight daily. Leafy greens like lettuce and spinach are more tolerant, managing well with 4 to 5 hours and actually preferring some shade in summer to prevent bolting (going to seed prematurely). Herbs vary: basil loves full sun, while mint and parsley tolerate partial shade. Flowers have a similarly wide range, so it's worth checking the specific needs of whatever you're growing.
On balconies, reflected light from walls and glass can boost light levels significantly, but also raises temperatures. South-facing and west-facing balconies in the northern hemisphere typically get the most sun. East-facing spots get gentle morning sun with cooler afternoons, which works well for many herbs and leafy greens. Use what you have, but be realistic: if your space gets only 2 to 3 hours of direct sun, stick to plants that genuinely tolerate shade, like ferns, impatiens, or some varieties of begonia.
If you're growing indoors, position pots as close to a bright window as possible. If you’re learning how to grow indoor plants in pots, the brightest window and consistent watering checks are the two habits that matter most growing indoors. South or west-facing windows work best for most sun-loving plants. Rotate pots a quarter turn every week or so to prevent plants from leaning heavily toward the light source. Grow lights are a practical option if your indoor light is genuinely limited, especially for edibles.
Ongoing care: pruning, pests, and repotting
Pruning and general maintenance
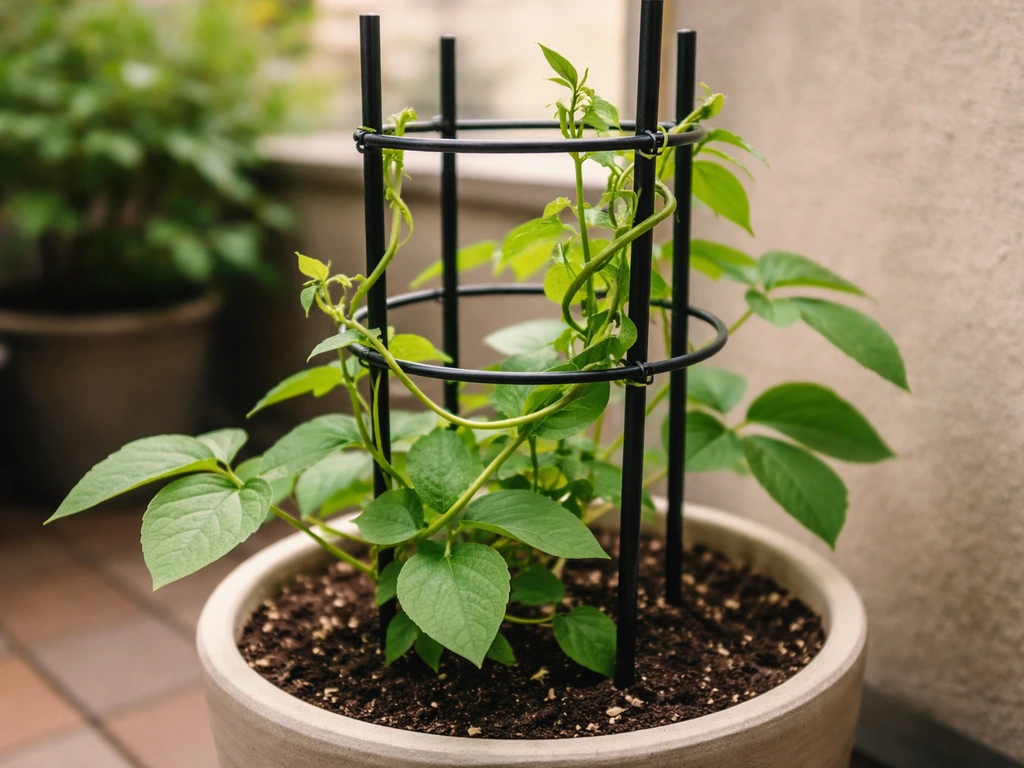
Regular pruning keeps container plants producing and looking their best. Climbing plants can be especially easy to keep thriving in pots if you pair the right pot size and support with consistent watering and light Climbing plants in pots. For flowering plants, deadheading (removing spent blooms) redirects the plant's energy into making more flowers rather than setting seed. For herbs like basil, pinching off the tips regularly prevents them from going woody and keeps the plant producing fresh, flavourful leaves. For tomatoes and peppers in containers, removing some side shoots (suckers on tomatoes) helps the plant focus on producing fruit rather than endless leafy growth.
Every few weeks, do a general tidy of yellowing or dead leaves at the base of the plant. These can trap moisture and create ideal conditions for fungal problems. It's a five-minute task that makes a real difference.
Checking for pests and disease
Container plants aren't immune to pests, but the contained environment does make monitoring easier. Once a week, flip a few leaves over and check the undersides where pests like aphids, spider mites, and whitefly like to hide. Catch them early and a strong blast of water from a hose nozzle or a spray of diluted neem oil is usually enough. Waiting until you have a full infestation makes everything harder.
Overwatering and poor drainage are the most common causes of disease in plastic pots, usually showing up as yellowing leaves, wilting despite moist soil, or a musty smell from the potting mix. If you catch root rot early, you can sometimes save the plant by removing it from the pot, trimming away the dark mushy roots, letting the remaining roots air dry for an hour, and repotting in fresh, well-draining mix. It's not always successful, but it's worth trying.
When and how to repot
Repotting is needed when roots start circling the bottom of the pot or poking out the drainage holes, when water runs straight through without being absorbed (a sign the roots have taken over most of the soil volume), or when growth suddenly slows despite good care. Most plants benefit from moving up one pot size at a time rather than jumping to a much larger container.
Spring is the best time to repot for most plants, just before active growing season. To repot, water the plant well a day before so the root ball holds together. Tip the pot on its side, ease the plant out gently, and shake off some of the old potting mix. Place it in a new pot with fresh mix, fill in around the sides, firm gently, and water. The plant may look a little sad for a week while it adjusts: that's normal. Keep it in slightly lower light during that transition week.
Even if you're not moving up a pot size, refreshing the potting mix every 1 to 2 years makes a real difference. Potting mix breaks down, losing its structure and nutrient-holding capacity. Scrape out the top 2 to 3 inches and replace with fresh mix, or do a full repot if the plant is due for one. Combined with regular fertilizing, this keeps your plastic pot setup productive season after season.
Quick reference: plastic pot essentials at a glance
| What you're deciding | What to do | Common mistake to avoid |
|---|---|---|
| Pot size | Match depth and width to the plant's root system; use 1–2 inches wider than root ball for small pots | Going too large too early, causing soggy soil around young roots |
| Drainage | Ensure drainage holes are open; empty saucers after every watering | Adding gravel to the bottom (it worsens drainage, not improves it) |
| Soil | Use quality potting mix with perlite; never use garden soil in containers | Using topsoil or garden soil, which compacts and drains poorly |
| Fertilizing | Slow-release granular at planting; liquid top-up every 2 weeks for heavy feeders | Assuming potting mix provides nutrients indefinitely |
| Watering | Check soil an inch deep; water deeply until it drains; don't follow a rigid schedule | Watering on a fixed schedule regardless of soil moisture |
| Heat management | Use light-colored pots in sun; move pots if roots are overheating | Leaving dark pots in full sun in peak summer |
| Light | Position for 6–8 hours of sun for vegetables; 4–5 hours for leafy greens | Placing sun-loving plants in too much shade (or vice versa) |
| Repotting | Move up one pot size when roots circle the base or growth stalls | Jumping to a much larger pot in one go |
Plastic pots are a genuinely forgiving starting point. They're cheap enough to experiment with, easy to move, and they work for almost any plant you'd want to grow at home. If you're just getting started, pick one or two plants you actually want to eat or enjoy looking at, get the drainage and soil right, and let yourself learn as you go. Small failures are how you figure out your specific space and conditions. Every experienced container gardener has killed a plant or two figuring out their balcony's sun pattern or how fast their pots dry out in summer heat. That's just part of it.
FAQ
Can I use a plastic pot without drainage holes if I’m careful with watering?
It’s still not recommended. Even “careful” watering can’t prevent water from pooling, and pooled water quickly creates root-rot conditions. If your pot truly has no drainage, the workable options are either drill holes (best) or use a plant that specifically tolerates standing water.
What’s the best way to drill drainage holes in a plastic pot without cracking it?
Drill slowly and use a sharp standard drill bit, start with a small pilot hole, then widen. Place the pot on a scrap board to prevent stress cracking and avoid drilling near thin decorative sections. After drilling, clean out plastic shavings so they don’t block drainage.
Should I put gravel, rocks, or charcoal at the bottom to improve drainage?
No. Those layers can create a perched-water zone where water sits above the layer instead of draining through the root zone. Use quality potting mix to the bottom, and rely on drainage holes plus correct watering depth.
How do I know if my watering is too much or too little in a plastic pot?
Use two signals together: the 1-inch finger check (dry equals water, damp equals wait) and the pot weight. After you water thoroughly, lift the pot, then learn how “light” it feels when dry. If it stays heavy for days, you likely have too much water or the pot is too large for the plant.
Do plastic pots need a saucer, and what should I do with the runoff?
You can use a saucer for mess control, but you must empty it after watering. Leaving runoff in the saucer re-saturates the bottom of the root zone and effectively cancels your drainage holes.
What pot size should I choose if I’m growing a plant in a plastic pot but don’t know its final size?
Pick for roots first, then adjust. If you’re unsure, choose a container slightly larger than the current root ball, and plan to upsize gradually. Too much extra soil stays wet longer, which is one reason new container setups struggle.
How often should I water plastic pots in summer if my weather changes day to day?
Instead of using a fixed schedule, base it on soil dryness and sun exposure. In hot sun, small pots can require daily watering, but a cool or shaded spot might go 2 to 3 days between waterings. The most reliable rule remains checking the soil at the 1-inch depth.
Why does my plant wilt even though the soil feels moist?
Two common causes are heat stress and root problems. Dark pots can overheat in direct sun, which reduces root function even if moisture is present. Another possibility is oxygen-starved roots from poor drainage or overwatering, often paired with yellowing leaves or a musty pot smell.
What’s the best way to refresh potting mix without fully repotting?
Remove only the top 2 to 3 inches, then replace with fresh potting mix and lightly firm. This restores structure and nutrient availability without disturbing established roots. If you see roots circling tightly, plan a full repot instead.
When should I start fertilizing in a new plastic pot?
Use the mix label as your starting point. Many potting mixes include fertilizer for roughly a month or two, then nutrient levels drop as you water and leach through drainage holes. After that, use slow-release fertilizer on top for most plants, and add a more frequent liquid feed for heavy feeders like tomatoes and peppers.
Do I need perlite in my potting mix for plastic pots?
It helps, especially because plastic pots do not breathe like terracotta. If your mix is already light and fluffy, you may not need extra perlite. If your soil compacts and stays wet, mixing in perlite can improve aeration and water penetration.
Should I loosen compacted potting mix, and how deep should I go?
Yes, but keep it gentle. Loosen the top 1 to 2 inches to break crust and improve water infiltration, without disturbing deeper roots. If the whole pot compacts or drains poorly, that’s usually a sign it needs fresh mix or repotting.
How do I tell when it’s time to repot instead of just watering and fertilizing?
Look for roots growing through drainage holes, roots circling the bottom, and water running through quickly without soaking in. Also repot if growth stalls despite correct light, watering, and feeding, because the plant may have outgrown the available root volume.
Is it better to repot in spring, even if my plant is doing well now?
Spring is safest for most plants because active growth helps them recover faster. If you must repot outside spring, keep the plant in slightly lower light for a week afterward and minimize root disturbance, since container stress is more noticeable than in-ground transplanting.
Can I grow edible plants in plastic pots, and do they have special requirements?
Yes, but edible container plants are usually more sensitive to drought and nutrient depletion because they grow quickly and need steady nutrition. Give consistent moisture checks, feed on schedule (containers lose nutrients faster), and ensure the pot is deep enough for the crop type (for example, tomatoes and peppers need deeper containers than many herbs).