You can absolutely grow a henna plant (Lawsonia inermis) in a pot, and it does surprisingly well in containers as long as you nail three things: full sun, fast-draining soil, and a watering routine that mimics its native drought-then-downpour cycle. Elephant ears have different light and moisture needs than henna, but the same container-watering care and drainage basics still matter for success grow elephant ears in a pot. Get those right and you'll have a lush, fragrant shrub on your balcony, patio, or sunny windowsill within a single growing season.
How to Grow Henna Plant in a Pot: Step-by-Step Guide

Marcus Whitley
22 Jun 2026
What henna needs: light, warmth, and where to put it
Henna is native to northern Africa and western and southern Asia, so it evolved in hot, bright, seasonally dry conditions. That background tells you almost everything about where to position it. It needs full sun, meaning at least six to eight hours of direct sunlight per day. A south-facing balcony, rooftop, or patio is ideal. A bright south- or west-facing window works indoors, but leggy, weak growth is common inside unless you supplement with a grow light. I've seen people try henna on a shaded east-facing balcony and wonder why it barely grows: it simply refuses to thrive without real sun.
Temperature matters just as much. Henna is a warm-climate shrub that tolerates light frost but genuinely dislikes cold. It grows happily outdoors when temperatures stay above 50°F (10°C), and it really hits its stride above 65°F (18°C). In USDA zones 10 and 11 you can keep it outside year-round. In zones 7 through 9, it works as a container plant that spends summer outside and overwinters indoors near a sunny window. Below zone 7, treat it purely as a warm-season patio plant or a houseplant with a grow light in winter.
One practical advantage of growing henna in a pot is that you can move it. Put it outside the moment nighttime temps are reliably above 50°F, let it soak up heat and sun through summer, then bring it indoors before the first frost. That mobility is exactly why containers work so well for this plant in cooler climates.
Choosing the right pot, drainage, and container size
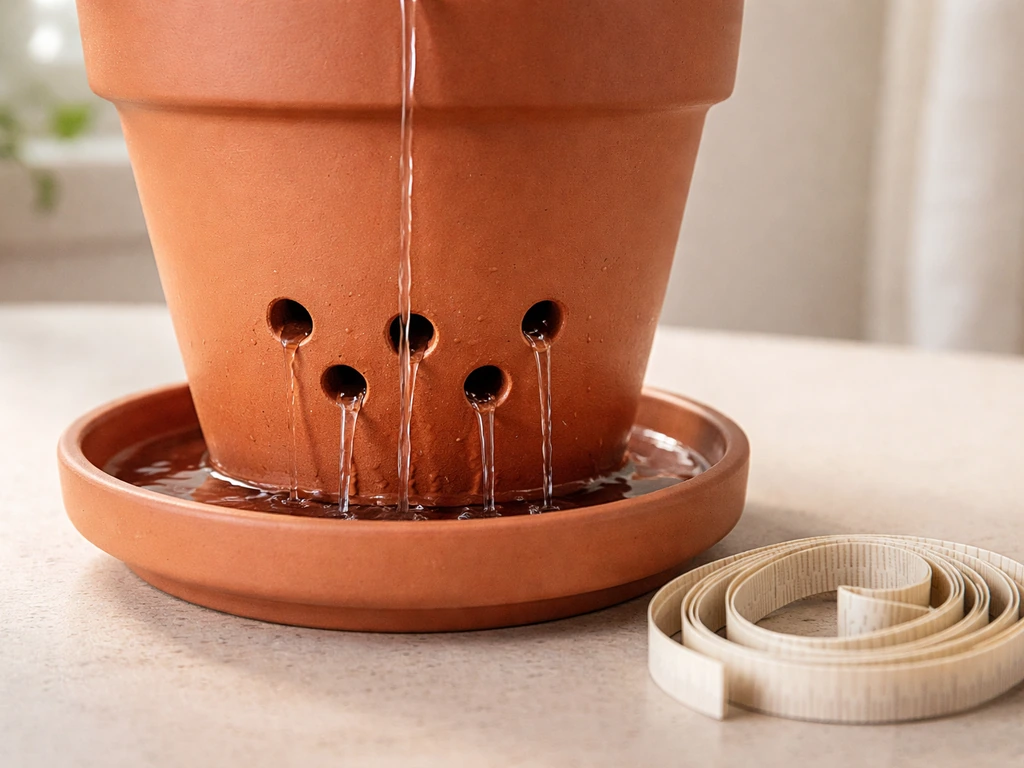
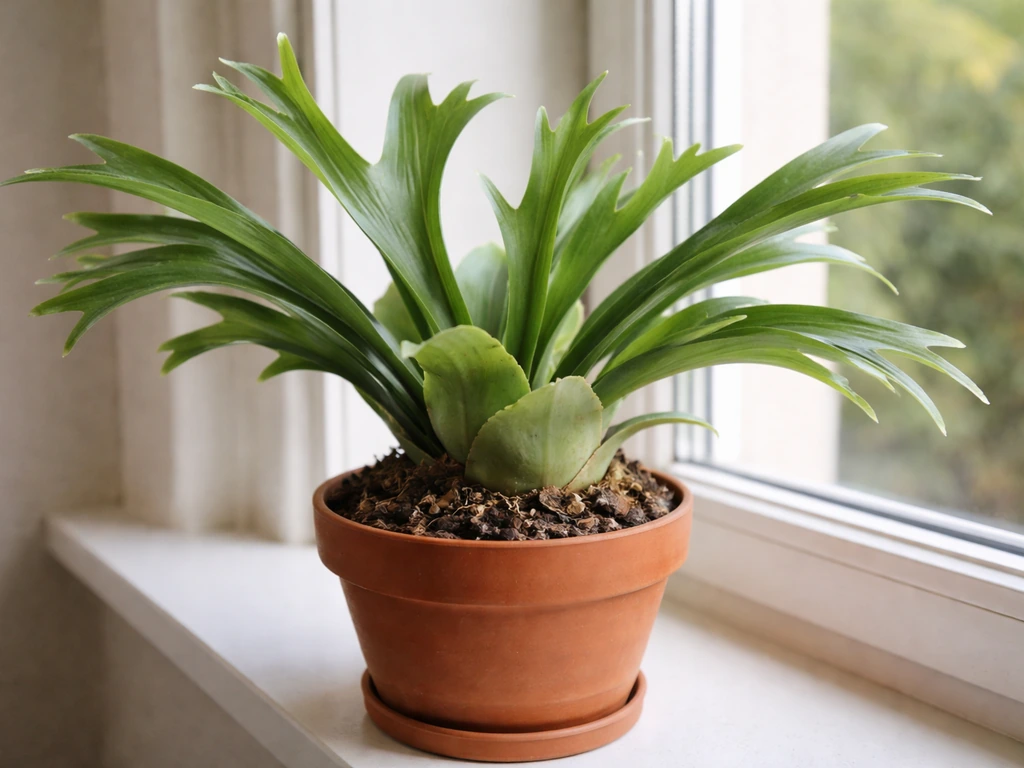
Drainage is non-negotiable with henna. A pot without drainage holes will kill it, plain and simple. Whatever container you pick, make sure water can flow freely out the bottom. If you want, the same pot, drainage, soil, and sun principles work for growing a neem plant in a container, too make sure water can flow freely out the bottom.. Terracotta pots are a great first choice because they're porous and allow some evaporation through the walls, which helps prevent the soggy-soil conditions henna hates. Plastic pots work too and retain moisture longer, which can be useful in hot, windy spots, but be extra careful not to overwater in them.
For size, start with a 10 to 12 inch (25 to 30 cm) diameter pot for a young plant or seedling. Henna grows into a shrub and will eventually need a 15 to 20 inch (38 to 50 cm) container or larger, but going too big too soon means excess soil holds moisture around the roots before the plant can use it, which raises rot risk. Step up in size as the plant grows rather than skipping straight to a giant pot.
- Always use a pot with drainage holes, no exceptions
- Terracotta is the safest starter material for henna
- Start with a 10 to 12 inch pot for seedlings or rooted cuttings
- Move up to a 15 to 20 inch pot once the plant is established and visibly rootbound
- Avoid saucers that hold standing water underneath the pot
Soil mix for henna in pots: what to use and what to avoid
Never use straight garden soil in a container. It compacts over time, cuts off oxygen to the roots, and creates the kind of dense, moisture-retentive environment that leads directly to root rot with a plant like henna. Instead, build a mix that drains fast but still has some nutrients and structure. If you want the best results with elaichi in pot, use well-draining soil and keep it in bright warmth much like other container herbs.
A simple mix that works well: two parts quality potting mix (not garden soil), one part perlite, and one part coarse sand or fine gravel. The potting mix provides nutrients and some water retention, while the perlite and sand create air channels so water moves through quickly and the roots can breathe. If you want to get a bit fancier, adding a small amount of compost (about 10 to 15 percent of the total volume) gives an organic nutrient boost without making things too dense.
Henna also prefers a slightly alkaline to neutral soil pH, somewhere in the 6.5 to 7.5 range. If you're in an area with naturally acidic water or soil, a light dusting of garden lime mixed into the potting blend at planting time can help. Skip peat-heavy mixes entirely: they stay wet too long and can drop the pH in a direction henna doesn't love.
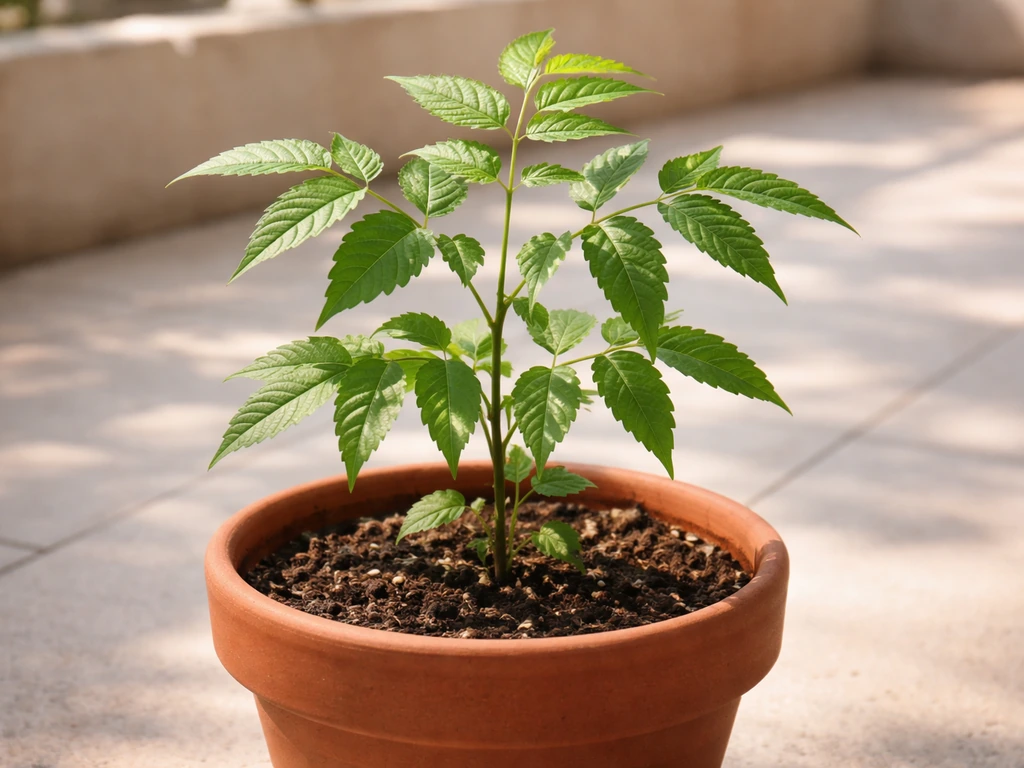
Starting henna in a pot: seeds vs cuttings
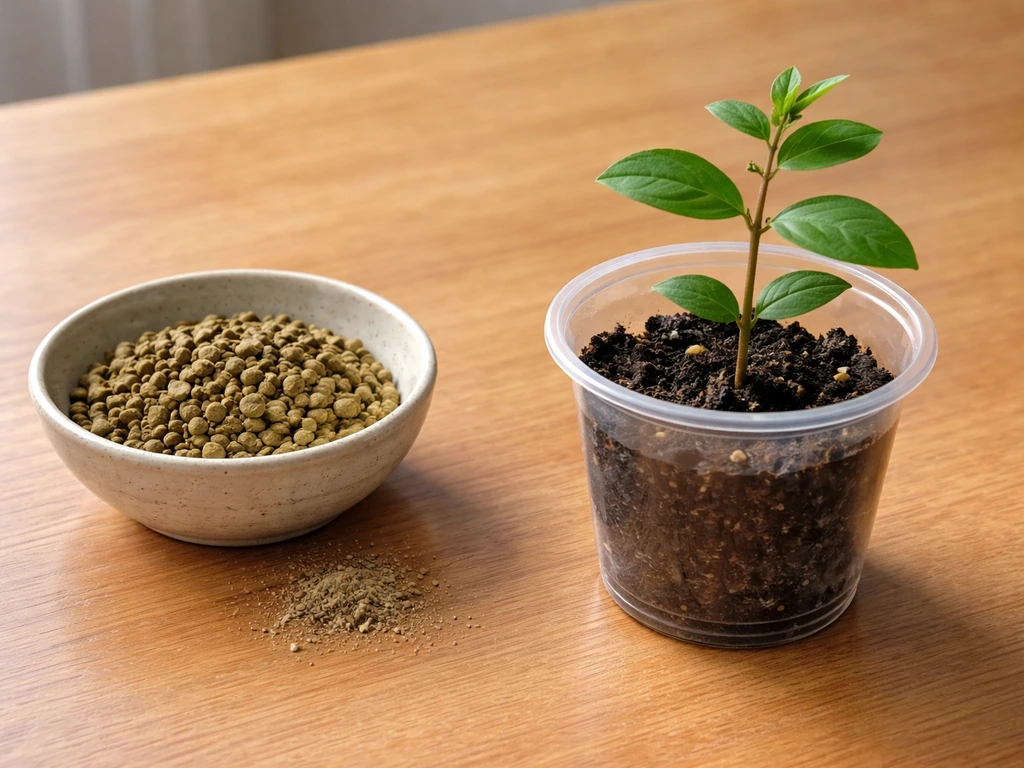
You have two realistic options for starting henna: seeds or stem cuttings. Both work, but they have different timelines and difficulty levels, so pick the one that fits your situation.
Growing henna from seed
Henna seeds germinate, but they can be slow and inconsistent if you don't prepare them first. The seeds have a tough coat, and lightly scarifying them before planting helps a lot. Scarification just means gently roughing up the seed surface so water can get in. You can do this by rubbing seeds lightly between two sheets of fine sandpaper, or soaking them in warm water for 24 hours before planting. Sow seeds about a quarter inch (6 mm) deep in your prepared mix, keep them warm (ideally 70 to 85°F / 21 to 30°C), and keep the surface barely moist until germination. Expect anywhere from two to six weeks, sometimes longer. Germination is often patchy, so sow a few extra seeds and thin to the strongest ones.
Growing henna from cuttings
Stem cuttings are faster and more reliable if you have access to a parent plant. Research on henna propagation consistently shows that cuttings treated with an auxin rooting hormone (like IBA, which is the active ingredient in most rooting powders you'll find at a garden center) root significantly better than untreated ones. Take a cutting about 4 to 6 inches (10 to 15 cm) long from a healthy, semi-woody stem in late spring or early summer. Strip the lower leaves, dip the cut end in rooting hormone powder, and plant it in a small pot with your well-draining mix. Cover loosely with a clear plastic bag or propagation dome to hold humidity, place it in a warm, bright spot out of direct scorching sun, and check after three to four weeks for rooting. Once you see new leaf growth, that's your sign roots have formed.
Planting steps and early care in the first few weeks
- Fill your pot about two-thirds full with your prepared mix and make a small well in the center.
- For seedlings: set the plant so the root ball sits at the same depth it was in its starter tray, then fill in around it and firm gently.
- For cuttings: insert the hormone-dipped end about 2 inches (5 cm) deep, firm the mix around it, and water gently.
- Water thoroughly after planting until water drains freely from the bottom, then hold off until the top inch or two of soil feels dry.
- Place the pot in its permanent sunny spot right away, but shelter it from extremely harsh afternoon sun and wind for the first week or two while it settles.
- Do not fertilize for the first four to six weeks. Let the plant focus on root development first.
- Check every few days by pressing your finger into the soil surface. Only water when the top inch or two is dry.
In the first few weeks, your job is mostly to stay patient and not overwater. A newly planted henna can look a little droopy for a few days before it perks up as it adjusts. For more details on placement and daily care, see the full guide on how to grow betel leaf plant in pot. That's normal. What's not normal is soil that stays soggy: if your mix stays wet for more than three or four days after watering, your drainage isn't good enough and you'll want to adjust the mix before moving forward.
Watering, feeding, and the daily sun routine for container henna
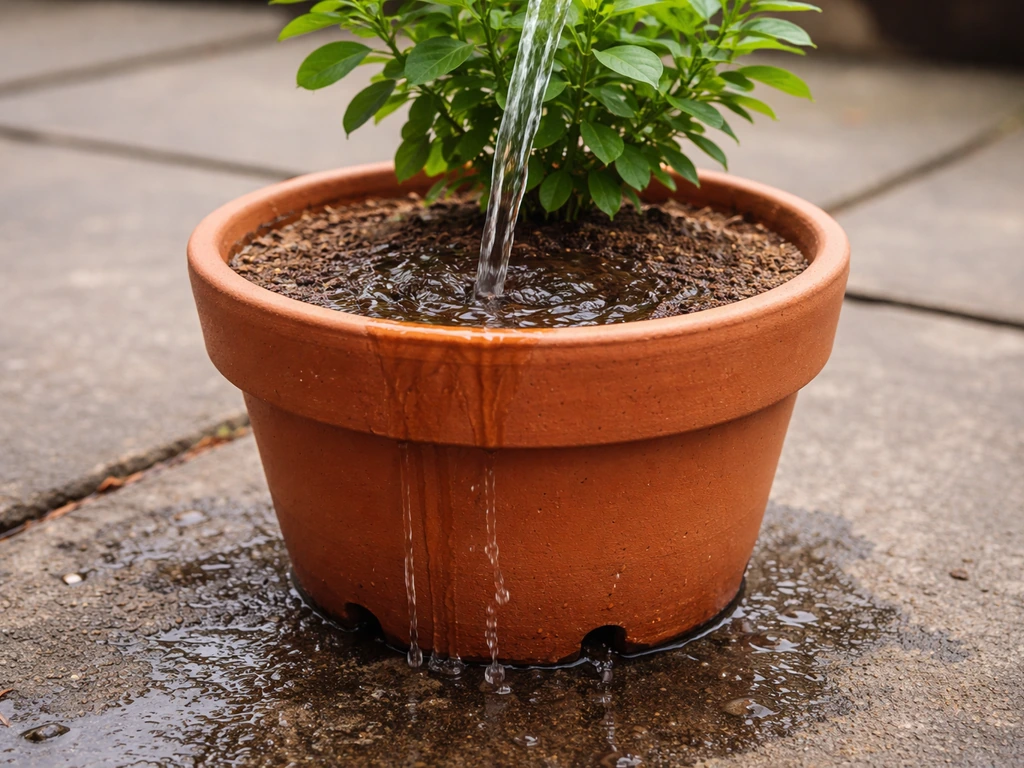
Watering: the dry-then-drench method
Henna's native climate runs on drought followed by monsoon-style rains, and you want to mimic that even in a pot. The right approach is: let the soil dry out, then water thoroughly all at once. Let it dry again, then water again. Never give it little sips of water every day, and never let it sit in standing water. In practice, during warm summer months this might mean watering every three to five days. In cooler months or indoors in winter, it might be every ten to fourteen days. Always go by feel rather than a rigid schedule: when the top 1 to 2 inches of soil feel dry, it's time to water. When you water, pour slowly until water runs out the drainage holes, then stop.
Feeding: keep it simple and seasonal
Container plants need more regular feeding than in-ground plants because nutrients leach out every time you water. During the active growing season (roughly April through September), feed your henna with a balanced, slow-release granular fertilizer every four to six weeks, or use a diluted liquid fertilizer at half strength every two to three weeks. A general-purpose fertilizer with roughly equal NPK numbers (like a 10-10-10 or similar) works well. Avoid overloading with high-nitrogen feeds, which push lots of leafy growth but at the expense of the plant's structure and resilience. Stop fertilizing entirely in late fall and through winter when the plant is resting.
Sun routine
Outdoors in summer, position the pot where it gets full sun for most of the day. If you're moving the plant from a dim indoor spot to full outdoor sun, do it gradually over a week or two to prevent sunscald on the leaves. Indoors in winter, the sunniest window you have is your best option, ideally south-facing. If you want to try bay leaves, you can use a similar container approach and give the plant plenty of bright sun and well-draining soil sunny window. If natural light is genuinely limited (fewer than four hours of direct light), a simple LED grow light on a timer for 12 to 14 hours per day will keep the plant from going into a long slow decline.
Pruning, repotting, and keeping henna the right size in a container
Pruning to shape and manage size
In the ground, henna can grow into a shrub or small tree several meters tall. In a pot, you're in control of that. Regular pruning is your main tool for keeping it compact, bushy, and manageable. The best time to prune is in early spring before new growth really kicks off, or you can do light shaping trims any time during the growing season. Cut stems back by about a third, just above a leaf node (the point where a leaf meets the stem). This encourages the plant to branch out sideways rather than just shooting straight up. If you want to harvest henna leaves for dye, regular pruning actually helps: more branching means more leaf surface area.
When and how to repot
Plan to repot henna every one to two years, or whenever you notice roots circling the drainage holes or the plant drying out much faster than usual after watering. Spring is the best time. When repotting, go up by one pot size (2 to 4 inches in diameter), use fresh mix, and try not to disturb the root ball more than necessary. If the plant has become severely rootbound (roots tightly packed in a solid mass), you can root-prune by trimming away up to a third of the outer root ball with clean scissors or a knife, then repot at the same depth into fresh mix. This resets the root zone and encourages new healthy root growth. After repotting, water thoroughly, hold off on fertilizing for four to six weeks, and keep the plant in a slightly less intense sun spot for a week to let it recover.
Troubleshooting common problems and caring for henna through the seasons
Common problems and how to fix them
| Problem | Likely Cause | What to Do |
|---|---|---|
| Yellowing leaves | Overwatering or poor drainage | Let soil dry completely, check drainage holes are clear, improve mix with more perlite |
| Leggy, stretched growth | Not enough light | Move to full sun outdoors or add a grow light indoors |
| Wilting despite moist soil | Root rot from soggy conditions | Unpot, trim rotted (brown, mushy) roots, repot in fresh well-draining mix, reduce watering |
| Aphids or scale insects | Often linked to consistently moist soil and low airflow | Dry out the soil, increase airflow, treat with neem oil or insecticidal soap spray |
| No growth or very slow growth | Cold temps, low light, or compacted soil | Check temps are above 60°F, improve light, refresh potting mix |
| Leaf drop in winter | Normal response to lower light and cooler temps indoors | Reduce watering, provide as much light as possible, wait for spring |
Cold protection and overwintering
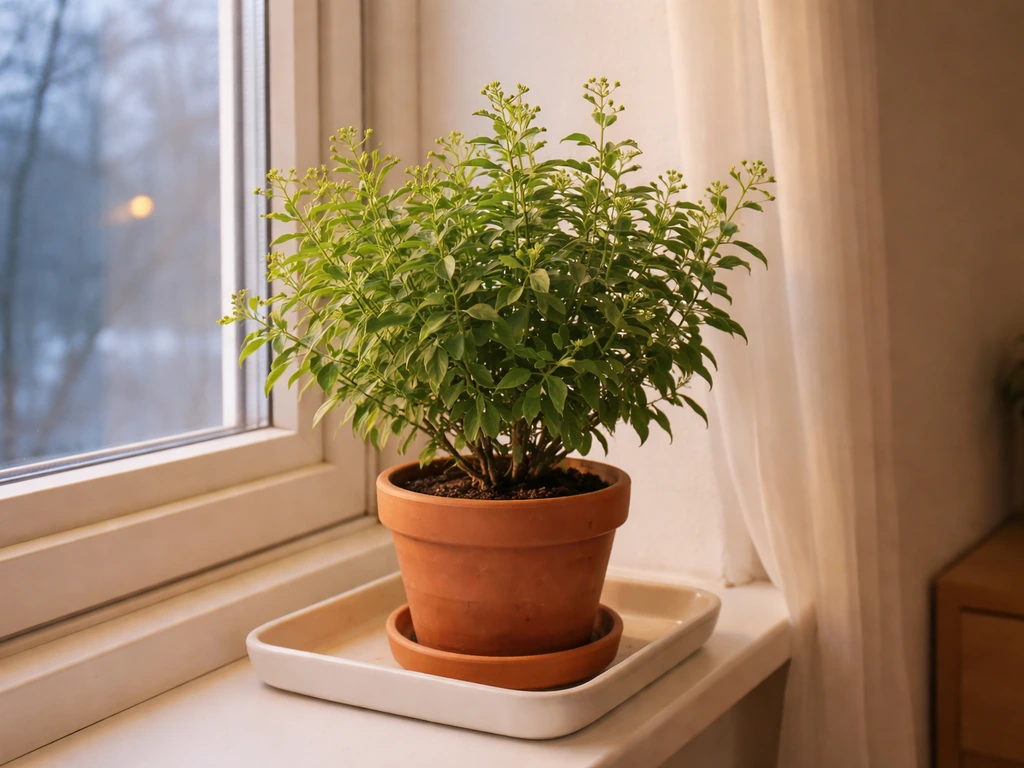
This is where container growing really pays off. When temperatures start dropping toward 50°F (10°C) at night, bring your henna indoors. Don't wait for frost: henna can survive a light frost but repeated cold stress weakens it significantly. Indoors, place it near your sunniest window and cut back on watering to roughly once every ten to fourteen days. If you're also curious about alpine container plants, see how to grow edelweiss in a pot for tips on the cooler, well-drained setup it needs. The plant will likely slow down and may drop some leaves, but it's not dead: it's just resting. If you have multiple potted plants overwintering together, group them close to each other near an insulating wall. Plants grouped together buffer each other from temperature swings, which is particularly helpful near a drafty window.
In spring, once nighttime temps are reliably back above 50°F, start hardening off your plant again by moving it outside for a few hours each day over a week, gradually building up to full-day outdoor exposure. By early summer it should be back in full swing.
Realistic expectations for pot-grown henna
In a container, a well-cared-for henna will typically reach 2 to 4 feet (60 to 120 cm) tall within its first couple of growing seasons if you prune regularly to keep it bushy. If you want to harvest leaves for henna dye, it's absolutely doable in a pot, though yield will be smaller than an outdoor in-ground shrub. If you are also growing other tropical plants in containers, you can apply the same pot and drainage basics when learning how to grow elkhorns in pots. The more sun, warmth, and consistent care you give it, the more harvestable leaf mass you'll get. If you're in a warm climate (zones 9 to 11), you'll have a genuinely productive plant outdoors for much of the year. In cooler zones, manage expectations a bit and focus on keeping a healthy plant that thrives outdoors in summer.
Your starter checklist: do this this week
- Find a pot with drainage holes, at least 10 to 12 inches wide, ideally terracotta
- Mix up your potting blend: 2 parts potting mix, 1 part perlite, 1 part coarse sand
- Get henna seeds (soak for 24 hours before planting) or a stem cutting and some rooting hormone powder
- Identify your sunniest outdoor or indoor spot (south or west facing, 6 to 8 hours of sun)
- Plant, water thoroughly once, and then wait for the soil surface to dry before watering again
- Mark your calendar to start fertilizing four to six weeks after planting
- If it's already past midsummer, prioritize getting the plant established before planning to bring it indoors in fall
Henna is genuinely one of the more rewarding plants to grow in a container once you understand its preferences. It's drought-tolerant, fragrant when it flowers, historically fascinating, and more adaptable to pots than most people expect. If you enjoy growing other warm-climate or tropical-style plants in containers, like curry leaf or betel leaf, a lot of the same instincts apply: bright light, good drainage, and respect for the plant's seasonal rhythms will take you most of the way there.
FAQ
My potted henna is leggy, what should I adjust first?
If your henna looks pale or starts stretching, it usually means insufficient direct sun rather than a fertilizer problem. Move the pot to the brightest spot you have, then increase exposure gradually over 7 to 14 days to avoid leaf scorch, especially if you are transitioning from indoors to full outdoor sun.
How do I know I’m not overwatering my henna plant in a pot?
A good rule is to water only when the top 1 to 2 inches are dry, and then water slowly until you see water run out of the drainage holes. If water is still draining very slowly or the soil stays wet more than 3 to 4 days, the mix or pot drainage is off, and you should repot into fresh, faster-draining medium.
Should I choose terracotta or plastic pots for growing henna in containers?
Yes, but use caution. In very windy or hot spots, plastic pots stay wet longer, which increases rot risk, so check dryness earlier than you would with terracotta. Terracotta dries faster and can give you more margin for error, especially for beginners.
How often should I fertilize potted henna, and when should I stop?
Feeding is mostly about balance, not strength. Use a slow-release balanced fertilizer every 4 to 6 weeks (or half-strength liquid every 2 to 3 weeks) during active growth, and stop in late fall and winter, because continued fertilizing during rest can weaken the plant and worsen salt buildup in the soil.
What soil pH should I aim for when growing henna in a pot?
Henna prefers slightly alkaline to neutral conditions, roughly pH 6.5 to 7.5. If your water is acidic or you notice chronic slow growth, mix in a small amount of garden lime at planting time, and avoid peat-heavy mixes that tend to push pH in the wrong direction.
Can I change my henna watering schedule if the weather changes?
Switching from one watering pattern to another should be gradual if your plant is actively growing. Sudden changes from dry-then-soak to frequent sips often triggers leaf drop or fungal issues, so keep the cycle drought-like, then water thoroughly, and let the soil dry down again.
How should I water and position potted henna during winter indoors?
Yes. If your winter is indoors, reduce watering to about once every 10 to 14 days, but do not let the pot become bone-dry for long periods. The goal is lightly drier soil during rest, combined with the sunniest window available, ideally south-facing.
How can I confirm I’m growing true henna (Lawsonia inermis) and not a lookalike?
If a seed packet or neighbor plant is listed as “henna,” seeds and cuttings generally come from Lawsonia inermis. However, many people confuse henna with similar-looking shrubs. Make sure your plant label is actually Lawsonia inermis before you start, because care can differ.
Why isn’t my henna cutting rooting, and what should I fix?
When cuttings do not root, the usual culprits are cold temperatures, too much direct harsh sun during rooting, or the medium staying too wet. Keep cuttings warm and bright but out of scorching direct light, use the fast-draining mix, and check after 3 to 4 weeks before giving up.
When should I repot henna in a container, and what changes after repotting?
Repotting is not just about size, it is also about fresh drainage. If roots circle drainage holes, or the plant dries unusually fast, step up one pot size in spring and refresh the mix. After repotting, water thoroughly, then pause fertilizing for about 4 to 6 weeks.
Is it normal for potted henna to drop leaves after bringing it inside?
Leaf drop after moving indoors is often a transition response, not necessarily death. Keep it near the sunniest window, cut watering to the longer interval, and watch for new growth in spring. If leaves are dropping while the soil stays soggy, that indicates drainage or watering issues.
Can I harvest henna leaves from a potted plant without harming it?
Yes, and it’s best done after a period of active growth, then with frequent light shaping rather than one heavy cut. For dye leaf harvest, regular pruning promotes branching, but expect lower total yield in a pot compared with an in-ground shrub, so prune strategically to keep the plant compact and productive.